Tools:
- Open-end spanner 10 mm
- 13 mm bent box spanner
- Ratchet wrench (or pneumatic wrench)
- Extension
- 10 mm head
- 12 mm head
- 13 mm head
- 19 mm head
- Bit head 6 mm hex
- Torque wrench
- Collar for end attachment
- Wrench attachment 27 mm
- Spring Clamp Pliers
- Medium flat screwdriver
- Phillips screwdriver medium
- Medium hammer
- Electric screwdriver
- Screwdriver bit
- Special tool Matra 3370 / Hazet 2520-1 (or flat medium screwdriver)
- Hydraulic jack
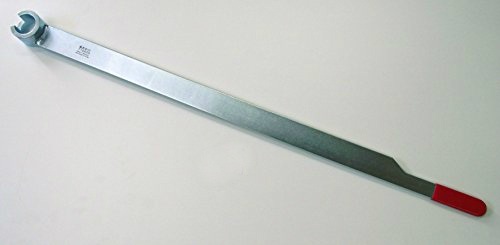
- Special tool for fixing the crankshaft pulley VW-T10025
- Special wrench for changing the belt of auxiliary units VW-3299 (or pry bar)
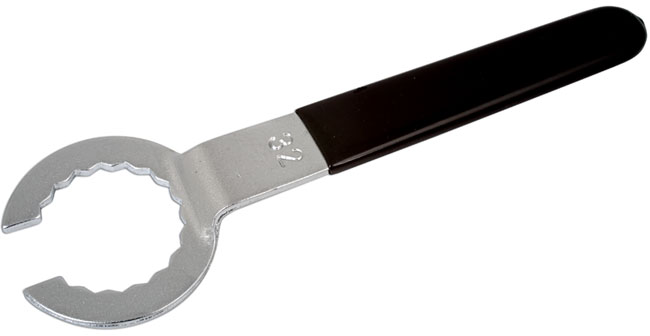
- Ring wrench VW-3355 (or box spanner 32 mm)
- Wheel chock (shoe)
Parts and consumables:
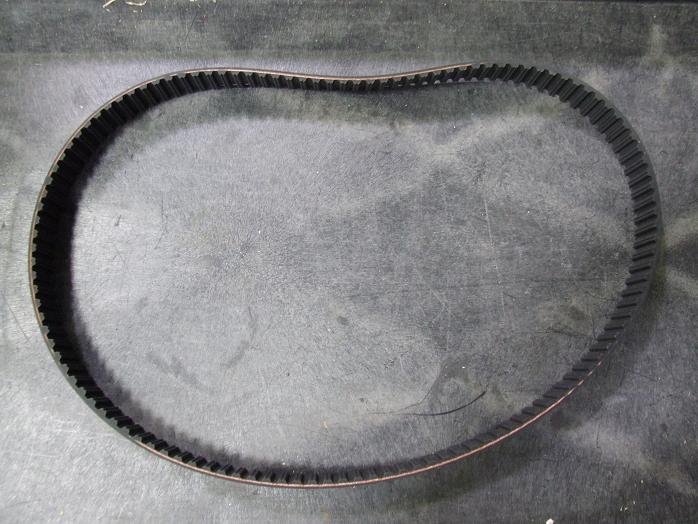
- Timing belt 074109119R
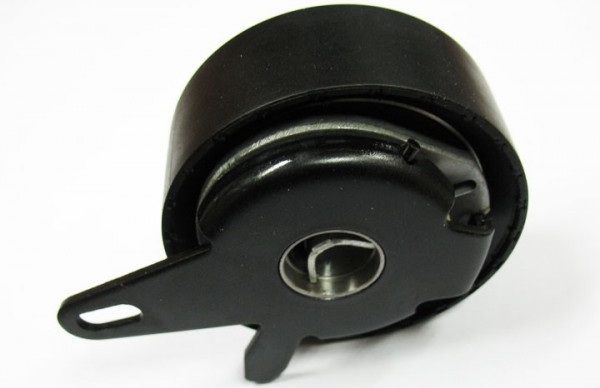
Tension roller 074109243F
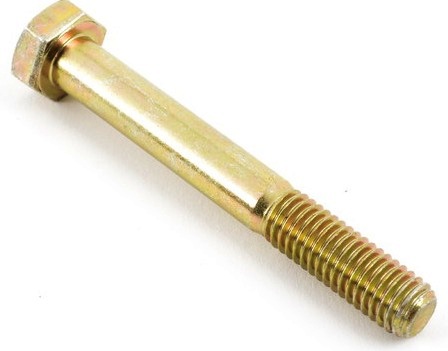
Bolt N0103771
Bolt N90498002

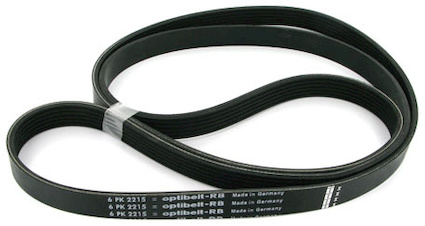
Accessory drive belt 074260849AE (if necessary)
- Roller idler 074145278E 2 pcs. (if necessary)
- Tension roller 074145278F (if necessary)
- Timing belt pulley 074105263B (if necessary)
- Cabin dust filter 7D0819989 (if necessary)
- Replacement air filter element 074129620 or 074129620A (operation with high dust saturation, if necessary)
- Air intake hose 074129627K (if necessary)
- Air filter housing (074129607M, or 074129607N - operation at high dust saturation, or 074129607P - operation in cold climates, if necessary)
- Fixing clip 701805163 - 4 pcs. (if necessary)
- Pipe (if necessary)
- Rags
Notes:
The technical condition of the timing belt of the ACV engine must be checked every 30 thousand km. Check the degree of tension of the timing belt (timing). If necessary, adjust the tension, since when the belt is weakened, its teeth quickly wear out and, in addition, the belt may jump on the crankshaft and camshaft toothed pulleys, which will lead to a violation of the valve timing and a loss of engine power, and in case of significant jumping - to its emergency damage. Several types of drive belts are used in cars.
Use only original timing belts. In this case, no amount of savings can cover the consequences of breaking a low-quality, defective or fake timing belt.
Change the timing belt strictly in accordance with the manufacturer's recommendations, which is 120 thousand km.
Always replace idler and idler rollers when changing timing belt. Sometimes car manufacturers indicate in the documentation that if you remove the timing belt, regardless of the reason for removal and the age of the previous replacement, it must be replaced.
Checking and removing the timing belt
1. Remove the cabin dust filter housing as described here .
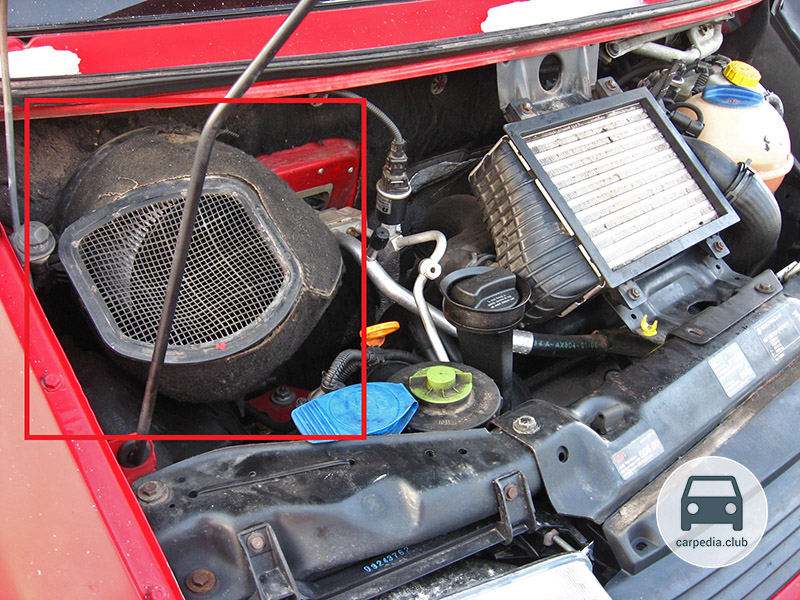
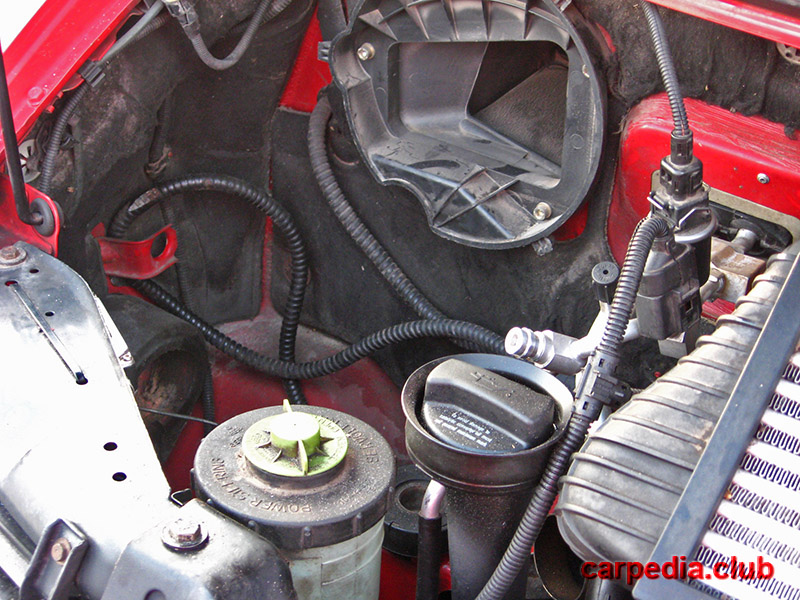
2. Then remove the washer reservoir filler neck and air filter with air intake hose to improve access to the engine.
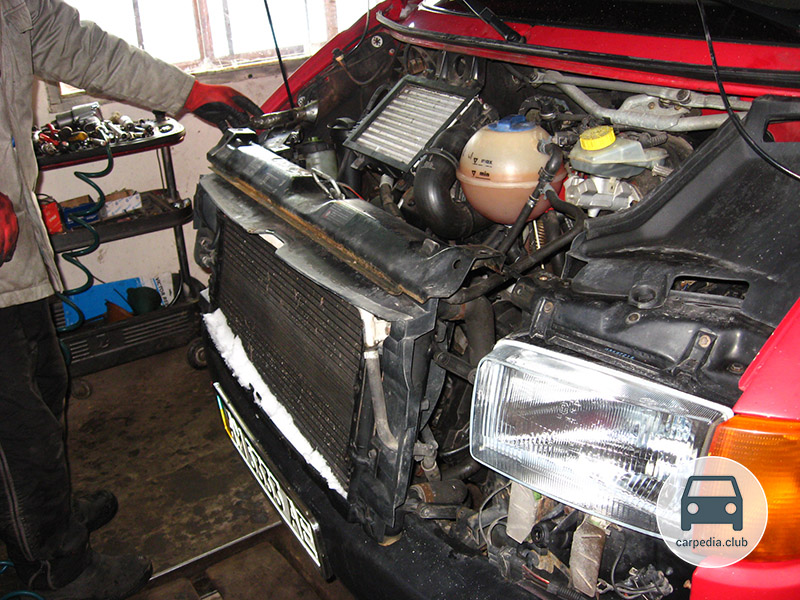
3. Move the radiator out of the engine compartment forwards. How to do it, see here .
4. Remove the front right wheel and wheel arch liner as described in this article .
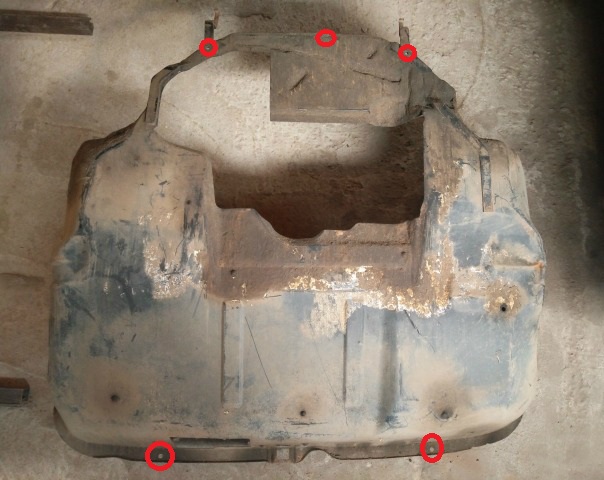
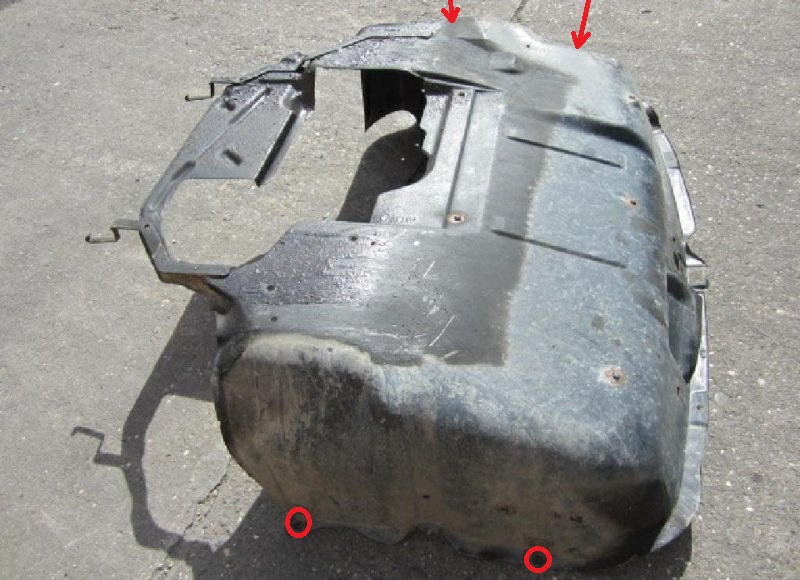
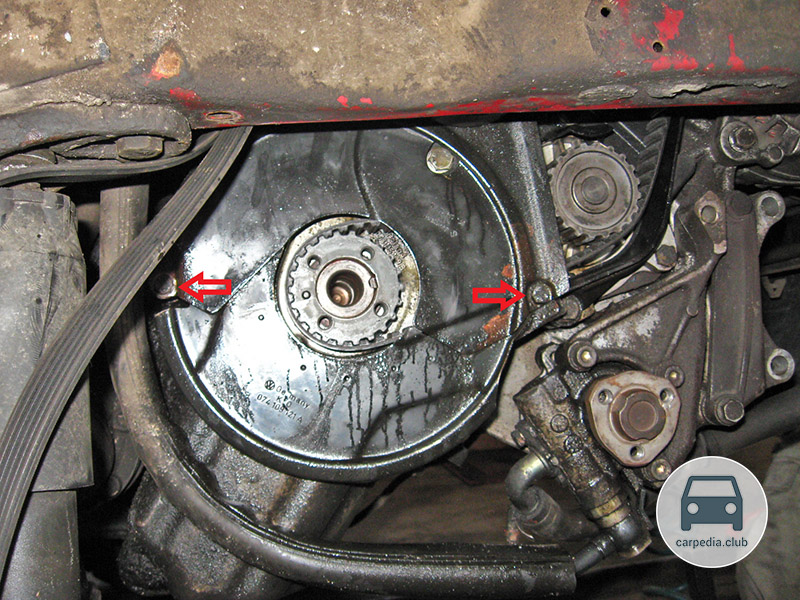
5. In order to remove the crankcase protection, unscrew the bolts and nuts (the location of the fasteners is shown on the removed casing), unlock the closing lever, slide the plate down and remove it from the holders.
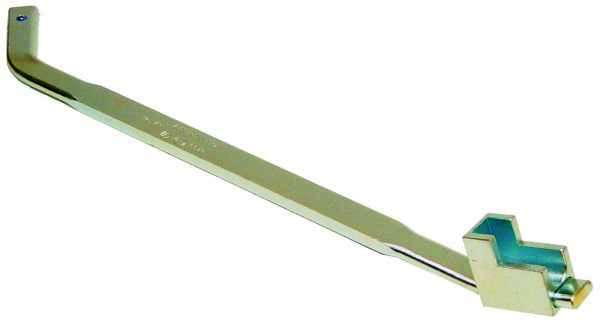
6. Using a special wrench mount 3299 or turn the lever of the tensioning roller against the direction of action of its spring (Pry rotate clockwise) and remove from the ribbed belt generator pulley (lever arrangement shown for clarity in the captured motor).
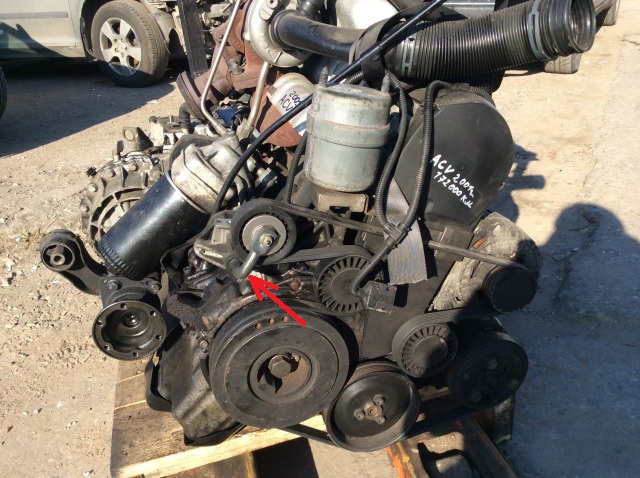
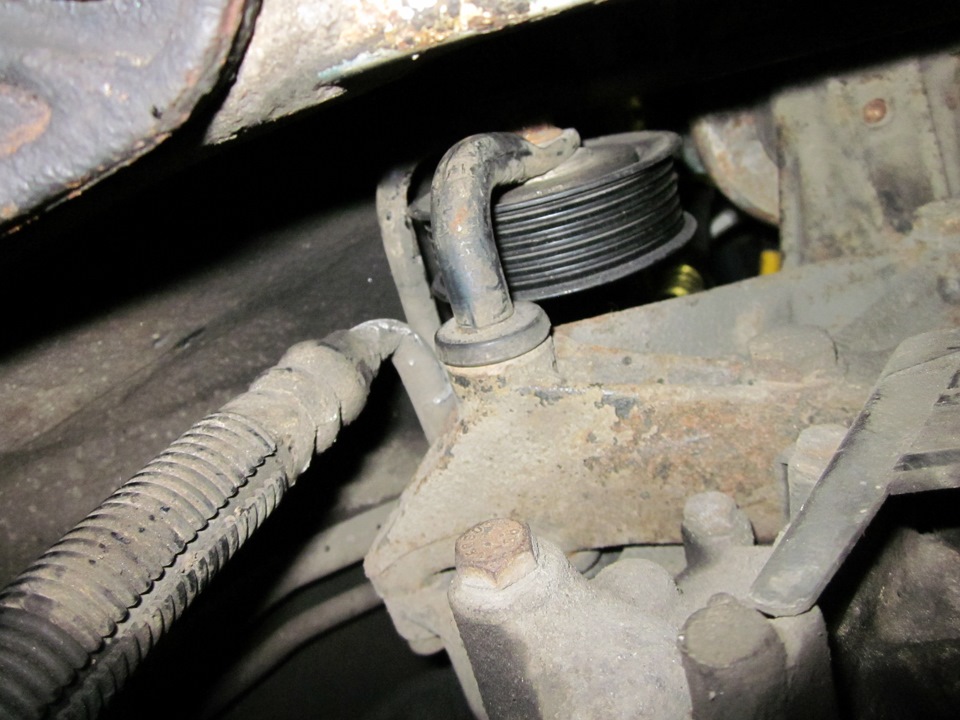
7. Completely remove the accessory drive belt and remove it from the engine compartment.
Note:
If the accessory drive belt is to be reinstalled, keep it in its original direction of motion. To do this, before removing, apply a marker arrow on the belt, showing the direction of its movement. The engine crankshaft rotates when viewed from the belt side to the right (clockwise). When installing the belt, ensure that the arrow also points to the right. Installing the belt in the opposite direction will increase belt wear and may cause it to break.
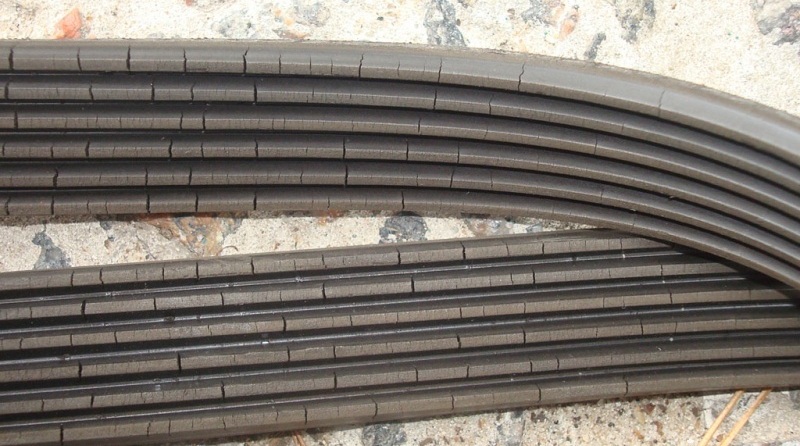
8. Check the condition of the removed belt for cracks and damage, separation of the cover layer or strands, fringes of the straps or side surfaces, traces of oil and grease.
Note:
If the above damage is present, the accessory drive belt must be replaced.
9. Remove the bolt securing the power steering return hose bracket.
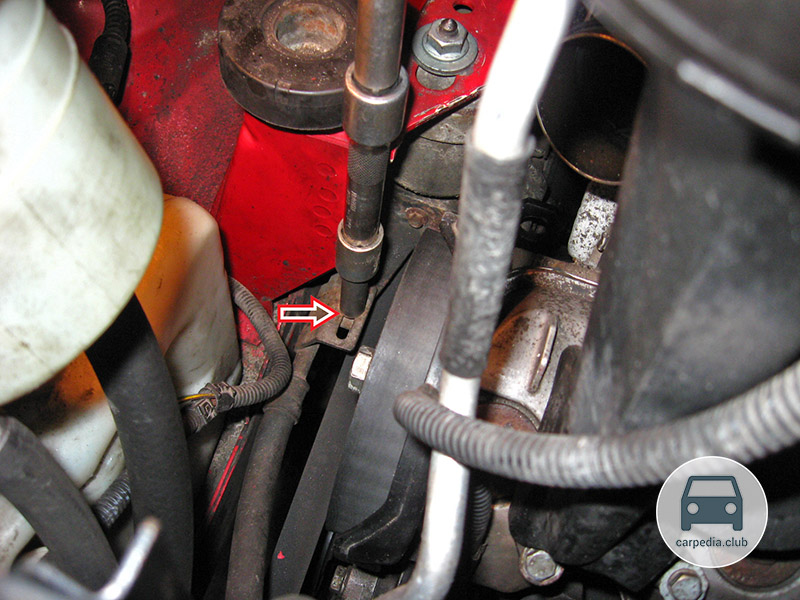
10. Using a screwdriver, remove the accessory drive belt bypass roller cover and remove the bolt securing it.
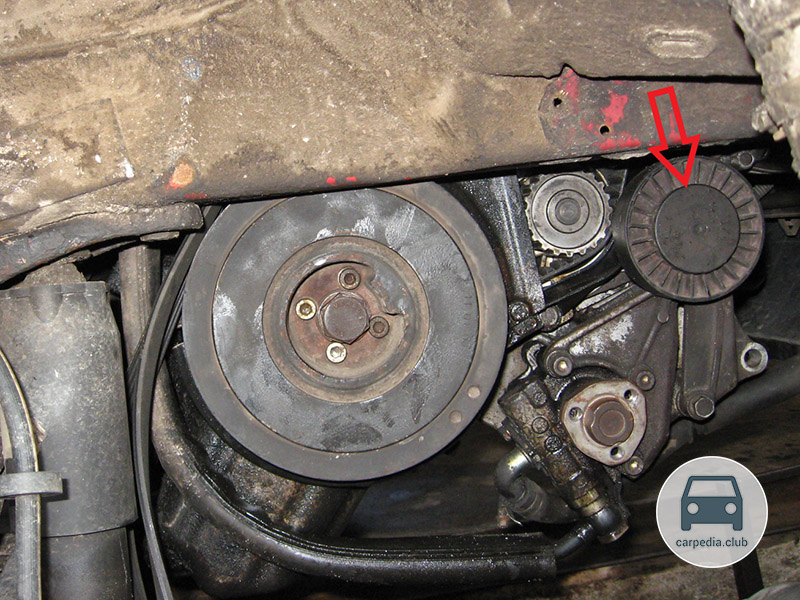
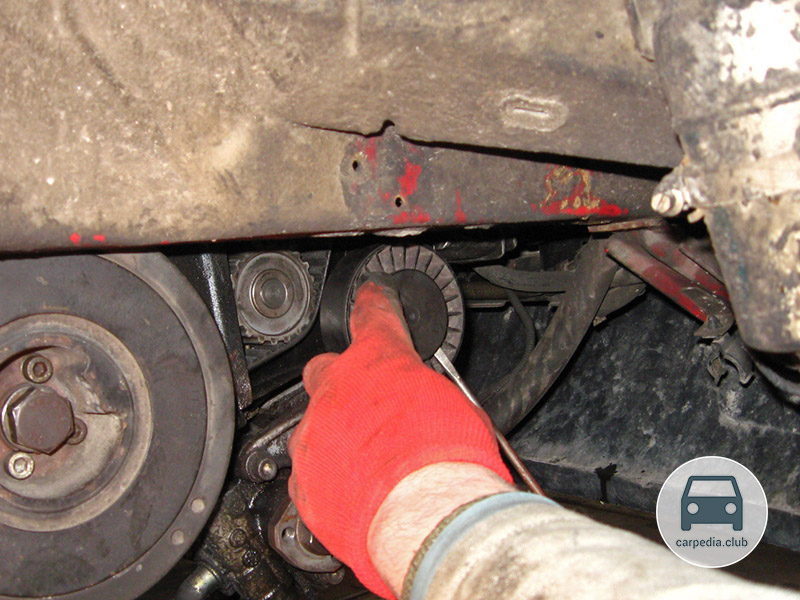
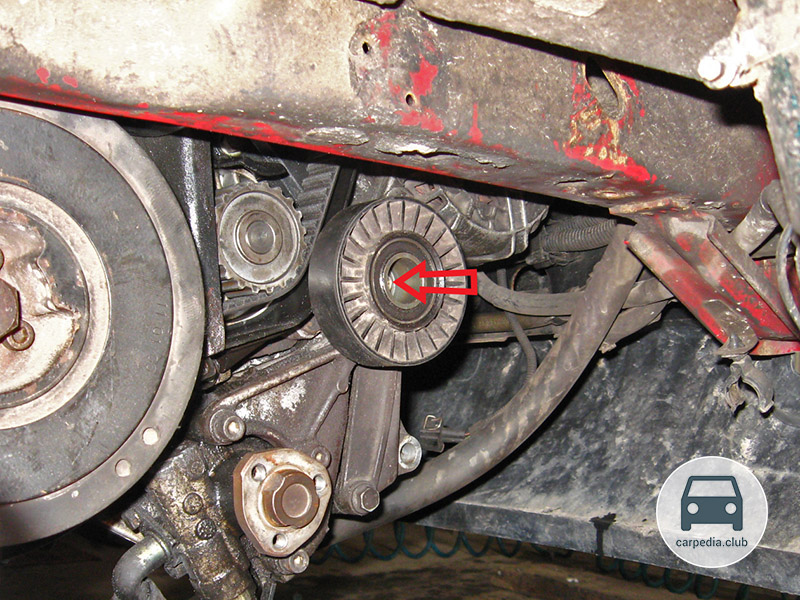
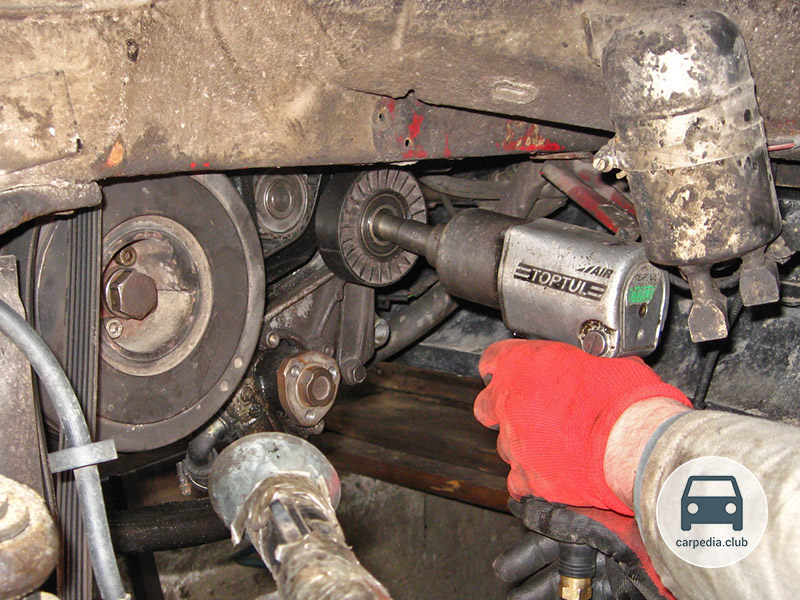
11. Remove the accessory drive belt idler and check for wear.
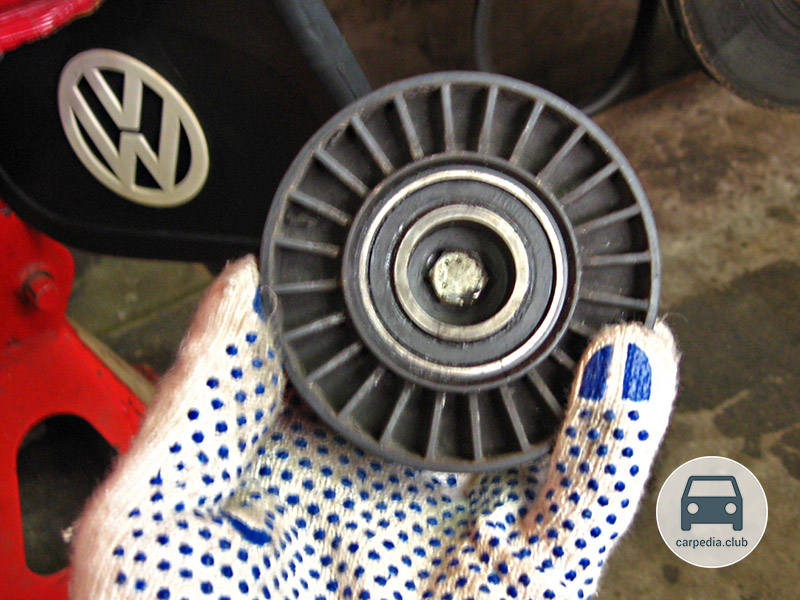
Note:
If there is noticeable play in the bearing, replace the roller.
12. Unscrew the bolt securing the upper bypass roller of the drive belt of the auxiliary engine units and remove it (for clarity, shown with the crankshaft pulley removed).
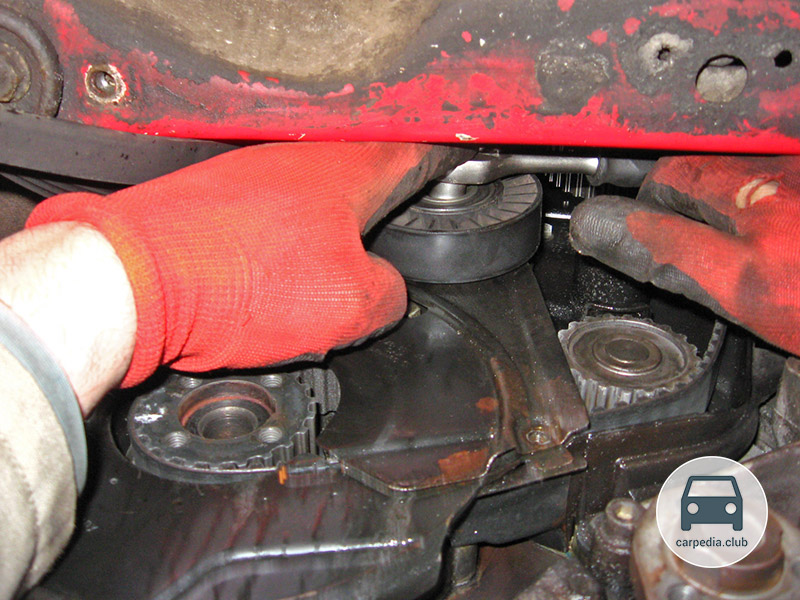
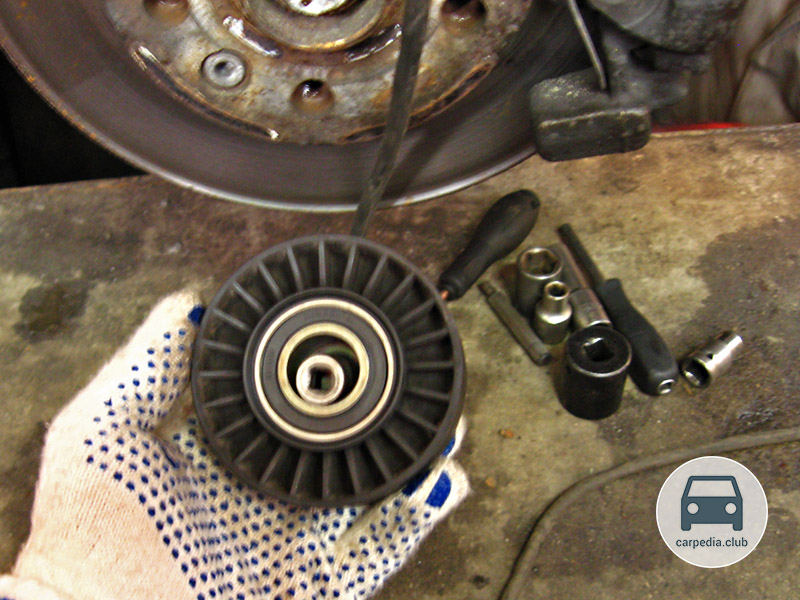
Note:
If there is noticeable play in the bearing, replace the roller.
13. Release the latches and remove the upper casing of the timing belt.
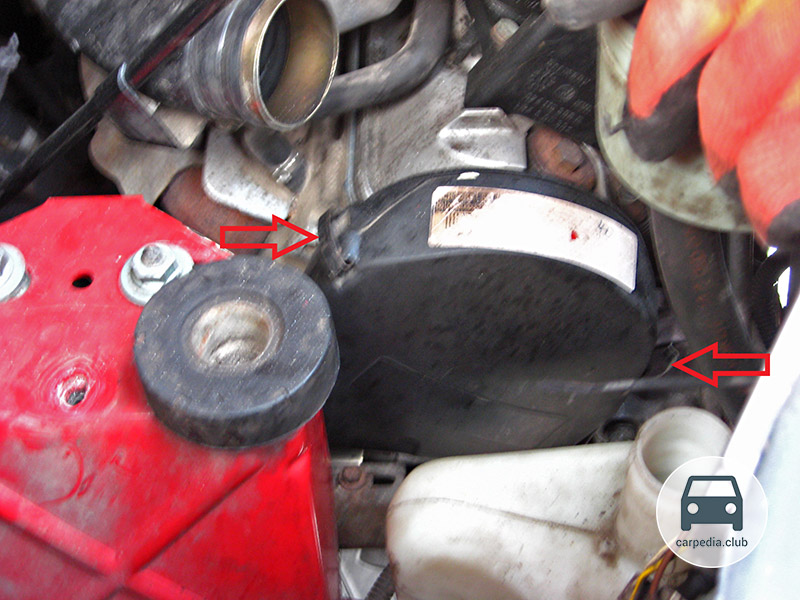
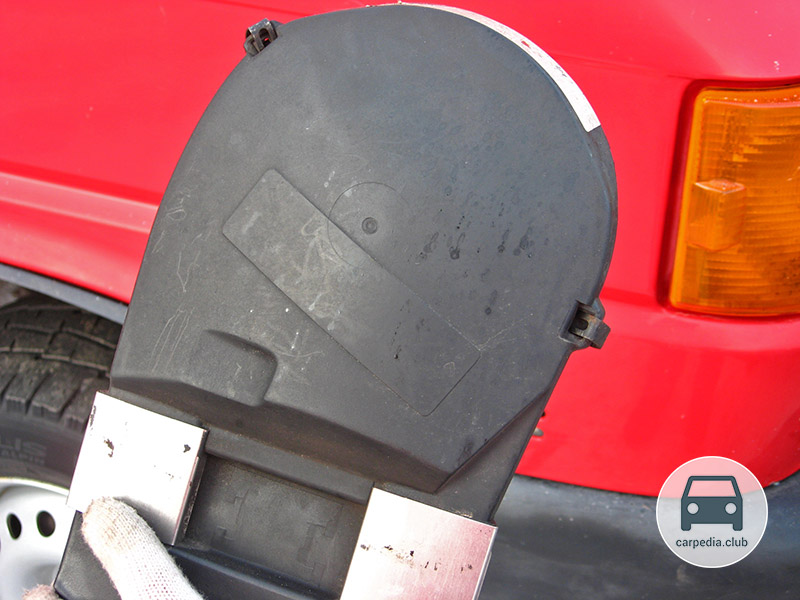
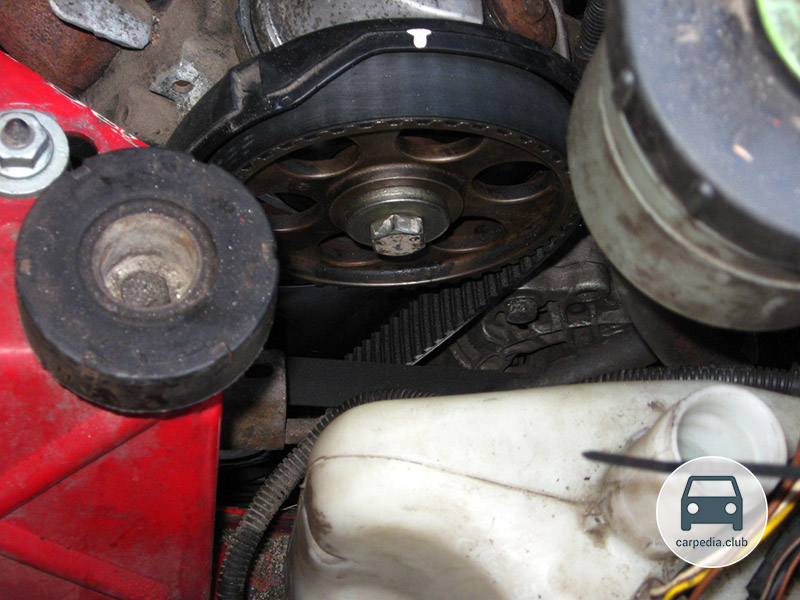
14. Check the condition of the timing belt by its appearance. To do this, slowly turn the crankshaft clockwise by the central bolt of the accessory drive pulley.
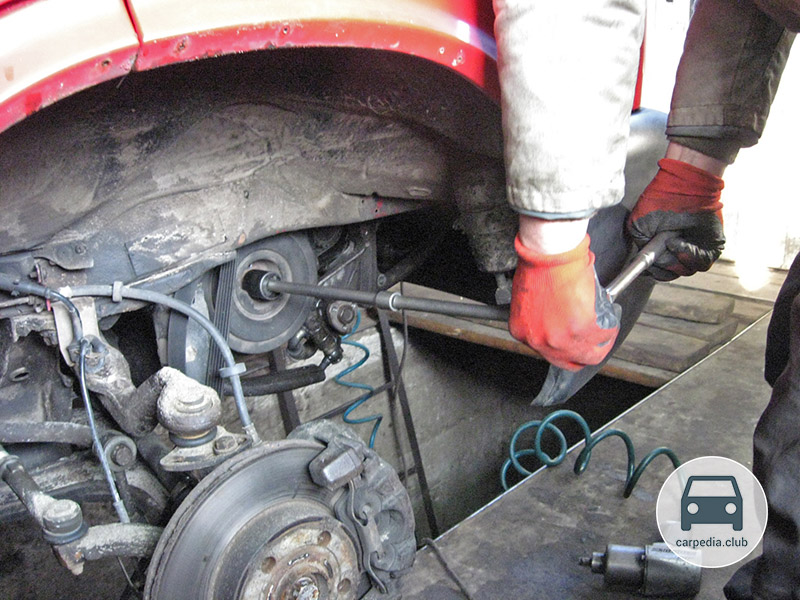
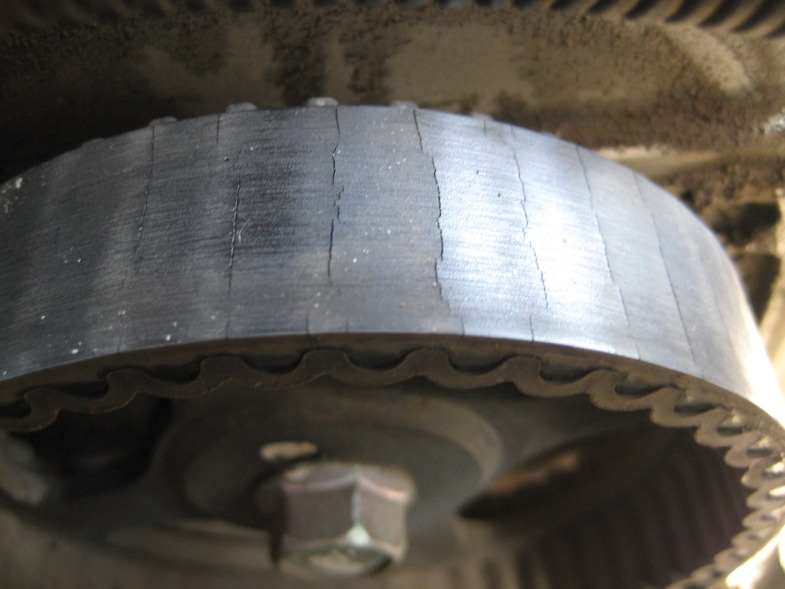
Note:
Immediate replacement of the T4 timing belt is necessary if there are cracks on the outer surface of the belt, fringe, side wear or cracks at the base of the teeth.
15. Remove the three bolts and remove the upper part of the lower timing belt guard.
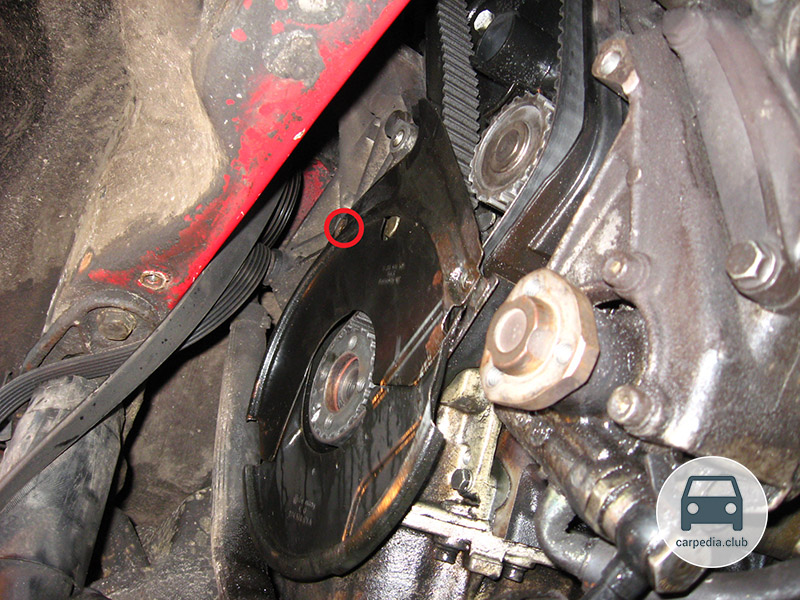
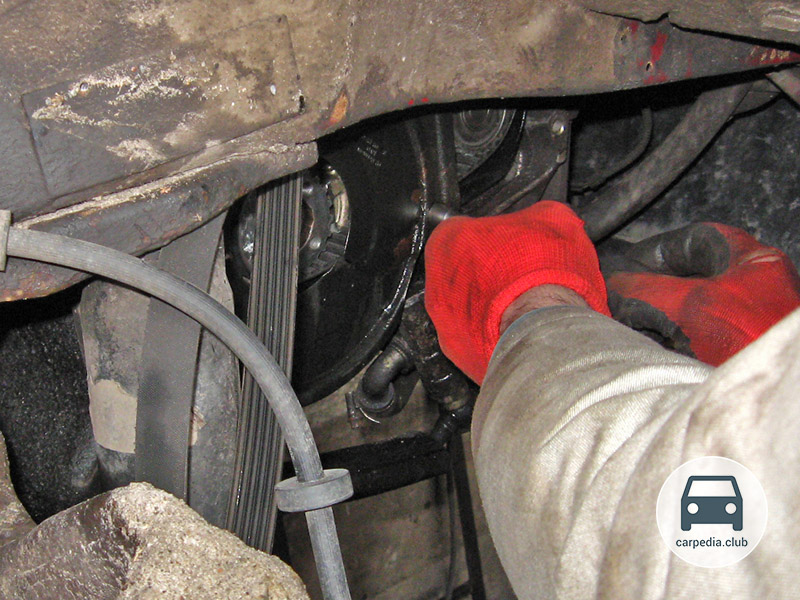
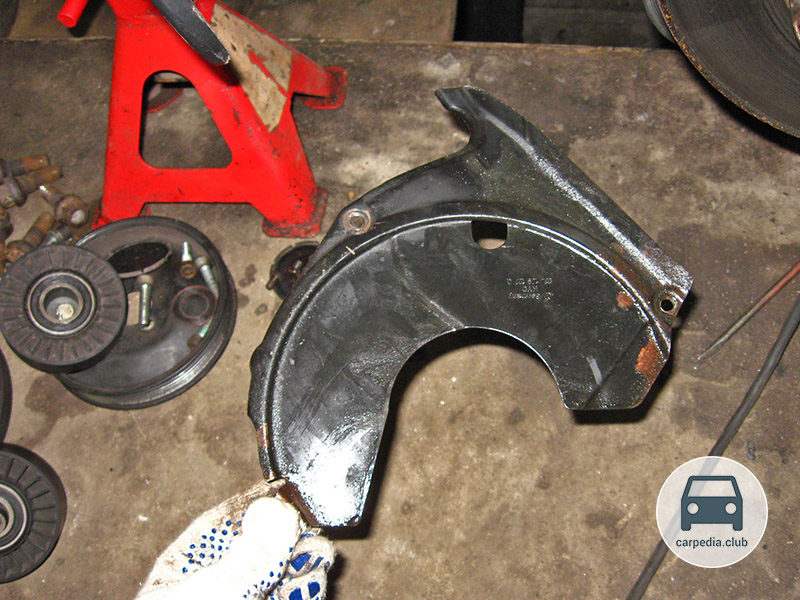
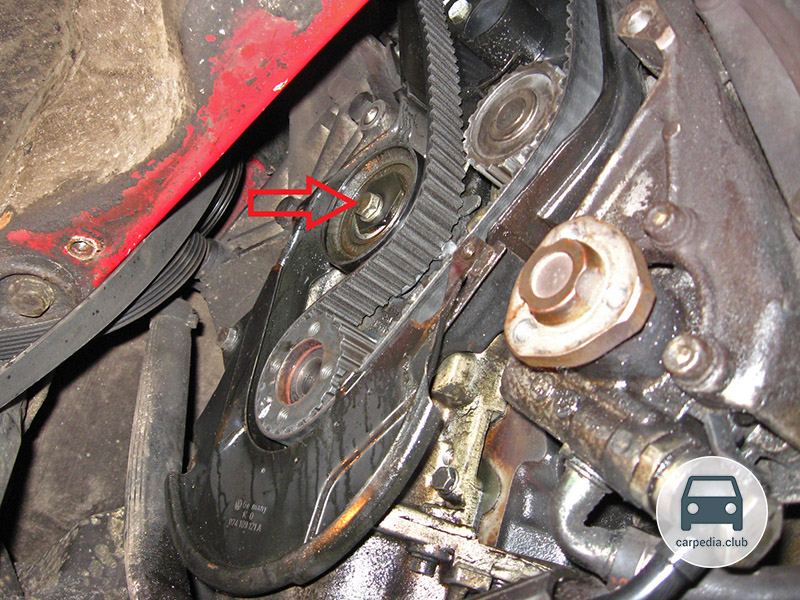
16. When servicing, it is also necessary to check the timing belt tension. To do this, check the coincidence of marks 1 and 2 (see the first photo below) on the tension roller of the timing belt.
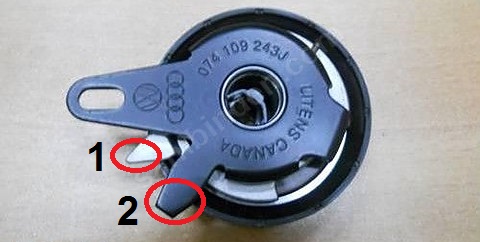
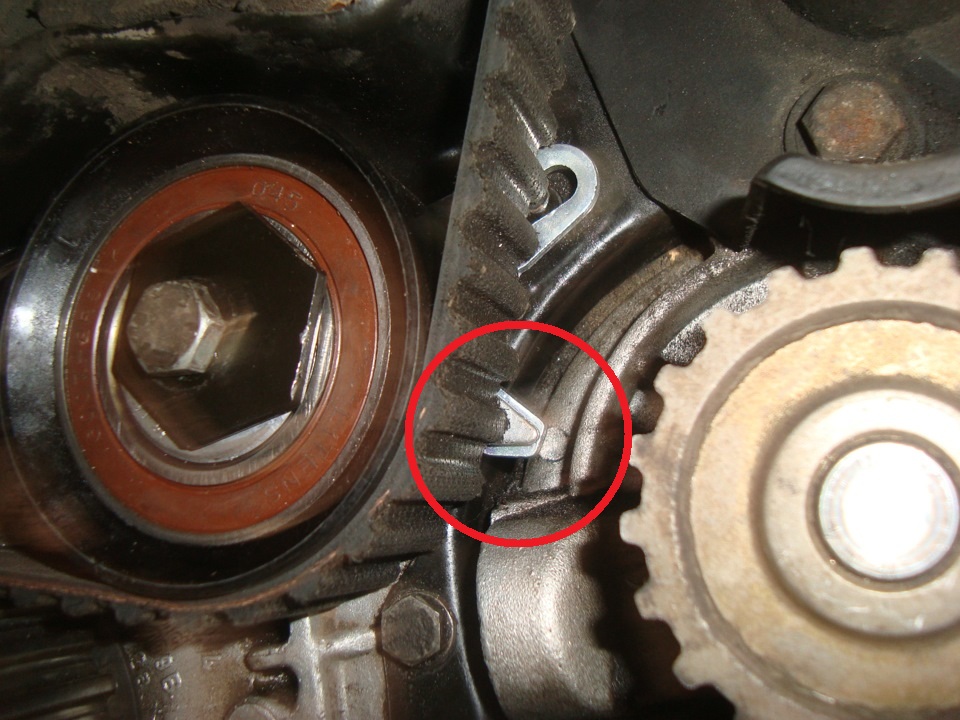
17. If the marks do not match, it is necessary to adjust the device, as incorrect tension accelerates the wear of the timing belt. Using a 13 mm head, loosen the tension roller mounting bolt.
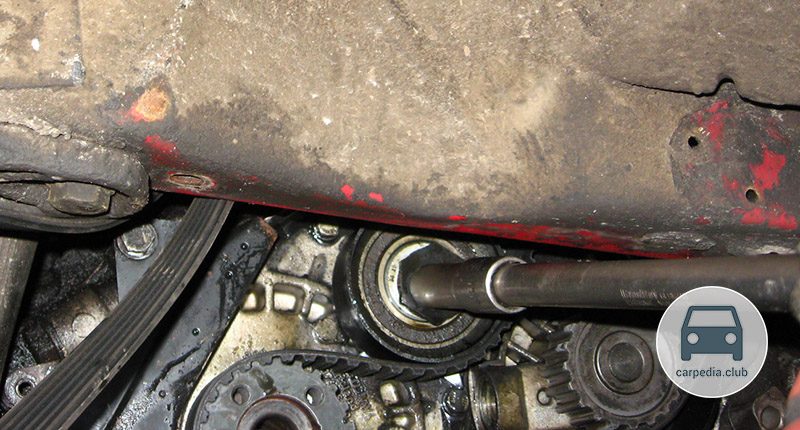
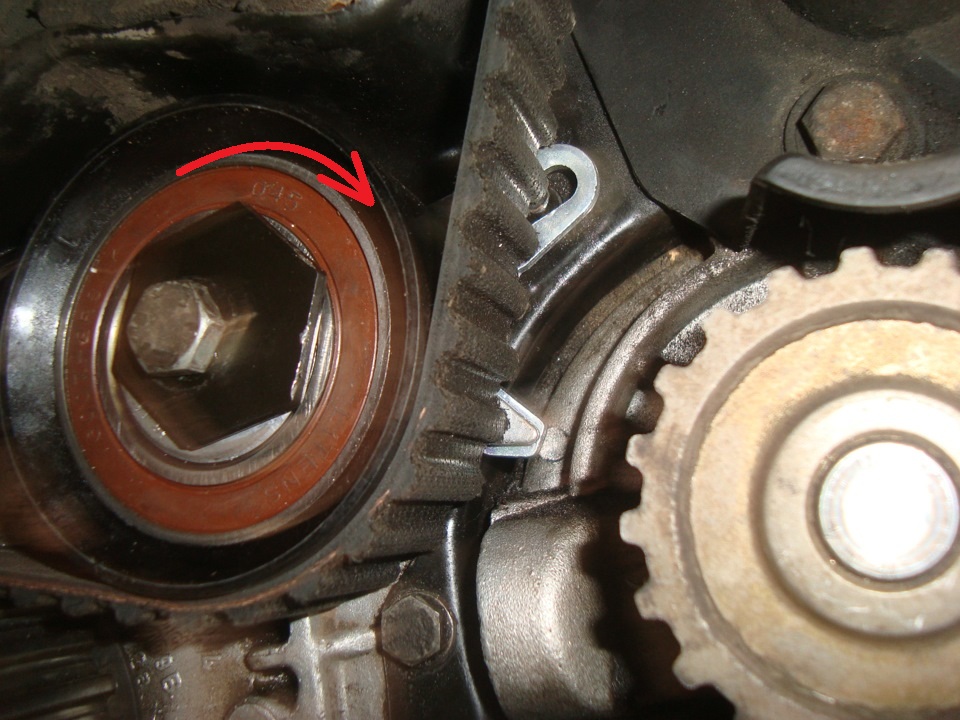
18. Using the VW-3355 ring wrench (or 32 mm wrench), turn the Volkswagen T4 timing tensioner in a clockwise direction so that the right edge of pointer 1 coincides with the right edge of pointer 2 (see photo p. 17).
Note:
The right edge of the pointer 1 must not go beyond the right edge of the pointer 2, otherwise the tension roller will be damaged. If, however, this happens, the tensioner roller should be completely unloaded and then reloaded, since just turning the tension roller eccentric in the opposite direction is not enough.
19. Tighten the tension roller mounting bolt to 20 Nm.
20. If, after checking the timing drive (paragraphs 14-17) or by the value of the vehicle mileage, it is decided to replace the timing belt and / or tension roller, it is necessary to remove the accessory drive pulley from the crankshaft.
Note:
If the Volkswagen T4 timing belt is not removed for replacement, then apply the direction of rotation on it with a marker (the crankshaft rotates clockwise when looking at the engine from the side of the belts). Reversing the timing belt may break and severely damage the engine.
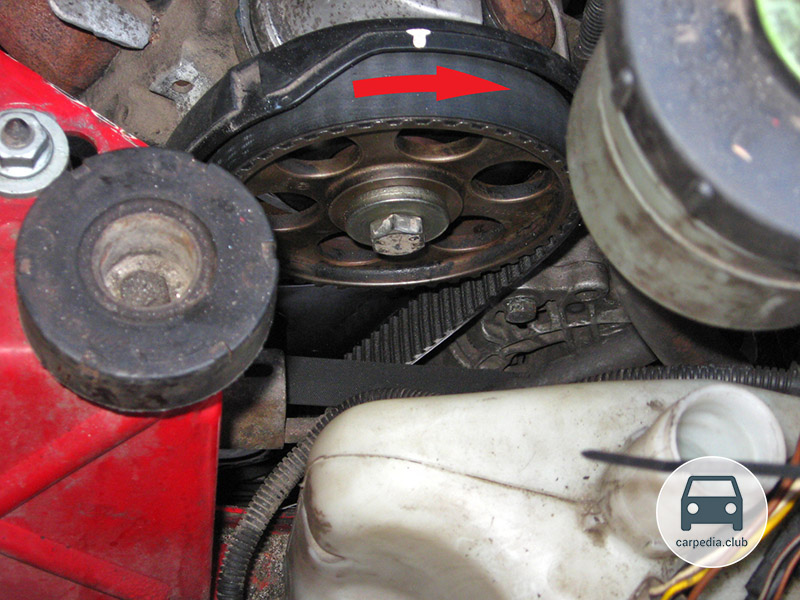
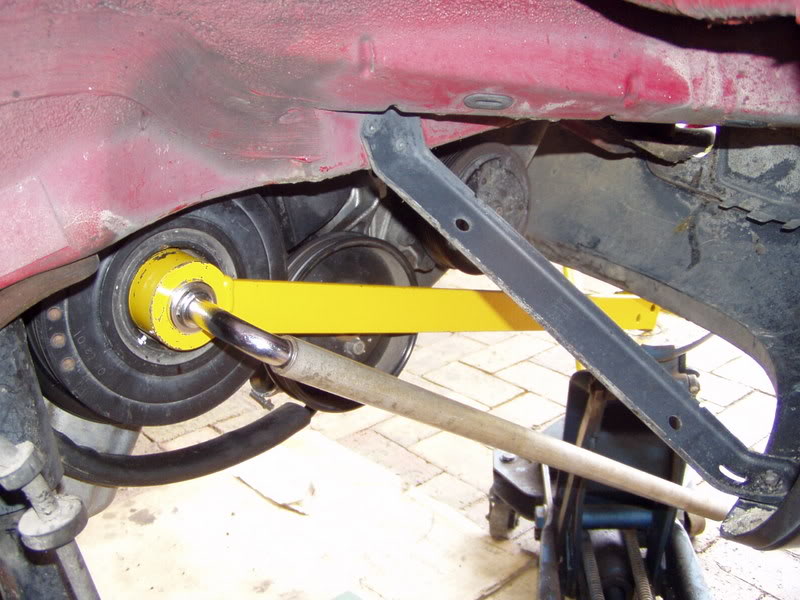
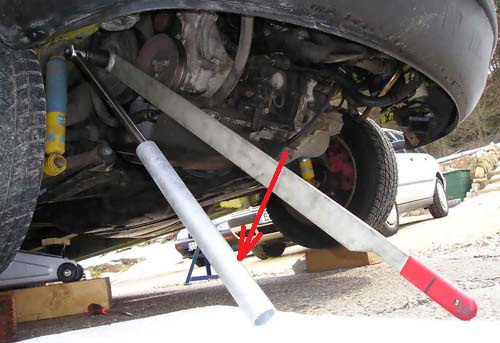
21. Before removing the crankshaft pulley, activate the handbrake and securely fix this pulley against rotation using the VW-T10025 special tool. Loosen the central bolt securing the accessory drive pulley to the crankshaft with a 27 mm extension, using a special tool to fix the crankshaft pulley.
Note:
You may need to use an extra tube-like shoulder on the collar.
22. Remove the plug on the clutch cover (the location of the plug installation site is shown on the removed gearbox).
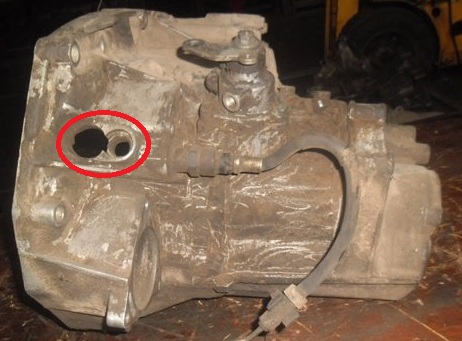
23. For the crankshaft pulley mounting bolt (in point 22 it was only released approximately one turn) turn the crankshaft clockwise until the mark on the camshaft gear matches the mark on the rear protective screen of the engine timing belt.
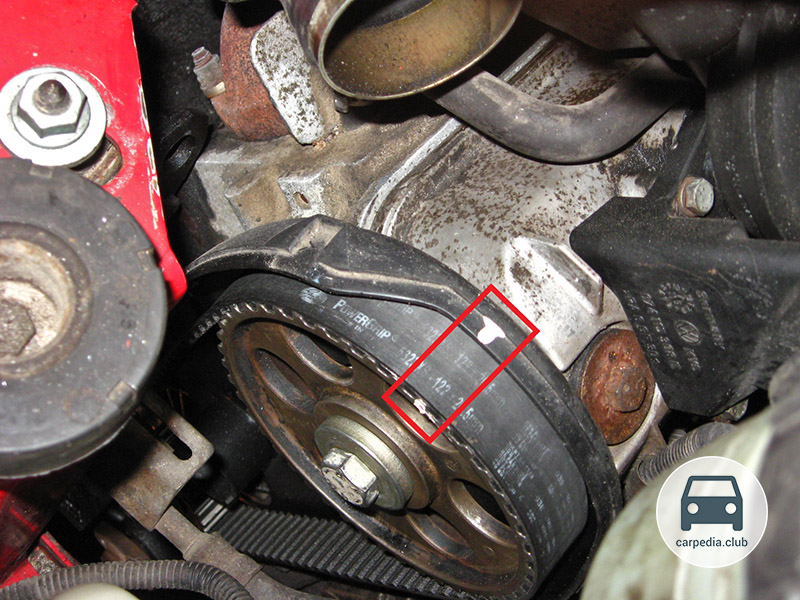
Note:
In this case, the mark on the flywheel should also be located opposite the alignment mark. If necessary, turn the engine crankshaft accordingly.
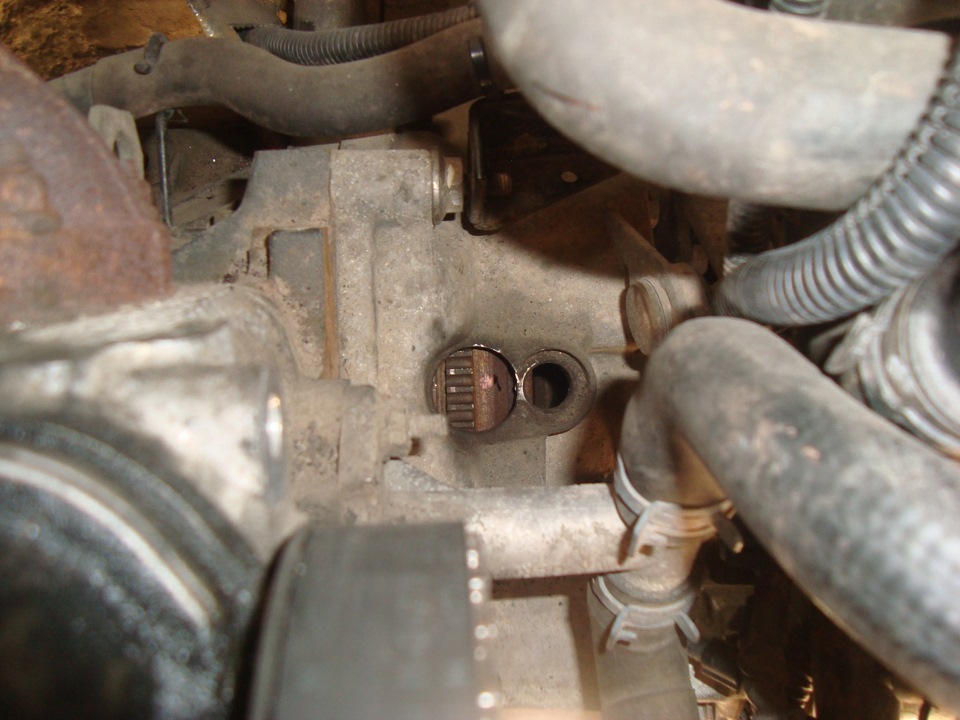
If the marks coincide in both places, then the crankshaft is in the position corresponding to TDC for cylinder # 1.
24. Unscrew the complete center bolt of the crankshaft pulley using the same tools as in step 14 and remove it.
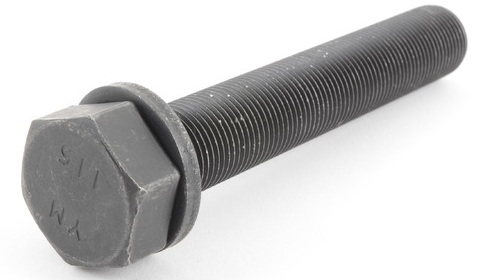
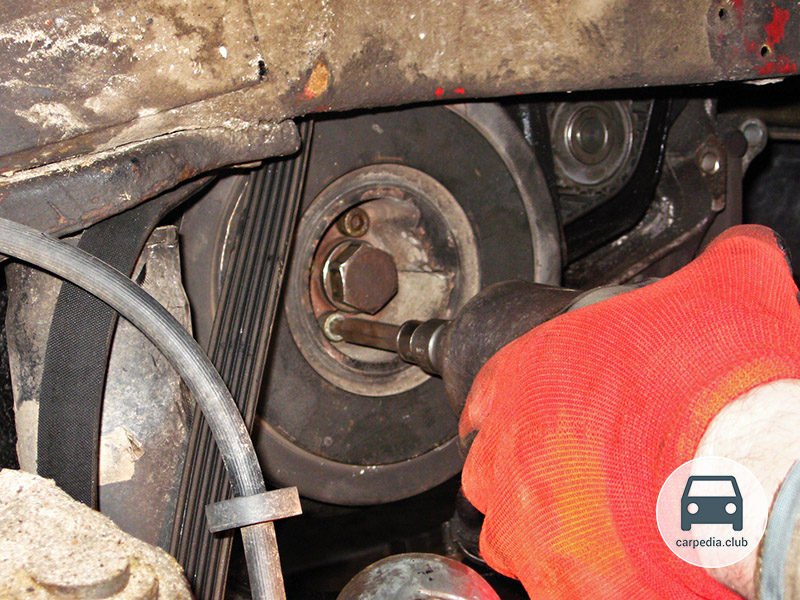
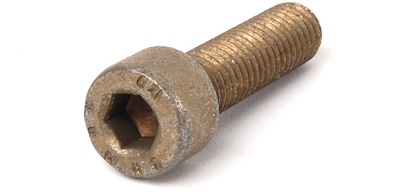
25. Remove the two diametrically located M8 bolts securing the crankshaft pulley to the toothed pulley. Loosen the two remaining mounting bolts, loosen the crankshaft pulley seat with light hammer blows on the bolt heads, and then unscrew the bolts.
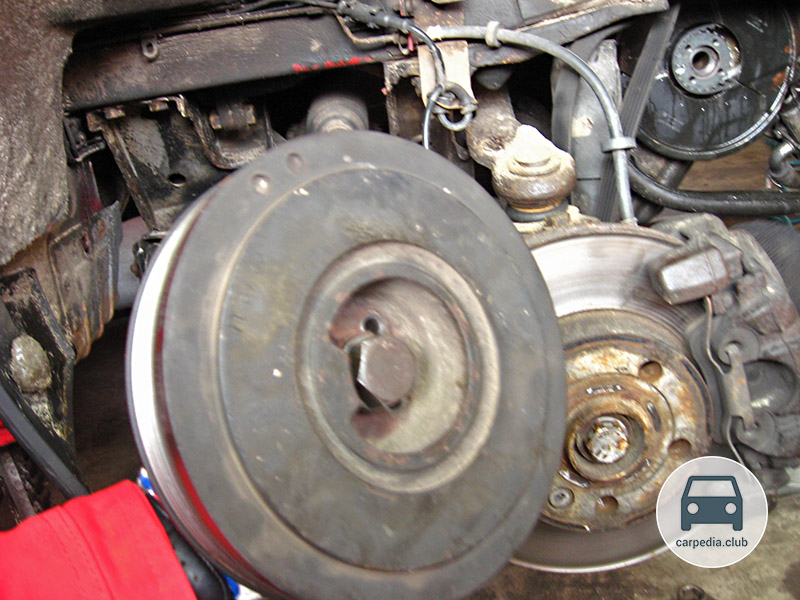
26. Remove the accessory drive pulley from the crankshaft.
27. Loosen the tension roller locking bolt and turn the roller to the left to loosen the timing belt tension (see photo p.18-19) and remove it.
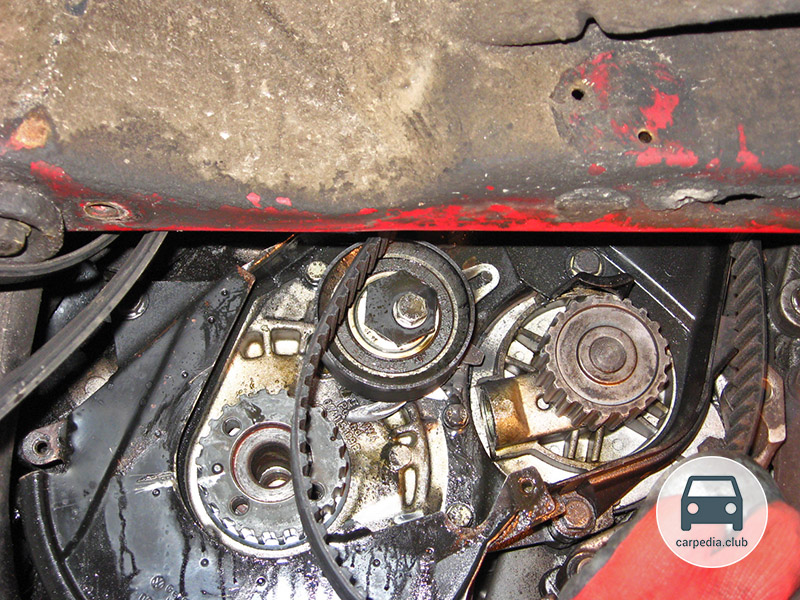
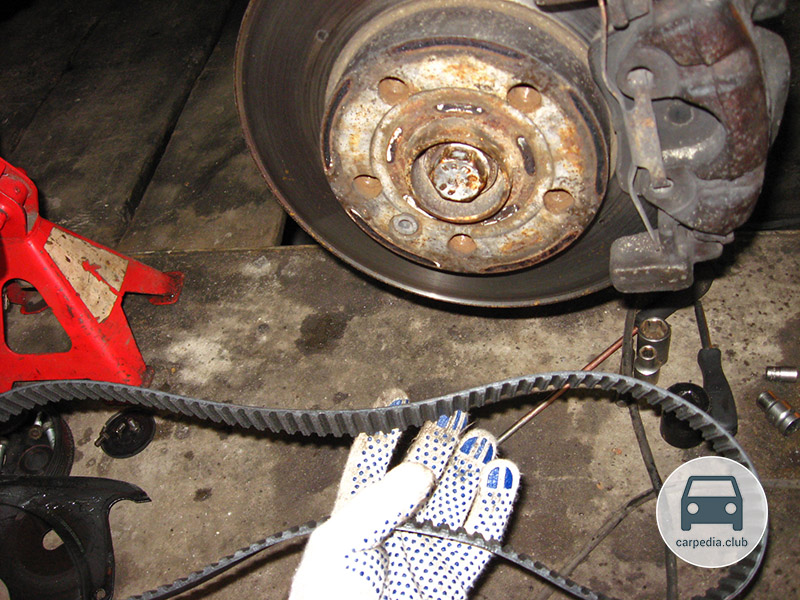
Note:
Do not bend the toothed belt. A belt that has been bent at least once must always be replaced, since later during operation it can break off, which will lead to severe engine damage.
28. Unscrew completely the tension roller mounting bolt and remove it.
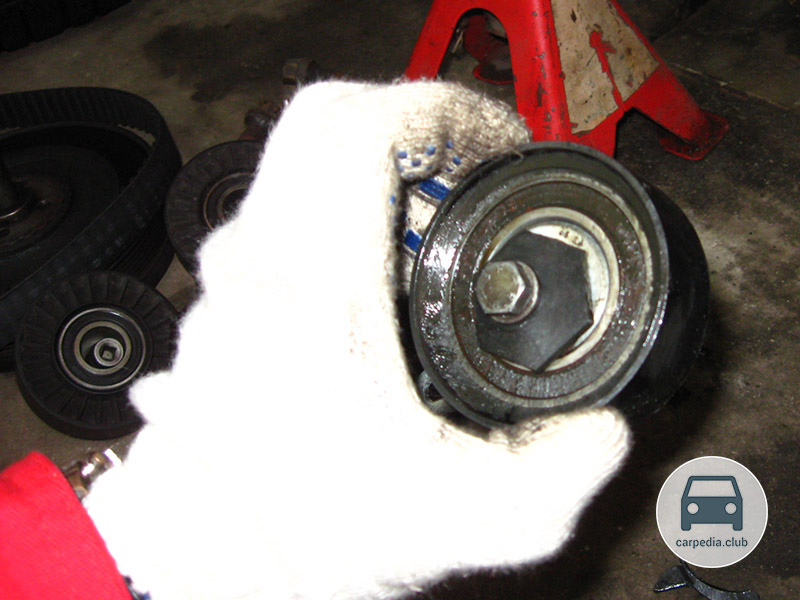
Note:
If any play is detected, the roller must be replaced. If the belt is replaced in a routine mode (after 120 thousand km), then replace the tension roller regardless of its condition.
29. Take this opportunity to remove the timing belt pulley and check its condition for wear or damage.
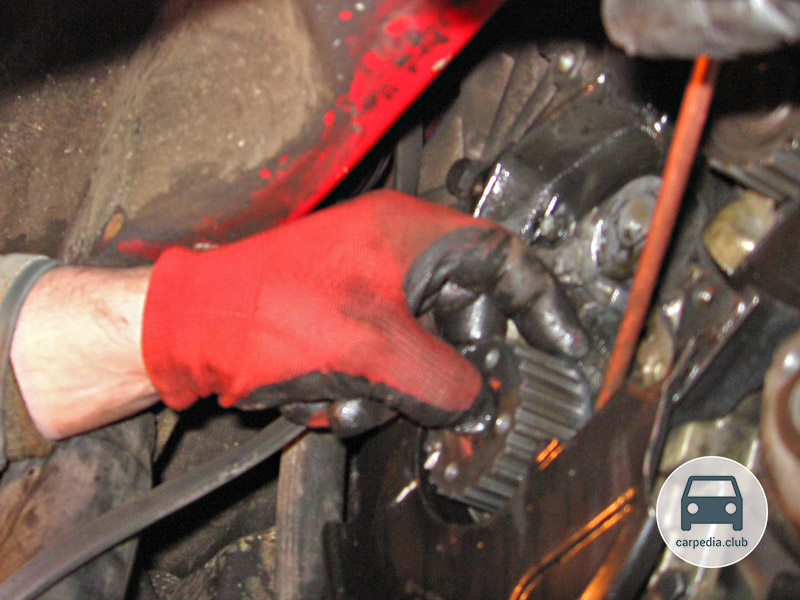
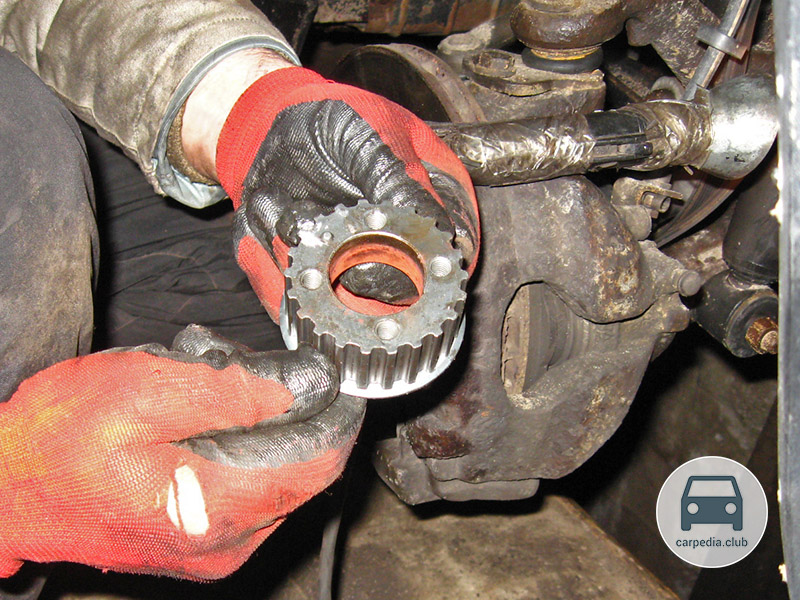
Note:
Replace the timing belt pulley if necessary.
Installing the timing belt
Note:
Install the timing belt in reverse order.
1. Check the coincidence of the timing marks of the piston of the 1st cylinder at TDC.
2. Install the timing belt tension roller so that its bar sits on the pin of the lower protective shield, which prevents it from turning.
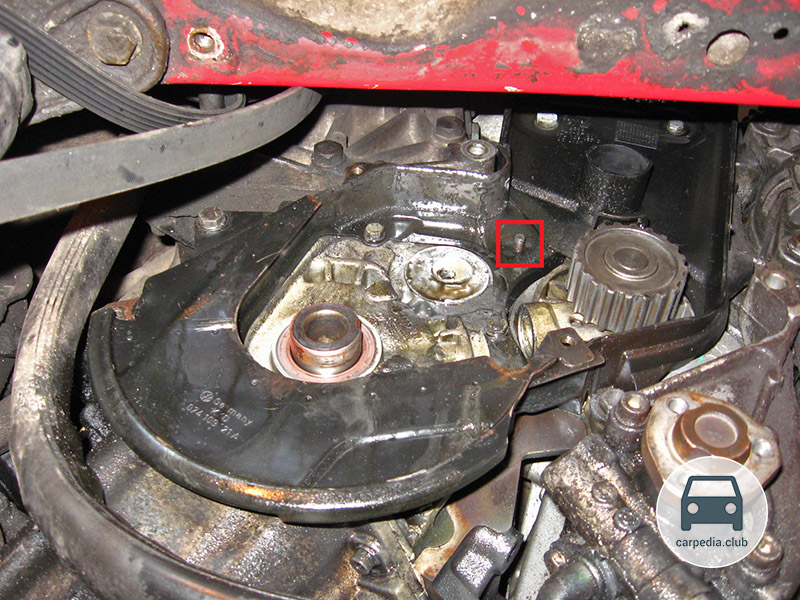
3. Install the timing belt on the pulleys and tension the belt using the idler pulley as described in paragraphs 18-20 above.
4. Install the upper part of the lower timing belt guard as described in point 16 above. Tighten the bolts of its fastening to a torque of 10 Nm.
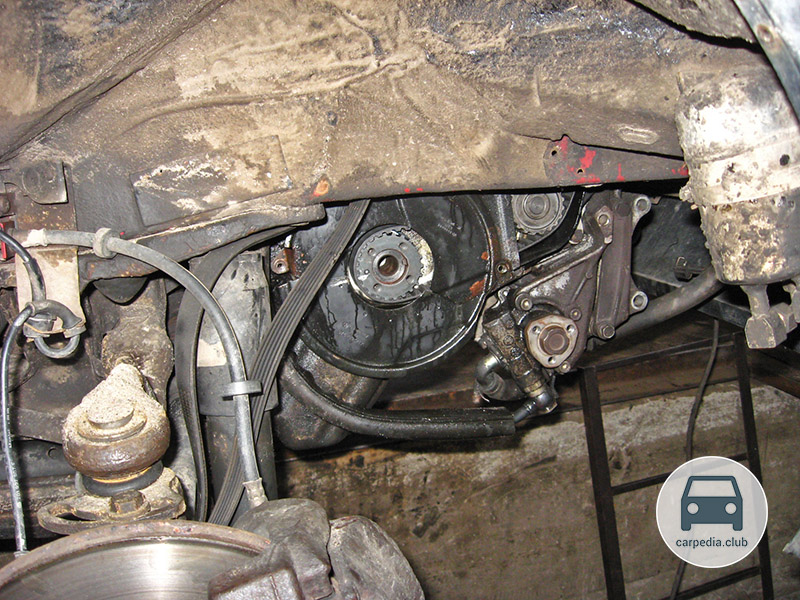
5. Screw in 4 bolts of fastening of crankshaft pulleys and tighten them to the moment 20 N · m. Finally, tighten them 1/4 turn (90°).
6. Install a new central bolt of the accessory drive pulley and tighten it to a torque of 160 Nm. Then turn it 1/2 turn (180°).
7. Turn the crankshaft 2 turns clockwise and set it back to TDC position of the 1st cylinder piston. Check the tension of the timing belt and, if necessary, adjust it (paragraphs 17-19).
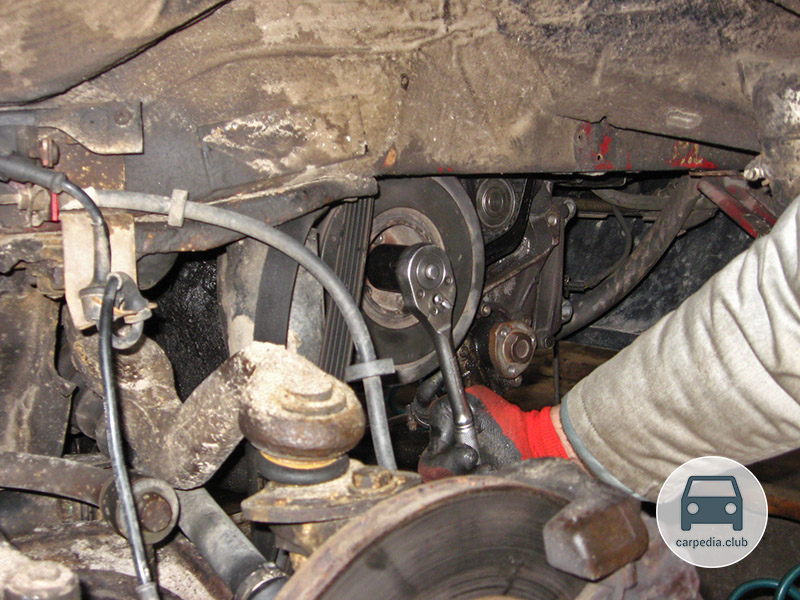
8. Install the upper casing of the timing belt, rollers and the accessory drive belt, as well as the rest of the removed parts in the reverse order to removal.
The article is missing:
- Photo of the instrument
- Photos of parts and consumables
Source: carpedia.club
![T4 [1990 - 2003]](/uploads/Volkswagen_Transporter_IV_T4_1990_-_2003_.jpg)