![B6 [2005 - 2010]](/uploads/Volkswagen_Passat_B6_2005_-_2010_.jpg)
Tool:
- Rolling jack
- Car support
- Balloon wrench
- Big hammer
- Spring tie
- Socket spanner tubular 12 mm
- Wrench attachment 12 mm
- Wrench attachment 10 mm
- 3/4 "end bit
- Chisel or turned M10 bolt
- Bulgarian (if necessary)
- Vise
- 7mm hexagon wrench
- Curved box spanner 14 mm
- Aerosol grease type WD-40
Parts and consumables:
- Front shock absorber (VAG 3C0413031 .. / JZW413031)
- The upper support of the front shock absorber (VAG 1K0412331B)
- Support bearing (VAG 6N0412249C)
- Boot (cover) shock absorber (VAG 6N0413175A)
- Release buffer (VAG 3C0412303C / 1K0412303F / 1K0412303H / 1K0412303B)
- Front shock absorber spring (VAG 3C0411105 .. ) (replacement if necessary)
Notes:
When replacing the shock absorber, it is also recommended to change the upper supports, slewing bearings and anthers with bumpers. It is better to replace shock absorbers in pairs on the same axis.
The coding of most of the replacement parts in this article carries the main unchanged part and the last 1-2 letter characters (marked with two dots in the "Parts and Consumables" section), which indicate an additional parameter that must be selected according to the operating conditions and personal preferences of the stiffness / handling / comfort.
To replace the shock absorber, you must first remove the entire strut assembly from the vehicle. How to do this is described in this article.
If everything is replaced completely, including the spring, then you can skip the steps on disassembling the removed old rack and go directly to step 7.
Replacing the shock absorber and all parts of the front strut Volkswagen Passat
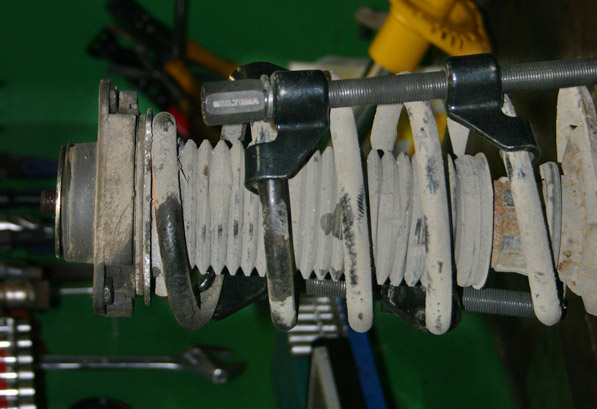
1. Clamp the removed post in a vice. We take into account the fact that the spring was pulled together during the process of dismantling the rack. If not, tighten the spring with a tie.
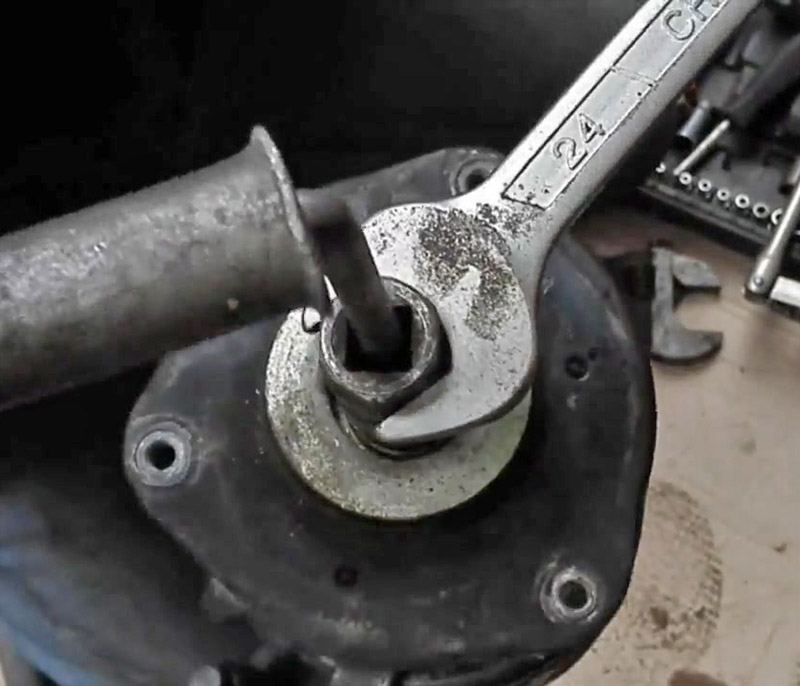
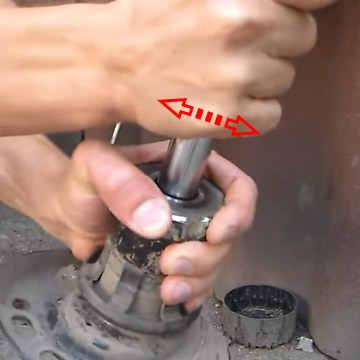
2. Unscrew the center nut. To do this, insert into its center and hold the hexagon (you can lengthen it with some kind of nozzle for convenience). Unscrew the nut with a spanner or open-end wrench 14.
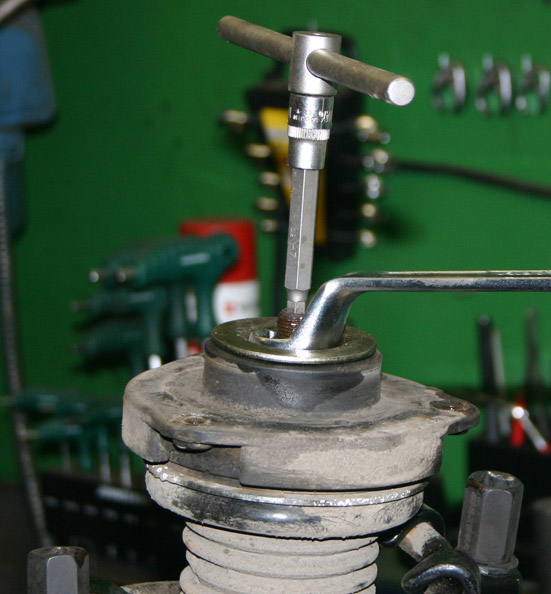
Note:
If the central nut is "stuck" and it is impossible to unscrew it immediately, then you need to treat it first with an aerosol lubricant such as WD-40 and wait a little. After that, you can put the head on the nut, fix it with a hexagon from the nozzles and turn the head itself.
3. Remove the shock absorber support with the bumper.
4. Remove the support bearing.
5. Remove the spring from the shock absorber.
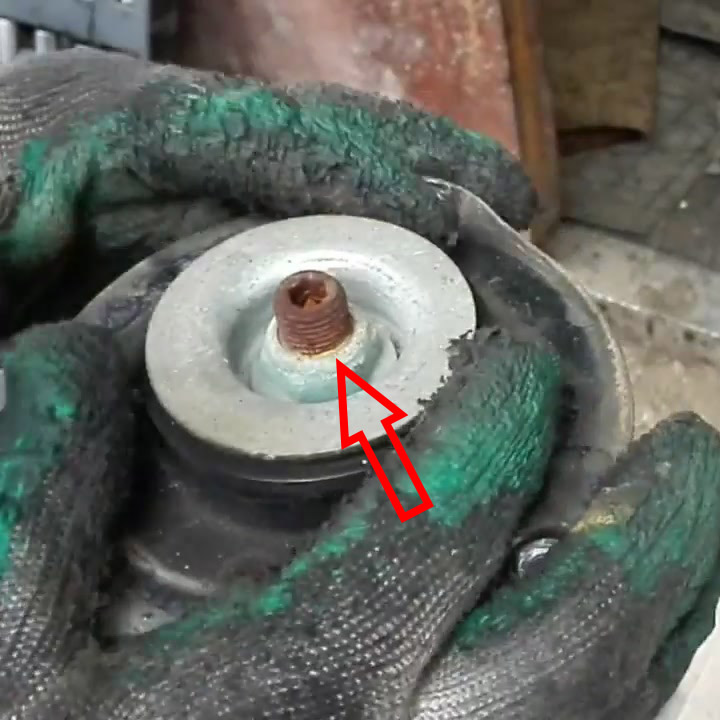
6. Take the old shock absorber and try to compress / uncompress its stem, and also jerk the stem laterally.
The shock absorber must be replaced if there are oil leaks on it, or its stem is easily compressed, expanded ("shoots") or backlash when moved to the sides. Also replace the remaining worn parts with new ones.
New shock absorber
7. Bleed the new shock several times by simply squeezing it into the ground and pushing with your weight, then releasing it to return to the unfolded position.
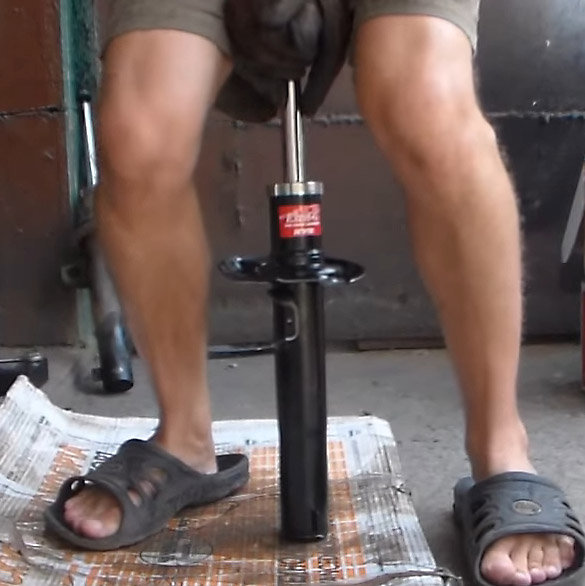
Note:
It is recommended not to lay down the shock absorber after this procedure, it must remain in an upright position, as it will be installed on the car.
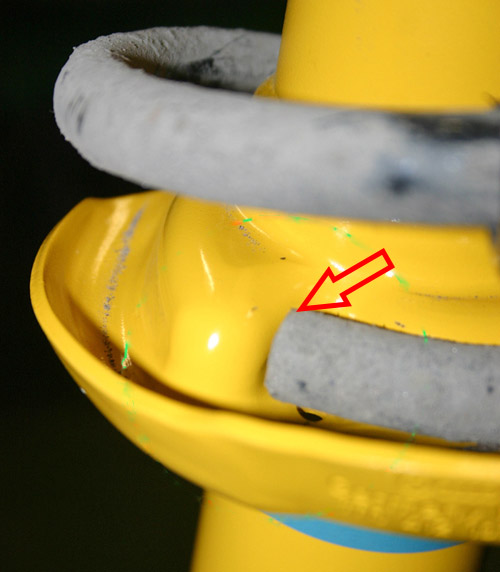
8. If a new spring is installed, compress it with a tie. Install the spring on the new shock absorber. Make sure that its lower part sits correctly on the shock absorber support cup and rests with the end against the projection on the shock absorber cup.
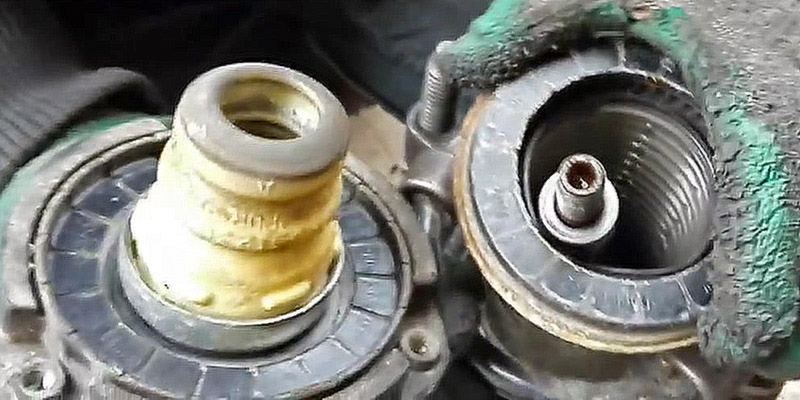
9. Connect the bearing to the boot and slide it over the shock absorber rod.
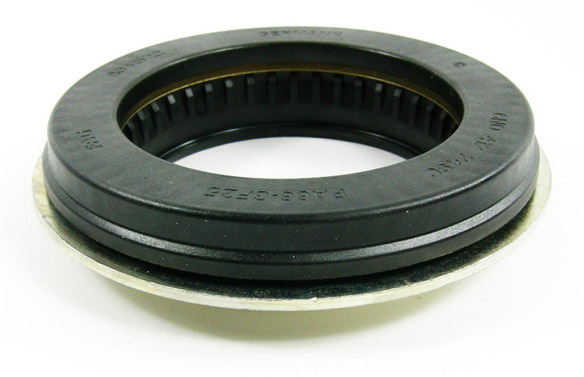
Shock absorber bearing
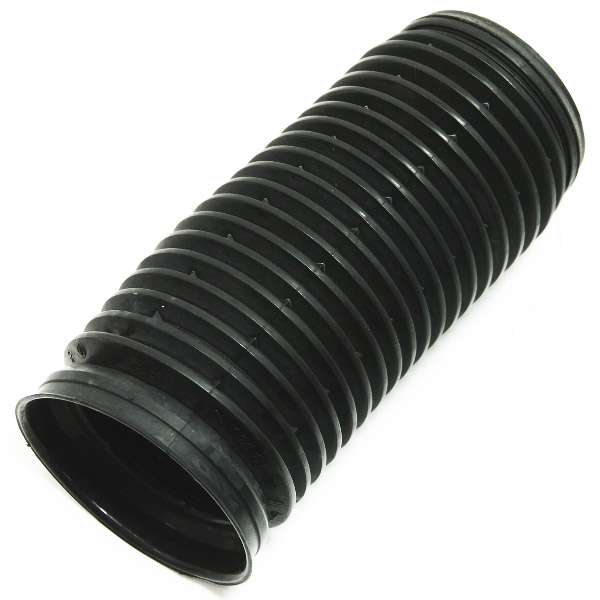
Shock absorber boot
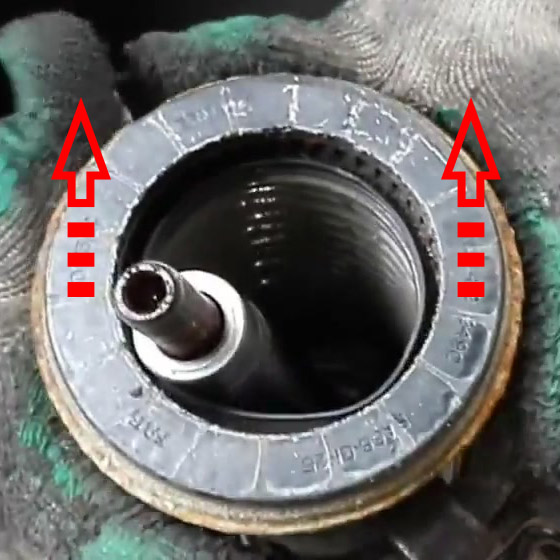
10. Put on the bumper with support and secure everything with the central nut.
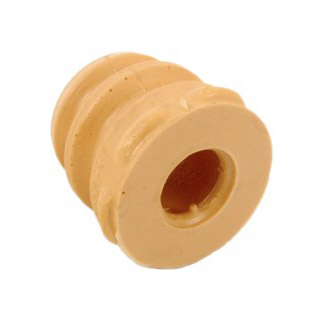
Shock absorber bump
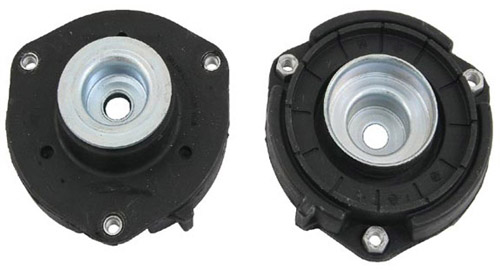
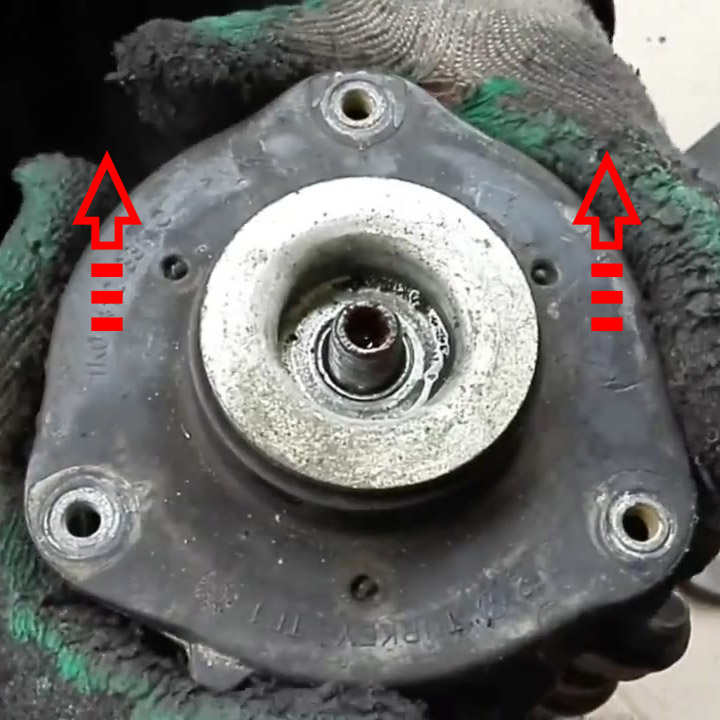
Upper shock absorber support
11. Install the assembled stand on the car in the reverse order of removal .
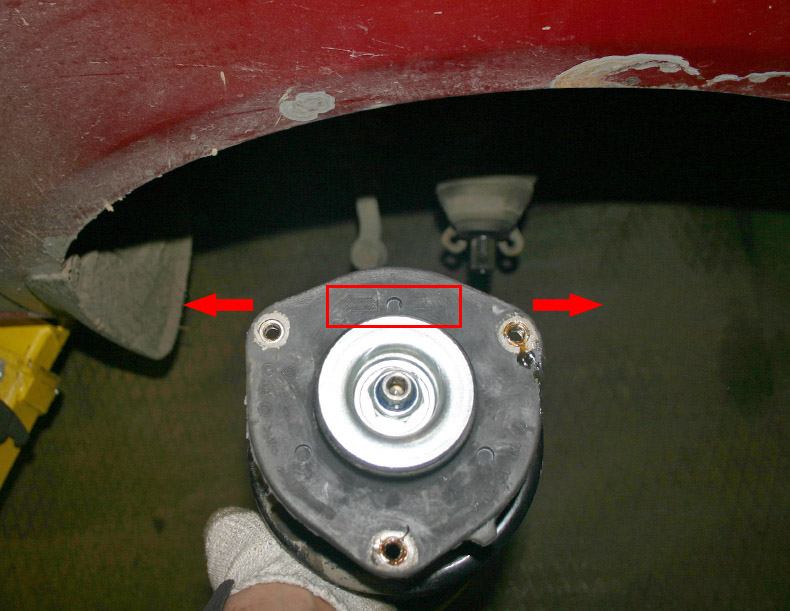
Note:
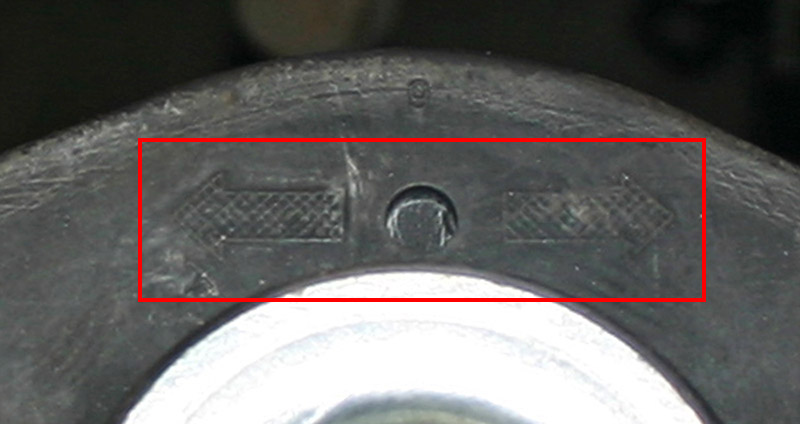
The upper support should be marked with arrows indicating how to install it correctly. The arrows must match the direction of travel of the vehicle.
The article is missing:
- Tool photo
- Photos of parts and consumables
- High-quality photos of repair
Source: carpedia.club