![2 generation [2000 - 2003]](/uploads/toyota-rav-4-ii-11109.jpg)
![3 generation [2005 - 2009]](/uploads/Toyota_RAV_4_-_2006_-_2009_.jpg)
![4 generation [2012 - 2015]](/uploads/Toyota_RAV_4_-_2012-2015_.jpg)

Tool:
- Set of plastic montages
- Small flat screwdriver
- Kartsangi
Parts and consumables:
- Sun visor main mounting cover
- Vibration isolation material
- Noise and heat insulating material
- Noise absorbing material
- Degreaser
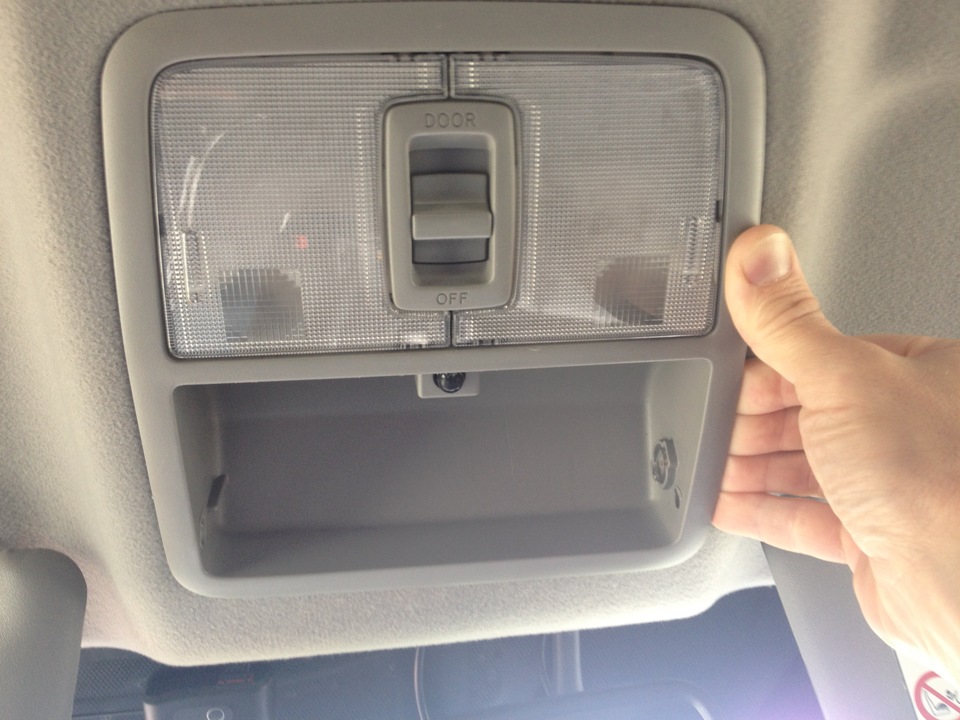
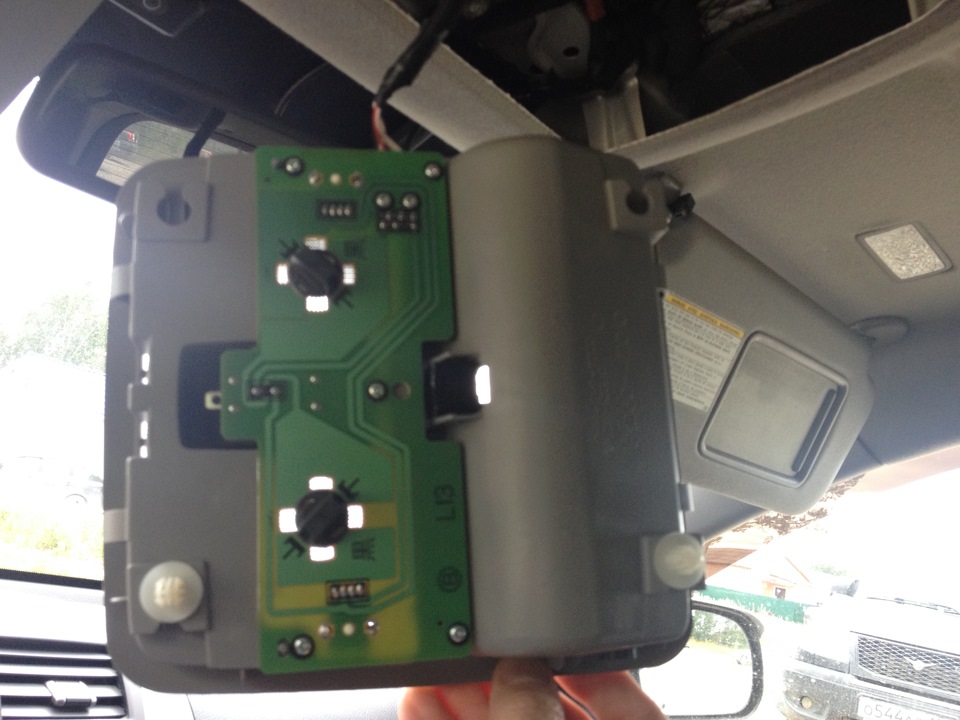
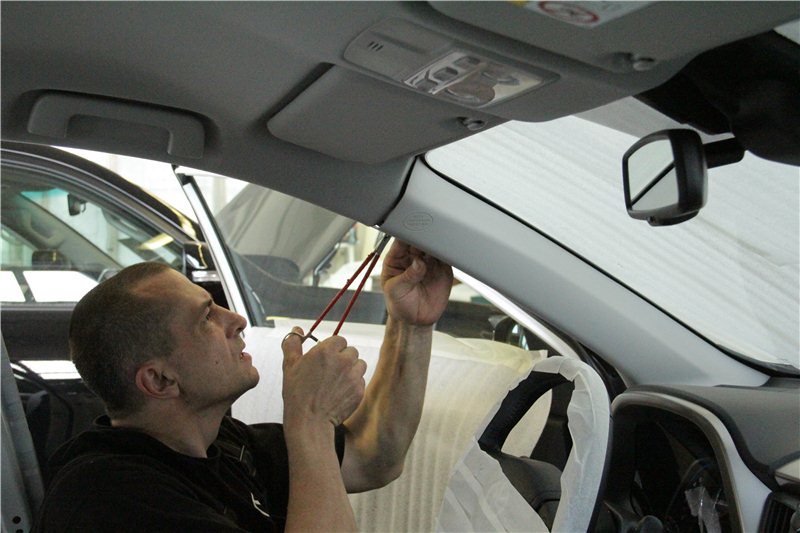
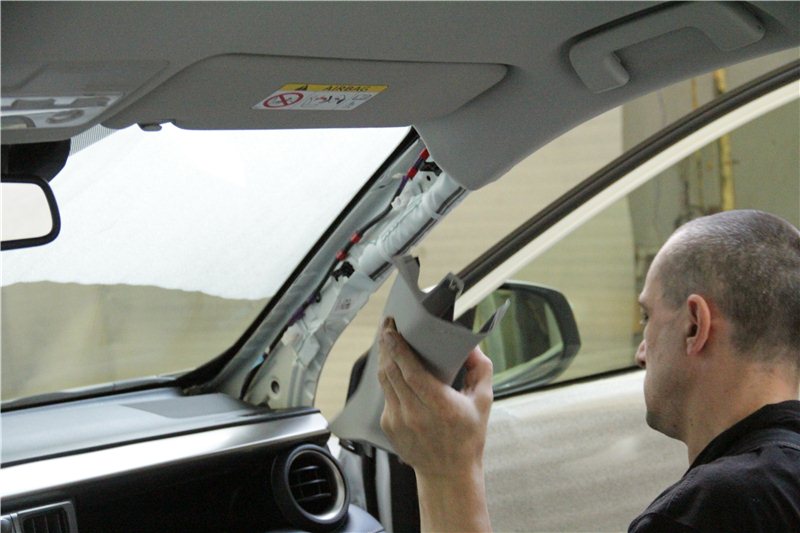
1. To dismantle the ceiling, first remove the front cover. The plafond is fixed with four caps. Therefore, pull your hands on the edges of the ceiling (as shown in the first photo) at the same time.
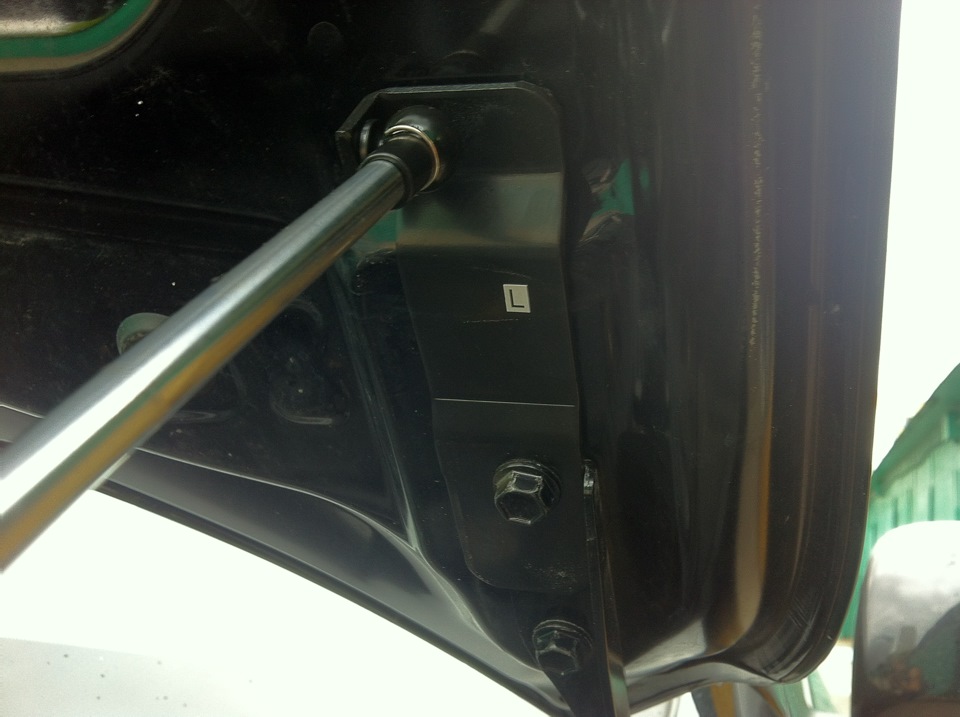
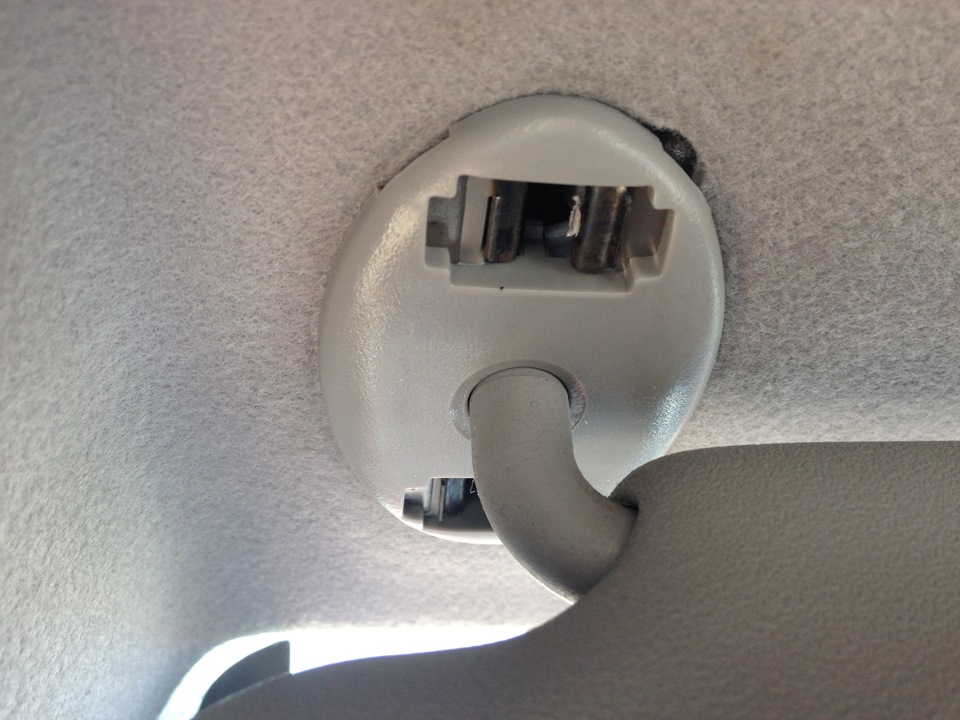
2. Then take out fastenings of a sun-protective peak, having turned them around an axis on 90 °.
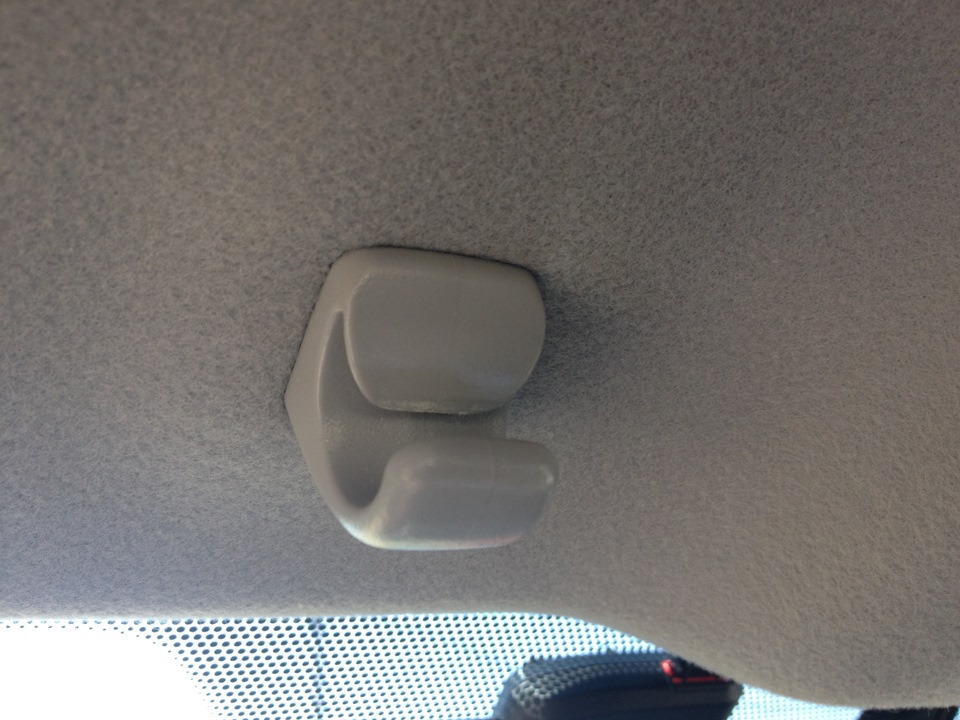
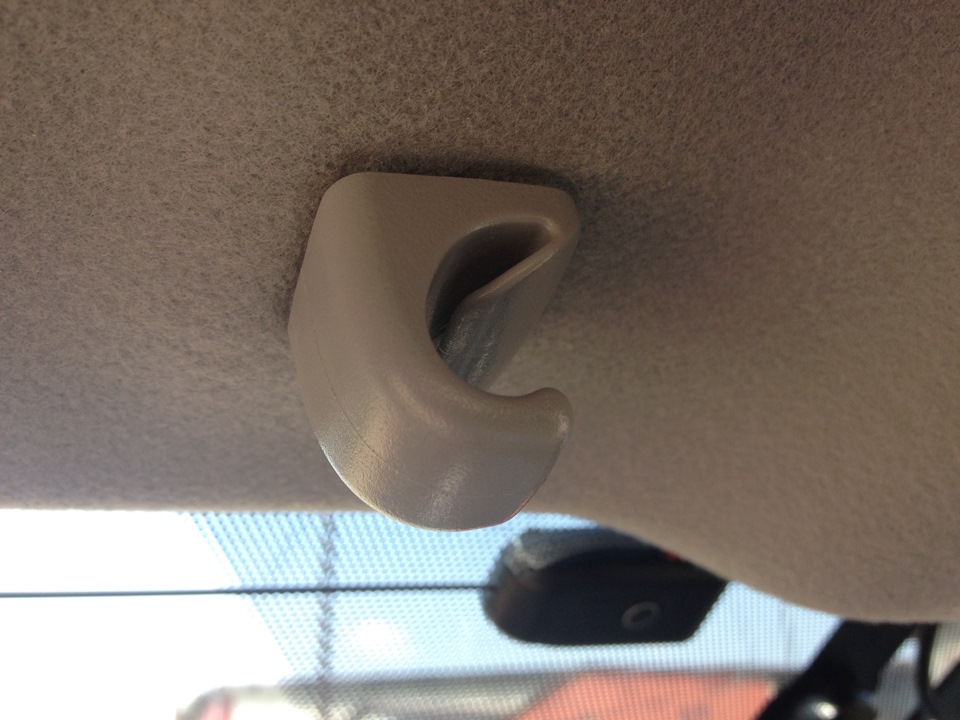
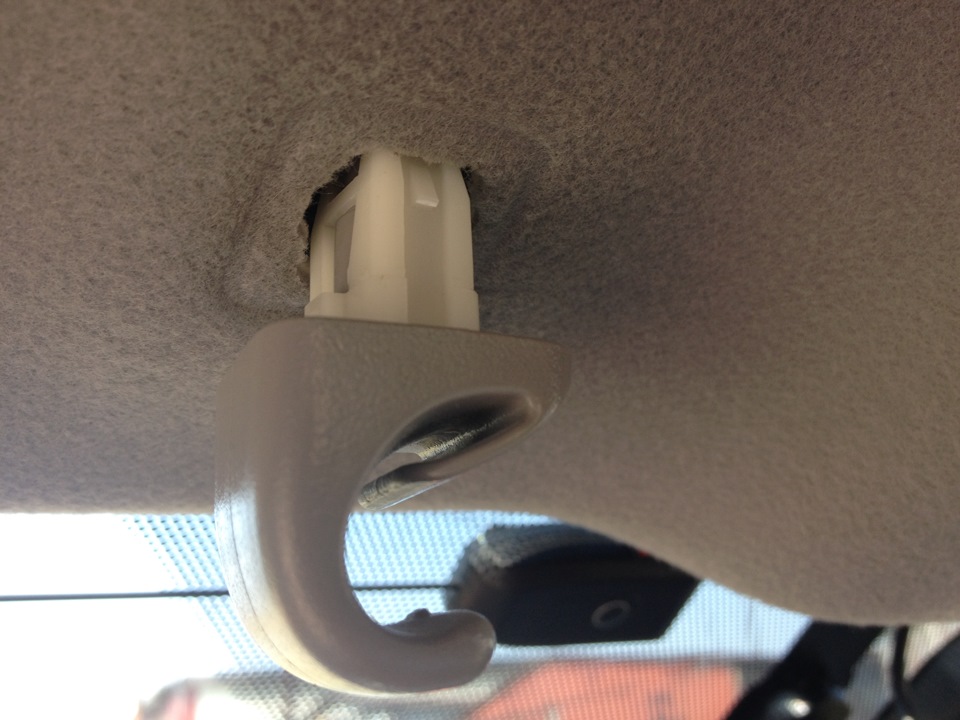
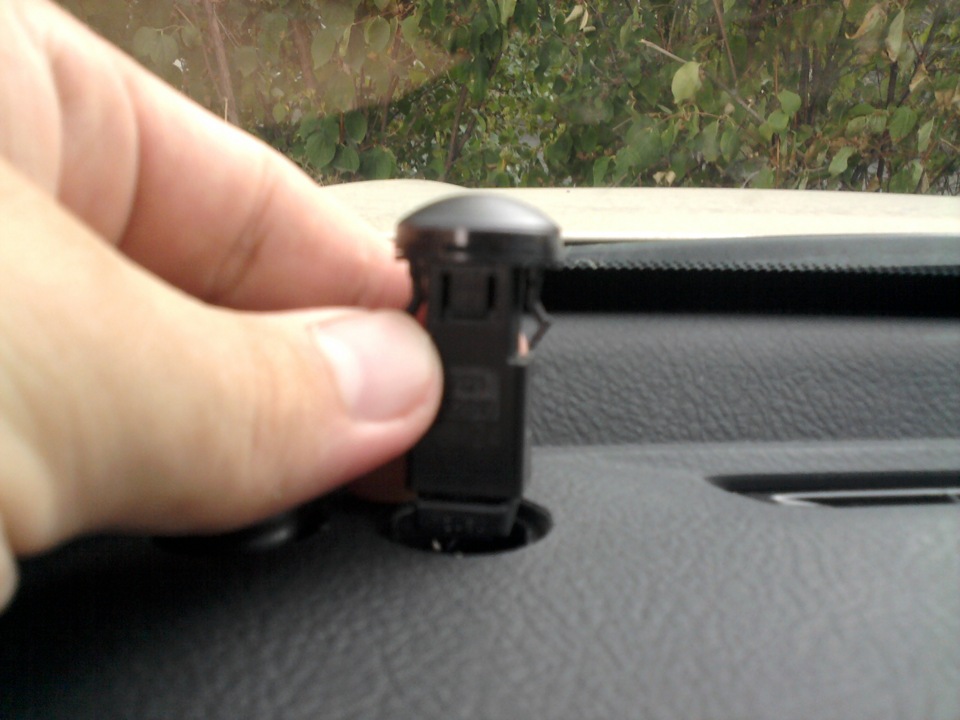
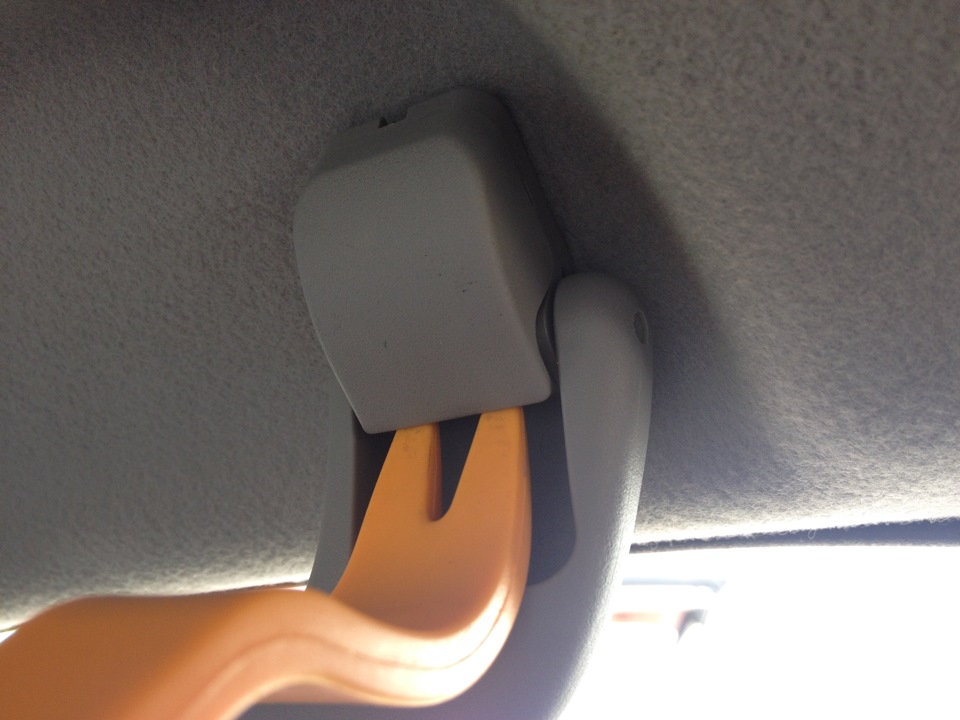
3. To remove the sun visor main mounts, first pry up the main mount cover using plastic pryers.
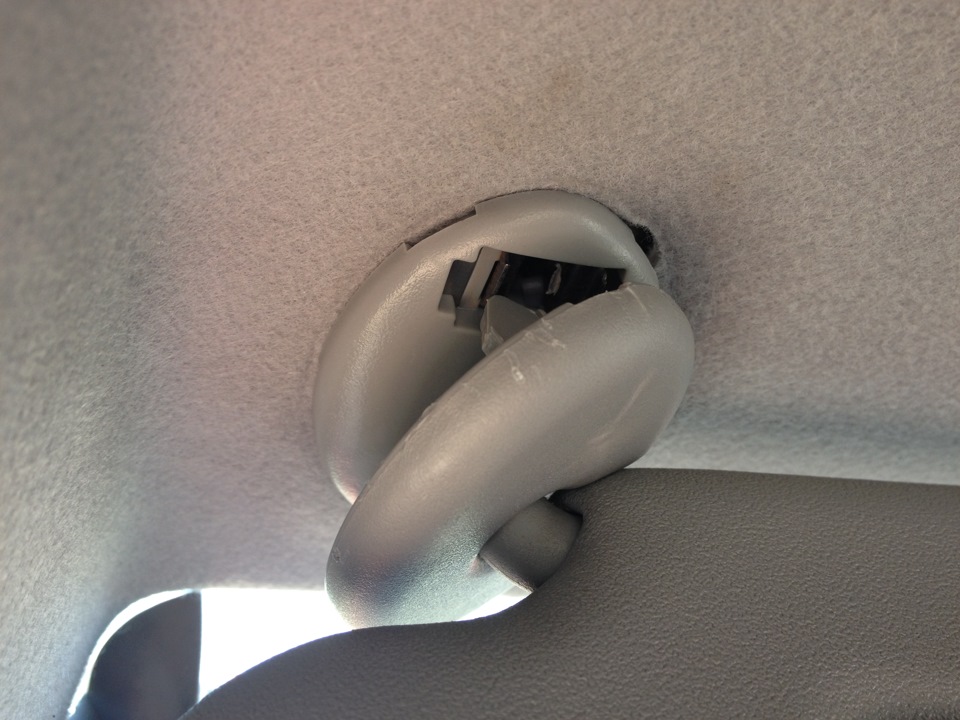
Note:
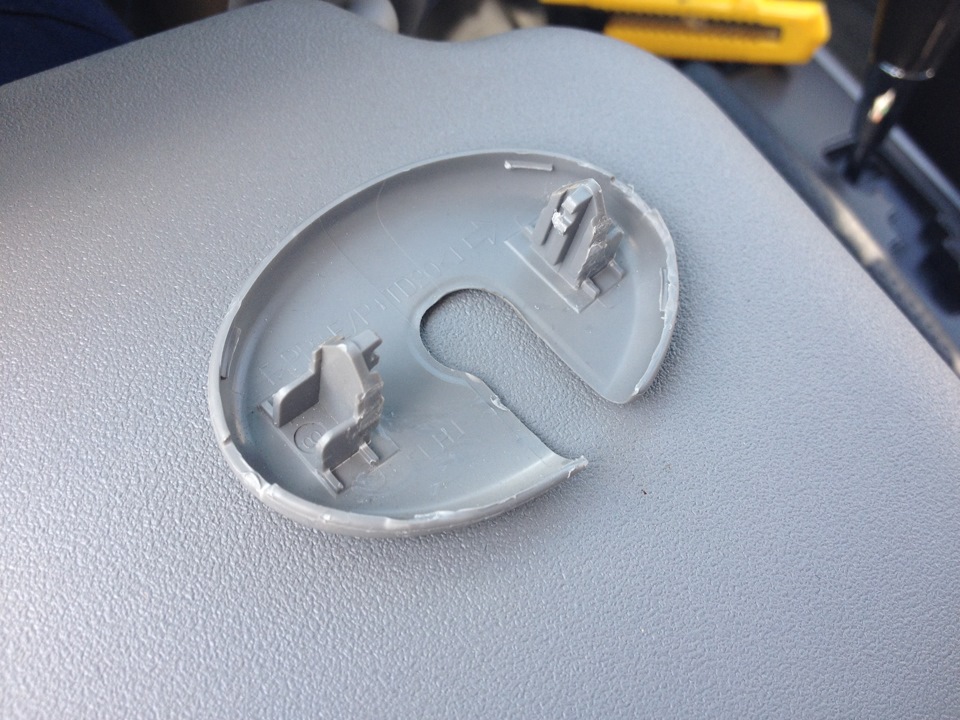
The material of the cover of the main attachment of the sun visor is very soft, so traces remain even from plastic mounts. You may need to buy new ones.
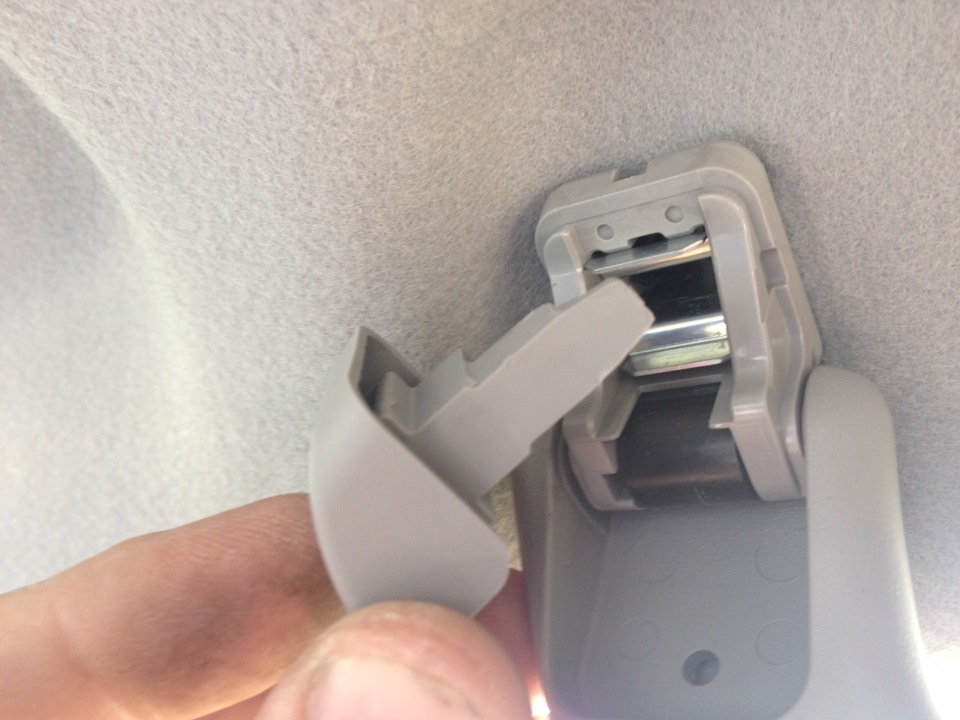
4. Then press with a screwdriver on the metal latches of the main mount of the visor and remove it.
5. Next, remove the caps of the handles above the doors with the help of mounting tools and dismantle the fasteners by pulling them towards you.
6. Dismantle the upholstery racks with the help of kartsangs.
7. Carefully remove the upholstery of the ceiling of the cabin.
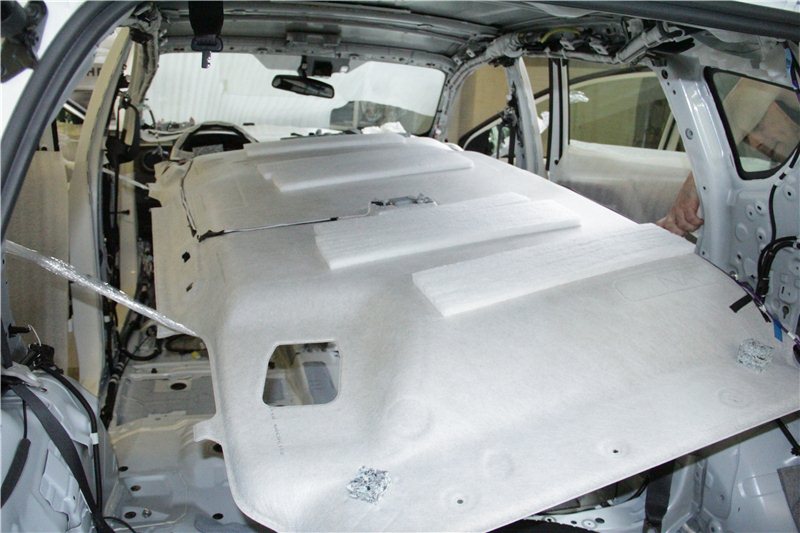
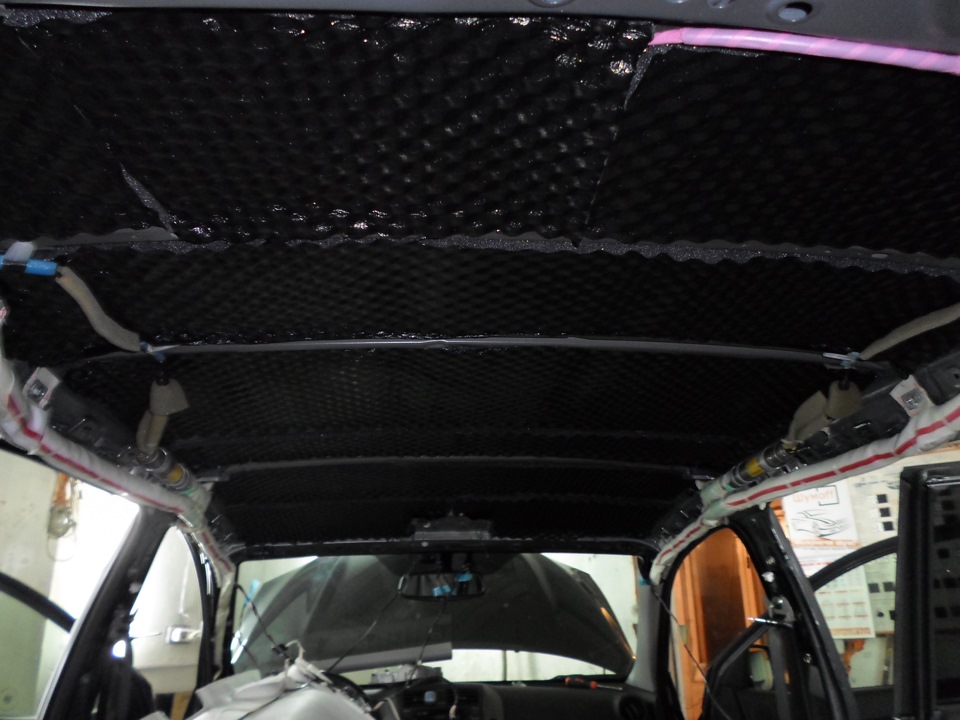
8. Remove the standard noise insulation and degrease the place where the insulating materials are glued.
9. Glue the entire ceiling with vibration-proof material.
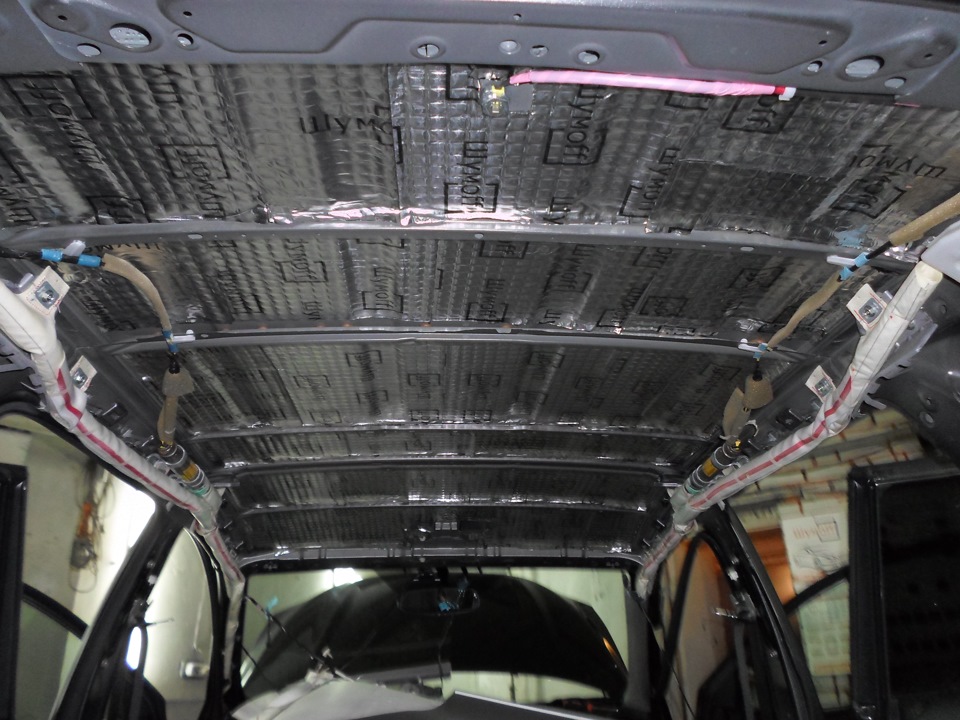
10. Glue the sound and heat insulating material with the second layer.
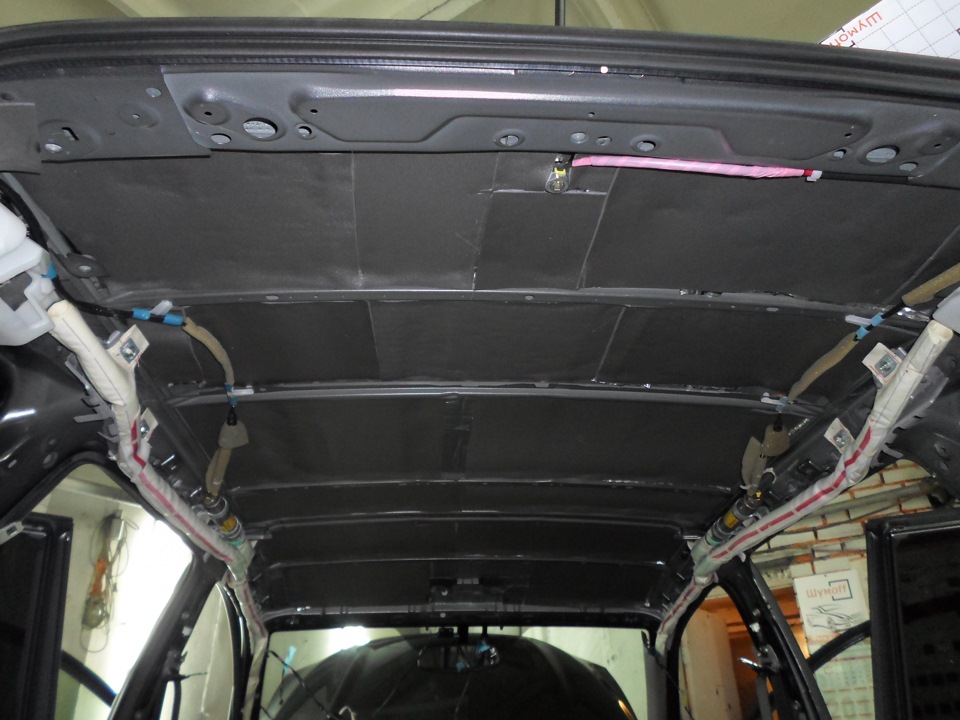
11. In the third layer, lay a very powerful noise-absorbing material (Germeton A15L, etc.).
12. Carefully reassemble everything in reverse order.
The article is missing:
- Tool photo
- Photo of parts and consumables
Source: carpedia.club