![E140/E150 [2006 - 2010]](/uploads/Toyota_Corolla_E140_2006_-_2010_.jpg)

Finally, I got to the air conditioner. Since he could not cope with his duties, an urgent refueling was needed. But I did not refuel, because I wanted to check the evaporator for coarse dirt.
In general, several problems worried me:
1. Conder was cold, but very weakly, and besides, the air was blowing colder from the right than from the left. Therefore, I thought that there might be a lot of dirt in the evaporator.
2. The creak of the stove damper.
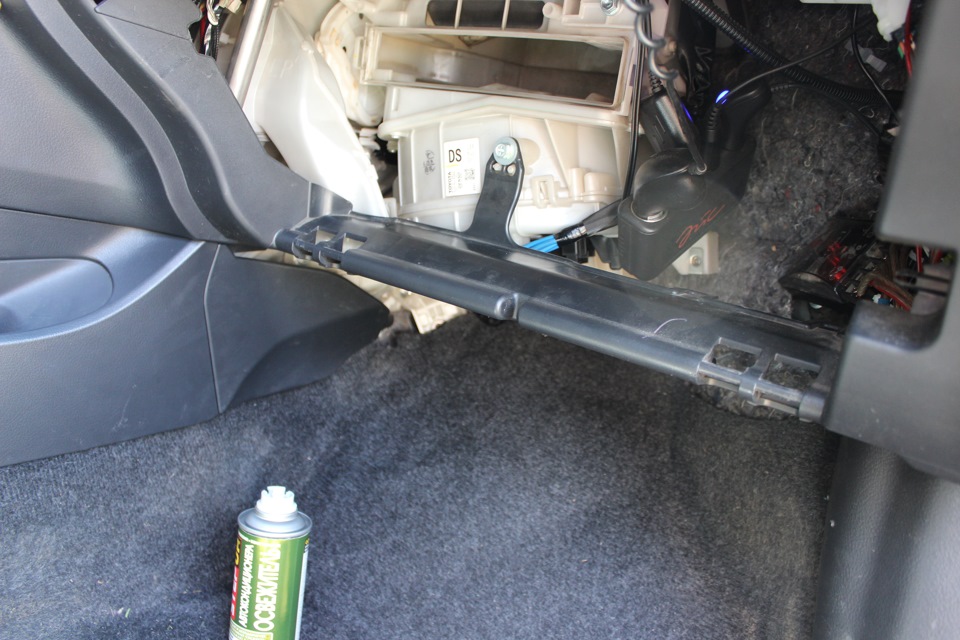
And so, to get the evaporator, we need to completely disassemble the front panel. I dismantled the entire panel, lowered the coolant.
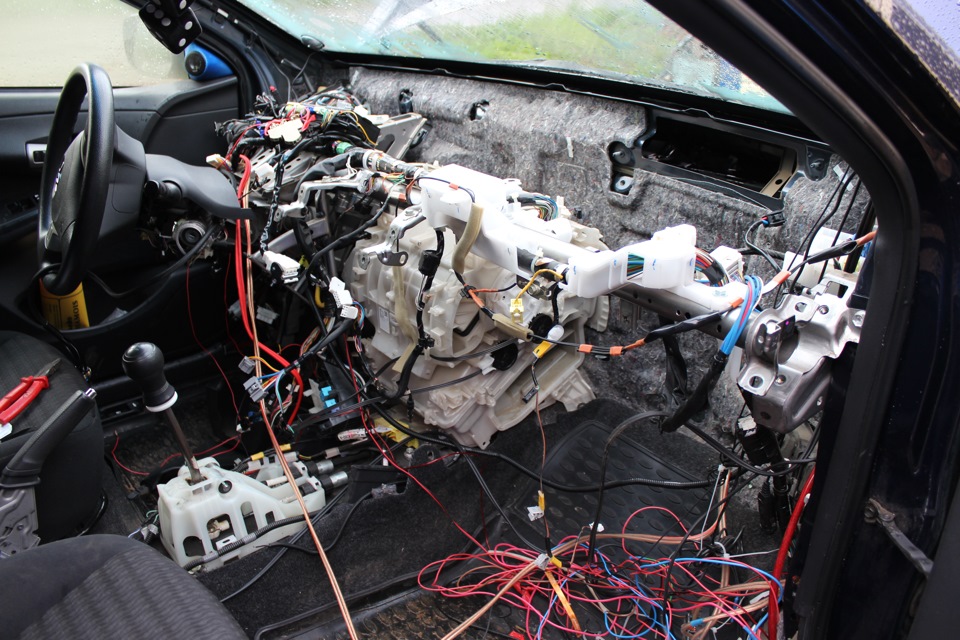
And then I remembered that antifreeze is also suitable for the stove. My plans did not include antifreeze drain at all. I removed the upper air ducts from the stove, dropped into it, and almost everything is clean there. So in vain I sinned on strong dirt on the evaporator, but I took it all apart for good reason. Firstly, I still made sure that there was no big dirt there, secondly, it was necessary to remove the fan to lubricate the damper drive, and thirdly, it was necessary to put all the wires in order.
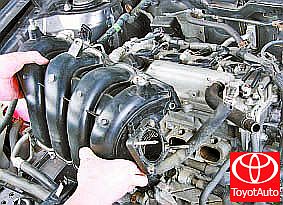
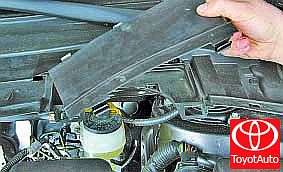
Stove fan with damper drive.
Put things in order, lubricated the damper actuator and put everything back together.
Although I myself have not lubricated the damper actuator with this grease, I think LIQUI MOLY 7655 Silicon-Fett Silicone Grease will do.
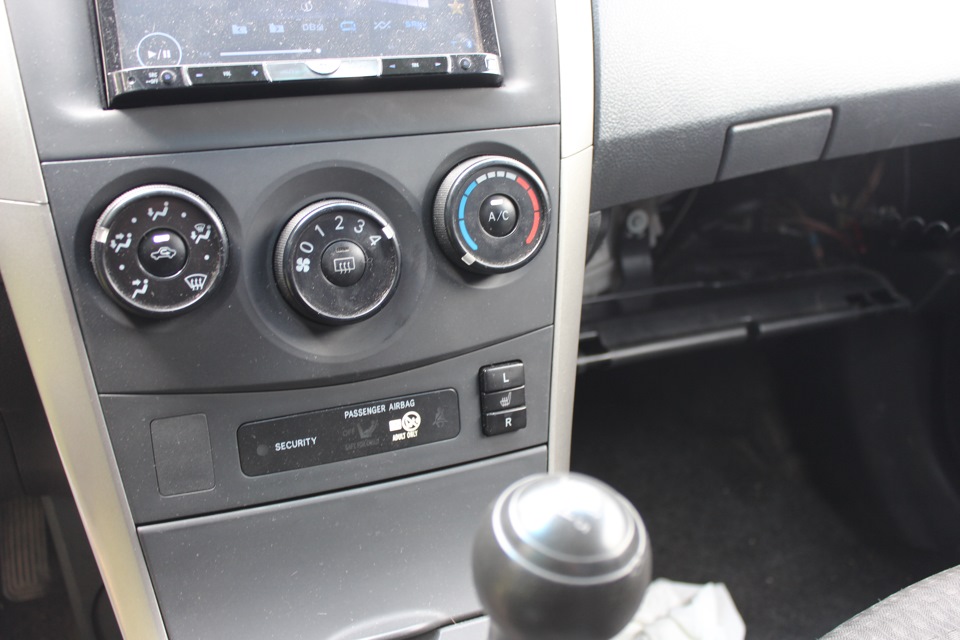
Then I went to fill the air conditioning system with refrigerant.
We refueled everything in the field without any fancy equipment.
From the beginning, the system was evacuated to check for leaks and to remove air from the system.
The test went perfectly, the system is tight.
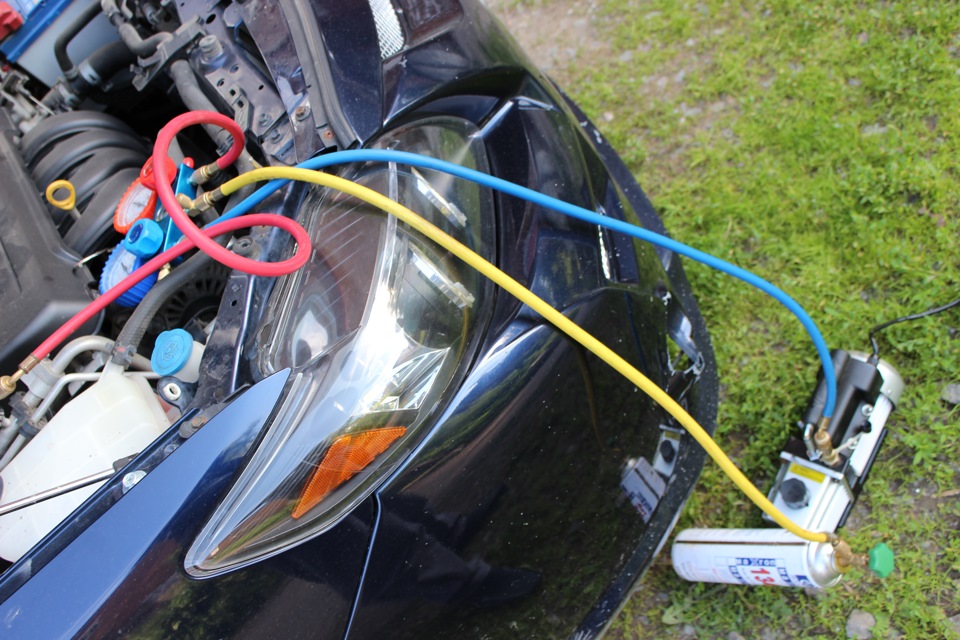
After that, they proceeded directly to the refueling.
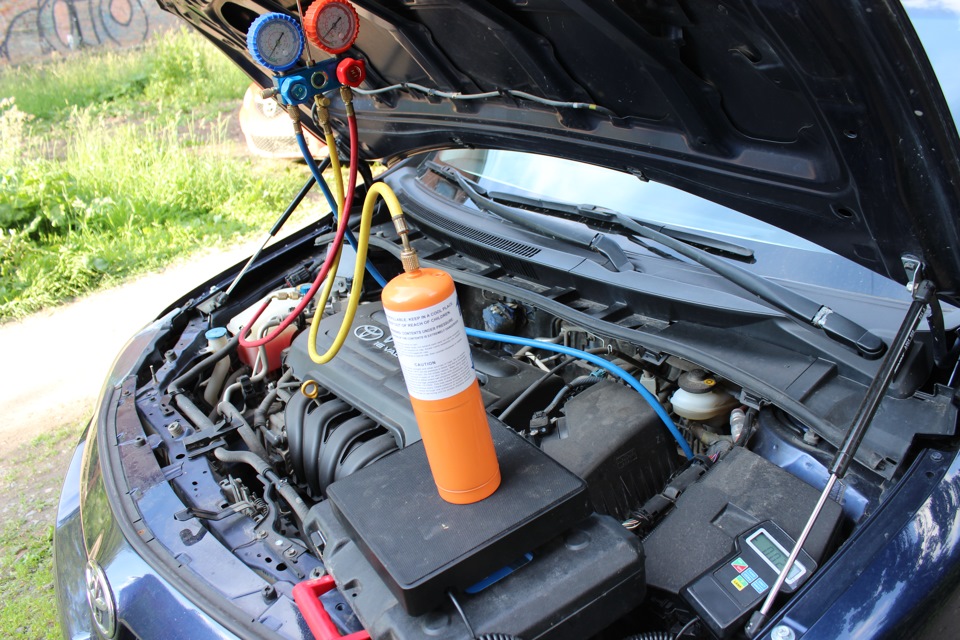
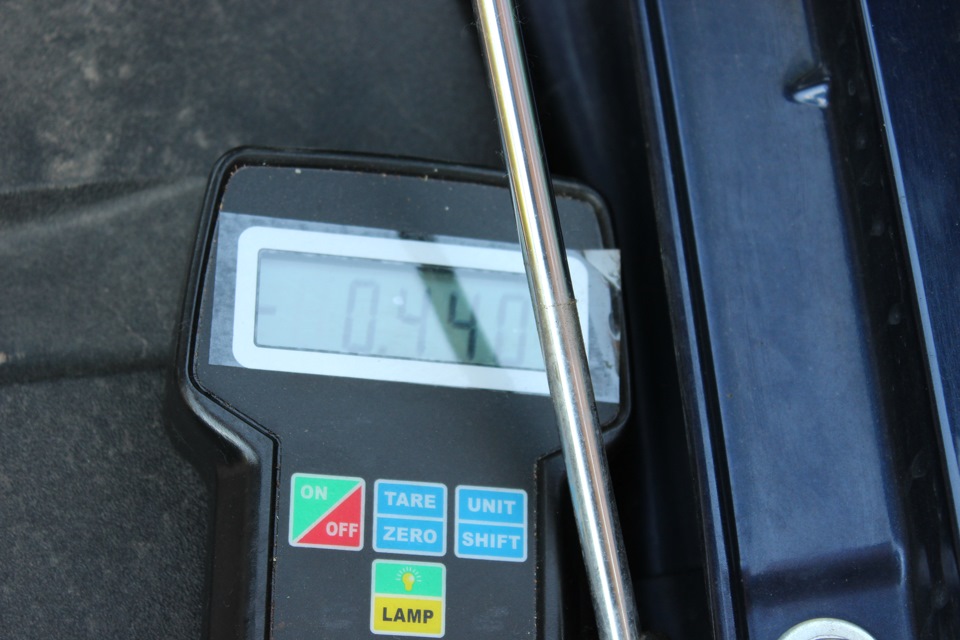
They refueled based not only on pressure, but also on the weight of the injected freon. With the help of scales.
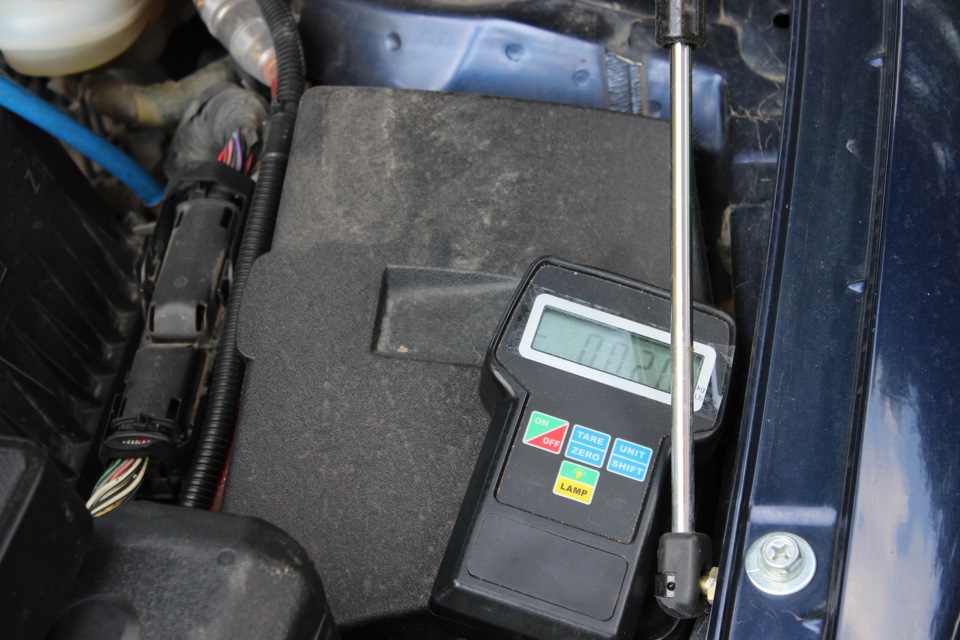
Right on the hood there is a sticker where the name of the gas is indicated, as well as the mass of gas in the system. The mass of refrigerant in the system should be 440+- 30 grams.
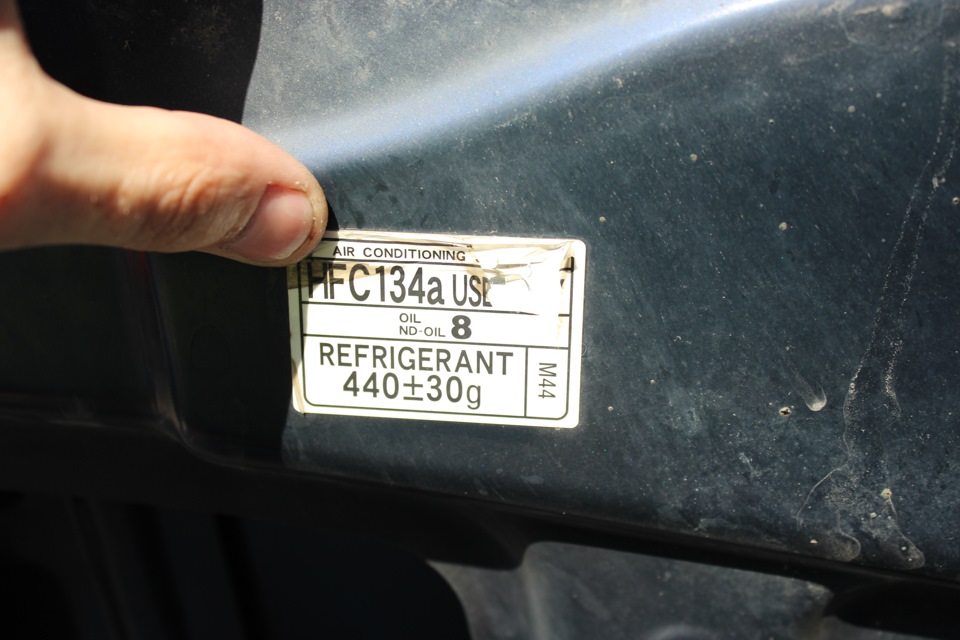
Filled exactly 440 grams. After 250-300 grams were filled into the system, it was very cold in the cabin.
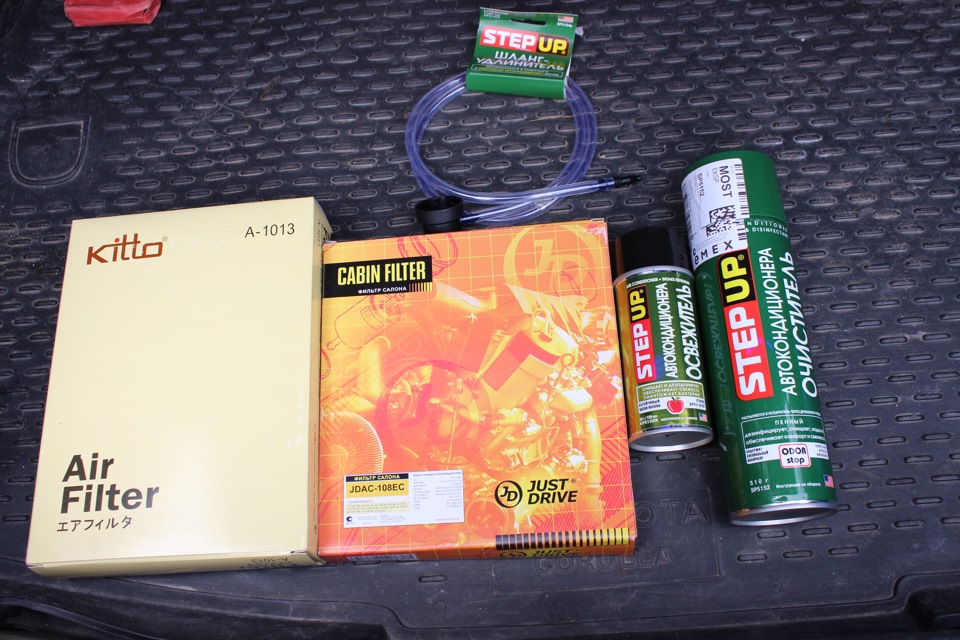
Also for a complete, finished work, it was purchased:
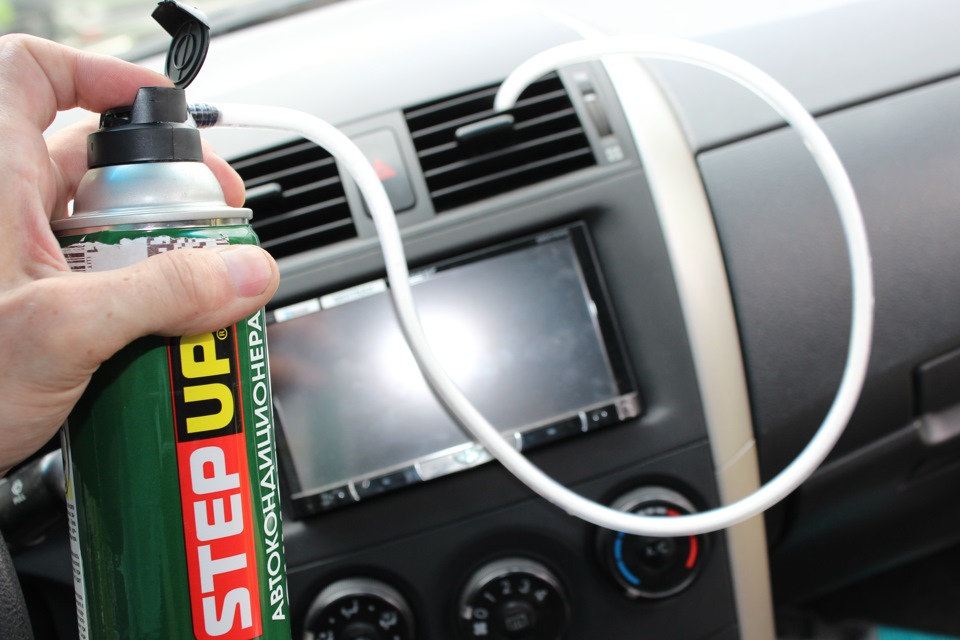
StepUp air conditioner cleaner - SP5152
StepUp air conditioner freshener - SP5150N StepUp extension
hose - SP5154K
Just Drive cabin carbon filter - JDAC108EC
Kitto air filter - A1013
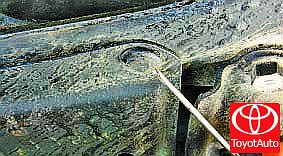
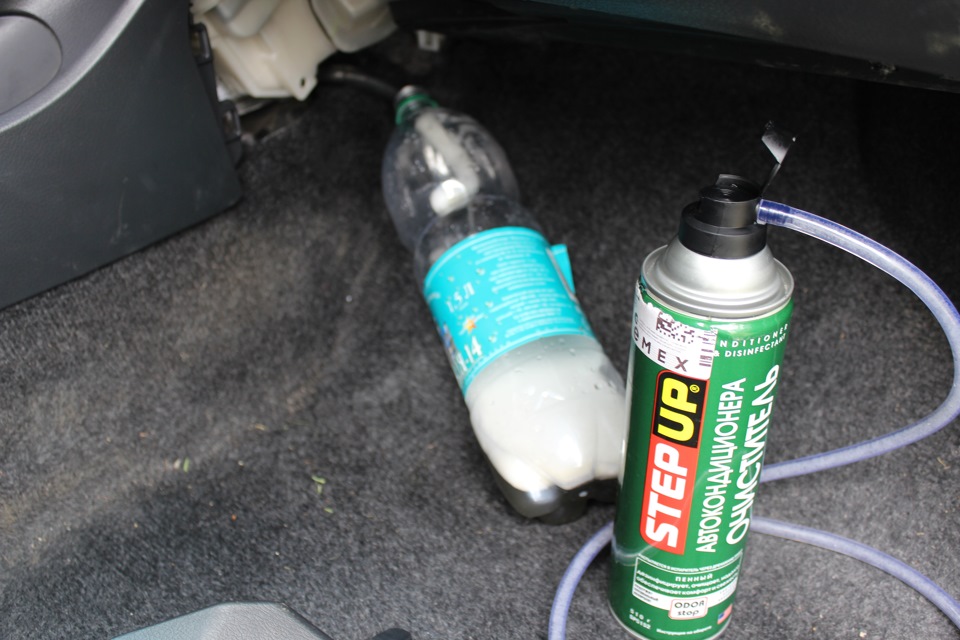
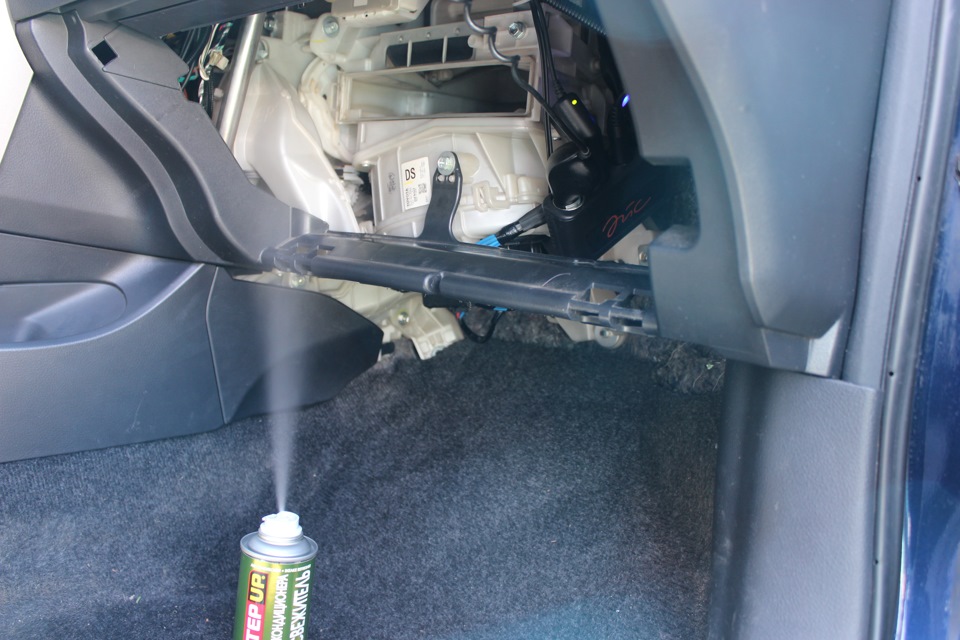
On the passenger side, there is a drain pipe from the evaporator, and then the air conditioner cleaner is pumped into it.
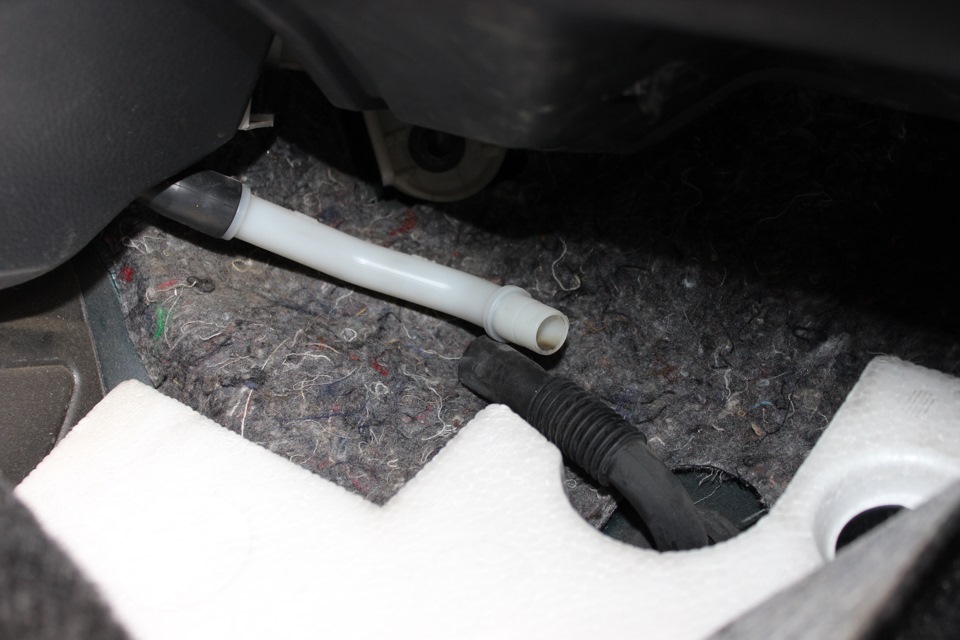
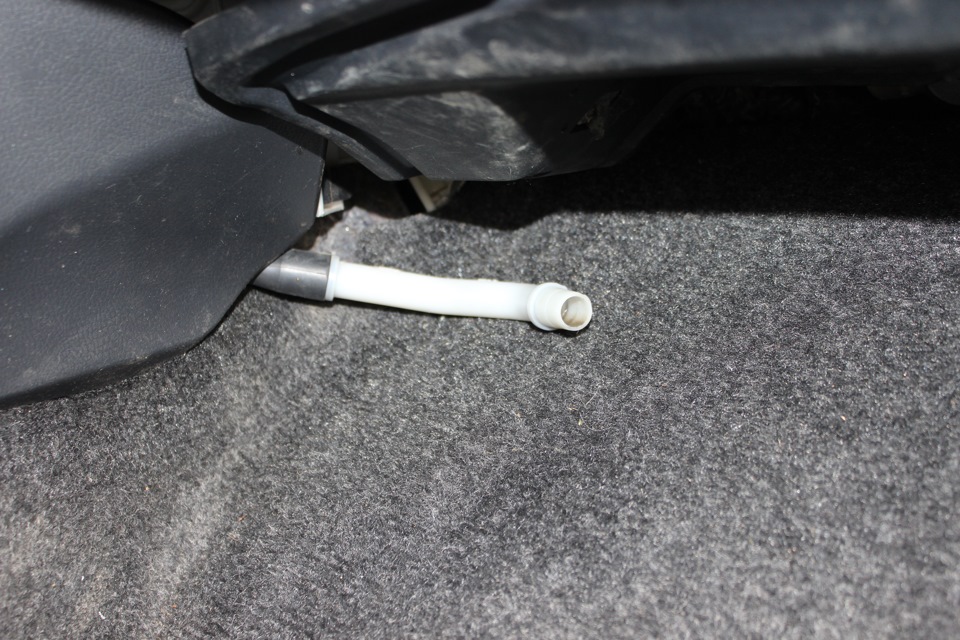
Then we do everything according to the instructions written on the cylinders.
I left some cleaner in the can and sprayed it into the air ducts.
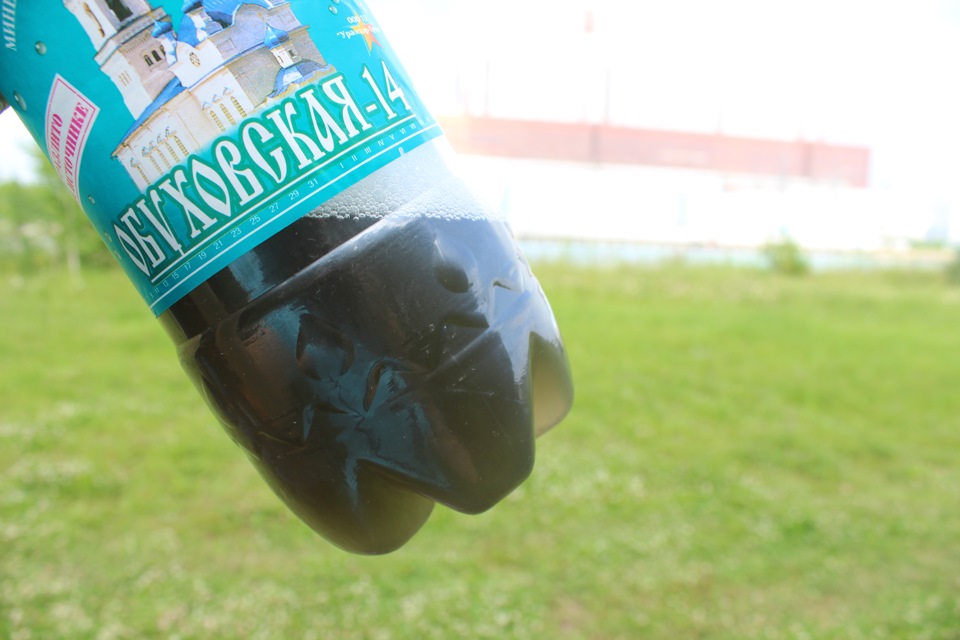
The drained dirty residues of the cleaner were poured into a plastic bottle in order to see how much dirt had drained. Of course, you could just reconnect the drainage tube and everything would have merged under the car.
We start the freshener in the same way according to the instructions on the cylinder. I removed the cabin filter cover to suck air freshener into the A/C system.
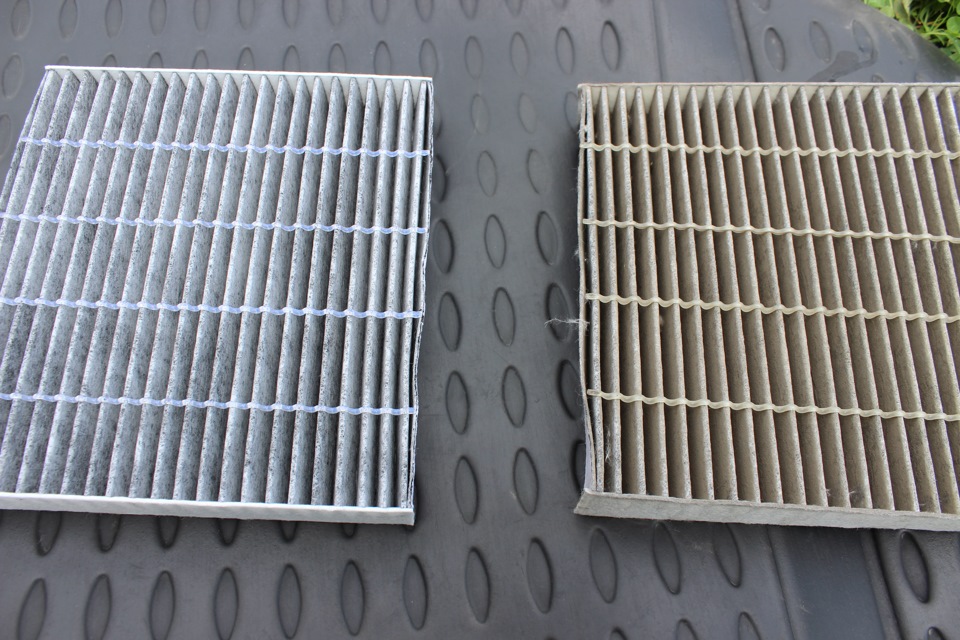
Cabin filters. Old and new.
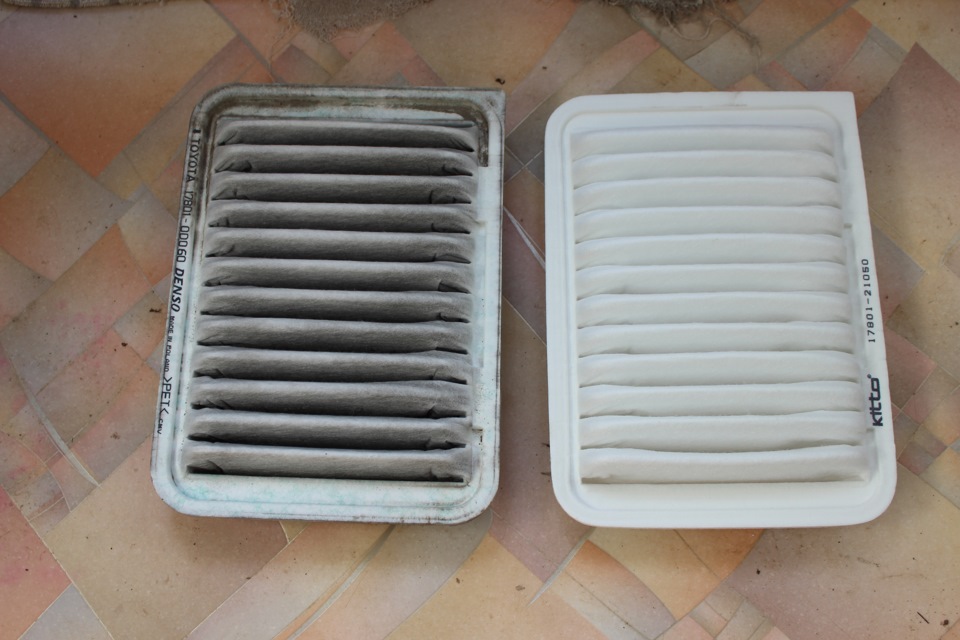
Air filters. Old and new.
Now I enjoy the pleasant and fresh coolness of the air conditioner.
Source: https://www.drive2.ru/l/7017696/