![IX [2000 - 2005]](/uploads/mitsubishi_lancer_2005_images_2.jpg)
![X [2007 - 2017]](/uploads/Mitsubishi_Lancer_Sedan_2007.jpg)

The Mitsubishi Lancer X oxygen concentration sensor is installed in front of the catalytic converter.
Tools:
- Wrench 22 mm
- Screwdriver flat medium
Mitsubishi Lancer X Oxygen Sensor Replacement
1. Disconnect the wire from the "minus" terminal of the battery
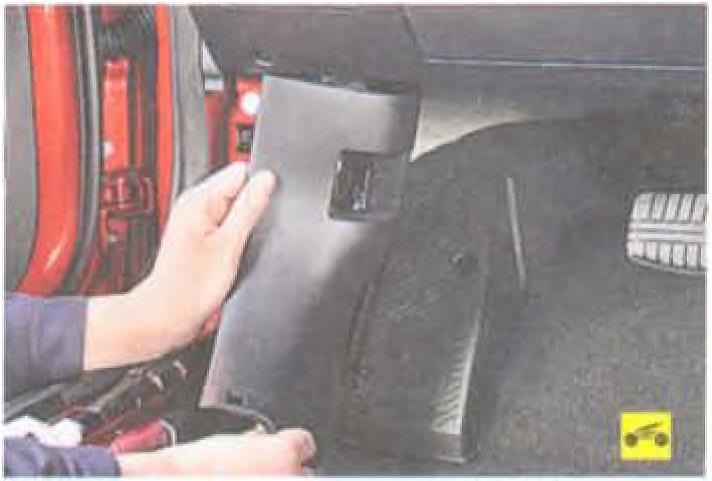
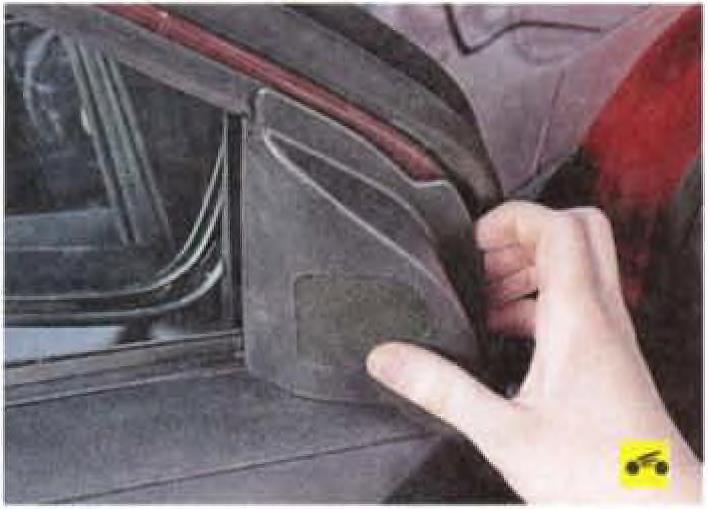
2. Remove the lining of the floor tunnel (see "Removing and installing the lining of the floor tunnel", p. 247).
3. Remove the right front seat (see "Removing and installing the front seat", page 246).
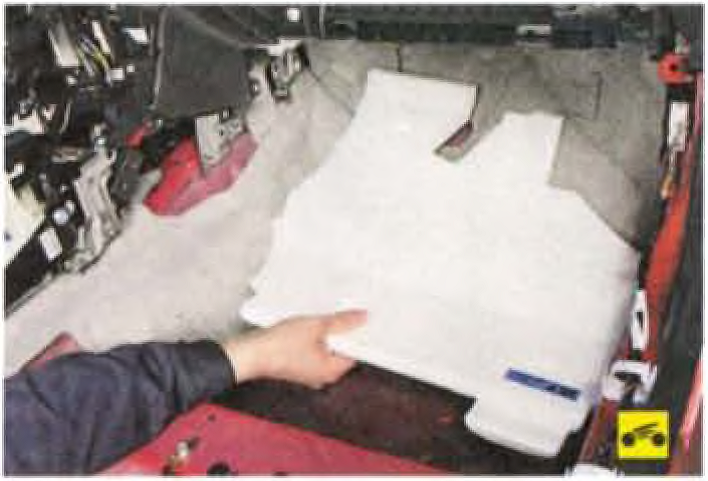
4. Remove the floor mat.

5. Remove a noise-insulating lining from outside the forward passenger.
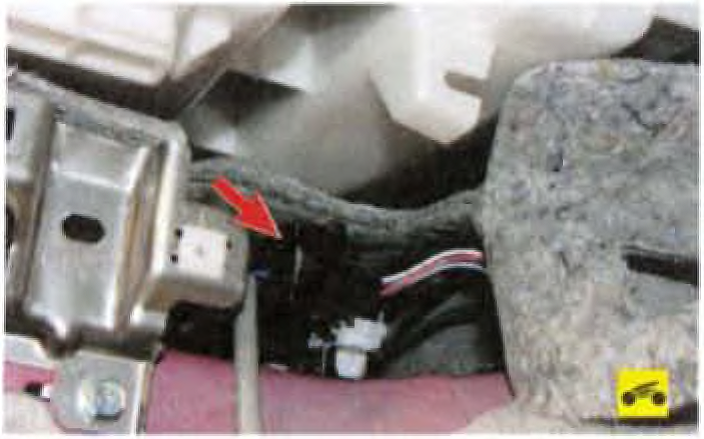
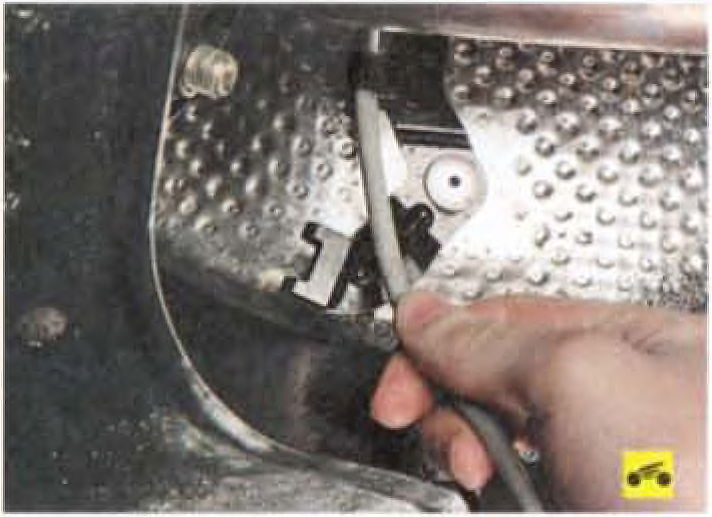
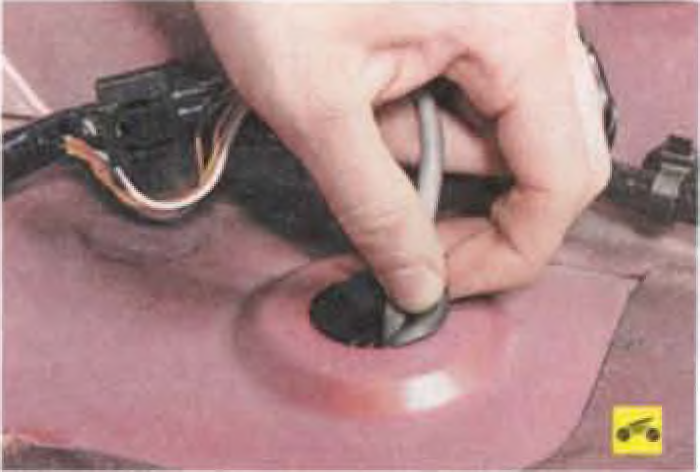
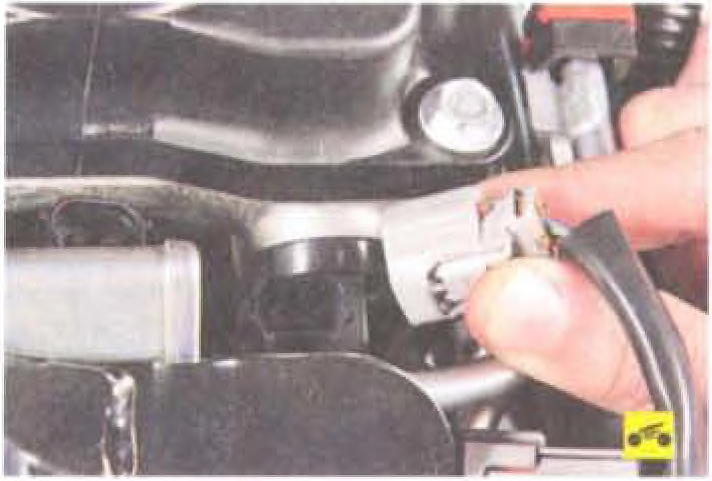
6. Disconnect the oxygen concentration sensor wiring harness connector located on the right side of the floor tunnel under the shift lever rocker.
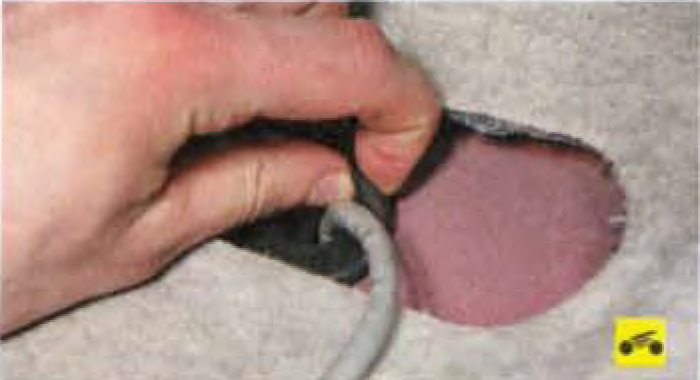
7. Pass a wire together with a rubber sealant down under the bottom of a body.
8. Wring out a fixing bracket.
9. Remove the sensor harness from the holder on the floor tunnel.
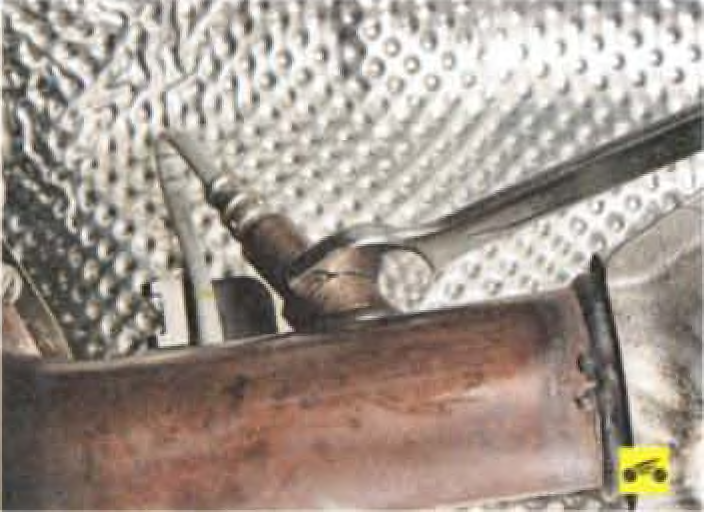
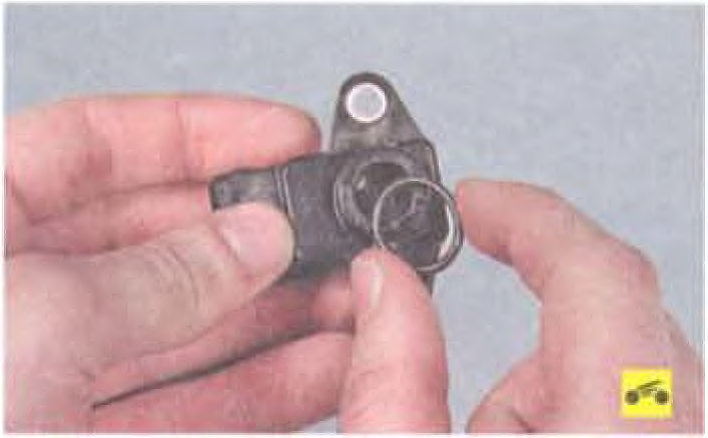
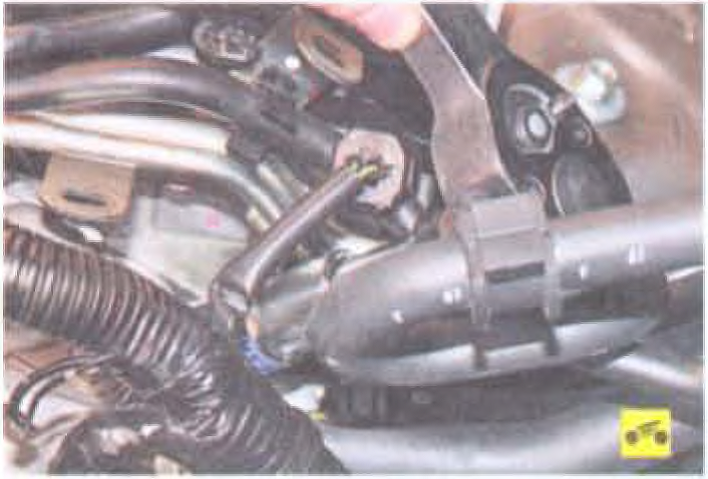
10. Use a 22 mm wrench to remove the control oxygen sensor.
11. Install the oxygen concentration control sensor and all removed parts in the reverse order of removal.
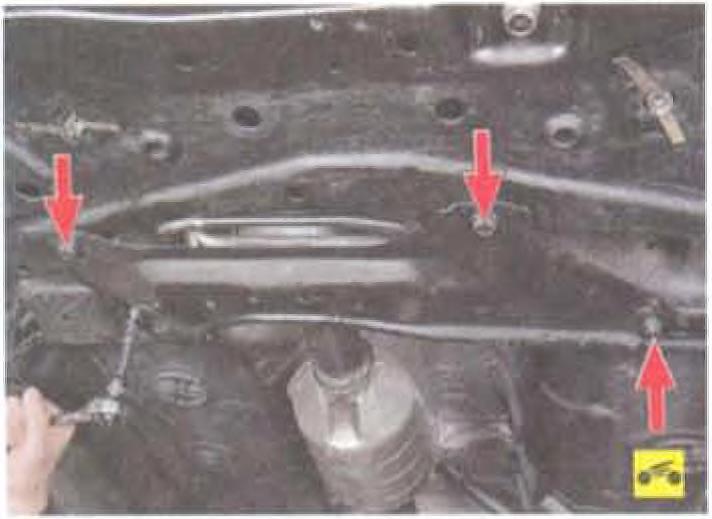
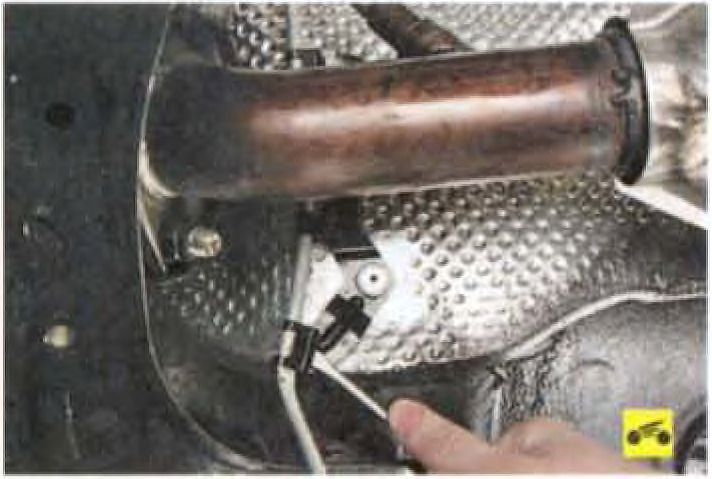
The Mitsubishi Lancer X diagnostic oxygen sensor is installed on the center pipe of the exhaust system behind the catalytic converter.
1. Perform the operations of paragraphs. 1-4 for replacing the control oxygen sensor (see above).
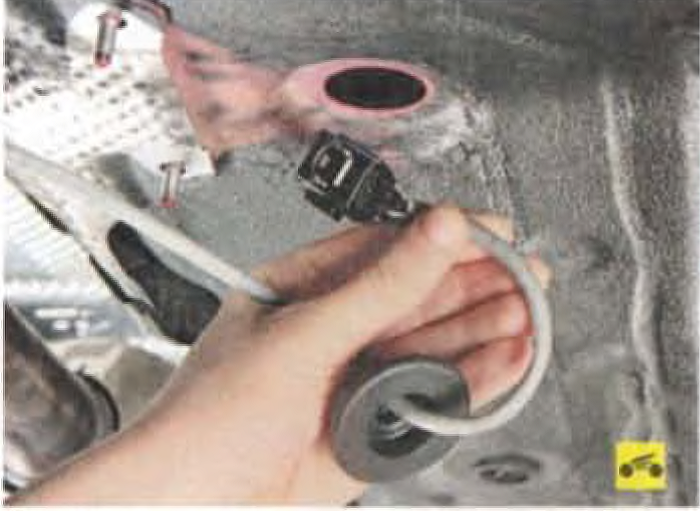
2. Press the plastic pad retainer.
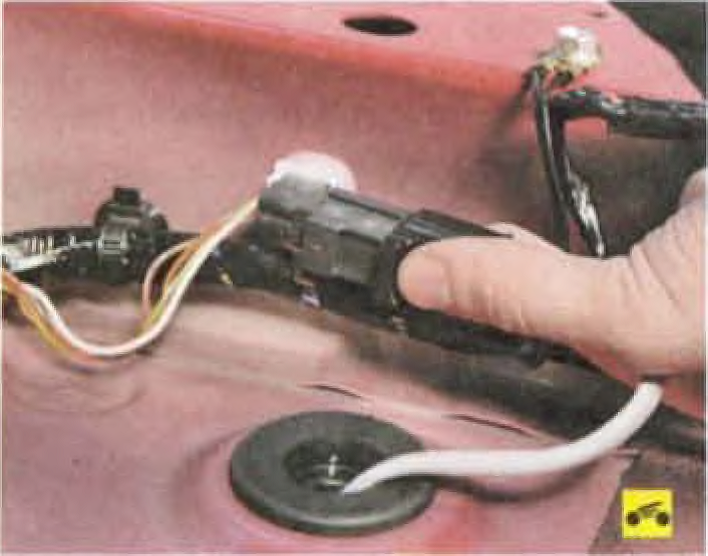
3. Disconnect the sensor harness connector.
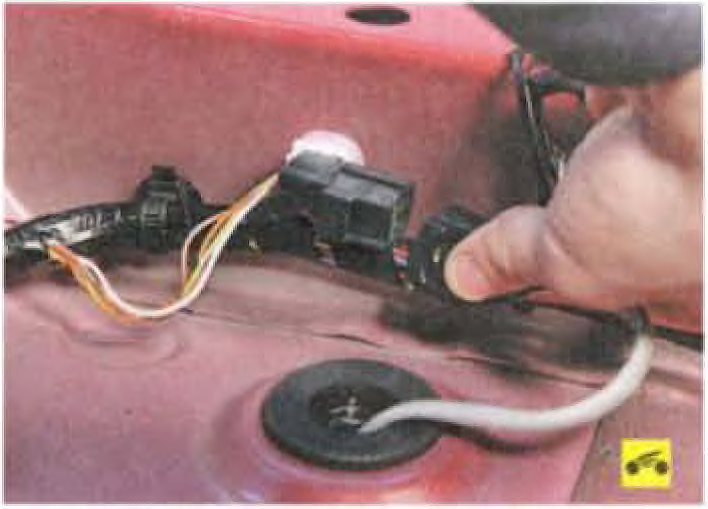
4. Push the diagnostic oxygen sensor harness seal into the body opening.
5. Remove the sensor block from the hole.
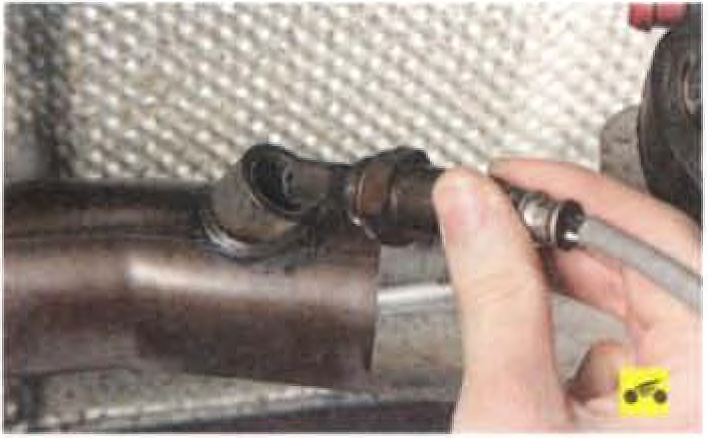
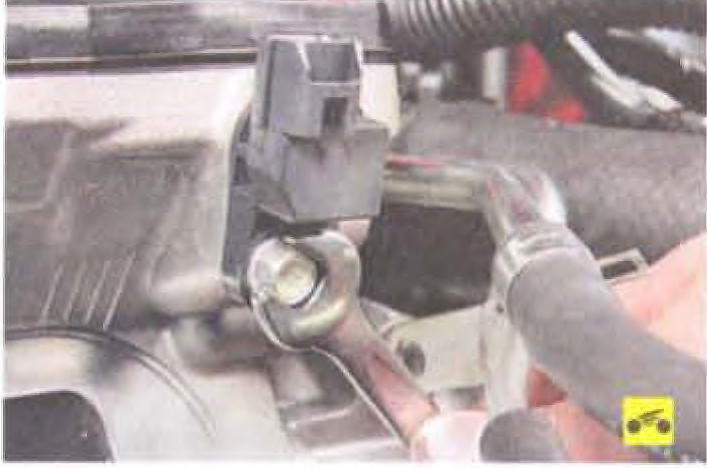
6. Use a 22 mm wrench to loosen the diagnostic oxygen sensor.

7. Unscrew it and remove.
8. Install the diagnostic oxygen concentration sensor and all removed parts in the reverse order of removal.
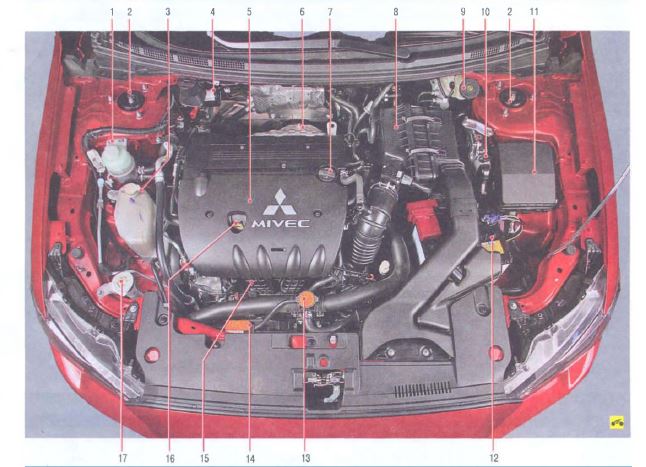
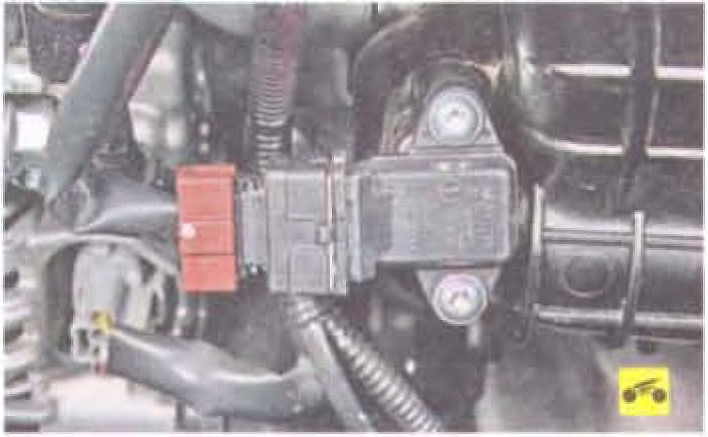
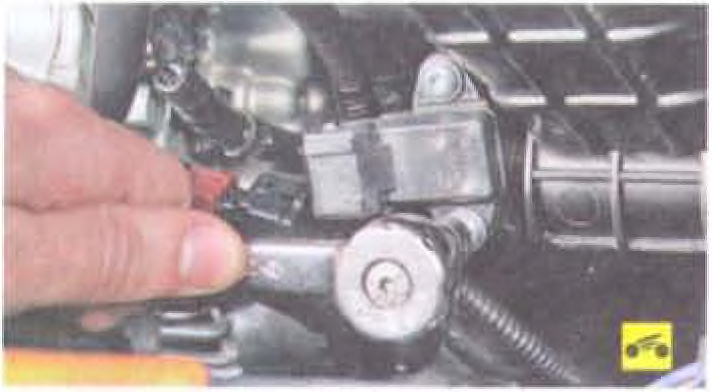
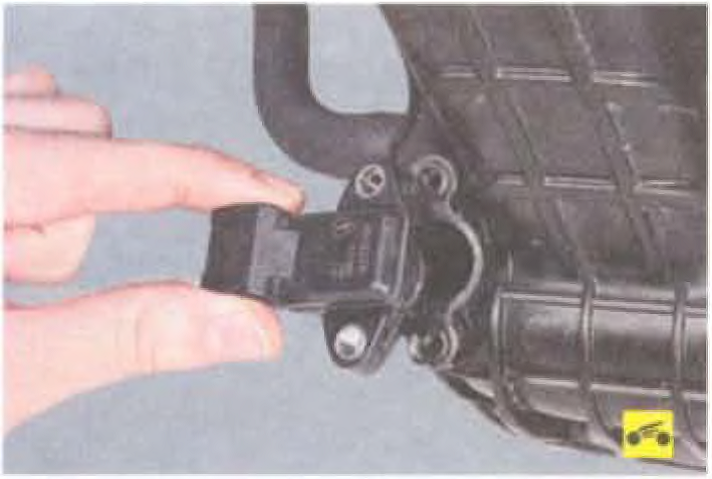
The Mitsubishi Lancer X absolute pressure sensor is installed at the bottom of the intake manifold.
Tools:
- Key TORX Т25
- Wrench 10 mm
- Screwdriver flat medium
Mitsubishi Lancer X Absolute Pressure Sensor Replacement
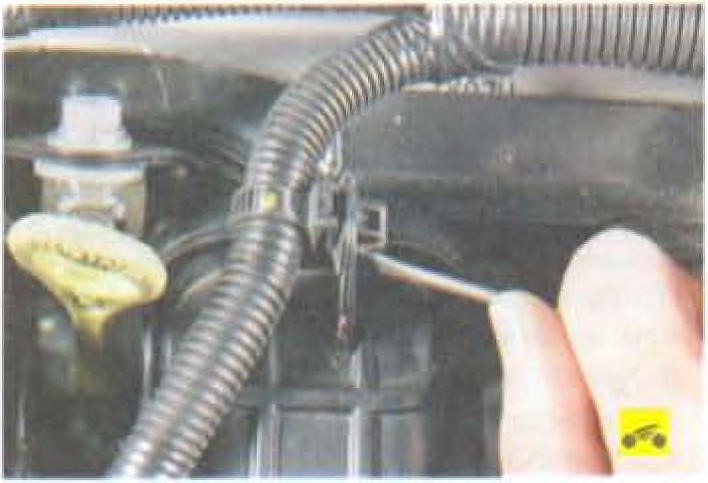
1. Disconnect a wire from the minus plug of the storage battery.
2. Use a flat-blade screwdriver to pry out the retaining clip.
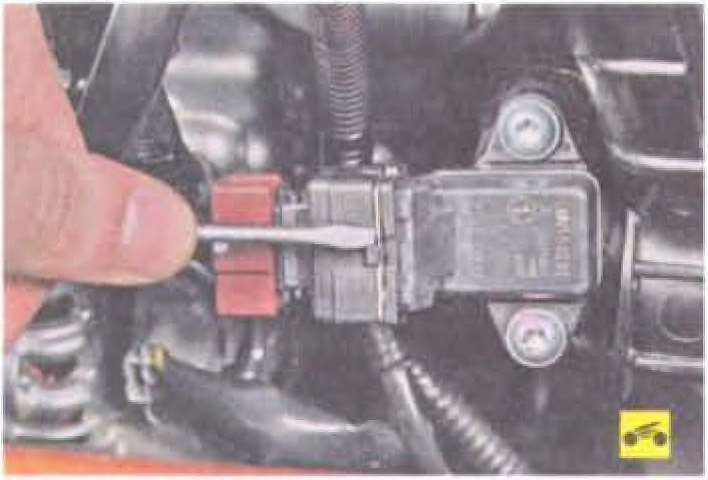
3. Remove the bracket.

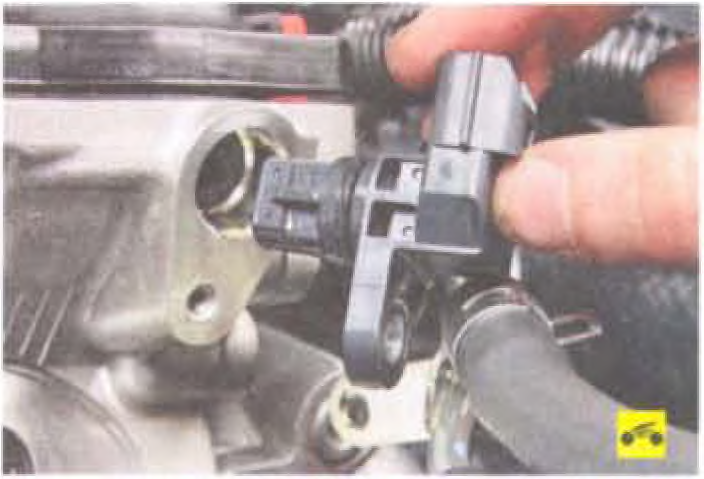
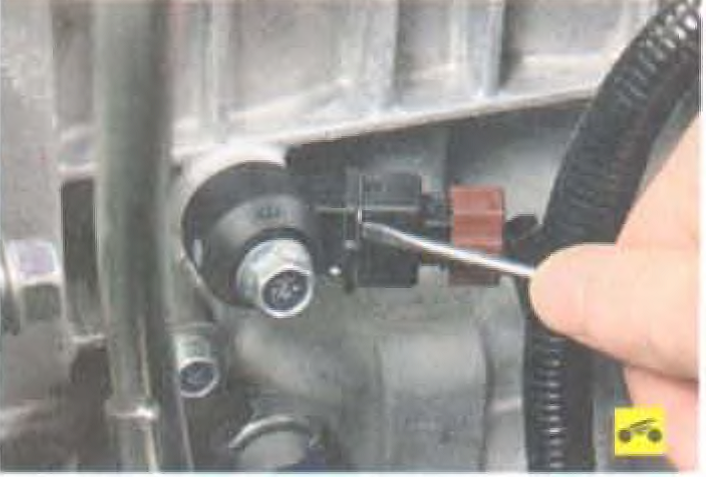
4. Disconnect the harness connector from the sensor connector.
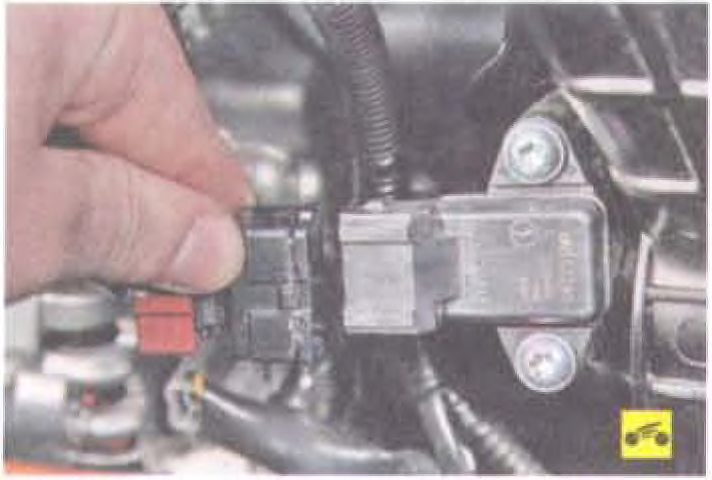
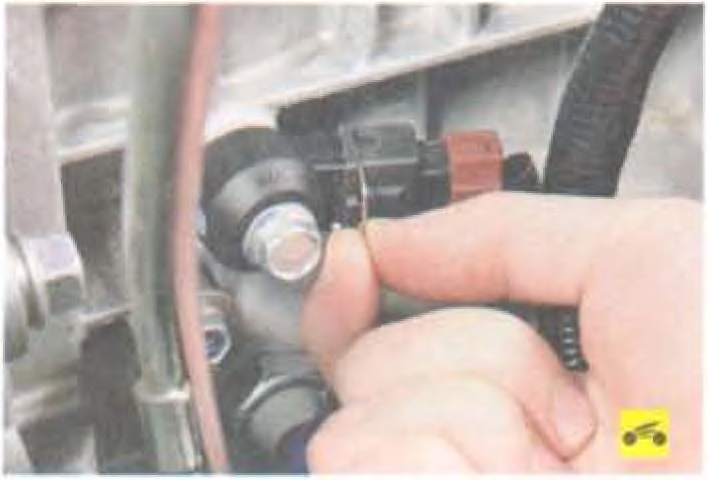
5. Turn out two bolts of fastening of the gauge to an inlet collector.
6. Remove the sensor.
Note:
The intake manifold absolute pressure sensor is sealed with a rubber ring. Do not lose it when removing the sensor. If the ring is severely reduced, hardened, or torn, replace it.
7. Install the absolute pressure sensor in the reverse order of removal.
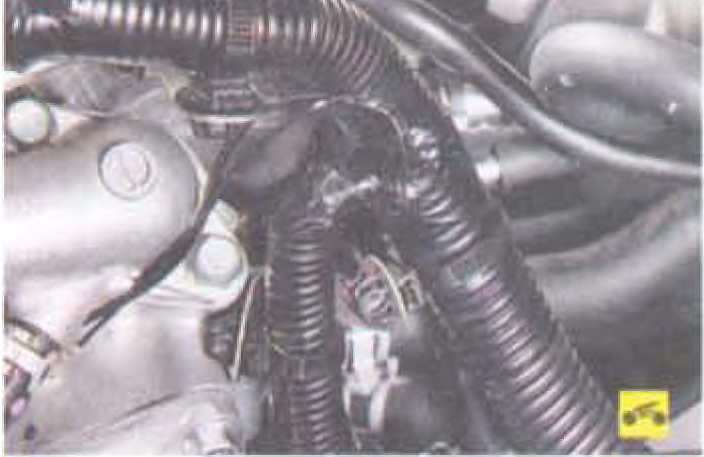
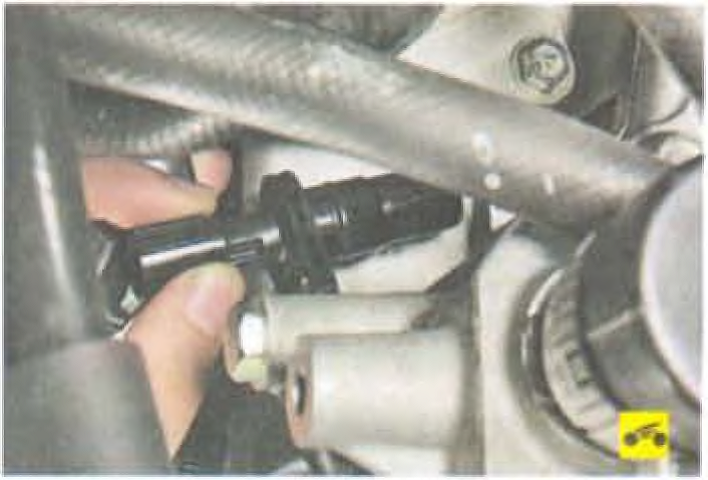
Mitsubishi Lancer X camshaft position sensors are installed at the rear of the cylinder head.
Tools:
- Open-end wrench 10 mm
1. Disconnect a wire from the minus plug of the storage battery.
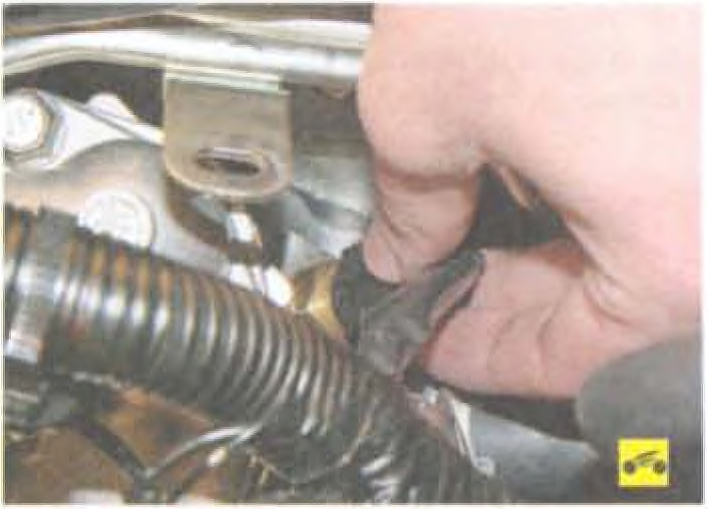
2. Press the spring retainer of the intake camshaft position sensor wiring harness block and disconnect the block from the sensor connector.
3. Using a 10 mm wrench, remove the sensor mounting bolt.
4. Remove the intake camshaft position sensor.
5. Install the sensor in the reverse order of removal.
6. Turn out a bolt of fastening of a transport eye.

7. Remove it.
8. Press the spring retainer of the wiring harness block of the exhaust camshaft position sensor.

9. Disconnect the block from the sensor connector.
10. Turn out a bolt of fastening of the gauge of position of a camshaft of final valves.
11. Remove the sensor.

12. Install the sensor in the reverse order of removal.
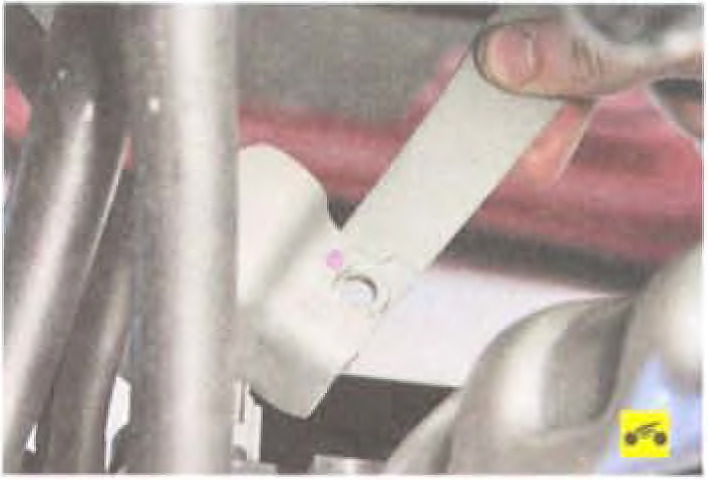
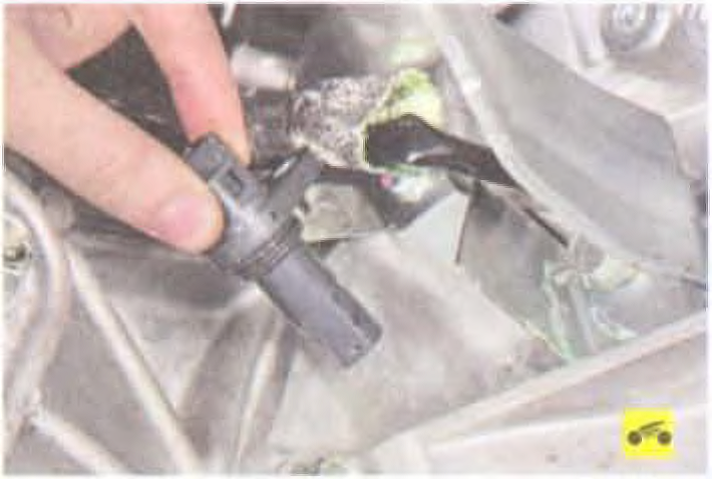
The Mitsubishi Lancer X crankshaft position sensor is mounted on the rear end of the cylinder block.
1. Disconnect a wire from the minus plug of the storage battery.
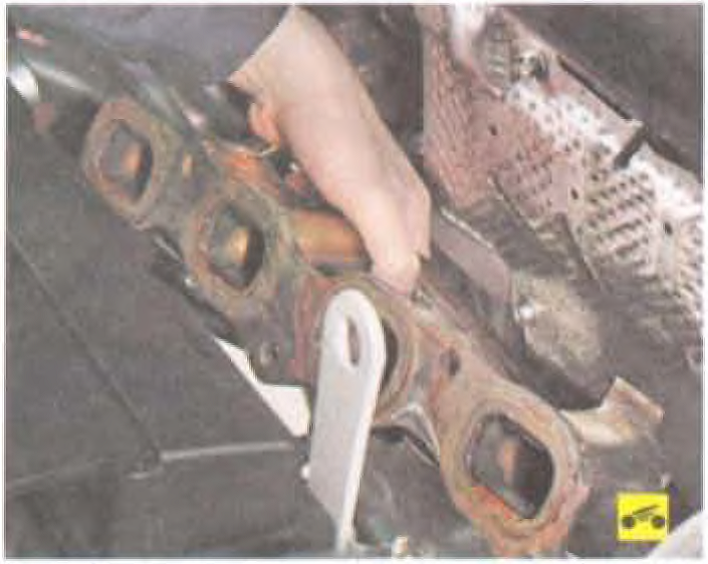
2. Remove the exhaust manifold (see "Removing and installing the exhaust manifold and replacing its gasket", page 110).
3. Remove the sensor harness from the holder.
4. Slide the heat shield along the wire.
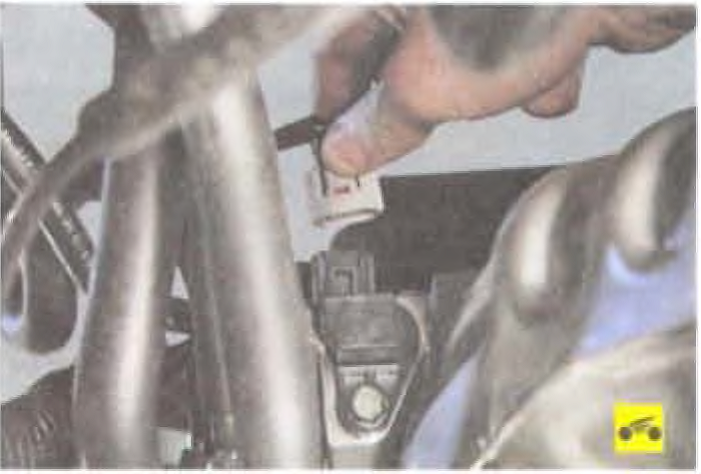
5. Press the spring clip of the wiring harness block.
6. Disconnect the block from the sensor connector.

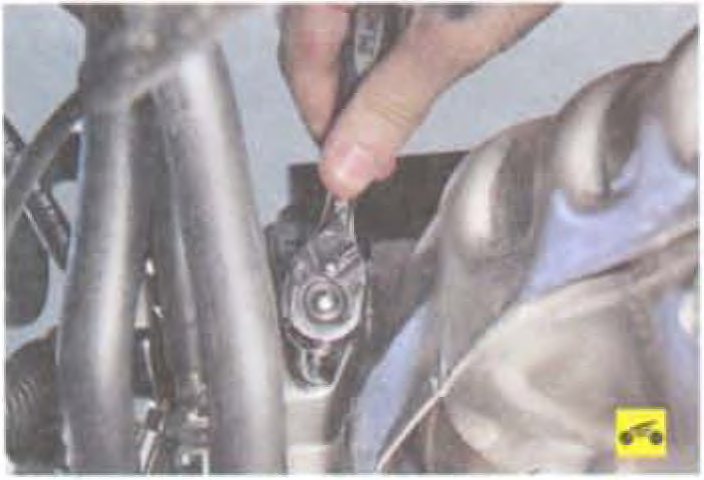
7. Turn out a bolt of fastening of the gauge of provision of a cranked shaft.
8. Remove it.
9. Install the crankshaft position sensor and all removed parts in the reverse order of removal.
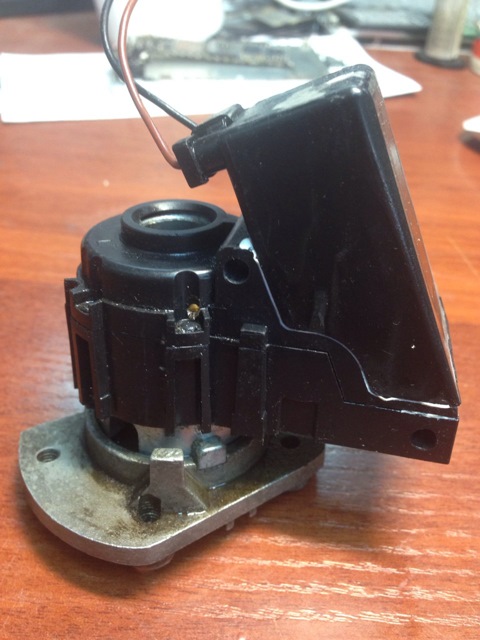
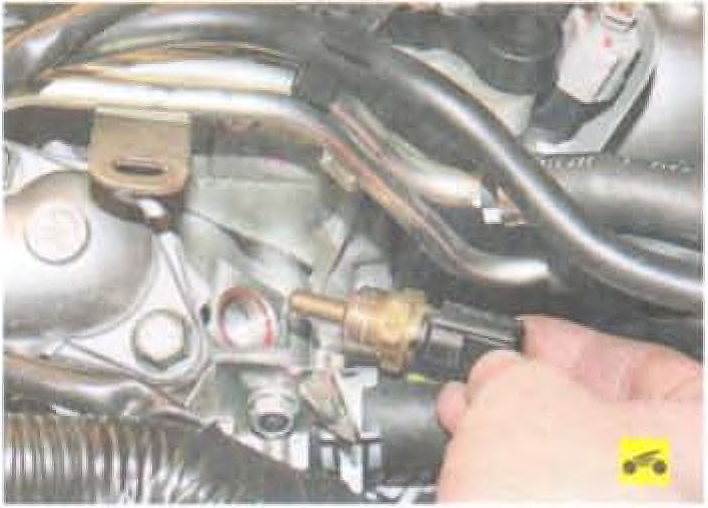
The Mitsubishi Lancer X coolant temperature sensor is installed in the thermostat housing. The sensor checks the resistance at the terminals at various temperature conditions.
Tools:
- socket head 19 mm
- Ratchet wrench
- Tester
- Screwdriver flat medium
Parts and consumables:
- Water container
- New sensor
1. Disconnect a wire from the minus plug of the storage battery.
2. Drain the liquid from the engine cooling system (see "Replacing the coolant", p. 64)
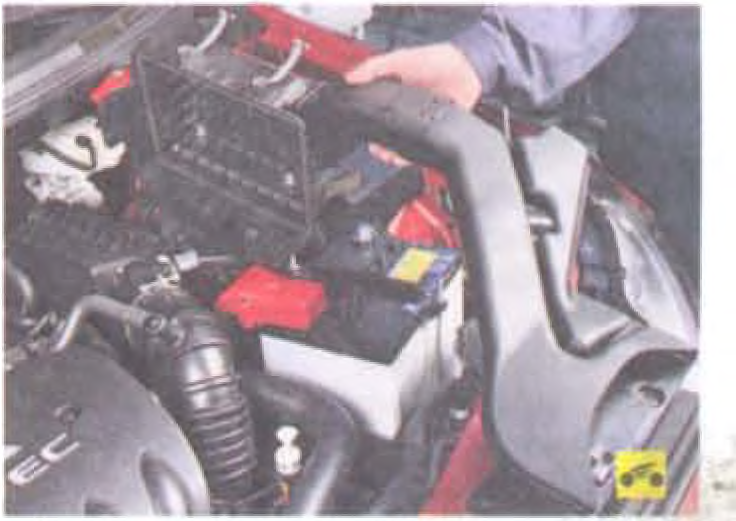
3. Remove the air filter together with the air inlet (see "Removing and installing the air filter", p. 115).
4. Carefully detach the wire harness holders from the brackets.
5. Pressing the latch, disconnect the block of the wiring harness from the sensor.
6. Use a 19 mm socket to loosen the sensor.
7. Turn out the gauge and remove it.
8. Connect the tester to the sensor leads and lower the sensor into a container of water.
9. Measure the resistance at the sensor terminals at different temperature conditions. The nominal resistance of a good sensor is indicated in Table. 10.9.
10. Install the sensor in the reverse order of removal.
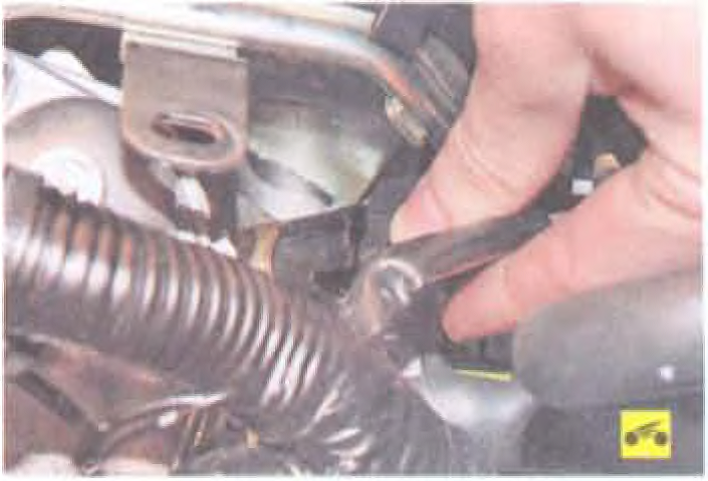
The Mitsubishi Lancer X knock sensor is installed on the cylinder block wall in its upper part on the right side.
Tools:
- Open-end wrench 12 mm
- Screwdriver flat medium
1. Disconnect a wire from the minus plug of the storage battery.
2. Remove the intake manifold (see "Replacing the intake manifold gasket", page 94).
3. Use a flat-blade screwdriver to pry out the locking bracket.
4. Remove the bracket.
5. Press the plastic pad retainer.
6. Disconnect the wiring harness block from the sensor.
7. Using a 12 mm wrench, remove the knock sensor mounting bolt from the cylinder block wall.
8. Remove the sensor.
9. Install the knock sensor in the reverse order of removal.
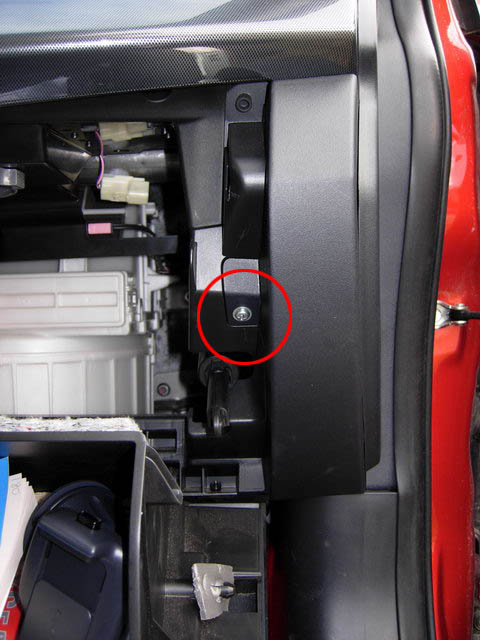
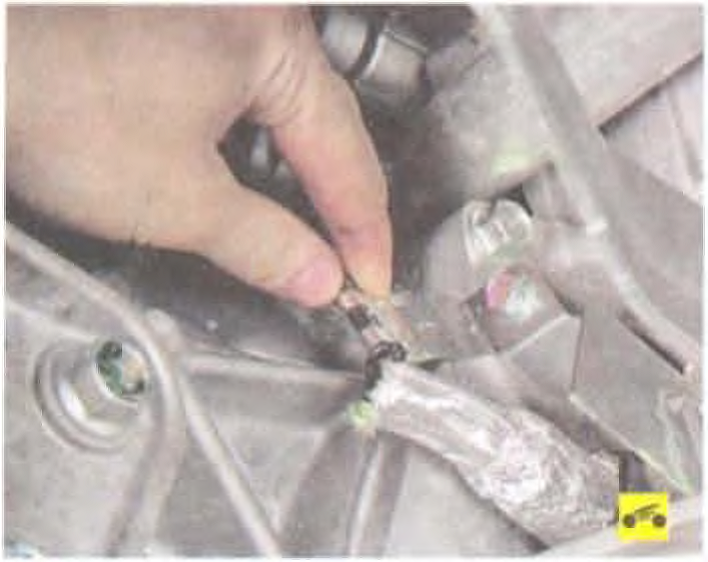
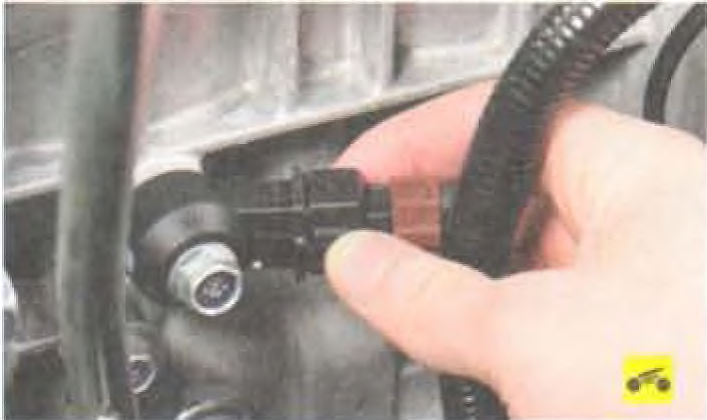
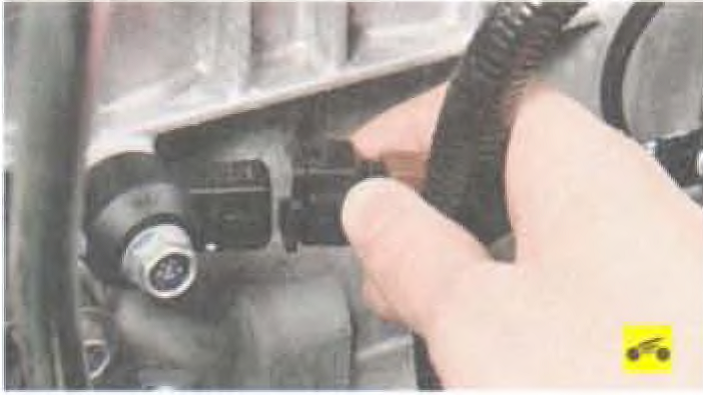
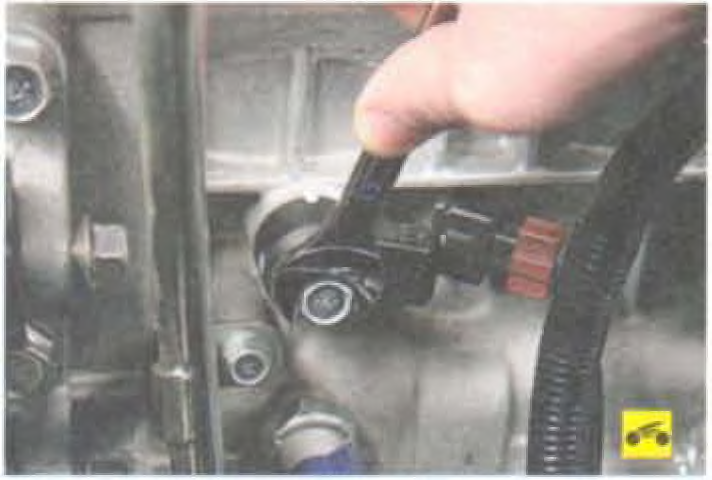
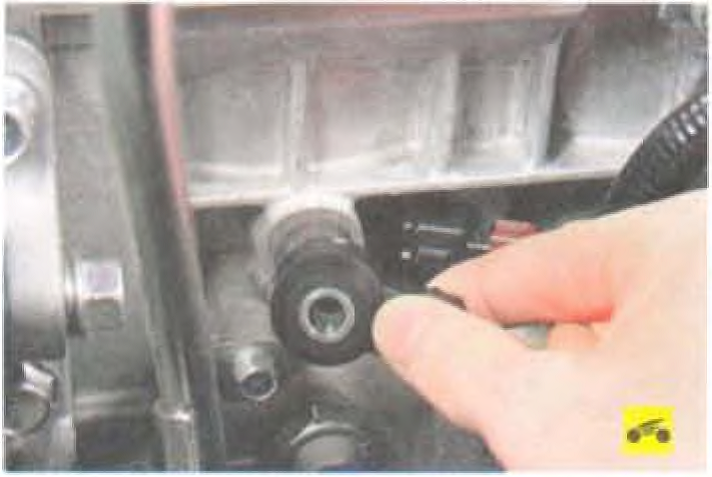
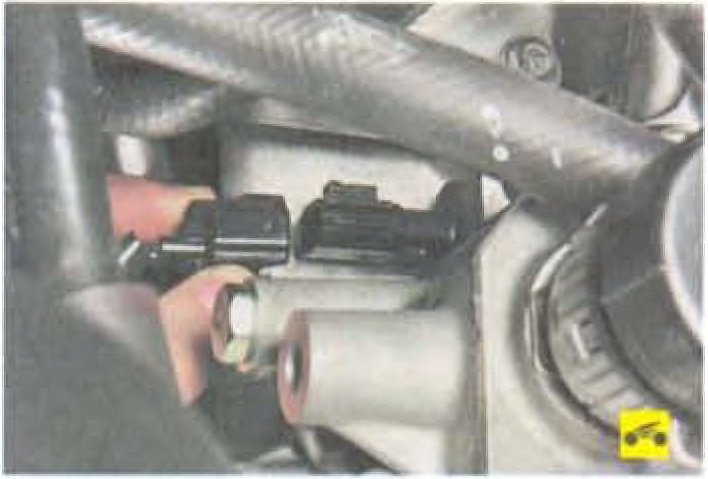
The Mitsubishi Lancer X vehicle speed sensor (driven pulley speed sensor) is installed on top of the gearbox housing.
Tools:
- Open-end wrench 10 mm
1. Disconnect a wire from the minus plug of the storage battery.
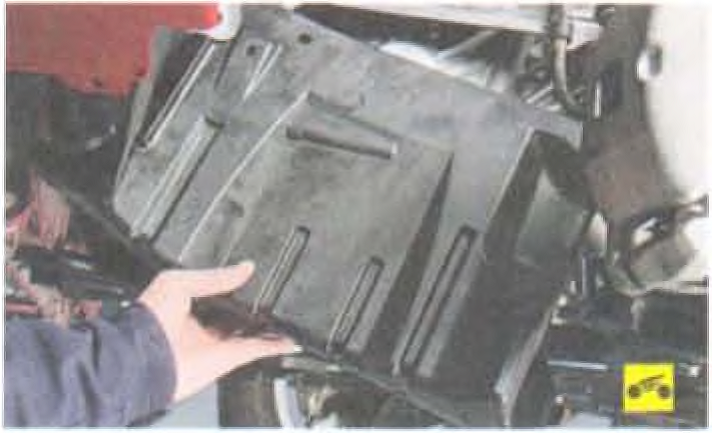
2. Remove the left engine mudguard (see "Removing and installing engine mudguards", page 85).
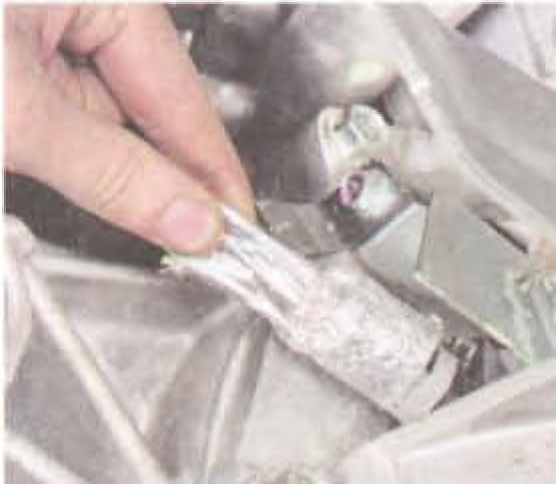
3. Press on the pad spring retainer.
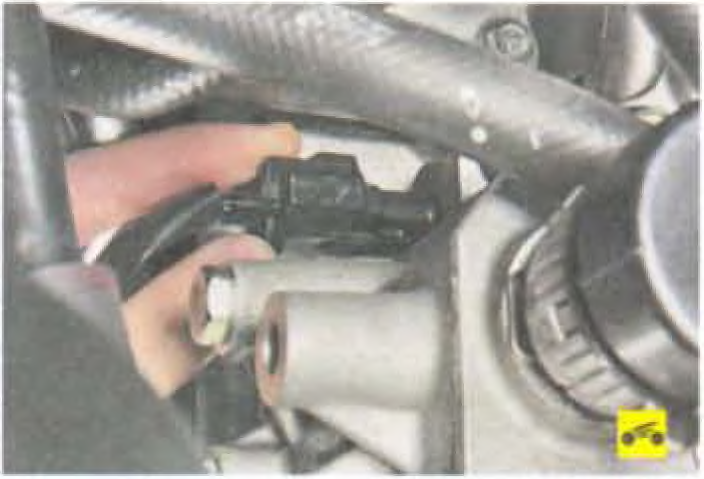
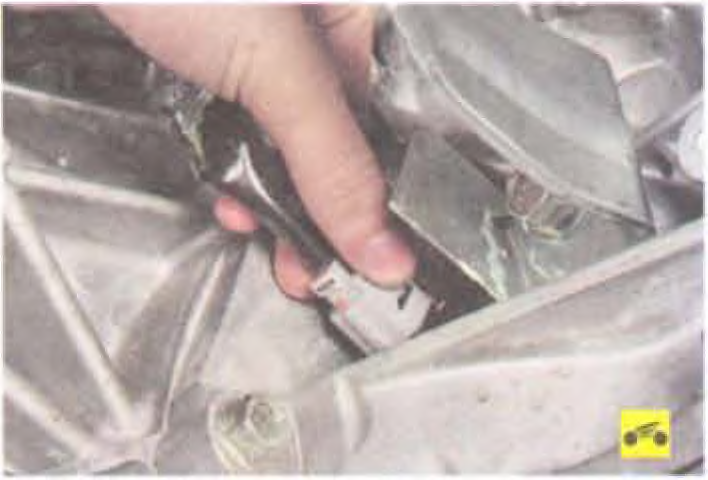
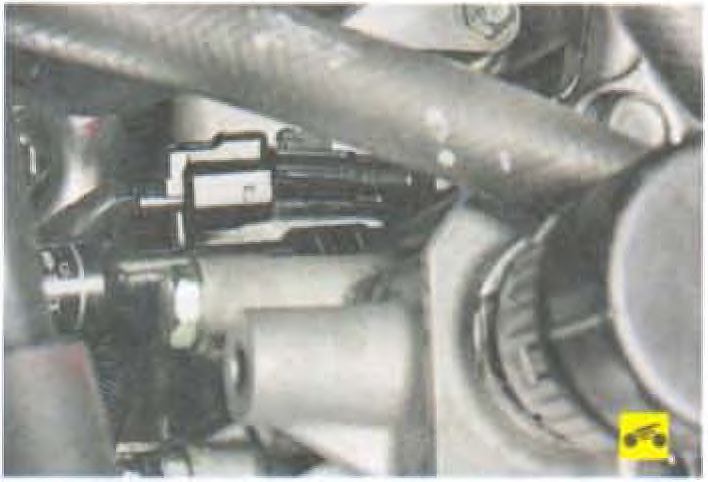
4. Disconnect the harness connector from the speed sensor.
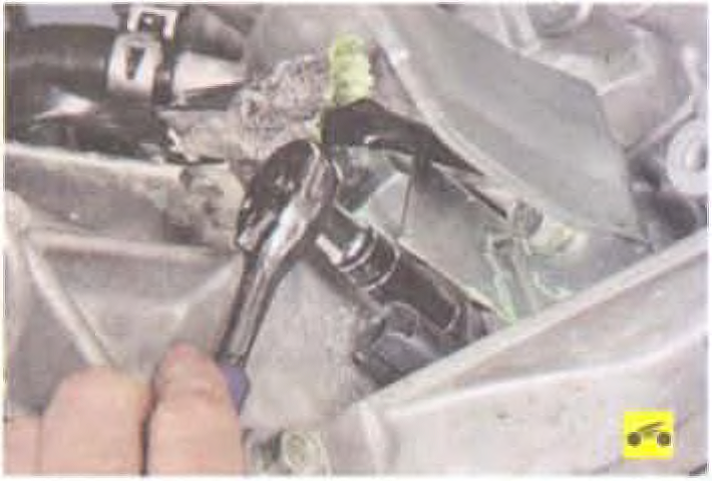
5. With a 10 mm wrench, unscrew the bolt securing the sensor to the gearbox housing.
6. Remove the speed sensor from the gearbox.
7. Install the vehicle speed sensor in the reverse order of removal.
Source: Mitsubishi Lancer X Owner's Manual