![E140/E150 [2006 - 2010]](/uploads/Toyota_Corolla_E140_2006_-_2010_.jpg)

Tools:
- Screwdriver flat medium
Parts and consumables:
- Cloth gloves
- rags
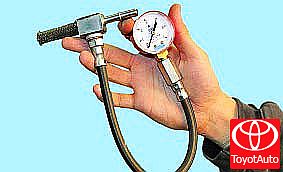
- Fuel pressure control
- Empty container
Note:
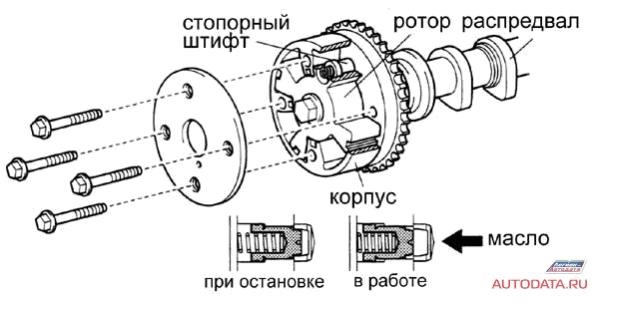
The fuel pressure regulator is installed in the fuel pump module. The correctness of the regulator is determined on a running engine by the fuel pressure in the injector rail (see "Checking the pressure in the engine power system"). If the pressure is below normal, and the rest of the system is working, the regulator is faulty.
Checking and replacing the Toyota Corolla fuel pressure regulator
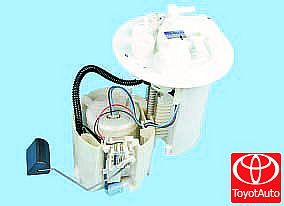
1. Remove the fuel pump module (see "Replacing the fuel pump").
2. Press out the two latches.
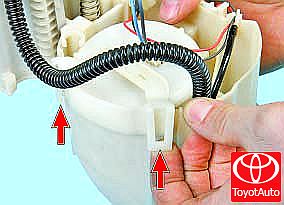
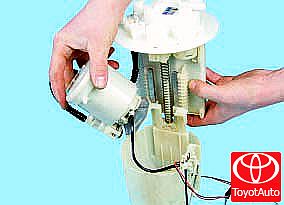
3. Remove fastening of the fuel pump.
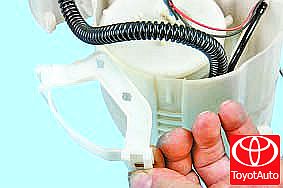
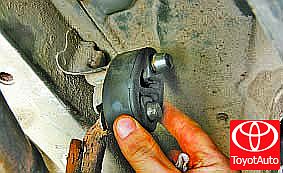
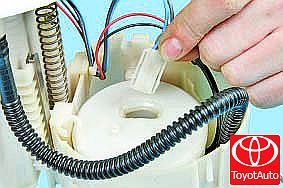
4. Squeeze the plastic retainer as shown in the photo.
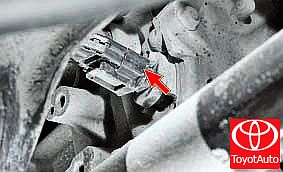
5. Disconnect the wiring harness connector from the fuel pump.
6. Remove the fuel pump.
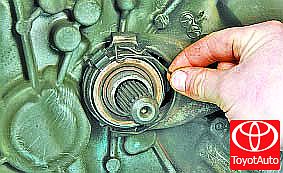
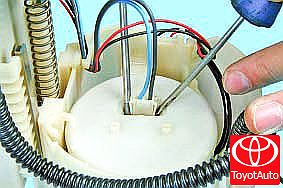
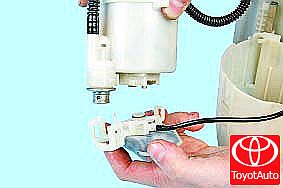
7. Pry off the five tabs with a screwdriver.

8. Remove the strainer mounting bracket.
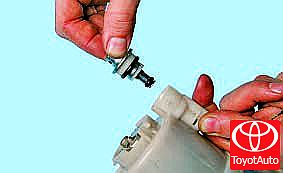
9. Pry with a screwdriver and remove the Toyota Corolla fuel pressure regulator. If necessary, replace it with a working one.

10. Install the parts in the reverse order of removal.
Source: http://toyotauto.net/corolla/proverka-i-zamena-regulyatora-davleniya-topliva.html