![2 generation [2007 - 2011]](/uploads/Honda-Jazz-2016.jpg)

Parts and consumables:
- Cloth gloves (optional)
- rags
- Funnel (as needed)
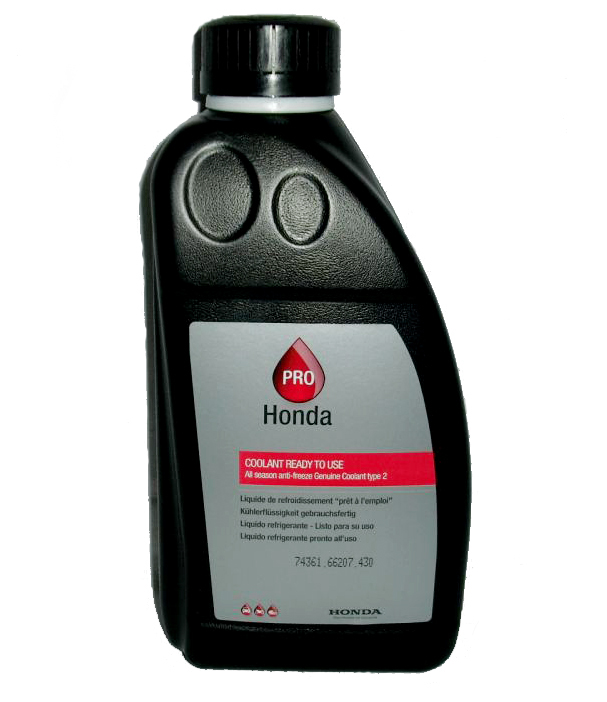
- Coolant Honda All Season Antifreeze/Coolant Type 2 (08C50-C32-1S0-1)
Notes:
This repair description also applies to the 2007-2013 Honda Fit (II) car .
Checking the coolant level of the Honda Jazz 2 in the expansion tank of the cooling system should be carried out at each inspection of the car before driving and always in case of engine overheating and the associated release of fluid from the system. Its sharp decrease or increase should be a signal for an immediate check of the engine cooling system. Also check liquid level in a broad tank of system of cooling at each gas station of the car with fuel .
Use only Honda All Season Antifreeze/Coolant Type 2 All Season Coolant. This coolant is a mixture of antifreeze and water in equal proportions. Do not add undiluted antifreeze or plain water to the cooling system.
Unsuitable Honda Jazz 2 antifreeze can cause corrosive damage to numerous parts of the cooling system, which are made of aluminum alloy. Some brands of antifreeze found on the market, despite the claims of manufacturers about the neutrality of these products to aluminum, do not provide adequate anti-corrosion protection for aluminum parts.
Do not mix liquids of different colors and different manufacturers. If you do not know the brand of the liquid filled in, and the liquid needs to be topped up, replace all the liquid in the cooling system. Only use products from trusted manufacturers. Remember that the use of poor quality coolant leads to costly engine repairs.
The cooling system is pressurized, so before adding coolant, allow the engine to cool for at least one hour after shutting it down.
Coolant is toxic , so be careful when handling it.
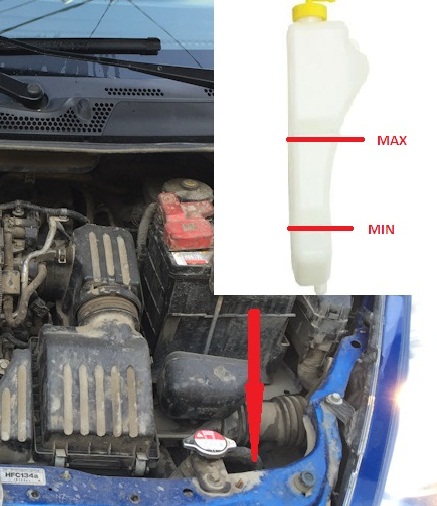
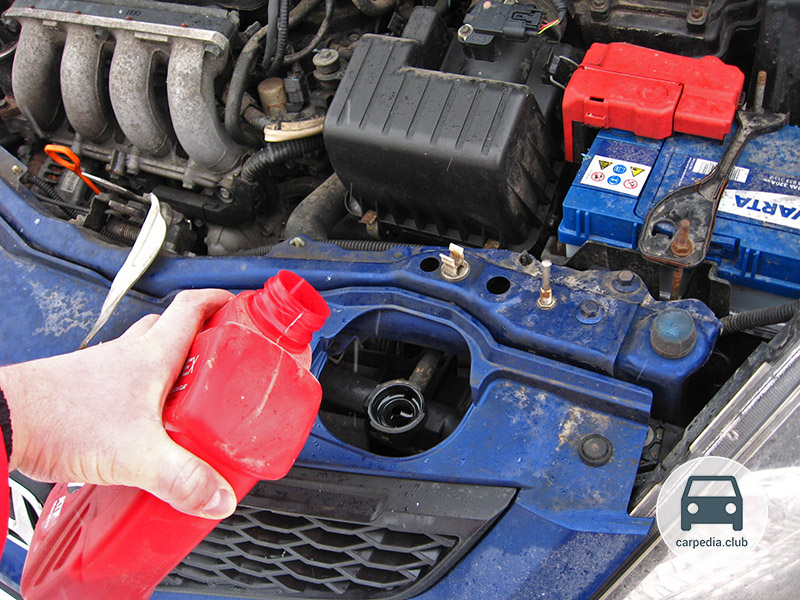
1. Park the vehicle on level ground, allow the engine to cool, and open the hood. The expansion tank of the engine cooling system is located in the front left side of the engine compartment in the direction of the vehicle.
2. Visually check up level of a cooling liquid in a tank. It should be between the MAX (maximum) and MIN (minimum) marks on the wall of the expansion tank. If the Honda Jazz 2 fluid level is at the MIN mark or has dropped below, then you need to add coolant.
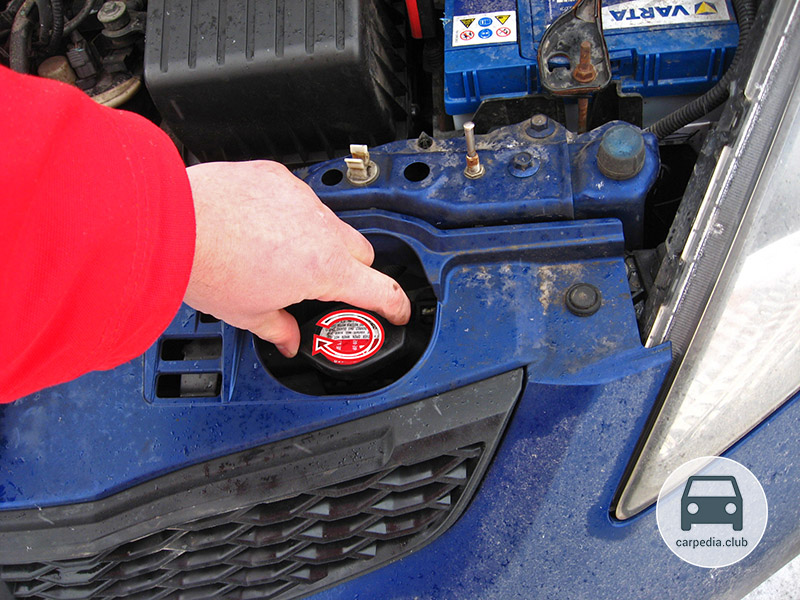
3. To add coolant, first turn counterclockwise and remove the cap from the expansion tank.
Notes:
While the engine is warm, do not touch the cap of the expansion tank: you may get burned.
4. Add coolant, slightly not bringing the level to the MAX mark.
Warning:
Do not fill the fluid reservoir above the MAX mark, as the fluid volume increases when the engine is running. When starting the engine, the expansion tank cap must be closed.
5. Close the cap of the coolant expansion tank tightly by turning it clockwise until it stops. Clean up spilled coolant with a rag.
Warning:
Close the expansion tank cap tightly: coolant may leak from under a loosely closed plug.
If during the check it turned out that the coolant in the expansion tank is completely absent, then check for its presence in the radiator of the cooling system:
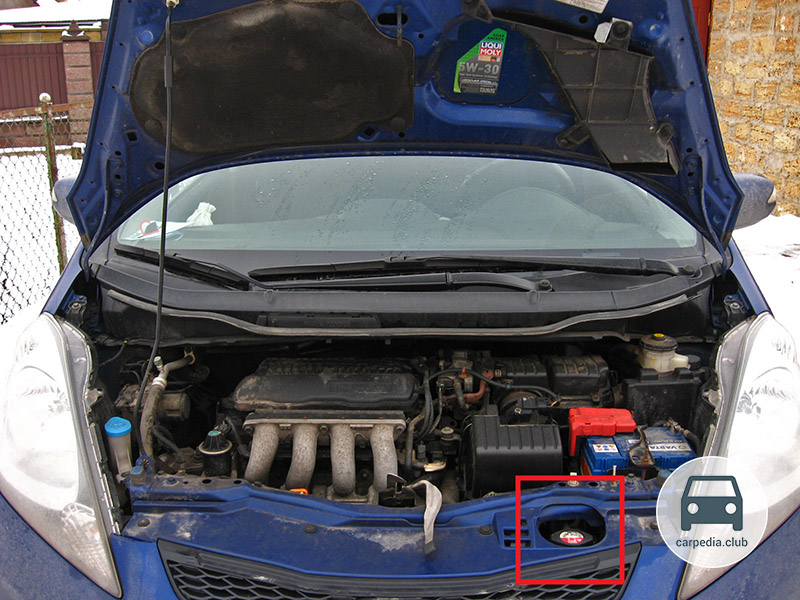
1. The radiator of the engine cooling system is located in the front of the engine compartment on the left in the direction of the vehicle.
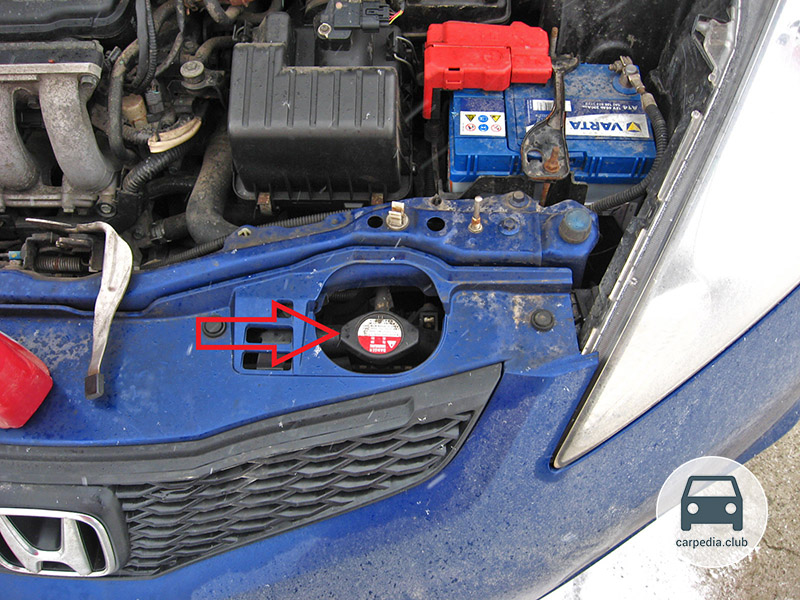
2. Make sure the engine and radiator are cool. Without pressing the radiator cap, turn it counterclockwise to relieve excess pressure in the engine cooling system.
Warning:
It is dangerous to remove the radiator cap while the engine is still hot, as this can cause severe burns from splashing hot coolant.
3. Press down on the cap, turn it counterclockwise and remove the cap from the mouth.
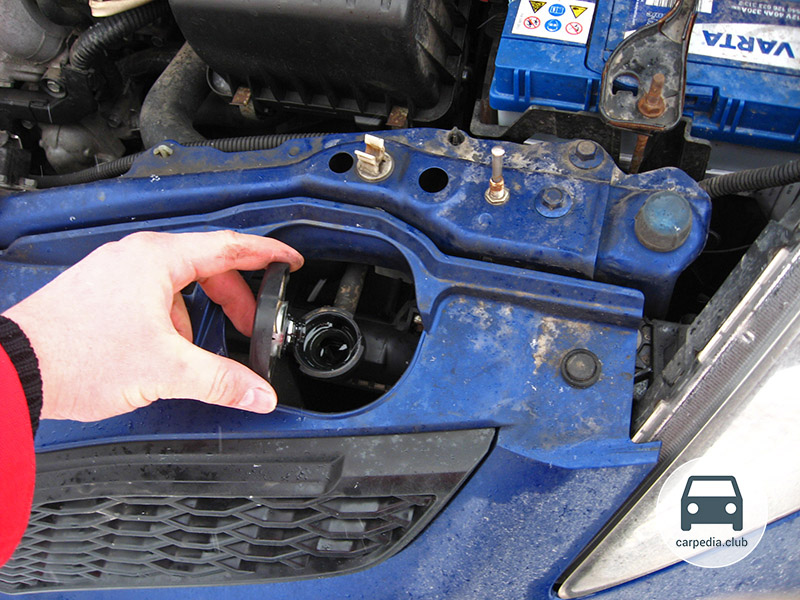
4. The coolant level in the radiator should be level with the base of the filler neck. Add coolant to the radiator if necessary.
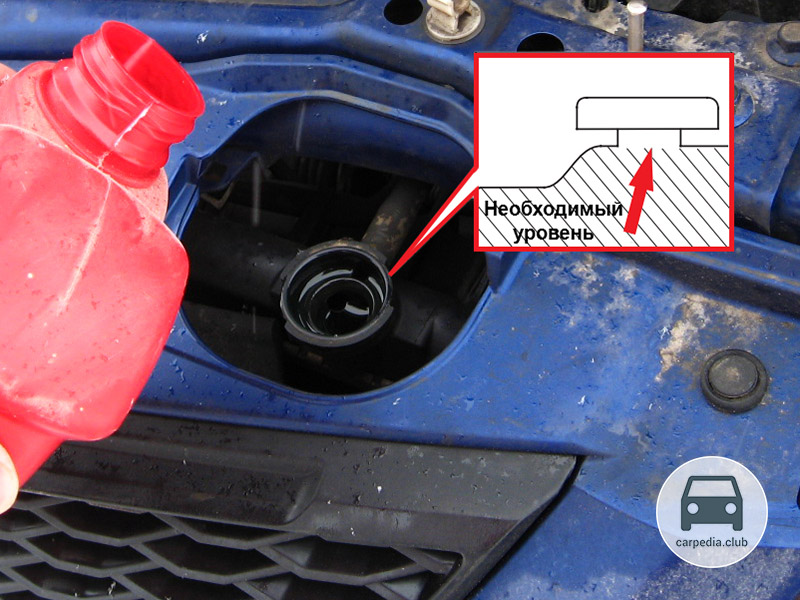
5. Add coolant slowly and carefully, being careful not to spill it. Wipe up spills immediately as they may damage equipment located in the engine compartment.
Warning:
Close the radiator cap tightly. The cooling system is under pressure when the engine is running, so coolant may leak from under a loose cap or the cap may be torn off.
Helpful Hints:
It is convenient to use a funnel to facilitate topping up the liquid. In the absence of a funnel for adding liquid, you can make a funnel from the neck of a plastic bottle.
6. Replace the radiator cap and tighten it securely by turning it clockwise.
7. Add coolant to the Honda Jazz 2 expansion tank. The fluid level should be in the middle between the MIN and MAX marks. Reinstall the expansion tank cap.
Note:
Do not add corrosion inhibitors or other additives to the coolant. These products may react with coolant or be corrosive to engine materials.
If the newly filled Honda Jazz 2 coolant suddenly suddenly turned brown quickly, it means that you were sold a fake, in which they "forgot" to add corrosion inhibitors. Replace the fluid as soon as possible before it has had time to corrode the cooling system.
If the coolant level in the expansion tank is constantly decreasing, then the engine cooling system is most likely leaking, so it is very important to immediately check its tightness and repair the malfunction.
The article is missing:
- Photo of parts and consumables
- High-quality repair photos
Source: carpedia.club