Note:
Raise the parking brake lever up to the stop. At the same time, you should hear 3-5 clicks of the ratchet device. If the number of clicks does not fit into the specified interval or the car is not held by the parking brake, then the drive needs to be adjusted.
Handbrake adjustment on Kia Rio 3
1. Put the car in gear and lower the handbrake. Move the front seats as far forward as possible.
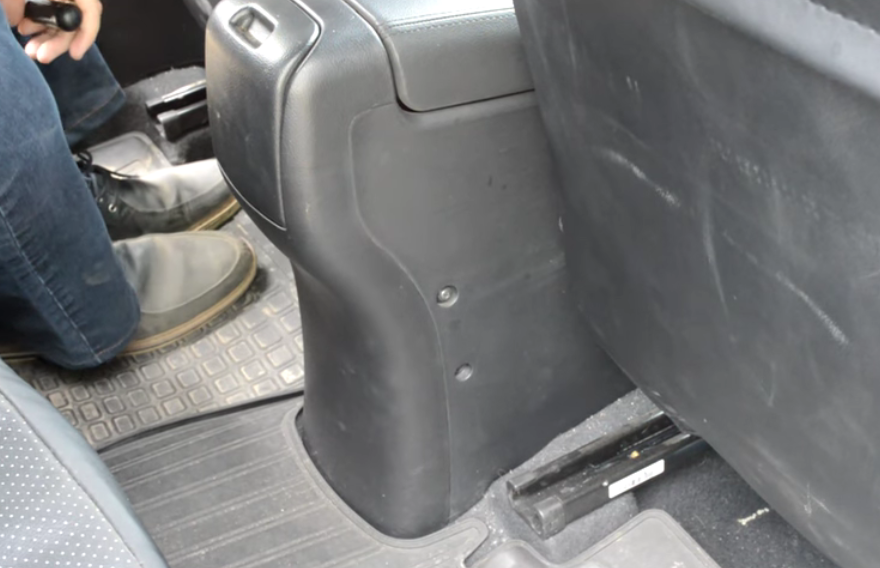
2. Using a Phillips screwdriver, unscrew the 2 fastening screws on the right and left.
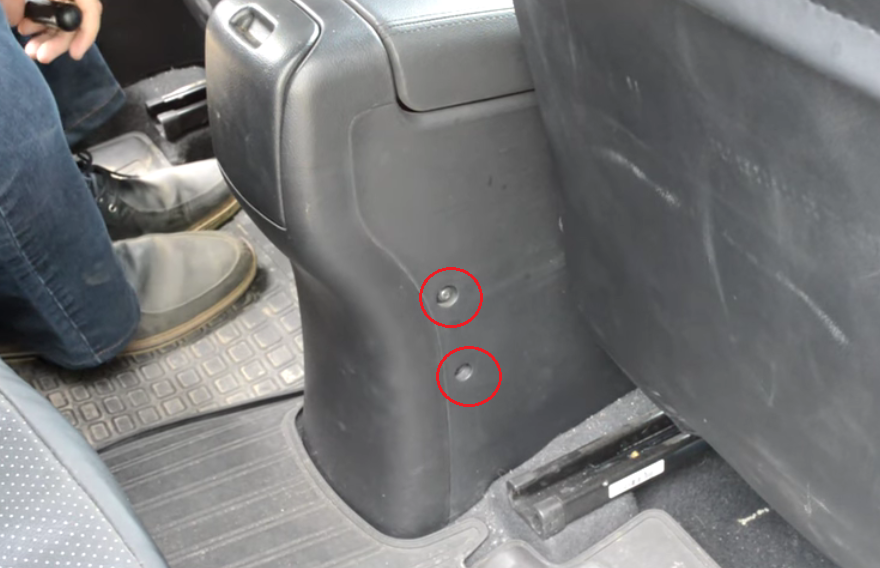
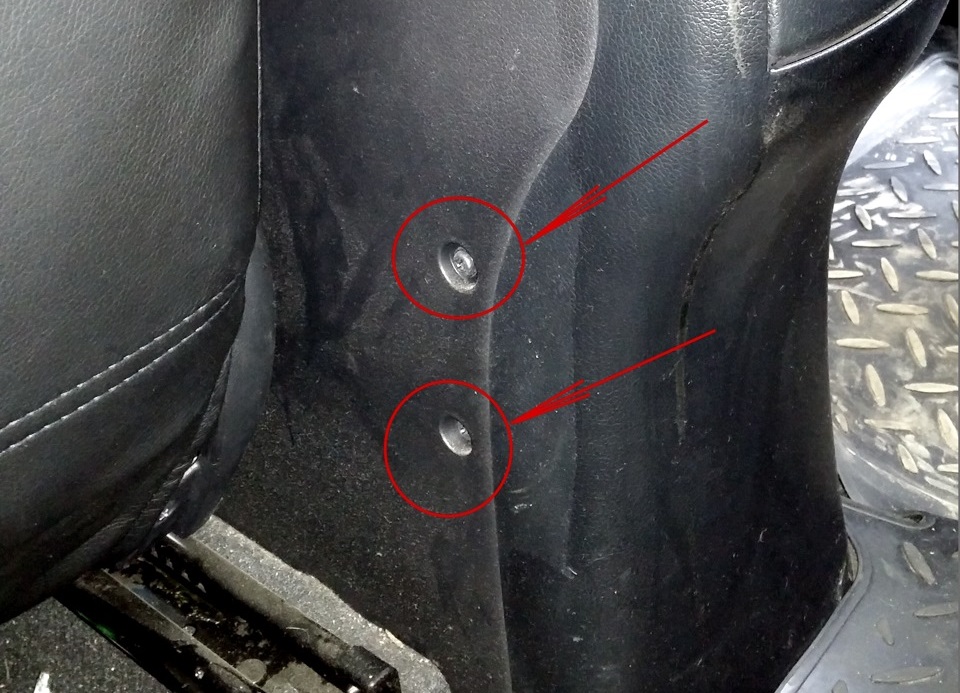
3. Open the cup holder.
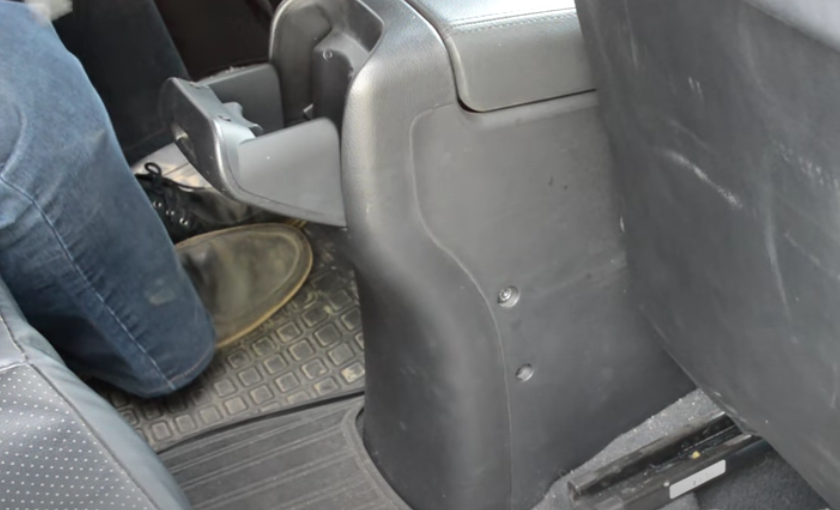
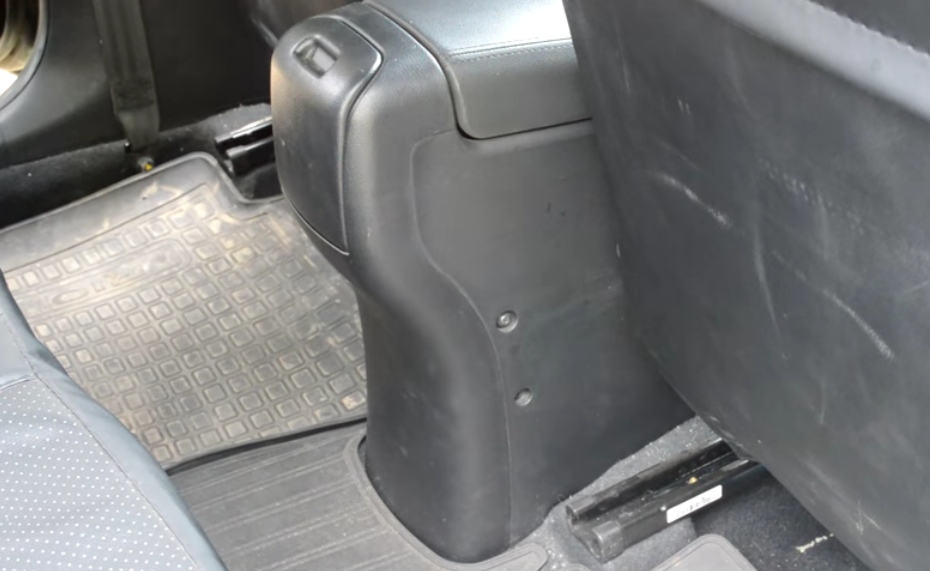
4. Using a Phillips screwdriver, remove 2 more screws in the middle.
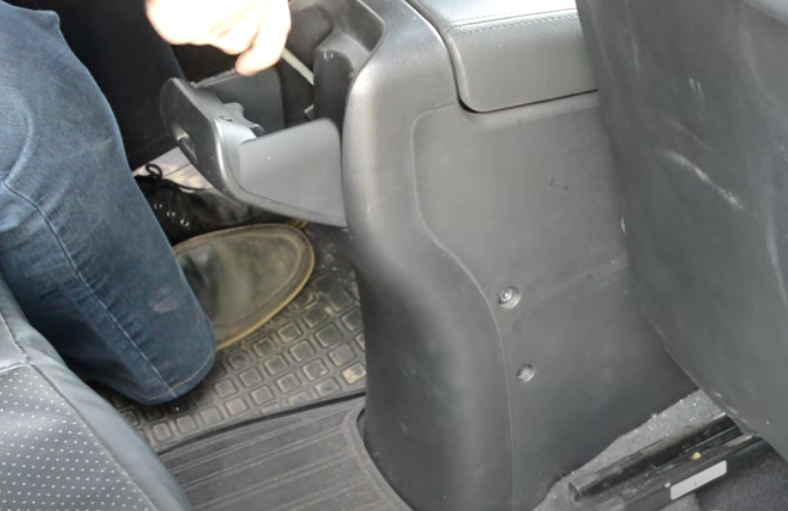
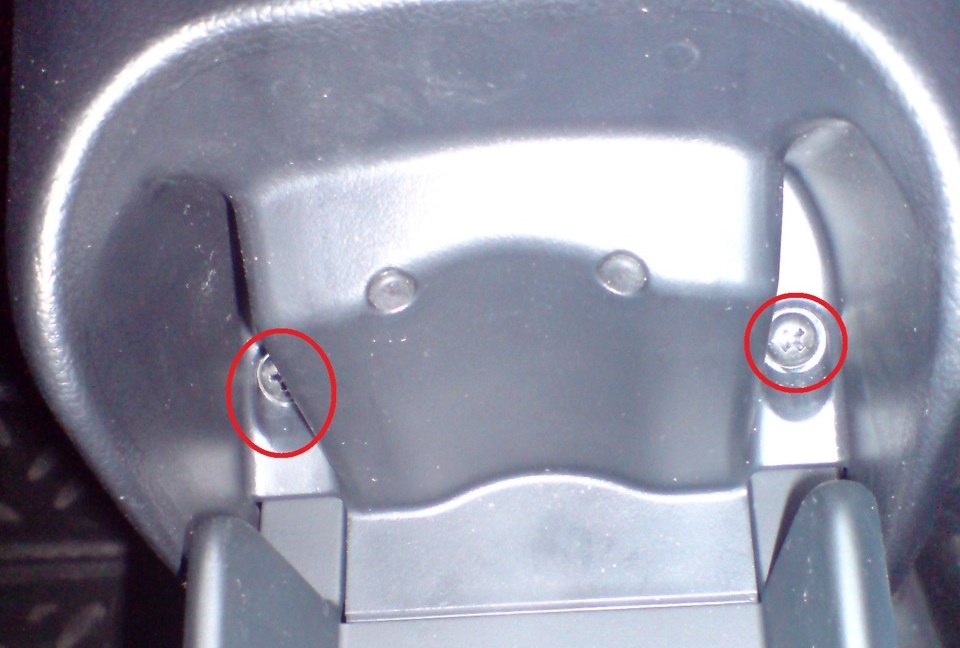
Screw location
5. Open the armrest cover and remove 2 more fixing screws.
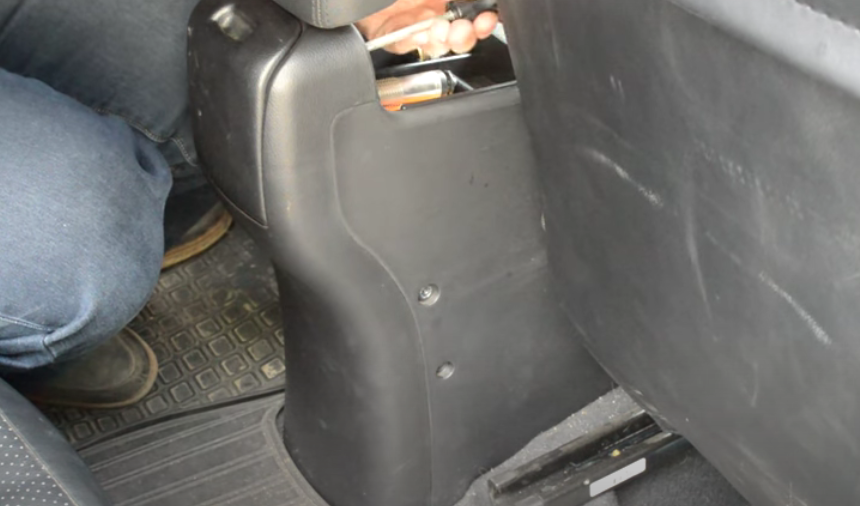
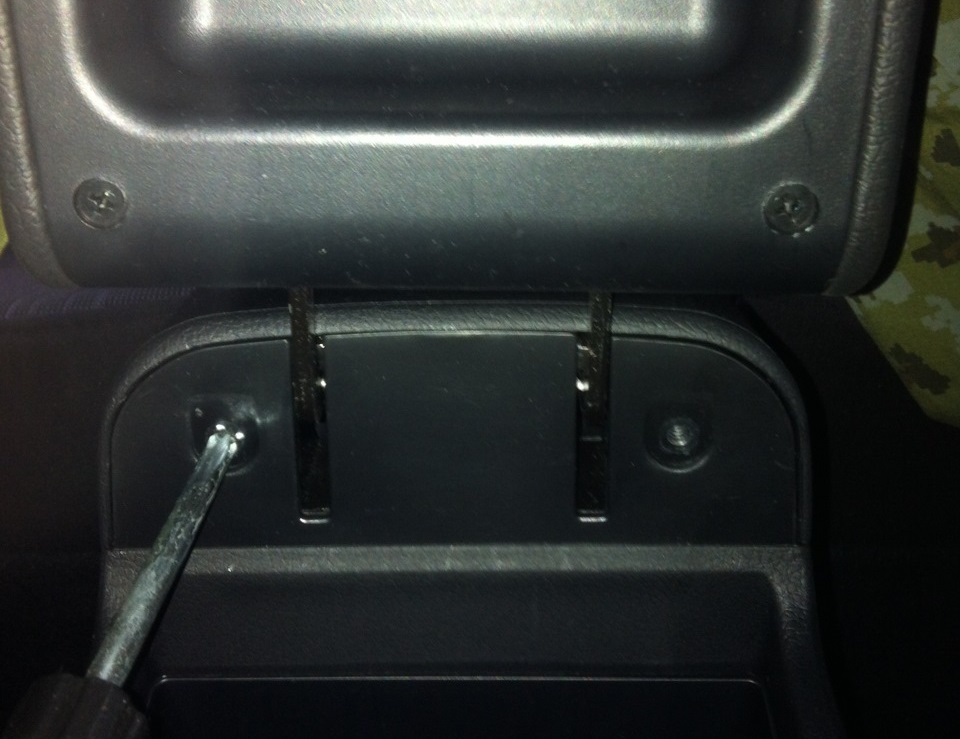
6. Pull towards you, remove from the latches and remove the rear panel of the armrest.
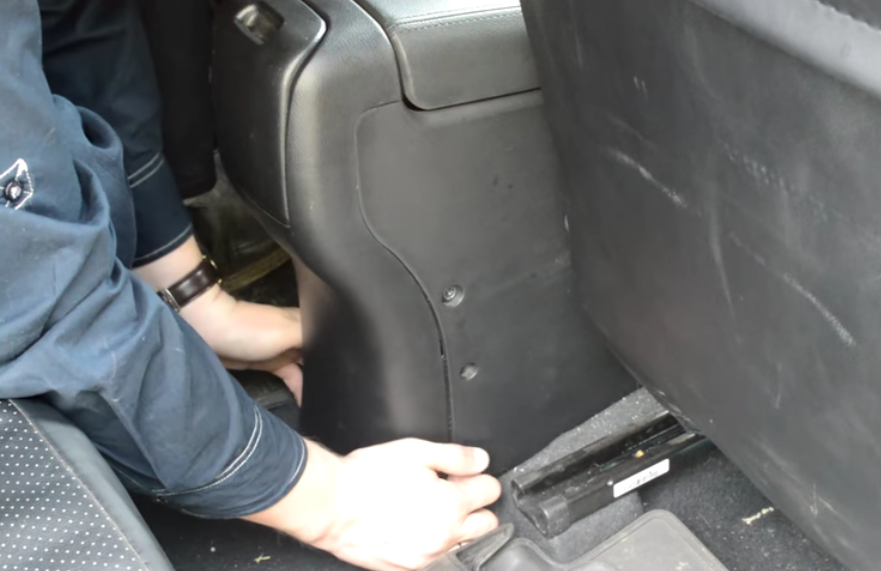
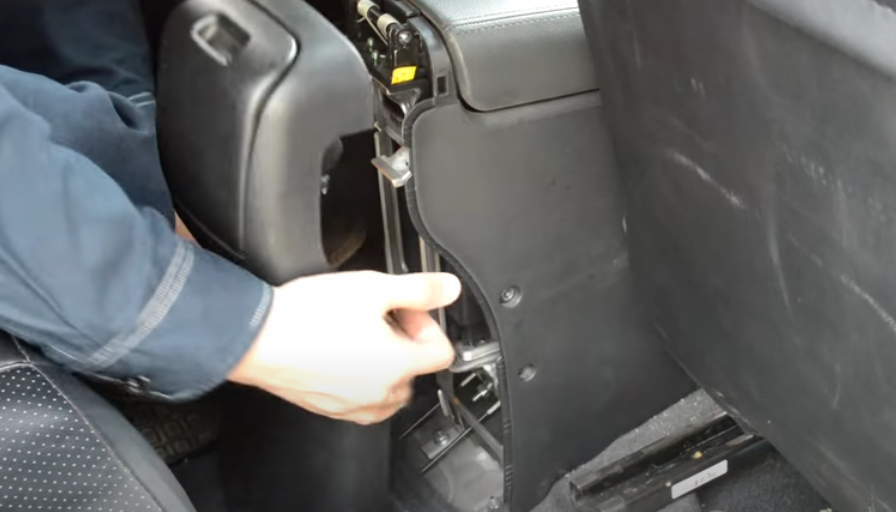
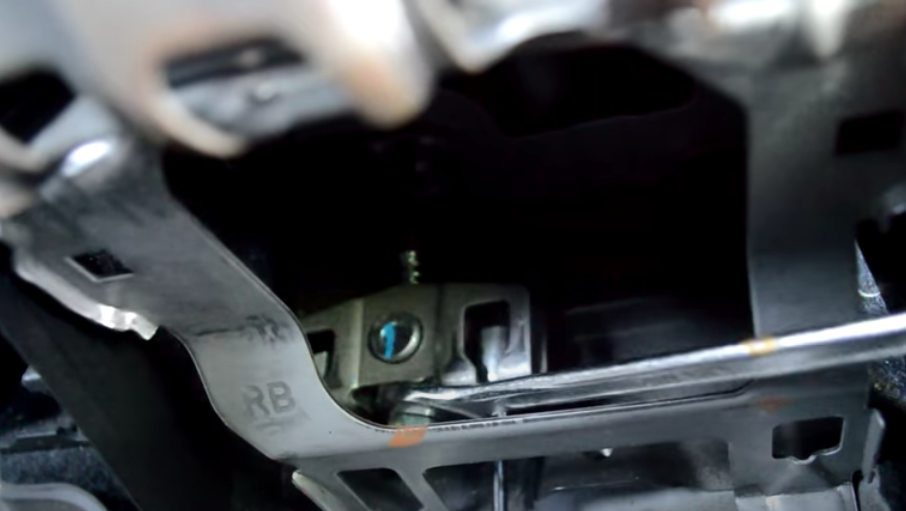
7. This will open access to the adjusting nut of the Kia Rio 3 handbrake.
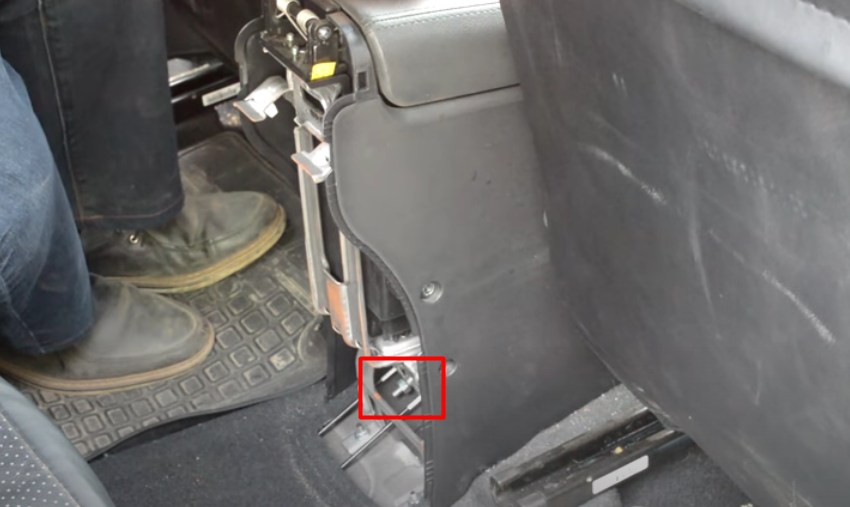
8. Remove the car from the handbrake. Use a 12mm wrench to turn the adjusting nut clockwise a few turns until you get the desired number of clicks. Rotate until there is no free play.
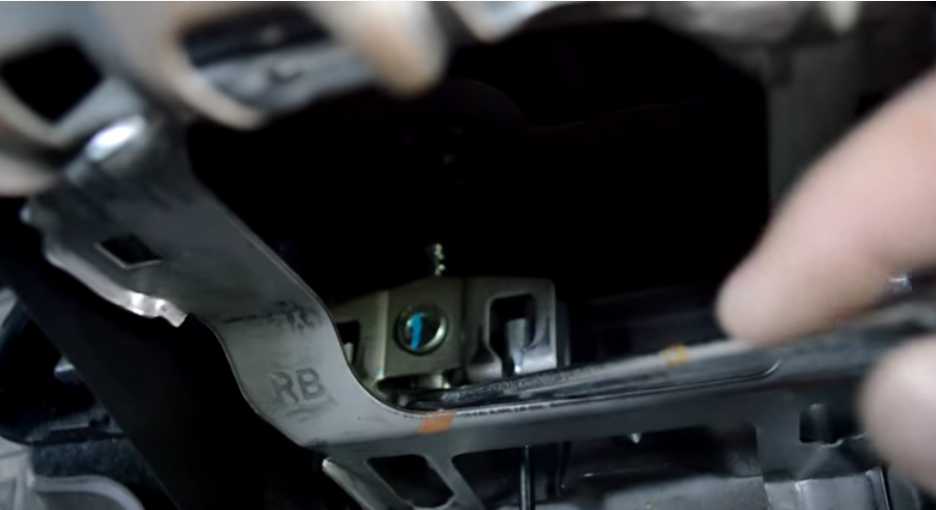
9. After adjusting the handbrake on the Kia Rio 3, install all removed parts in the reverse order of removal.
Note:
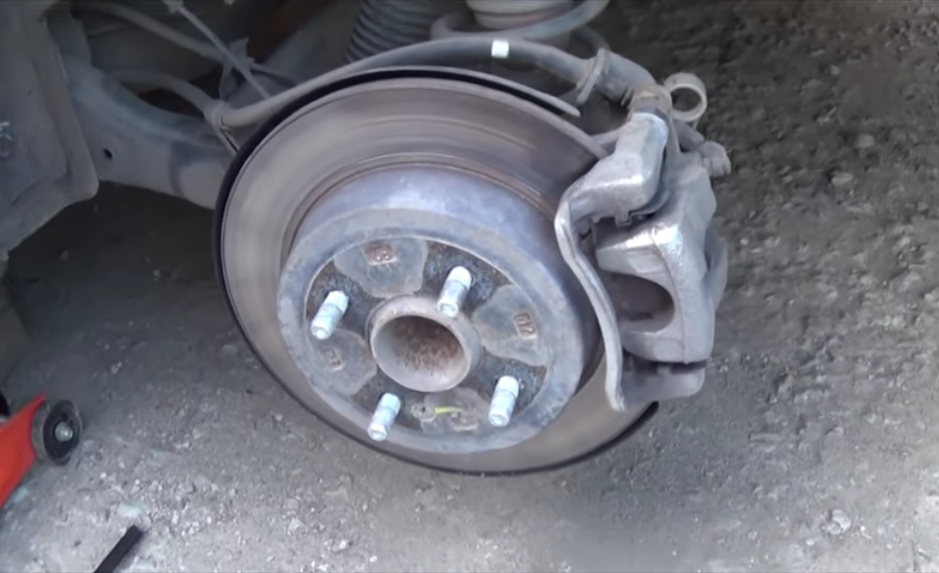
You can also hang the rear wheels and check how they turn and whether they are blocked by the applied parking brake.
Source: https://www.youtube.com/channel/UCFEujg9GwhJkGUW-8g_VsEw

![2 generation [2005 - 2009]](/uploads/Kia_Rio_2005_-_2011.png)
![3 generation [2011 - 2015]](/uploads/9b0bb8ba0203729f482ae8eb3b95c4f1.jpg)
