![1 generation [2015 - 2022]](/uploads/hyundai_creta_2016_1.jpg)

Note:
The need for adjustment can be determined during the inspection of the brake system, after repairing the rear brakes, replacing the pads, cables or pulling them out.
The parking brake lever travel should be 6-8 clicks. If the stroke is different, it will need to be adjusted.
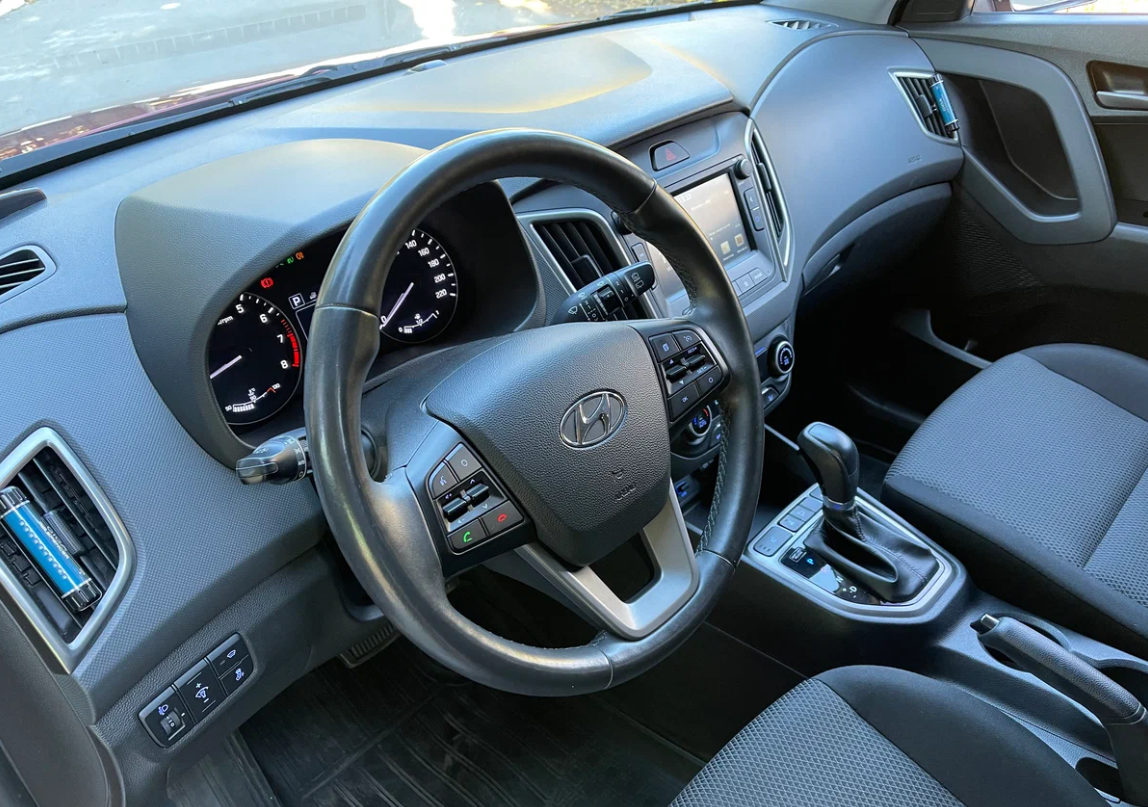
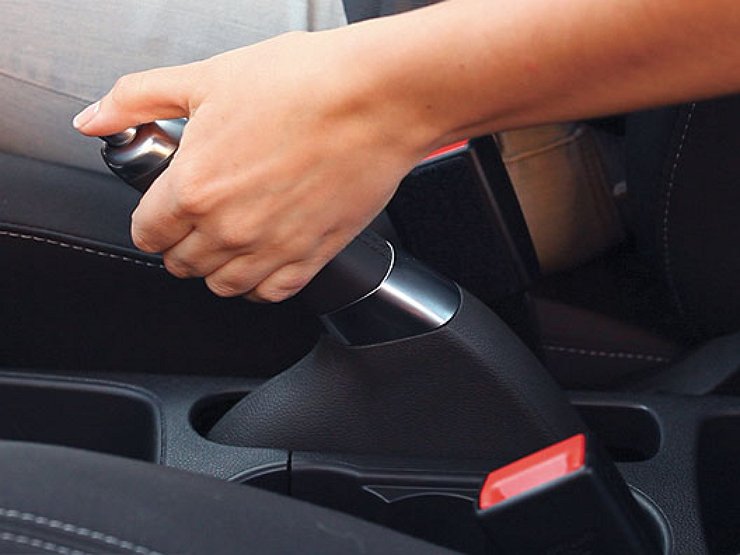
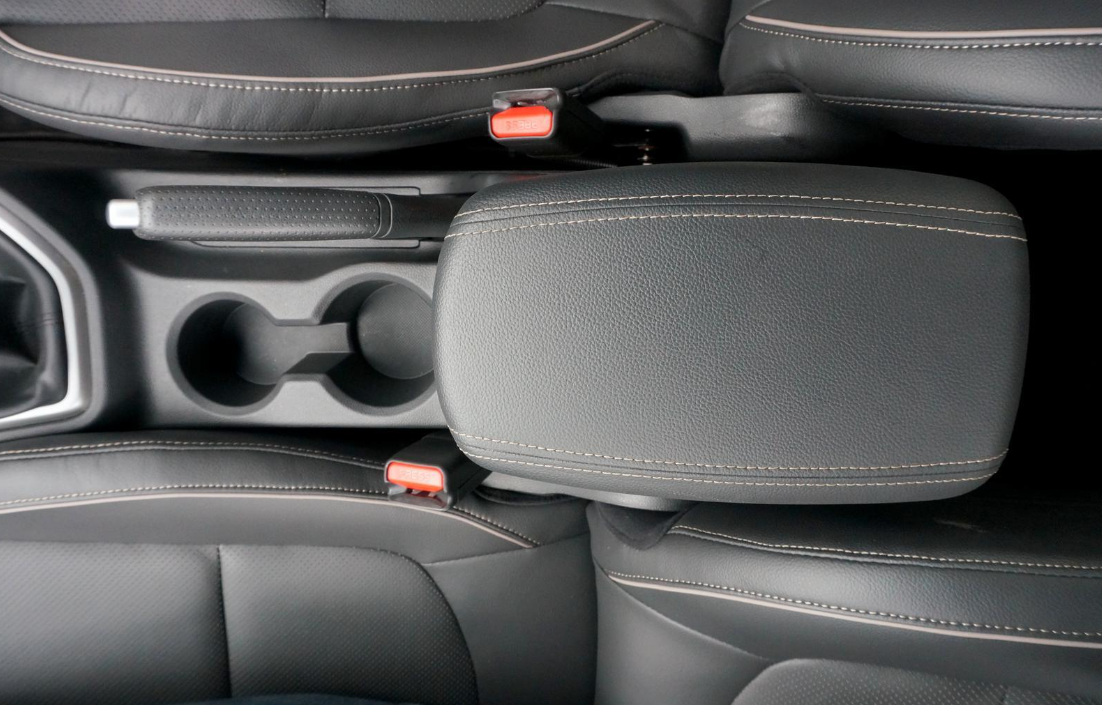
Adjusting the handbrake on the Hyundai Creta. 1way
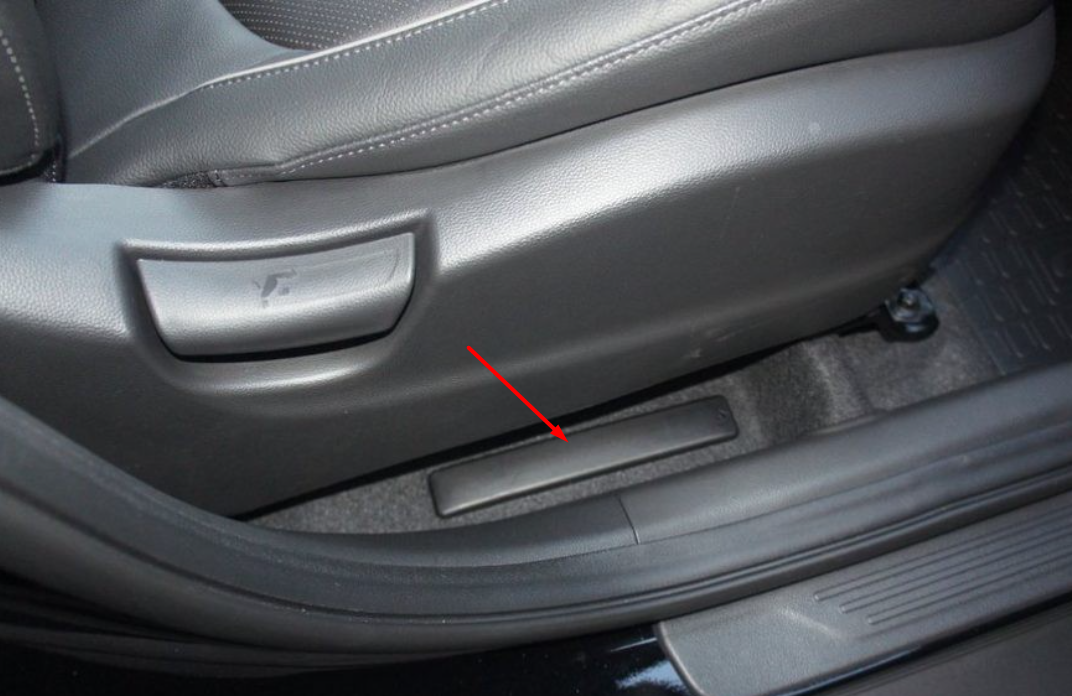
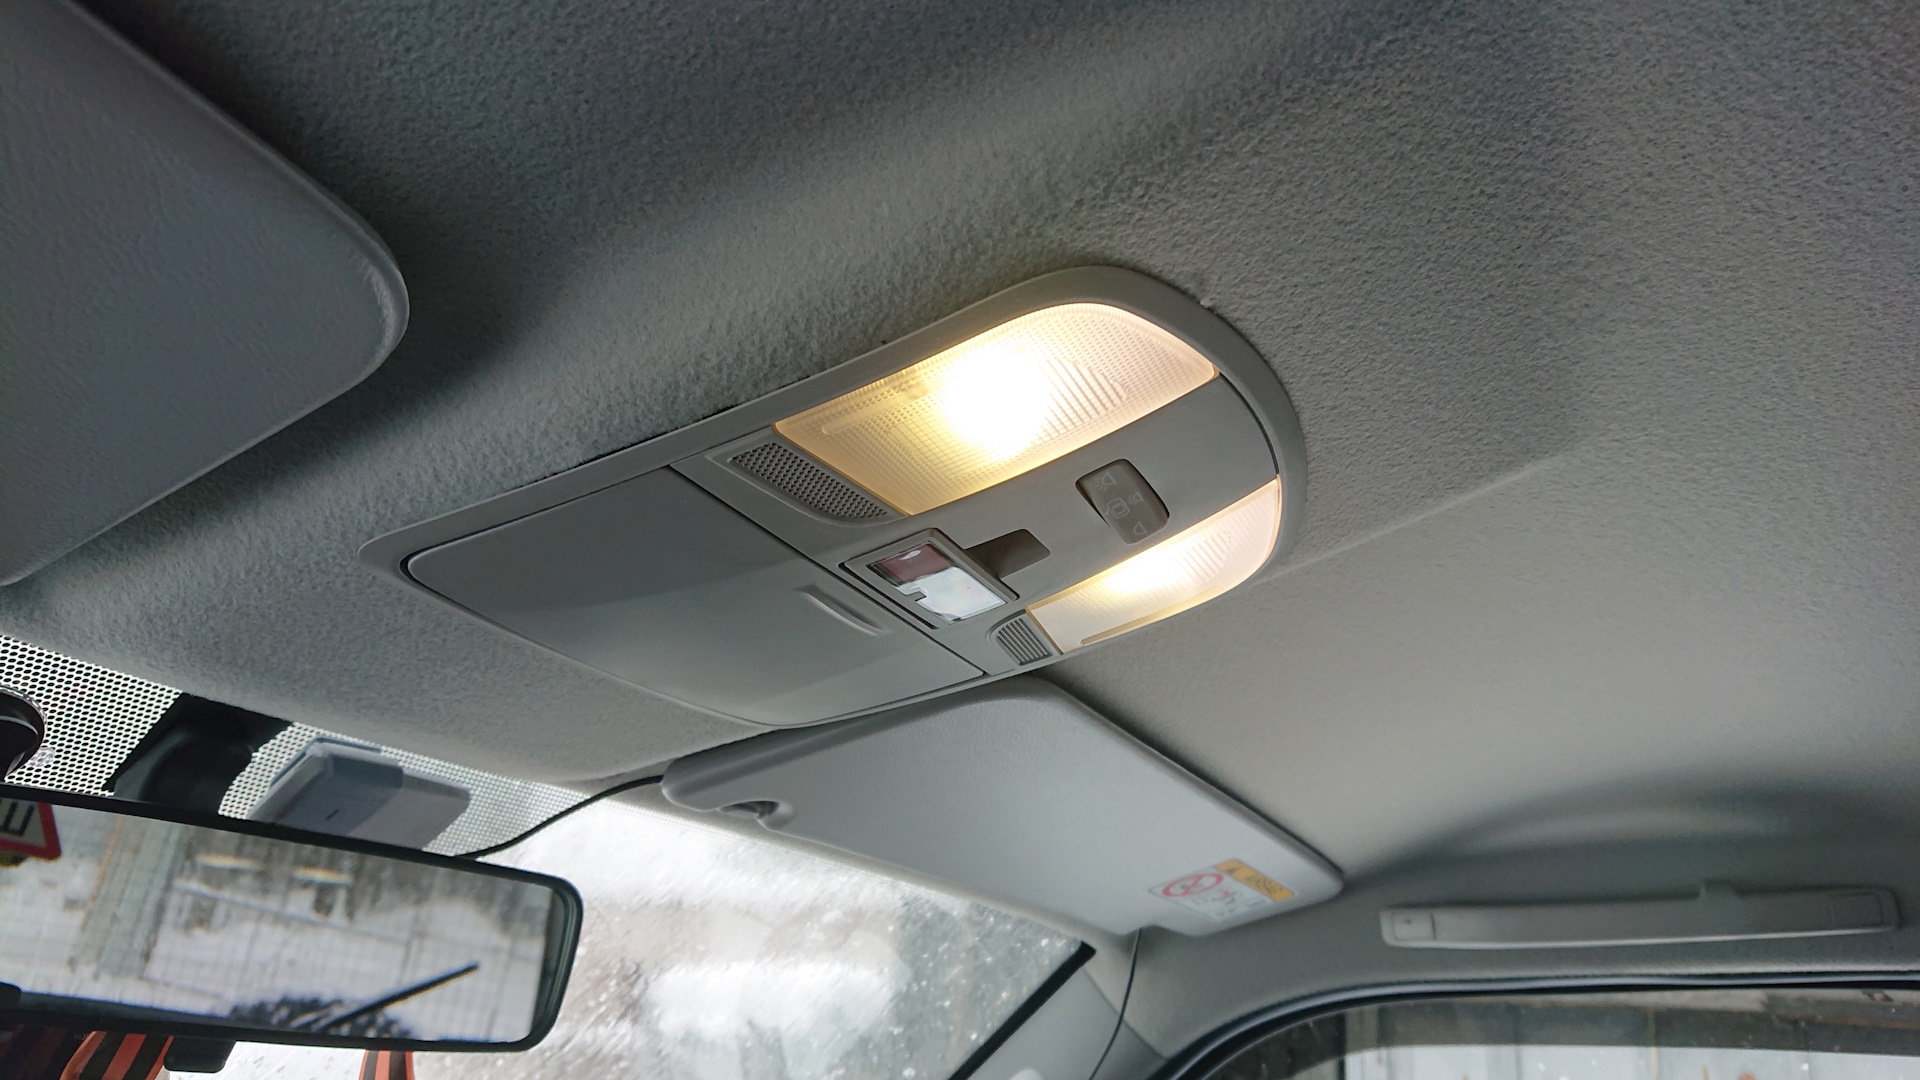
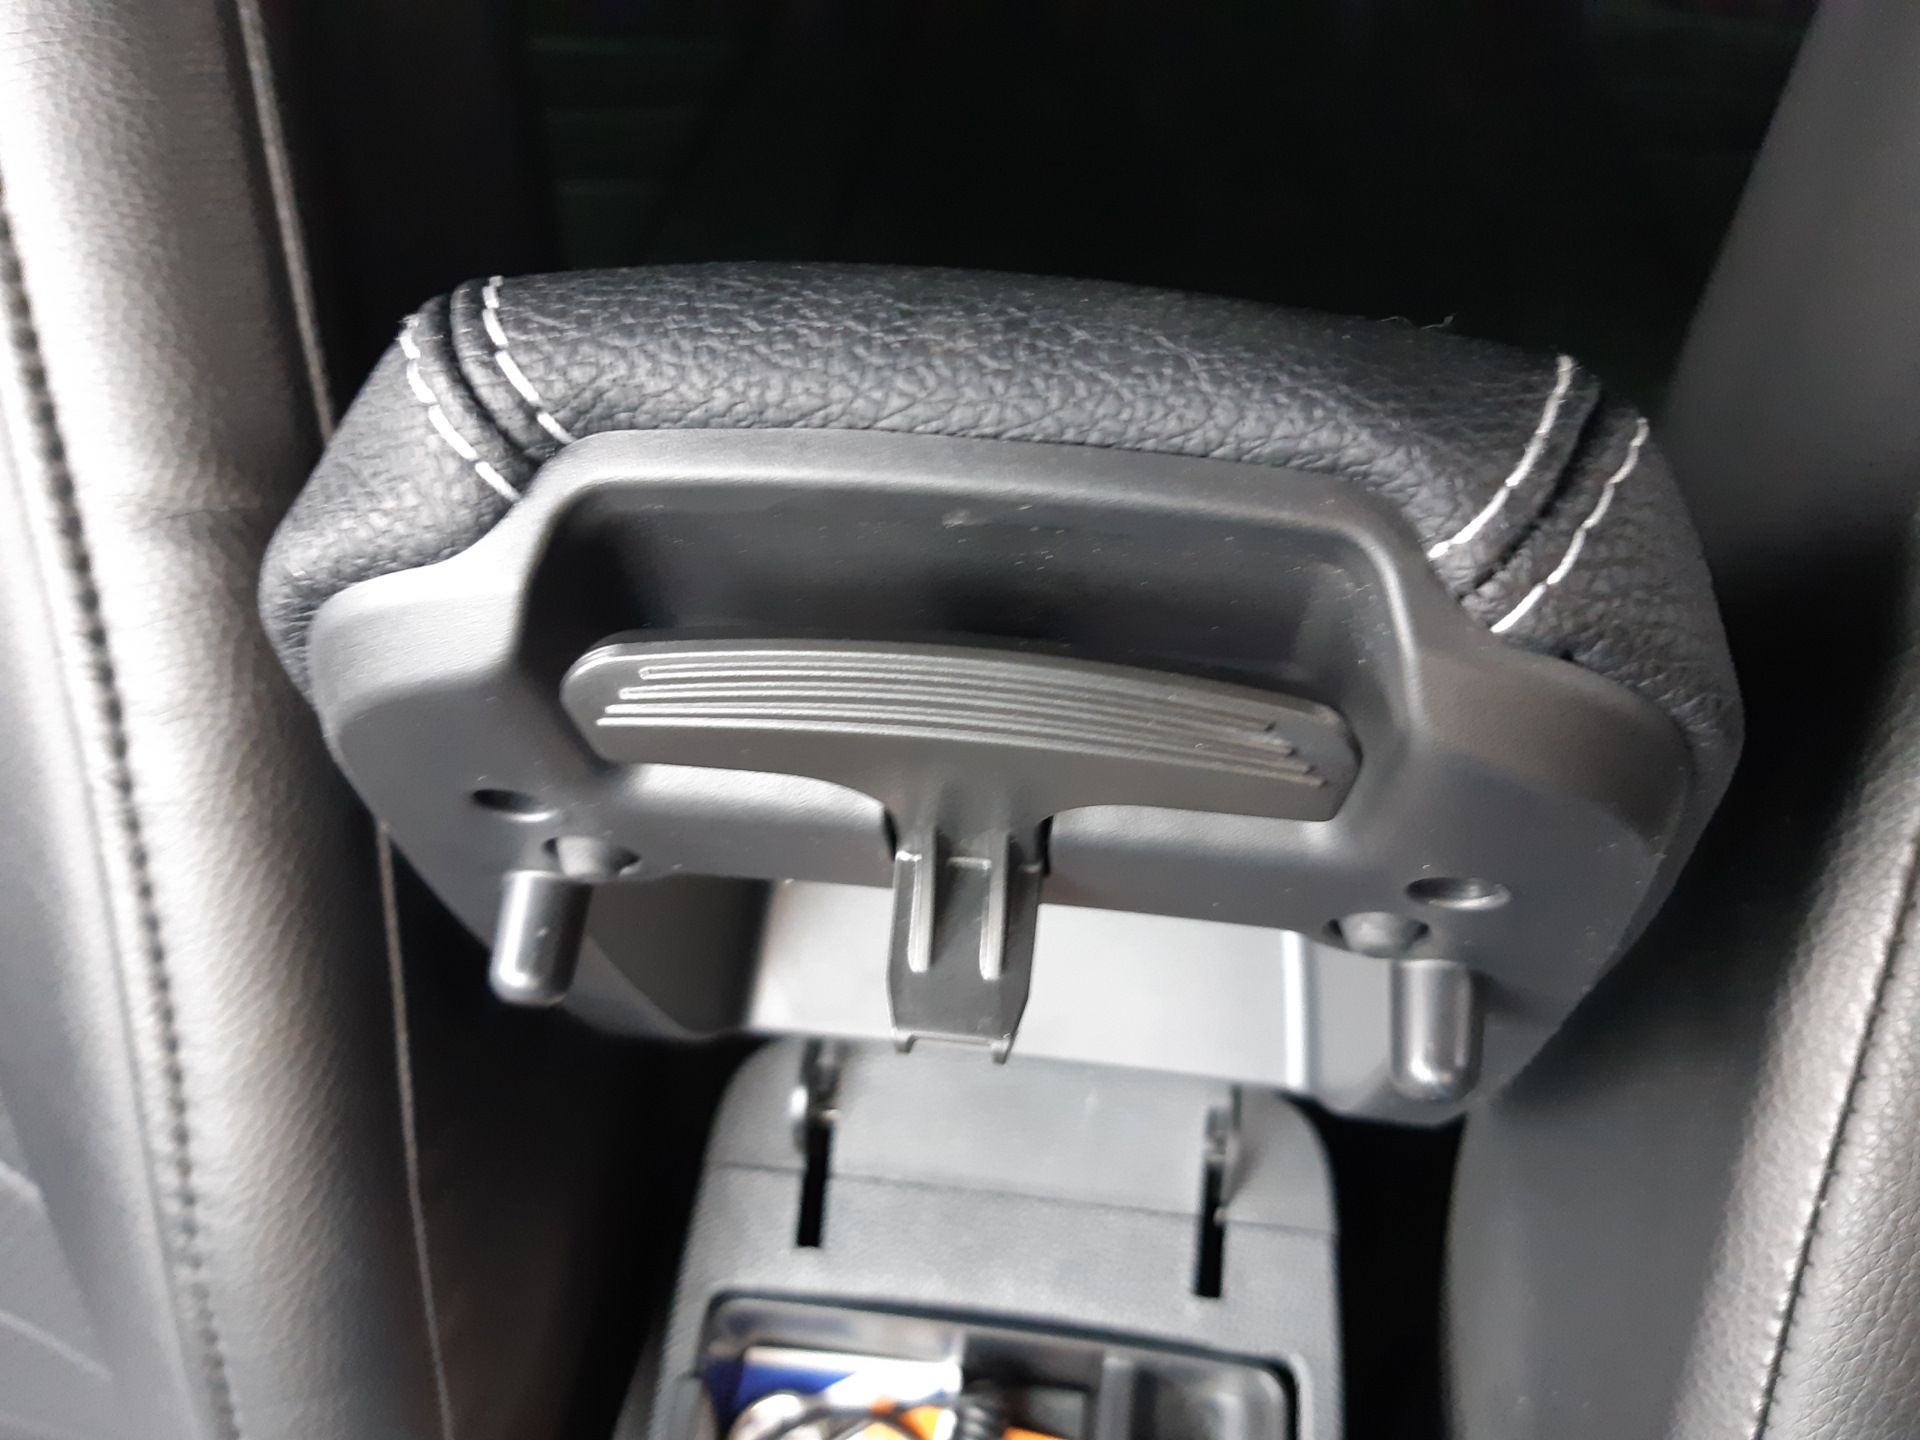
1. Inside the car, lift the armrest cover.

2. In the middle of the glove box, find the plastic plug.
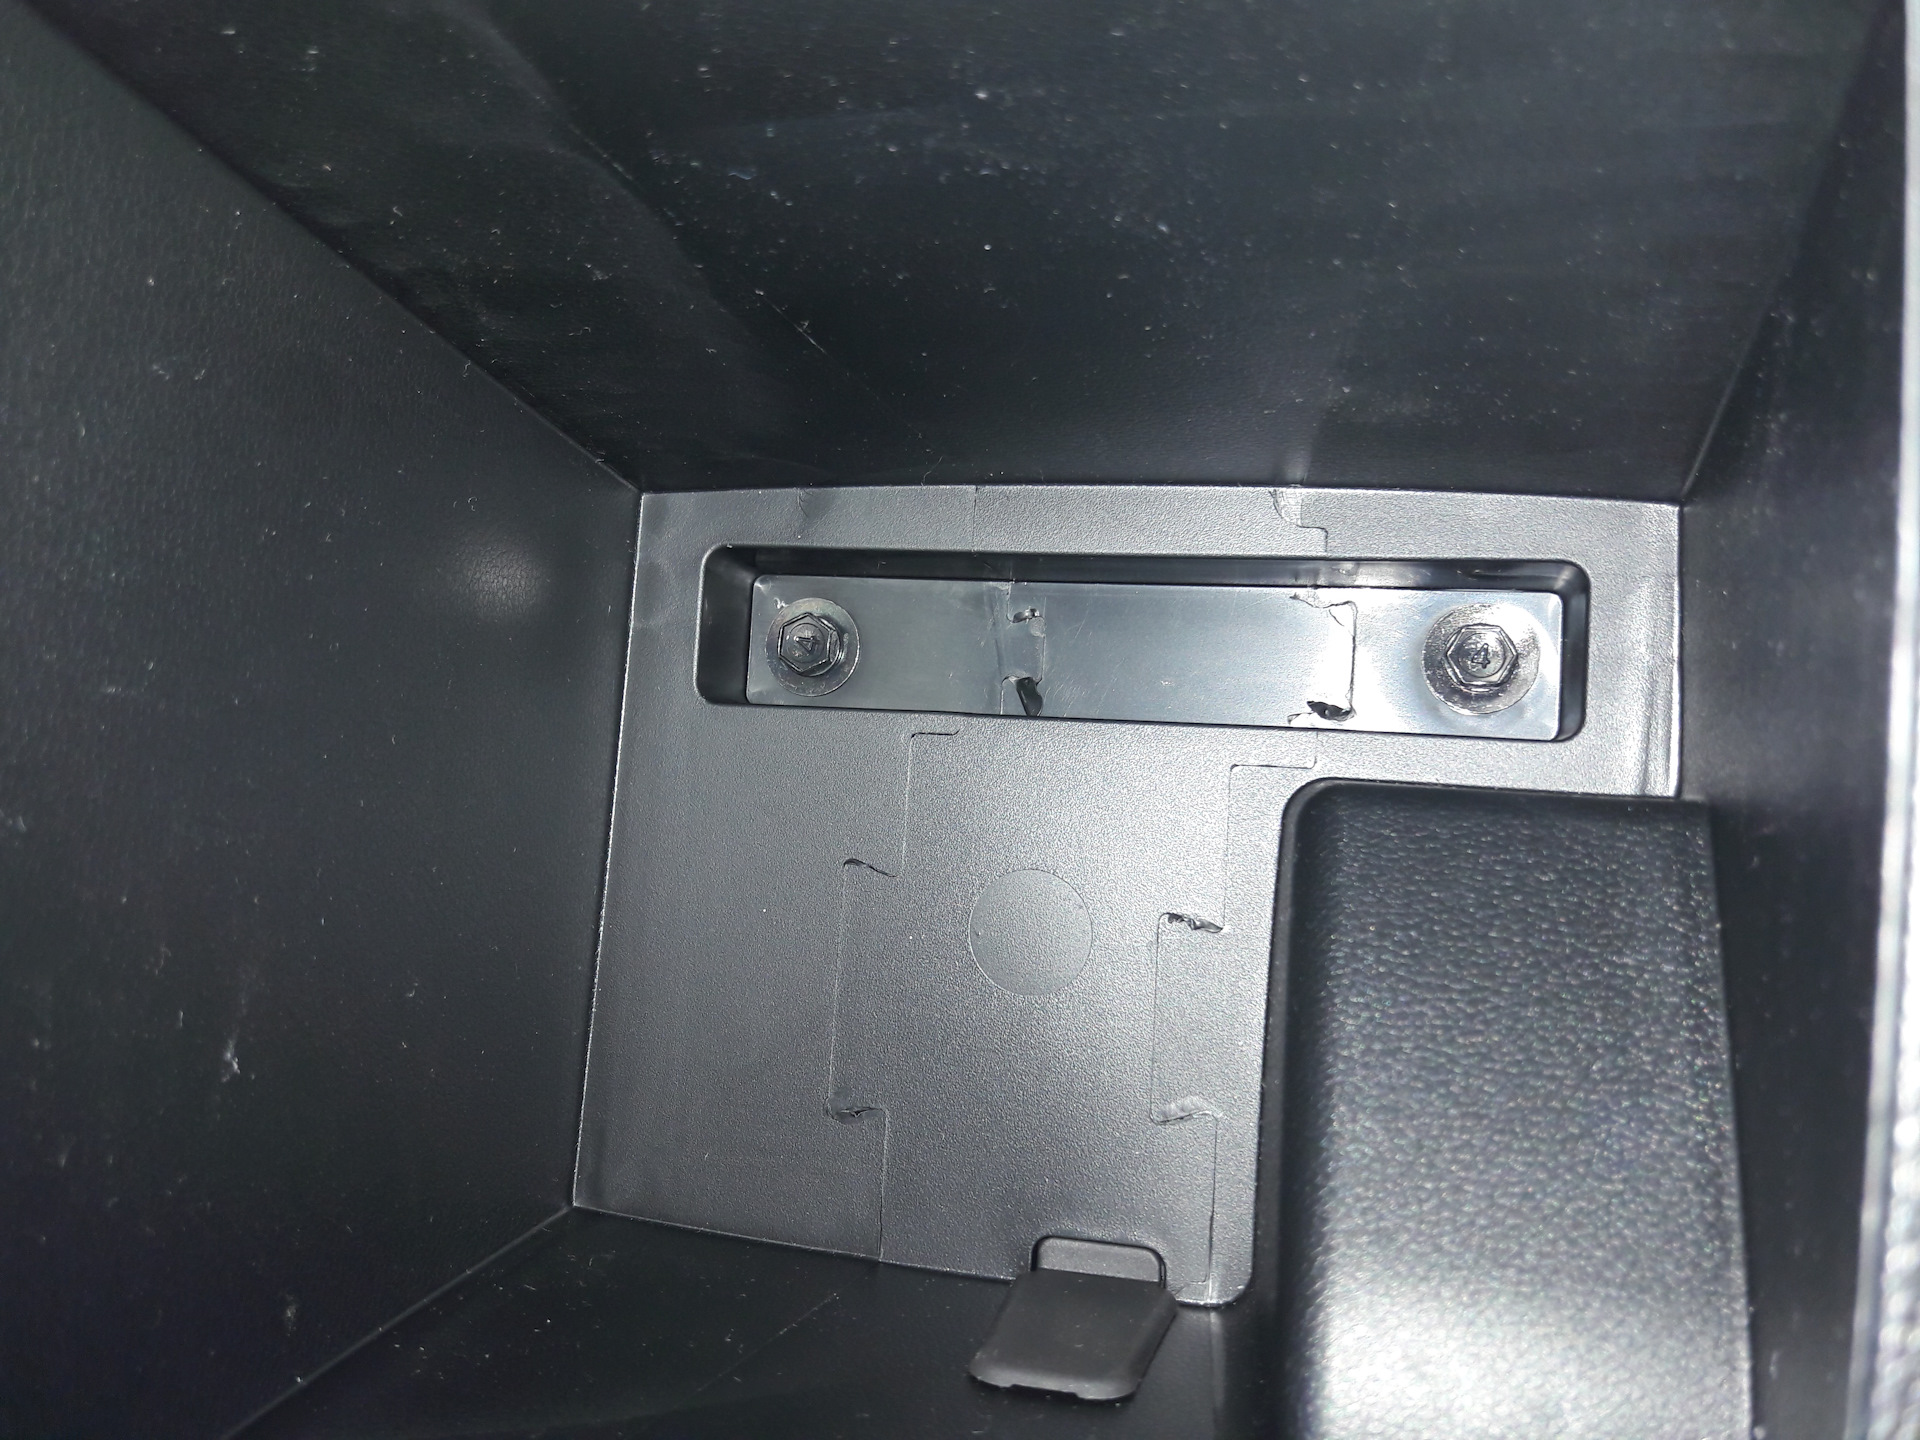
3. Use a flat spatula or other suitable tool to pry and remove the plug.
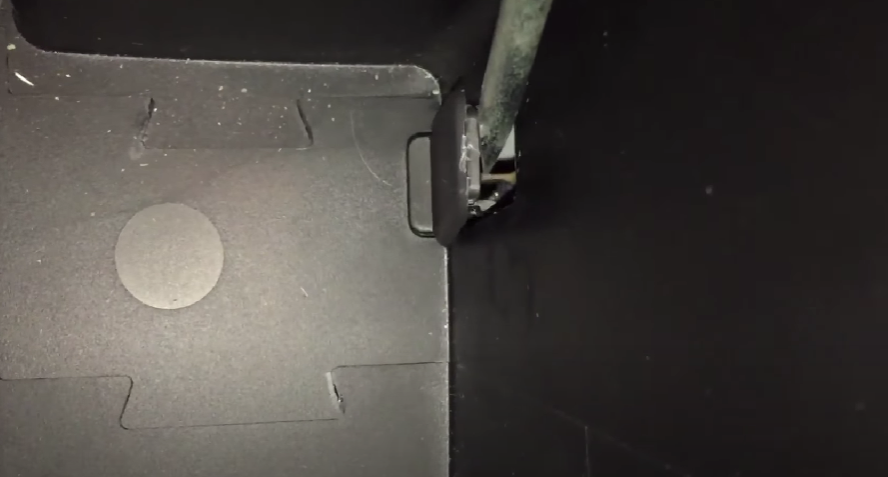
This will open access to the Hyundai Creta handbrake adjusting nut.
4. Using a 10 mm socket with an extension, turn the handbrake nut until the brake pads lightly touch the brake discs. Tighten the nut clockwise to increase tension, counterclockwise to loosen.
5. Push the lever down and make sure the rear wheels turn freely. If necessary, loosen the cables a little.
6. Pull the Creta brake lever and make sure it rises 6-8 clicks while the rear wheels are securely locked.
7. If necessary, repeat the adjustment.
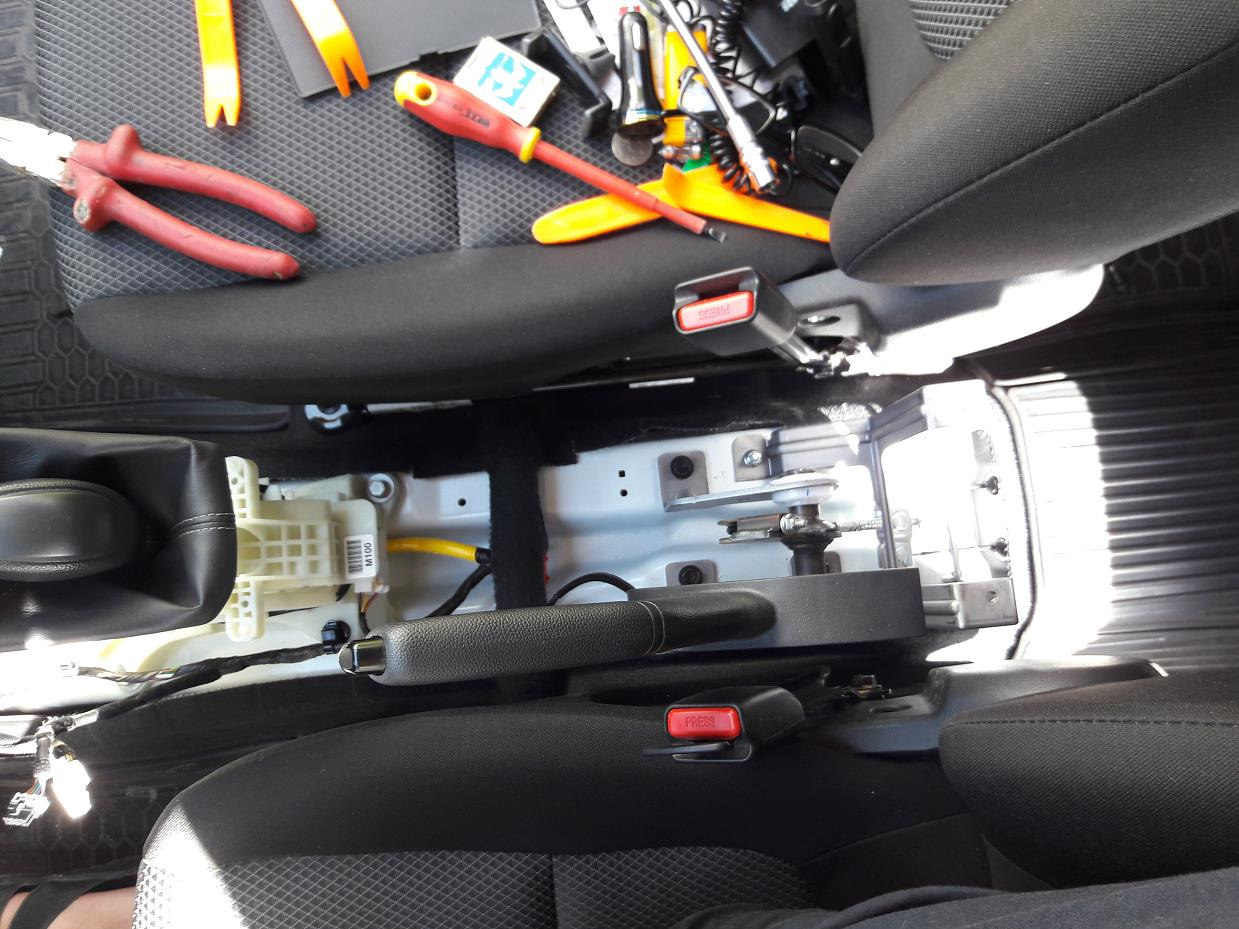
Adjusting the handbrake on the Hyundai Creta. 2way
1. Place the car on stands and hang the rear wheels.
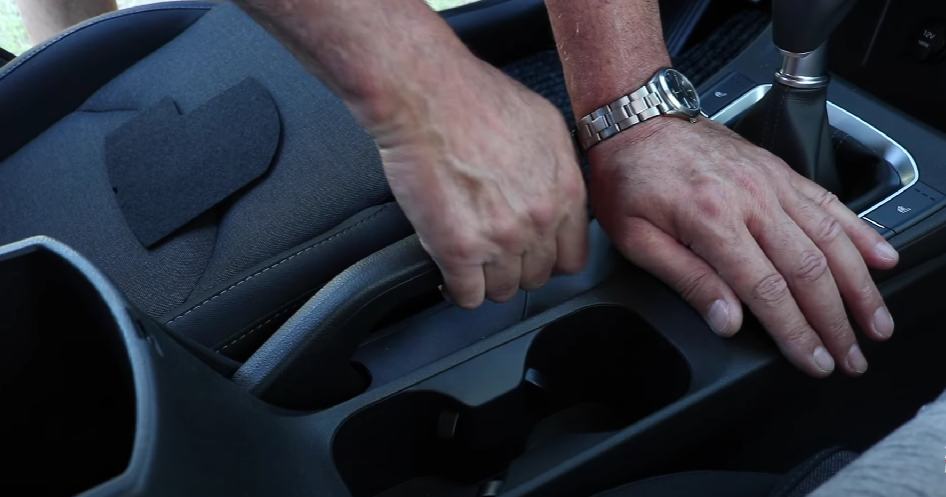
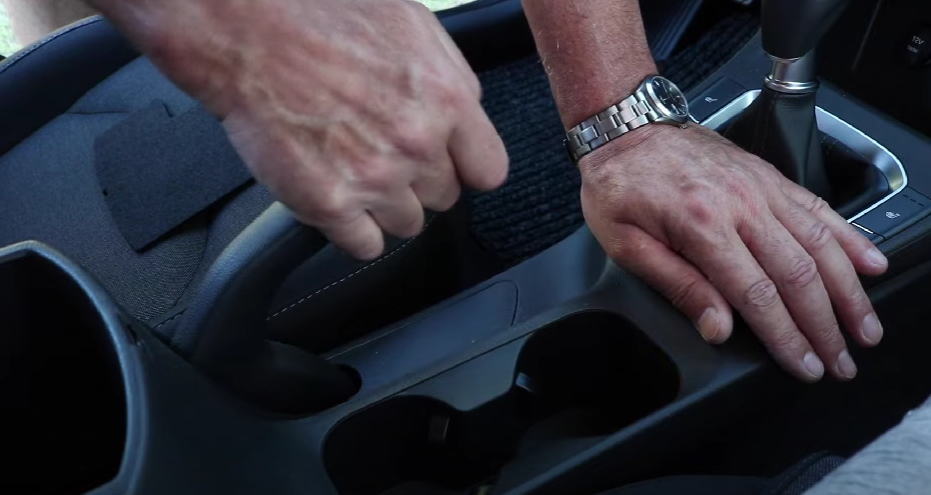
2. In the car, remove the center console.

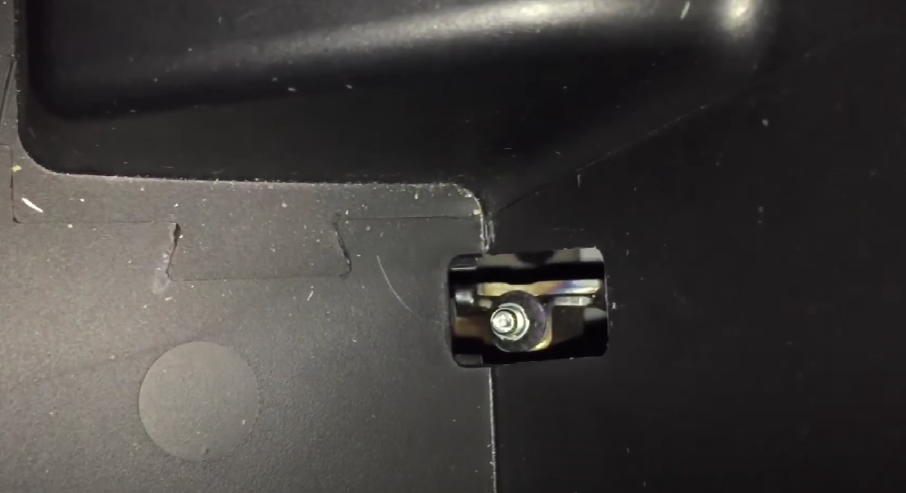
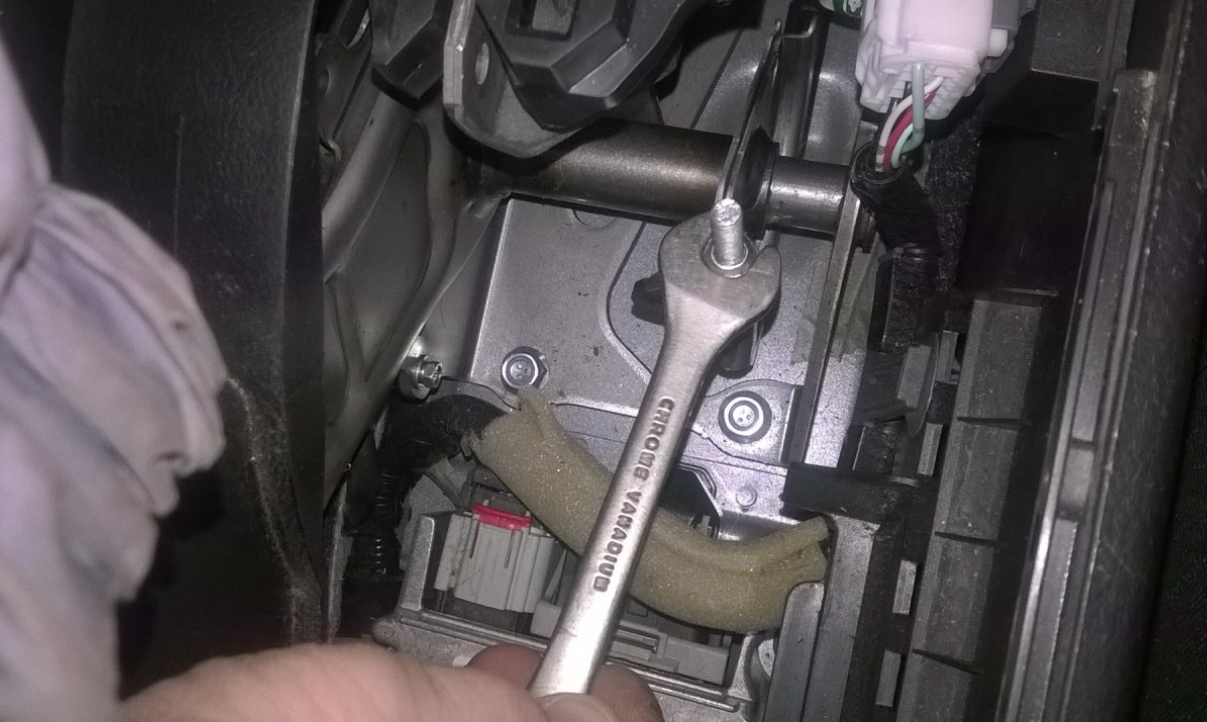
3. Press the button and release the parking brake lever. Then lift 1 click.
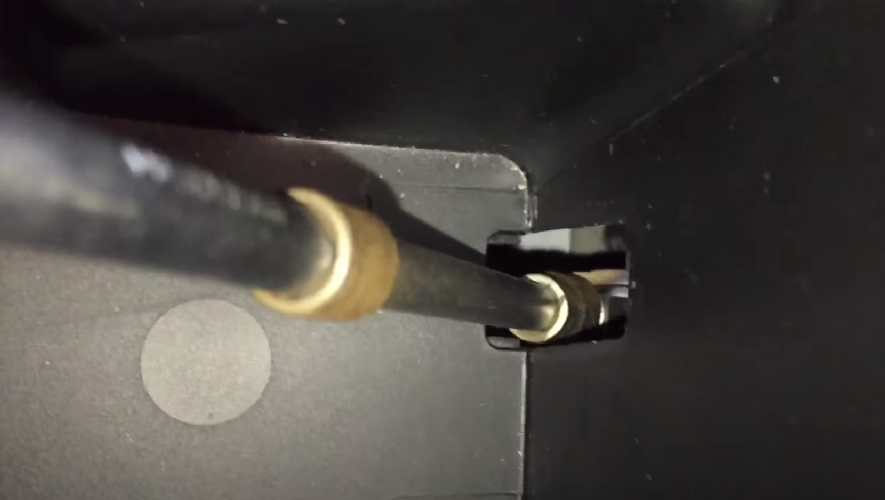
4. To change the tension of the cable, with a 12 mm open-end wrench, rotate the Hyundai Creta handbrake adjusting nut until the brake pads begin to lightly touch the brake discs. Tighten the nut to increase tension, loosen to loosen.
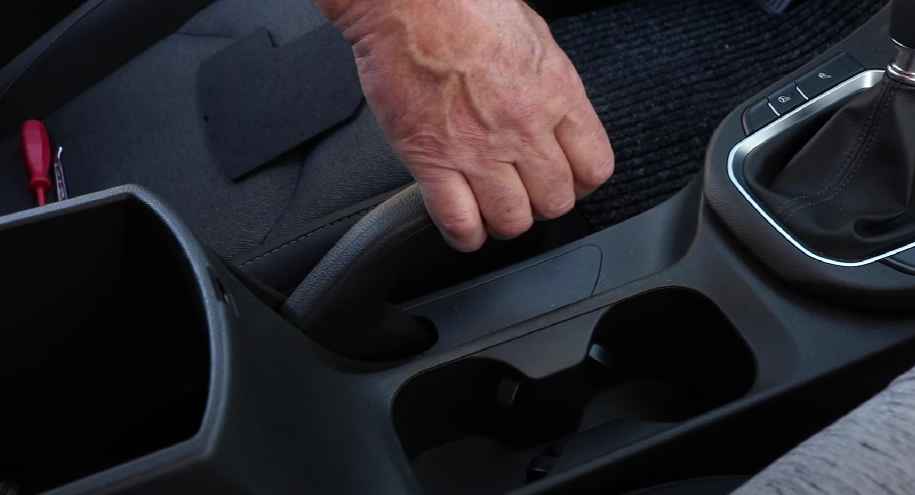
5. Lower the handbrake down and make sure the rear wheels turn freely. If necessary, loosen the cables a little.

6. Pull the brake lever and make sure it rises 6-8 clicks, while the rear wheels are securely locked.
7. If necessary, repeat the adjustment of the handbrake on the Hyundai Creta.
8. After completing the work, reinstall the center console.
Source: carpedia.club