![P12 [2001 - 2008]](/uploads/Nissan_Primera_Primera_1.9_DCi_Sedan.jpg)

Tools:
- Nozzle on the crank 14 mm
- Collar for end nozzle
- Large flat screwdriver
- Nozzle on the crank 10 mm
- Phillips screwdriver, medium
Parts and consumables:
- Windshield wiper motor
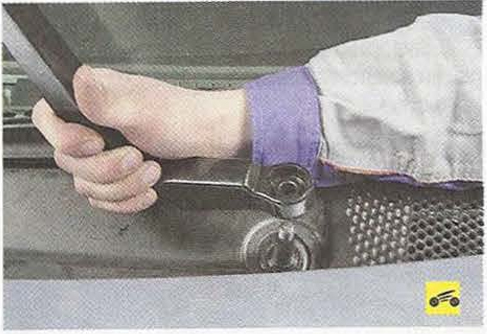
1. First, remove the plastic plugs, under them are nuts by 14. Shaking the wiper lever, remove it.
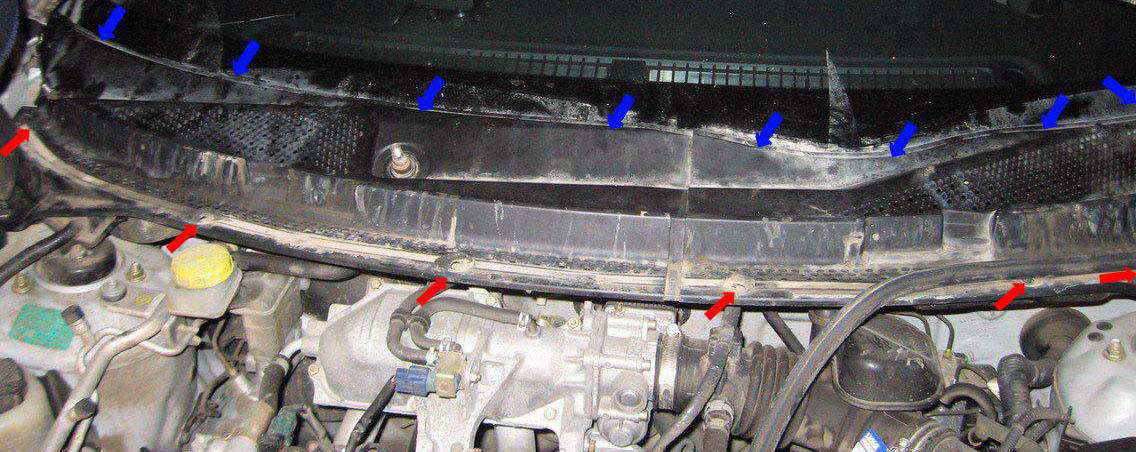
2. Carefully separate the rubber seal with a wide screwdriver from the grate. It is fastened with latches in several places.
3. The red arrows indicate the clamps, remove with a screwdriver.
4. The blue arrows indicate the latches - carefully pulling, take out.
Notes:
The grid is divided into two parts in the middle. You should start on the passenger side (on a right-handed car), although I started on the driver's side. It's a little more hassle.
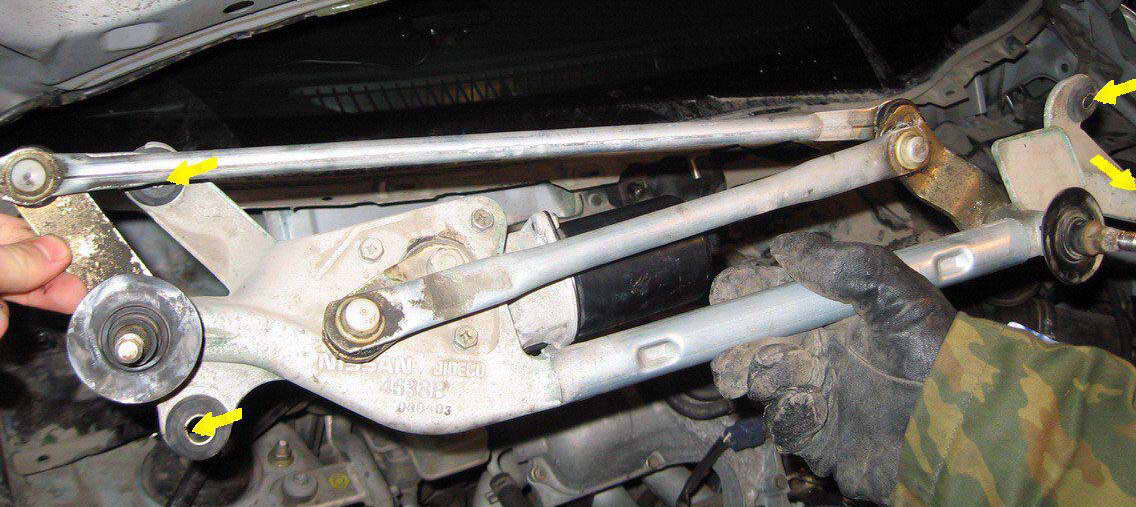
5. Yellow arrows indicate 4 10mm or Phillips head screws.
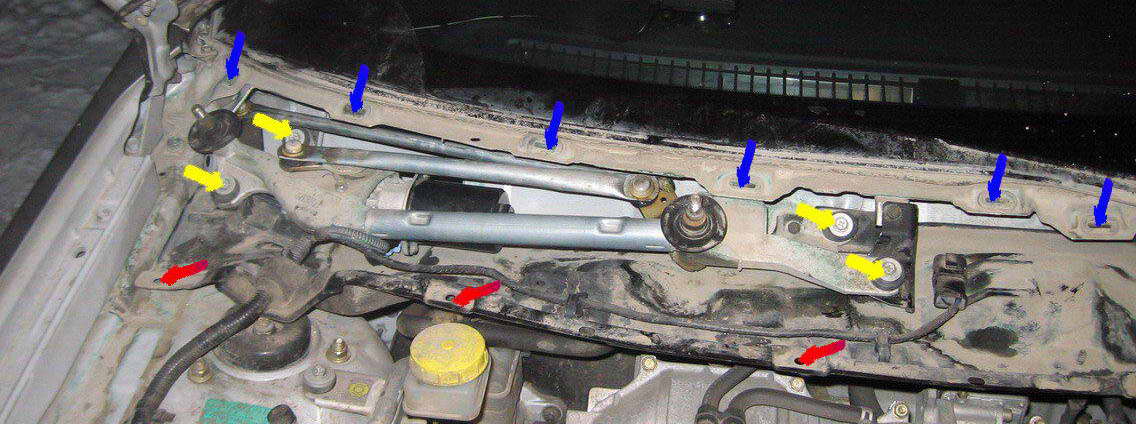
6. Carefully remove the wiper mechanism by the guide and turn it over to disconnect the electrical wires.
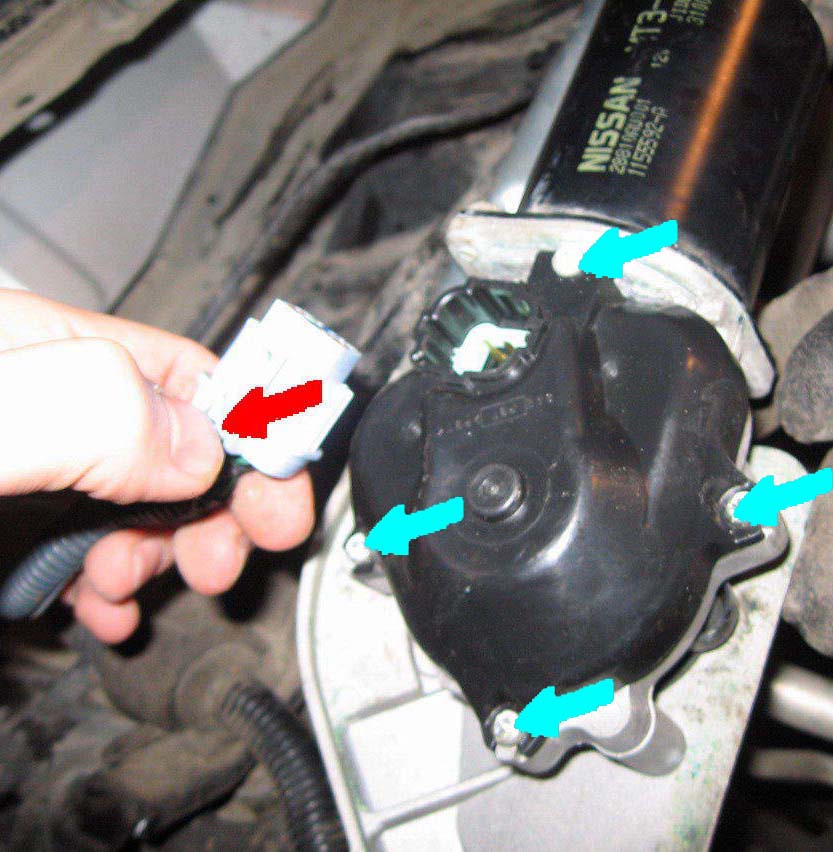
7. Pressing with your thumb, pull out the connector from the motor (red arrow).
8. Unscrew the motor cover (blue arrows).
Notes:
Under this cover there is a mechanism for transmitting rotation of the wipers and contacts for "hitchhiking" (wiper positions). When I removed the cover, I saw chewed up, rotten hitch contacts floating in a mixture of grease and water.
9. We replace the motor.
The article is missing:
- Tool photo
- Photo of parts and consumables
- High-quality repair photos
Source: http://www.primera-club.ru/f/elektrooborudovanie-p12/11913-remont-elektrodvigatelya/