![1 generation [2001 - 2005]](/uploads/Hyundai_Matrix_2002-2006_.jpg)

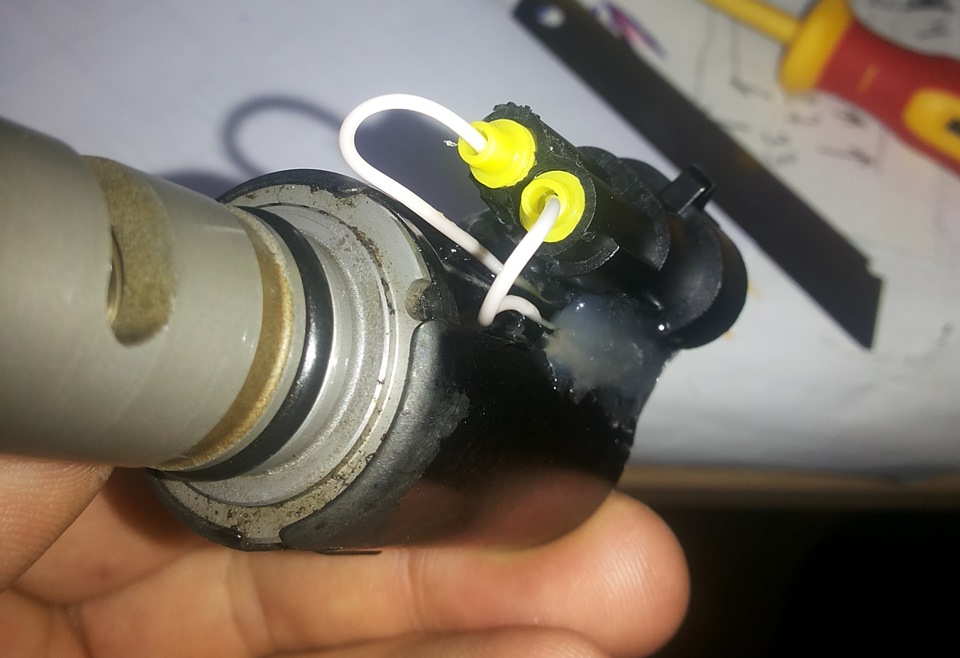
The CVVT mechanism solenoid reached me with a torn connector. All that is left is the wires sticking out of the coil 2 mm first and 4 mm second. Slightly picking the debris with a clerical knife and degreasing it well, I soldered the new wires. The next soldering problem is afraid of vibration, so let's make it vibrate along with everyone else. I glued it from EPPS onto the formwork and filled the place of soldering with epoxy glue.
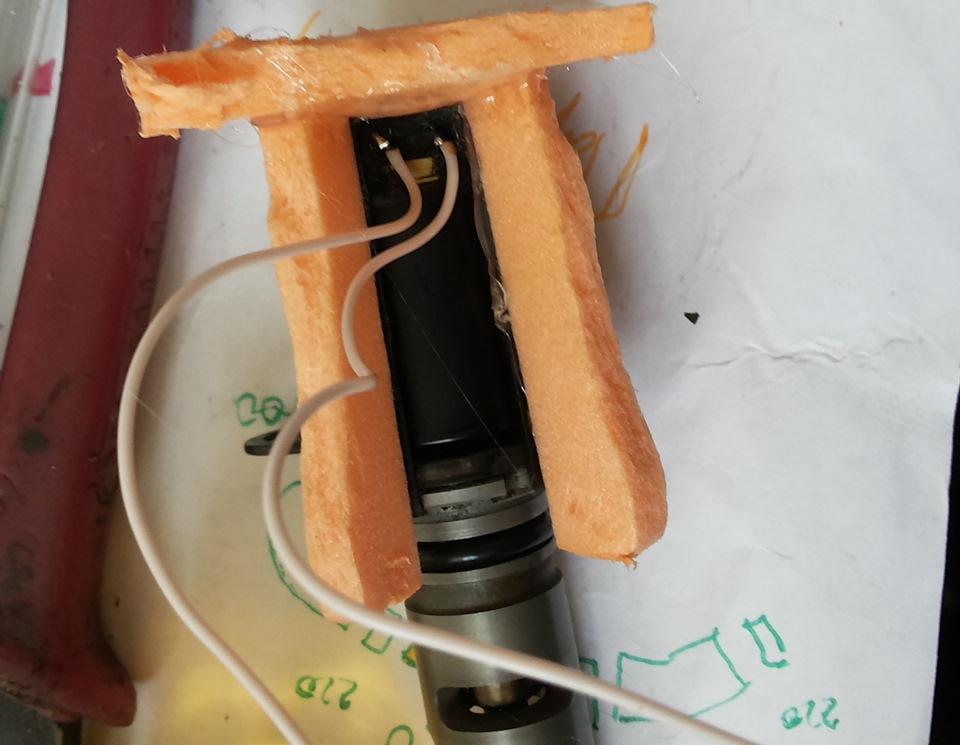
extruded polystyrene formwork
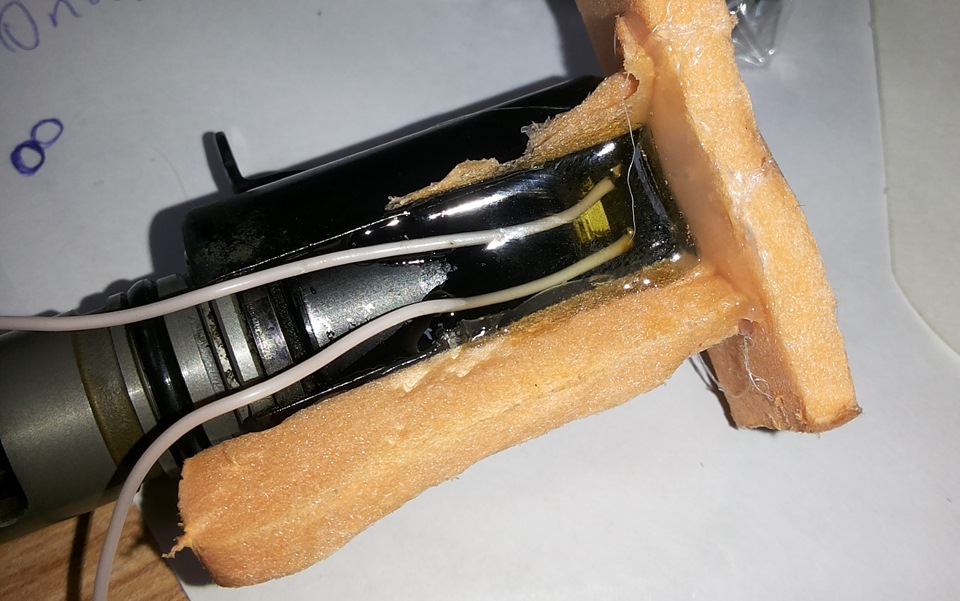
Filled with epoxy.
Then I used the purchased connector, which I also put on epoxy glue to the case.
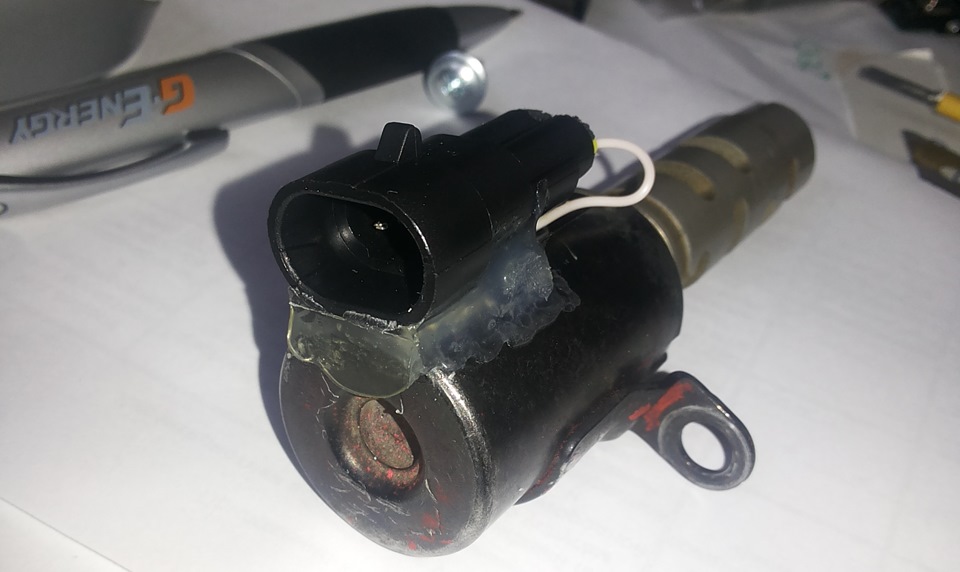
Thus, the problem of chip selection was automatically solved
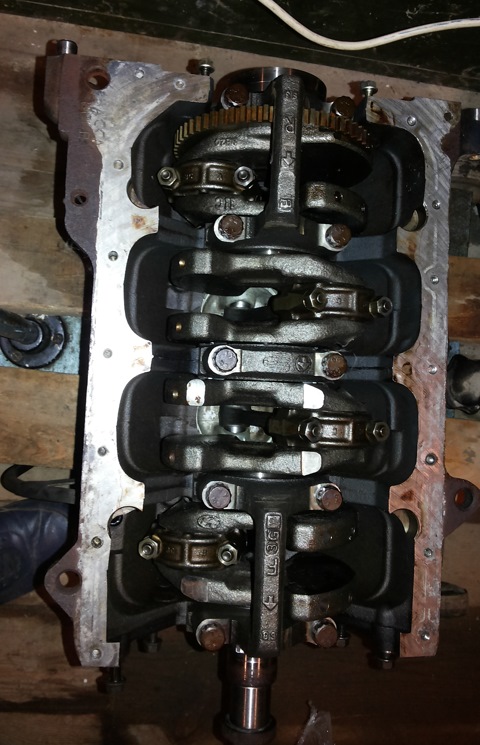
Well, besides the assembly of the engine began.
Put the crank in place. The middle liner had to be left with the old one, because. its oil supply hole does not match the others. And surprisingly, there is no additional number for this liner in the catalogs, supposedly they are all the same ... I
put the rings on the piston and put the piston in place.
Put new valve stem seals, dried valves. installed shafts.
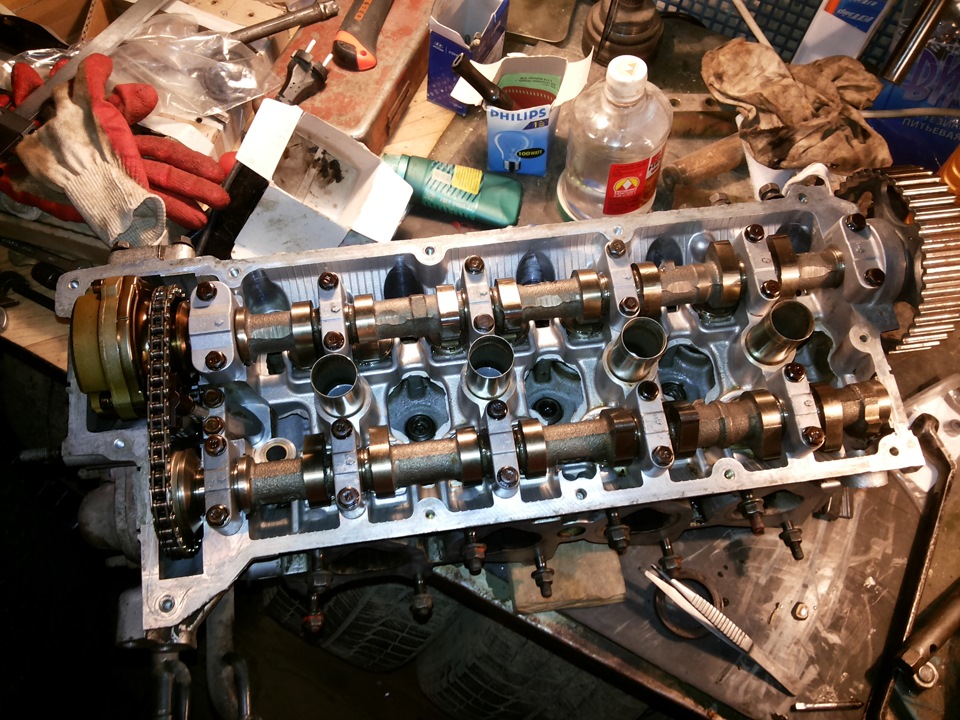
head ready to be mounted on the block
When assembling the timing, the shafts must be placed with the marks up, the chains must have links of a different color.
After installing the head on the block and broaches, it will be necessary to measure the valve clearances, if they do not fit into the tolerances, you will have to order washers.
Source: https://www.drive2.ru/l/6676864/