![E140/E150 [2006 - 2010]](/uploads/Toyota_Corolla_E140_2006_-_2010_.jpg)

Tools:
- Medium flat screwdriver
- Hex key 5 mm
- Socket head 17 mm
- Socket head 19 mm
- Socket head 22 mm
- Ratchet wrench
- Socket extension
- Pliers
- Ball joint puller
- Balloon wrench
- Jack
- Support posts
Parts and consumables:
- Cloth gloves
- Rags
- Aerosol grease type WD-40
- Recoil stops
NOTE:
The work is shown on the example of removing and installing parts on the left side of the car. Elements of the same name on the right side are removed in the same way.
Removing and installing Toyota Corolla front suspension subframe
1. Suspend the vehicle on a lift or raise the front of the vehicle above a viewing ditch.
2. If this is not possible, brake the car with the parking brake and install wheel chocks under the rear wheels.
3. Remove the front wheels.
4. Remove the engine mudguards (see "Removal and installation of the engine mudguards").
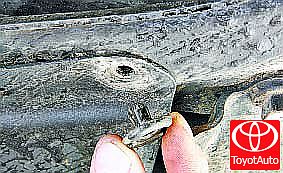
5. Use a flat screwdriver to remove the caps of the fastening caps.
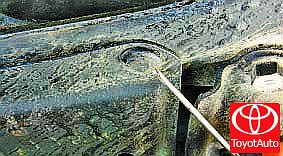
6. Remove the five caps securing the mudguard to the front suspension subframe.
Note:
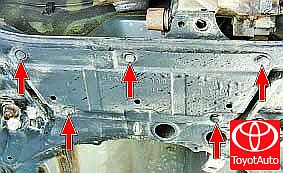
This is how the caps for attaching the mudguard to the front suspension subframe are located.
7. Remove the dust shield.
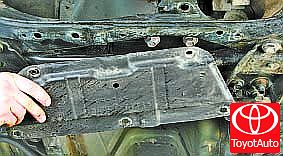
8. Place the support under the subframe.
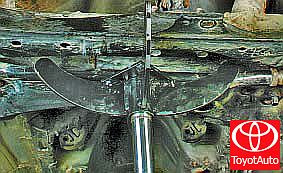
9. Disconnect the tips of the steering rods from the steering knuckles (see "Replacing the outer tip of the steering rod") on the left and right sides of the car.
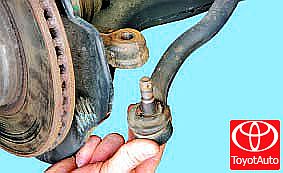
10. Unscrew two nuts and remove the bolts securing the front suspension arms to the ball joints on the left and right sides of the car.
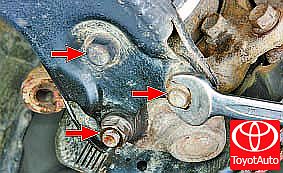
11. Disconnect the front suspension arms from the ball joints on the left and right side of the vehicle.
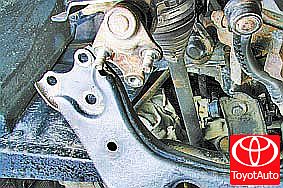
Note:
Disconnecting the levers from the front suspension subframe on the car is a rather laborious process (see "Removing and installing the front suspension arm"). It is more convenient to remove the front suspension subframe assembly with levers. If necessary, the levers can be easily detached on the removed subframe.
12. Holding the pivot pin while turning with a hex wrench, unscrew the fastening nut with a second wrench. Disconnect the lower ball joints of the stabilizer struts on the left and right sides of the car from the anti-roll bar.
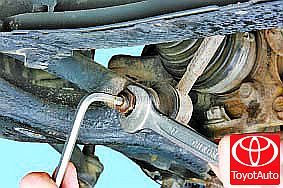
13. Remove the two mounting bolts of the amplifier.
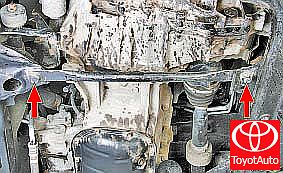
14. Disconnect the amplifier from the subframe.
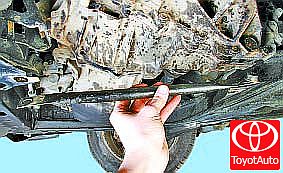
15. Remove the bolt securing the rear engine mount and disconnect the support from the bracket on the engine.
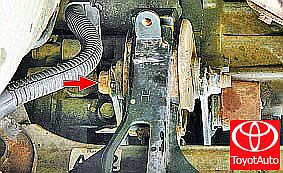
16. Remove three bolts each of the rear subframe brackets.
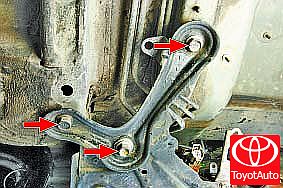
17. Remove the brackets from the left and right side of the vehicle.
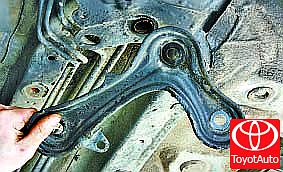
18. Remove the two front subframe mounting bolts on the left and right sides of the vehicle.
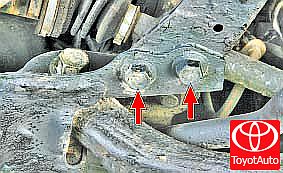
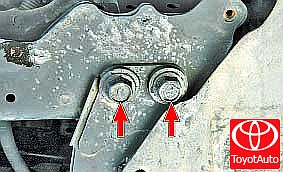
19. In the car, disconnect the intermediate steering shaft from the cardan joint (see "Replacing the steering mechanism").
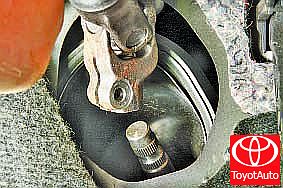
20. Unfold the latch and slide the intermediate steering shaft rubber boot.
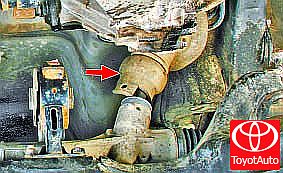
21. Remove one bolt of the center attachment of the subframe to the body on the left and right sides of the vehicle.
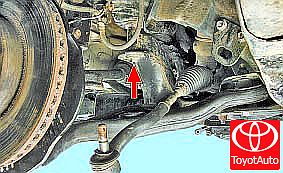
22. Remove the bolts.
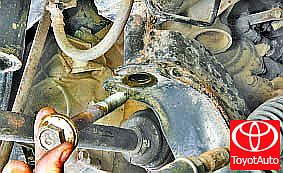
23. Together with an assistant, remove the front suspension subframe assembly with levers, anti-roll bar and steering rack.
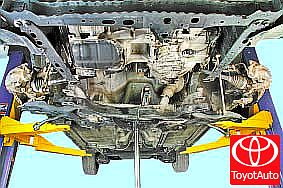
24. If necessary, remove the bolts securing the rubber-metal hinges (silent blocks) of the levers and remove the front suspension arms (see "Removing and installing the front suspension arm").
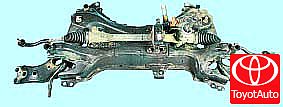
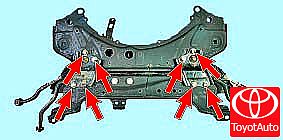
25. Unscrew four bolts each securing the left and right brackets of the stabilizer bar and remove the brackets.
Note:
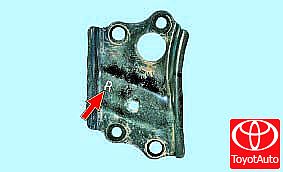
The right and left brackets are marked with "R" and "L" respectively.
26. Remove the stabilizer bar together with the rubber pads.
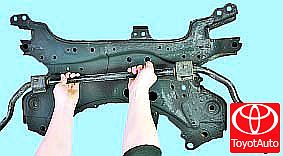
27. Unclench the airbags and remove them from the stabilizer bar (see "Replacing the cushions of the front anti-roll bar").
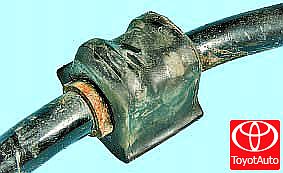
28. Inspect the pillow for mechanical damage and replace it if necessary.
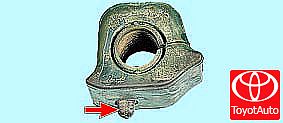
29. Install the new pad close to the seat ring on the stabilizer bar, with the tab downward facing the corresponding hole in the stabilizer bar bracket.
30. On the underside of the subframe, unscrew the two bolts, and through the technological holes unscrew the two nuts securing the rear engine support to the subframe.
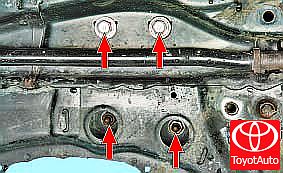
31. Remove the rear engine mount from the subframe.
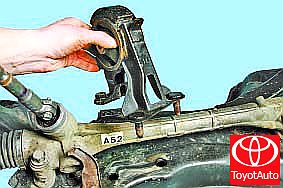
32. Unscrew the two mounting bolts and remove the steering rack assembly with rods and tips (see "Replacing the steering mechanism").
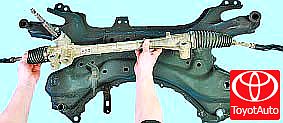
33. Install the front suspension subframe and all parts in the reverse order of removal.
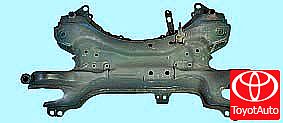
34. Check and, if necessary, adjust the wheel alignment angles in a workshop with special equipment.
Source: http://toyotauto.net/corolla/snyatie-i-ustanovka-podramnika-peredney-podveski.html