Tools:
- Open end wrench - 10 mm
- Open end wrench - 13 mm
- Open end wrench - 22 mm
- Wrench attachment - 10
- Wrench attachment - 16
- Allen key - 5mm
Parts and consumables:
- Timing belt
- Tension roller
- Guide rollers
Note:
The timing belt should be replaced every 40 thousand kilometers or after 4 years.
Replace the timing belt if, upon inspection, you find:
1 - traces of oil on any surface of the belt;
2 - traces of wear of the toothed surface, cracks, undercuts, folds and peeling of fabric from rubber;
3 - cracks, folds, depressions or bulges on the outer surface of the belt;
4 - loosening or delamination on the end surfaces of the belt.
Warning:
A belt with traces of engine oil on any of its surfaces must be replaced, as oil quickly destroys rubber. The cause of oil getting on the belt (usually a leakage of the crankshaft and camshaft oil seals) must be eliminated immediately.
Work on a viewing ditch, overpass or lift.
Replacing and adjusting the tension of the timing belt Chery Tiggo
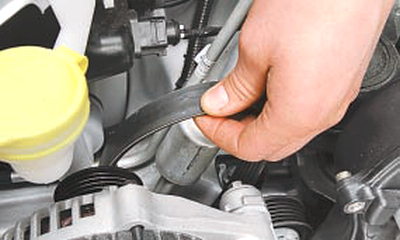
1. Remove the accessory drive belt. More details here .
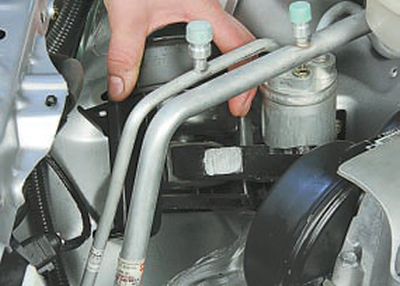
2. Remove the right support of the power unit. More details here .
3. Remove the three mounting bolts.
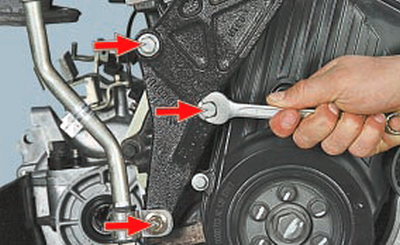
4. Remove the right powertrain suspension support bracket.

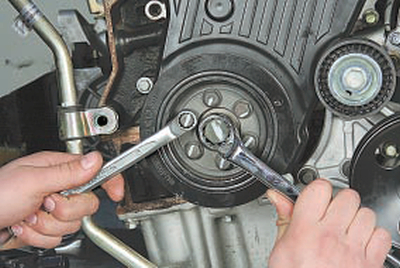
5. Keeping the pulley from turning, with the second wrench unscrew the six bolts securing the accessory drive pulley to the crankshaft hub, remove the pulley.
6. Remove the mounting bolt.
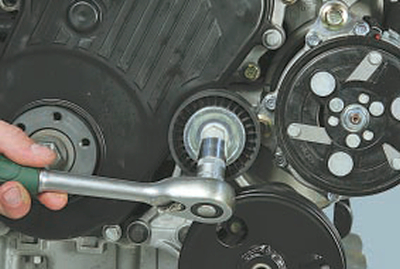
7. Remove the idler roller.
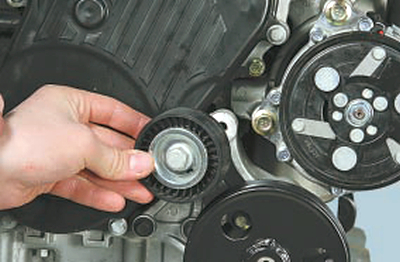
8. Remove the bolts securing the top cover.
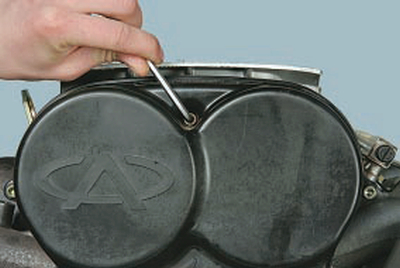
Note:
This is the location of the top cover mounting bolts.

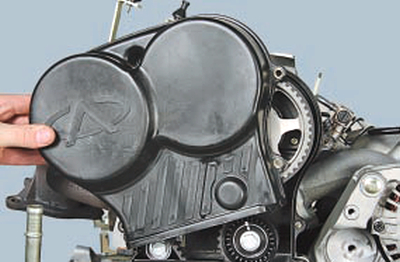
9. Remove the upper timing cover.
10. Remove the bolts securing the bottom cover.
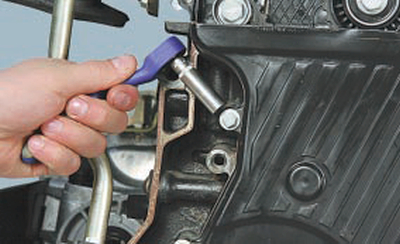
Note:
This is the location of the bottom cover mounting bolts.

11. Remove the lower timing cover.
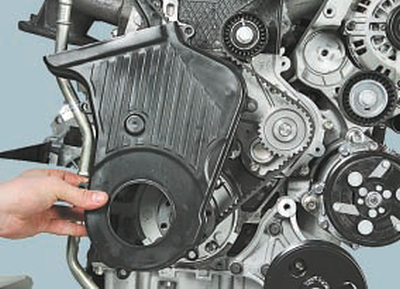
12. Place the engine crankshaft in the service position. More details here .
13. Loosen the camshaft pulley mounting bolts.
14. Loosen the tension roller bolt to loosen the tension on the timing belt.
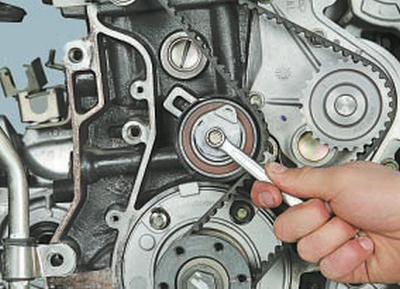
15. Remove the belt.

16. To replace the tension roller, unscrew its fastening bolt and remove the roller.
17. Install the new tension roller back without tightening the bolt of its fastening to the end.
18. To replace the guide rollers of the timing mechanism, unscrew their fastening bolts and remove the rollers.
19. Install new idler rollers in the reverse order of removal.
20. Install the new timing belt back, first putting the belt on the crankshaft toothed pulley, and then on the water pump gear and camshaft pulleys.
Note:
The location of the timing belt.

21. Installing the hex wrench and turning the tension roller eccentric, tension the timing belt and finally tighten the tension roller mounting bolt.
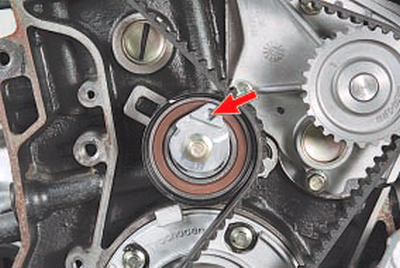
Note:
Adjust the tension of the timing belt, checking the degree of belt tension according to the tension roller indicators. In this case, the movable pointer of the tension roller will move counterclockwise towards the fixed pointer on the roller bracket. The belt is tensioned correctly if the pointers match. In this position, tighten the water pump mounting bolts.
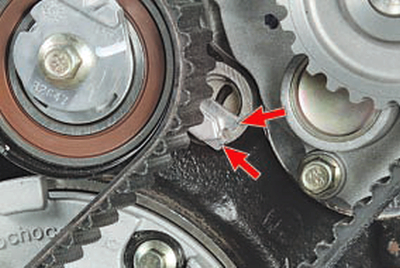
22. Check the correct installation of the engine crankshaft in the service position. More details here .
23. Install all removed parts in reverse order to removal.
The article is missing:
- Tool photo
- Photos of parts and consumables
- High-quality photos of repair
Source: http://chery-tiggo.dv13.ru/dvigatel/zamena-i-regulirovka-natyazheniya-remnya-privoda-gazoraspredelitelnogo-mexanizma/
![T11 [2005 - 2014]](/uploads/Chery_Tigo_T11_2005_-_2014_.jpg)