![P12 [2001 - 2008]](/uploads/Nissan_Primera_Primera_1.9_DCi_Sedan.jpg)
Tools:
- Wrench attachment 12 mm
- Wrench attachment 14 mm
- Driver bit 16 mm
- Wrench attachment 8 mm
Parts and consumables:
- Generator belt
- Power steering belt
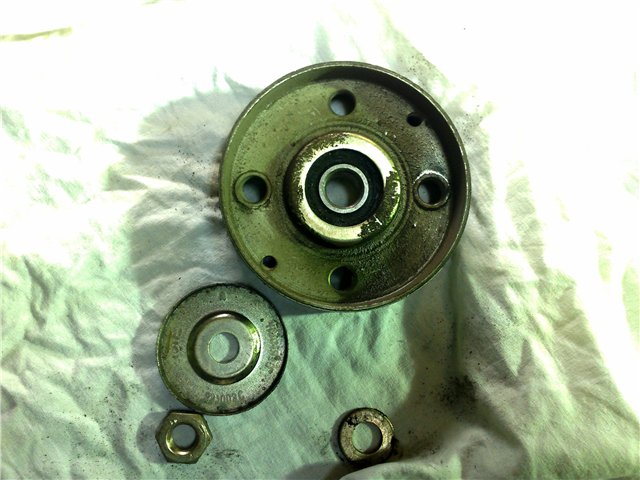
- Tensioner pulley - 11927-4F115
Replacing the alternator belt Nissan Primera:
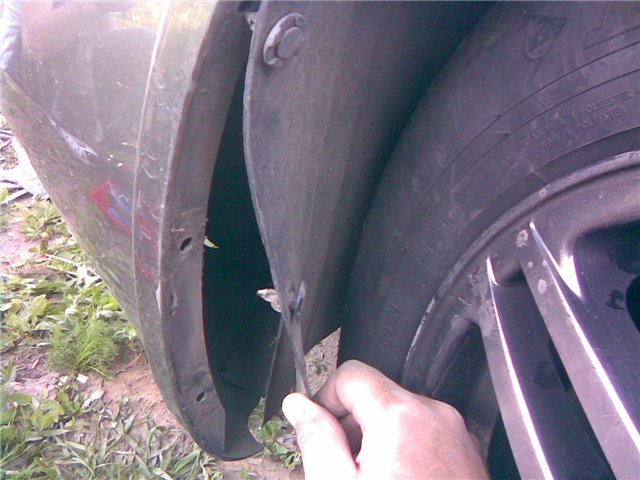
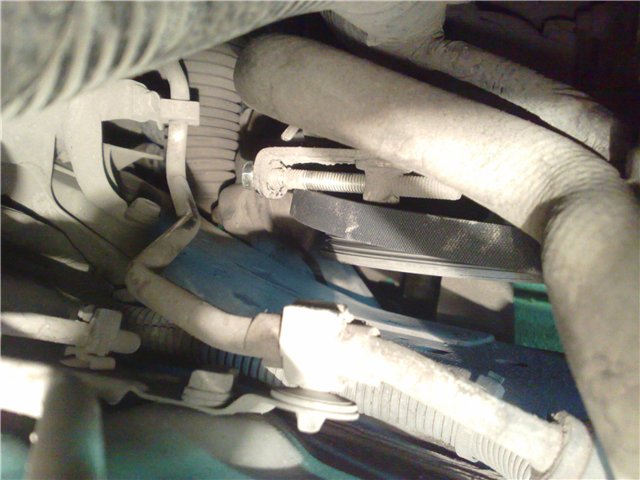
1. Remove the right front wheel, remove the plastic protection.
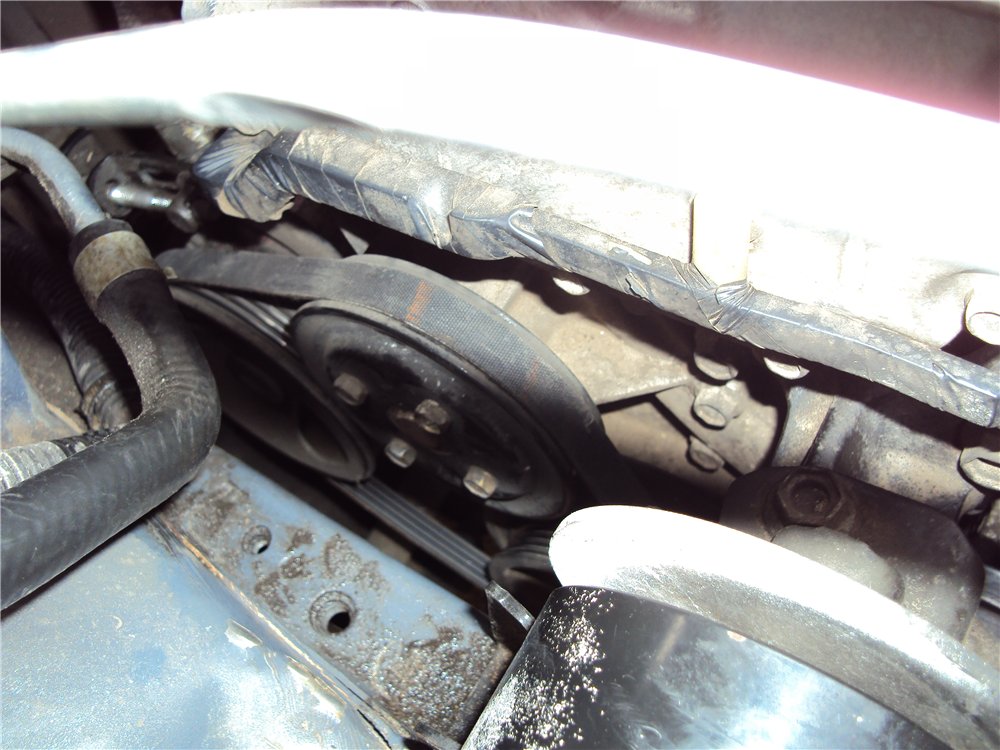
2. Under the hood, clear the space above the belts.
3. The power steering belt and pump are removed first. To do this, unscrew the control nut and loosen the tension screw at the power steering pump, since it is itself a tensioner.
4. For some reason, after that, he did not want to relax. I had to additionally loosen the screw that holds the pump itself. It is difficult to get there, so I had to stick my whole hand behind the engine.
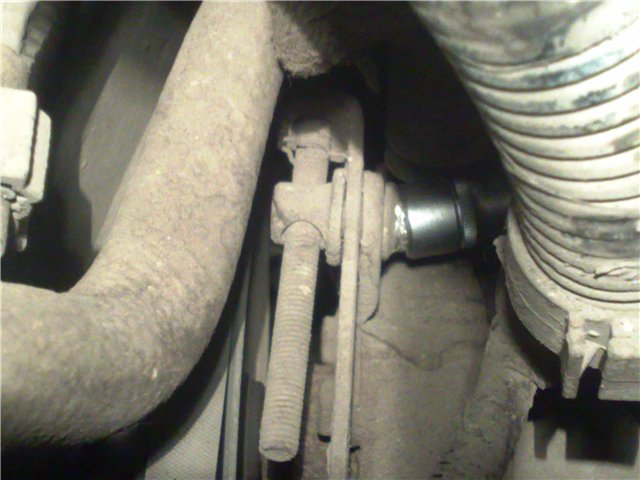
5. Secondly, loosen the nut at the alternator belt tensioner roller. It is more convenient to unscrew it from the bottom.

6. After that, take a small key for 8 and loosen the tensioner by unscrewing the hexagon, which sticks out with the end to the radiator.
7. Remove the old belt. Installing a new one. The main thing is that the belts fit into the cut normally.
8. After that, we tighten both belts with tensioners to approximately the same state as on the old belts. We tighten the control nuts.
Replacing the power steering belt Nissan Primera:
1. We loosen the power steering tensioner fastening.
2. Weaken the tension of the power steering.
3. Under the generator, loosen the tension of the generator belt with the tensioner.
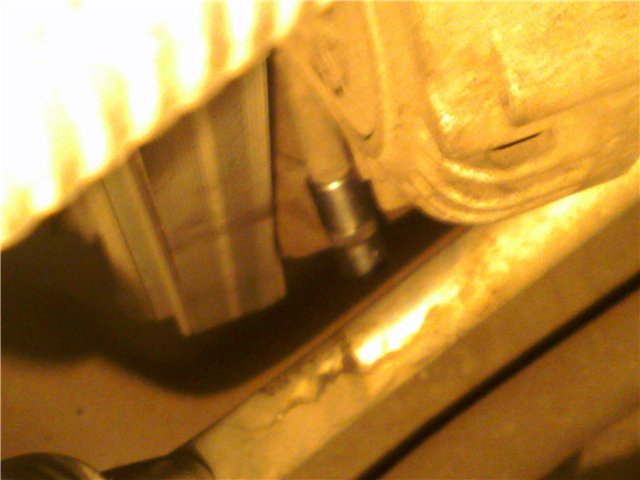
4. Unscrew the roller. We first check if there is any backlash on it.
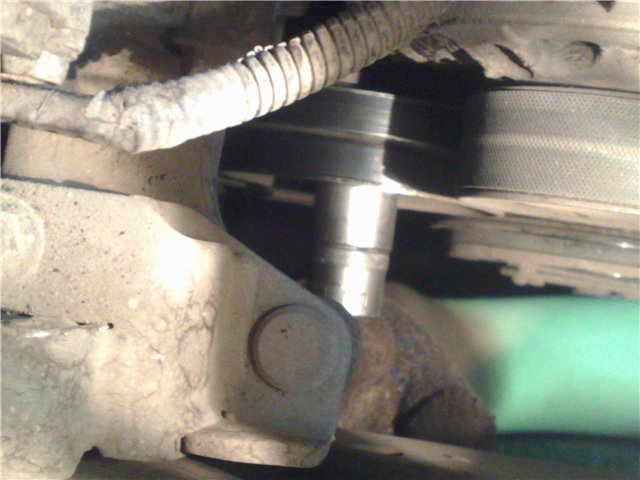
5. The defective roller is replaced.
6. Remove the belts.
7. Put the roller in place and put on the belts. Adjust the tensioners and fix the belt tension.
Notes:
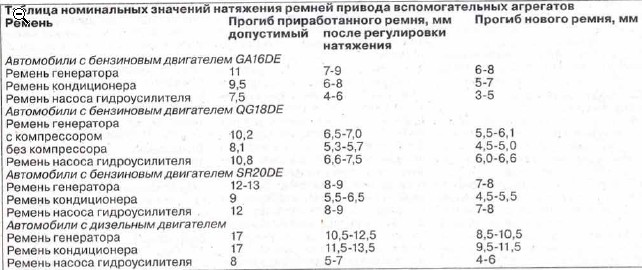
Belt tension check table
The article is missing:
- Photo of the instrument
- Photos of parts and consumables
- High-quality photos of repair
Source: http://www.primera-club.ru/f/baza-znaniy-engine-p12/20115-zamena-remnya-generatora-i-gura-qg16/