![E140/E150 [2006 - 2010]](/uploads/Toyota_Corolla_E140_2006_-_2010_.jpg)

Remove the engine and transmission assembly by lowering it down from the engine compartment. This requires a lift to raise the front of the vehicle. In garage conditions, in the absence of a lift, a jack will be required, as well as strong and high enough supports to install a raised front of the car on them, this will make it possible to remove the engine from under it, lowered to the garage floor.
NOTE
The engine removal procedure is shown using the 1ZRRFE engine as an example. Remove 1NRRFE and 4ZZZFE engines in the same way.
WARNING
When removing and installing an engine with a large mass, use only fully serviceable lifting mechanisms designed for the appropriate load, and especially carefully control the correctness and reliability of connecting cables, traverses, etc. to the transport eyes of the engine.
1. Remove facing of a motor compartment (see. "Removal and installation of facings of a motor compartment").
2. Remove a decorative casing of the engine (see "Removal and installation of a decorative casing of the engine").
3. Remove the air filter housing (see "Removing and installing the air filter").
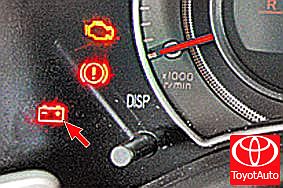
4. Disconnect wires from the storage battery and remove it from the car.
5. Remove the engine mudguards (see "Removing and installing engine mudguards").
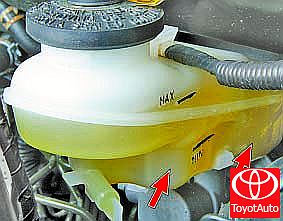
6. Drain the liquid from the cooling system (see "Replacing the coolant").
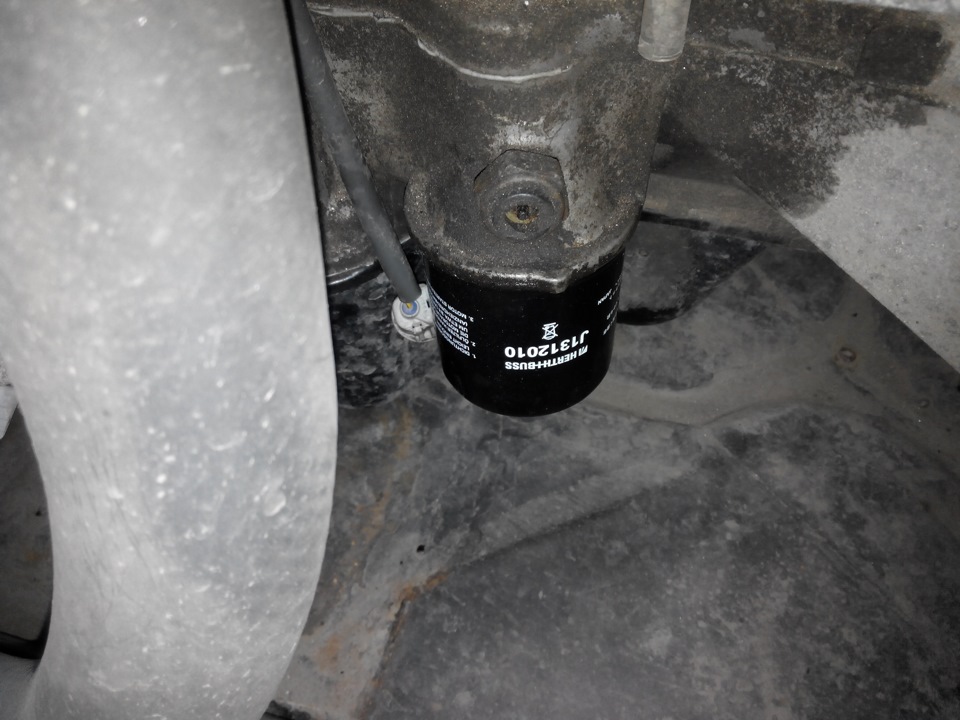
7. If you remove the engine for repair, drain the oil from the oil sump (see "Changing the engine oil and oil filter").
8. Drain the oil from the gearbox (see "Checking the level and topping up the oil in a manual and robotic gearbox"; "Checking the level and replacing the working fluid in an automatic transmission").
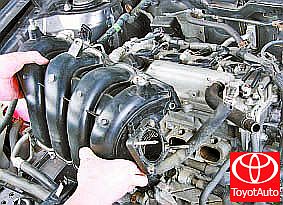
9. Remove the inlet pipe (see "Inlet pipe seal replacement").
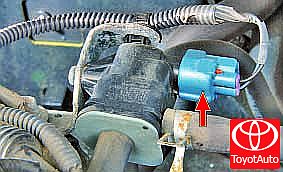
10. Disconnect the block of the wiring harness of the control oxygen concentration sensor.
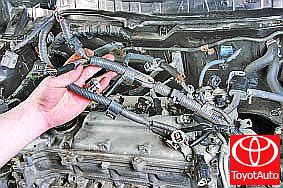
11. Disconnect the wiring harness pads:
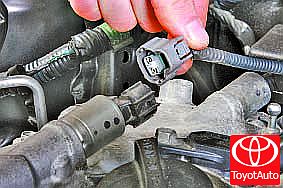
– from hydraulic phase change valves;

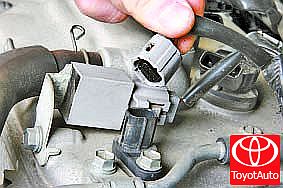
– from ignition coils;
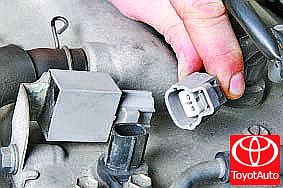
– from phase sensors;
- from the radio tuning capacitor;
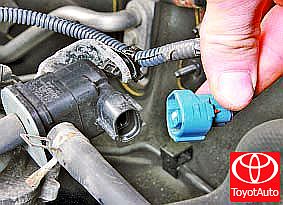
- from the adsorber valve;

– from the reverse light switch;
- from the electronic engine control unit (see "Removing and installing the electronic engine control unit");
– from the gauge of temperature of a cooling liquid;
- from the oil pressure sensor;
- from the crankshaft position sensor;
- from the knock sensor;
- from the air conditioner activation sensor.
12. Set aside the wiring harnesses.
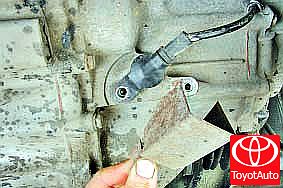
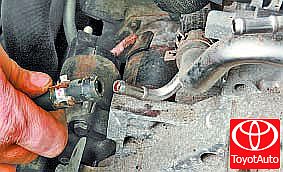
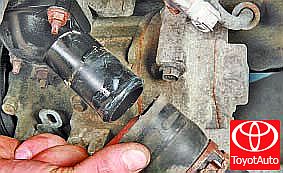
13. Turn out a bolt of connection of a "mass" wire to a transmission...
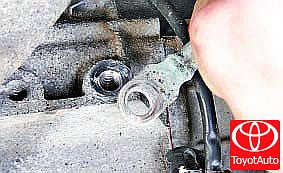
14. ... and take the "mass" wire to the side.

15. Similarly disconnect fastening of a "mass" wire to the engine.
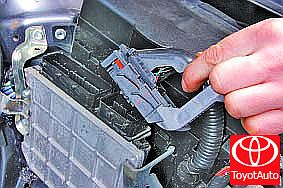
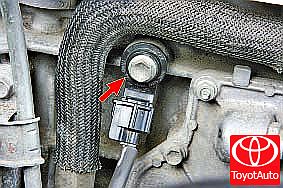
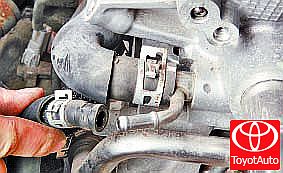
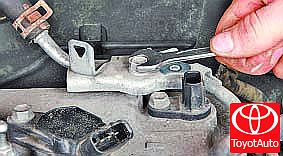
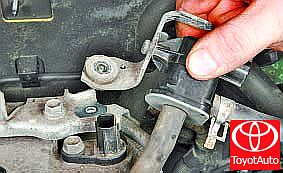
16. Turn out two bolts...
17. ... remove the protective cover ...
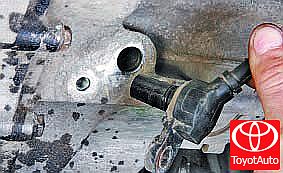
18. ... and disconnect the speed sensor.
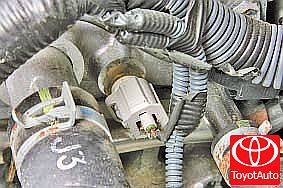
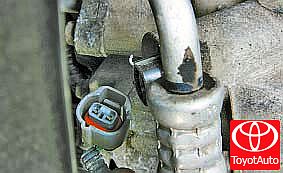
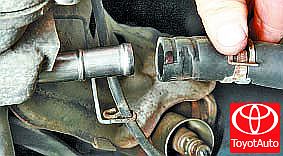
19. Pry with a screwdriver ...
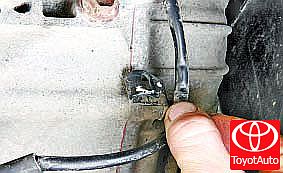
20. ... remove the speed sensor wiring from the retainer and take it to the side.
21. Disconnect the crankcase ventilation system hoses (see "Cleaning the crankcase ventilation system").
22. Disconnect the wires from the generator and remove the generator (see "Removing and installing the generator").
23. Disconnect the wires from the starter (see "Removing and installing the starter").

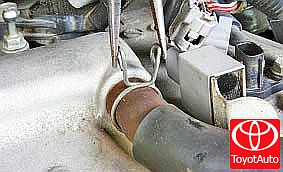
24. Disconnect the radiator inlet pipe from the engine.
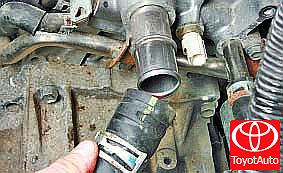
25. Disconnect the heater inlet pipe from the engine.
26. Disconnect the inlet pipe of the throttle assembly.
27. Disconnect the outlet pipe of the throttle assembly.
28. Disconnect the heater inlet pipe from the engine.
29. Disconnect the coolant inlet.
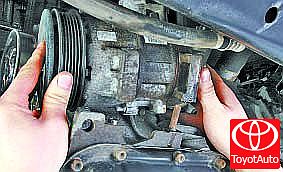
30. Remove the air conditioning compressor and take it aside (see "Removing and installing the air conditioning compressor").
31. Turn out a bolt and take away an arm of fastening of pipelines aside.
32. Turn out a bolt of fastening of an arm of the adsorber valve...
33. ...and take him aside.
34. Similarly remove an arm of fastening of the pipeline of the vacuum amplifier of brakes.
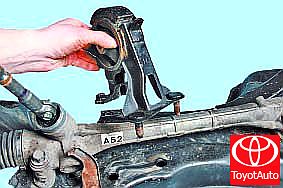
35. Remove the rear power unit mount (see "Replacing the rear power unit mount").
36. Remove the front suspension support of the power unit (see "Replacing the front suspension support of the power unit").
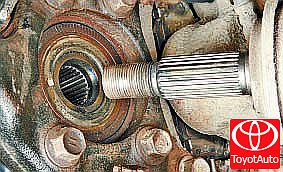
37. Disconnect the front wheel drives from the gearbox (see "Removing and installing front wheel drives").
38. Remove the clutch drive and gearbox drives.
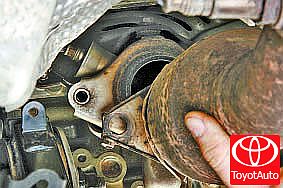
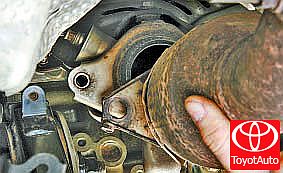
39. Disconnect the front pipe from the exhaust manifold (see "Replacing the elements of the exhaust system").

40. Install supports under the engine and gearbox housing.
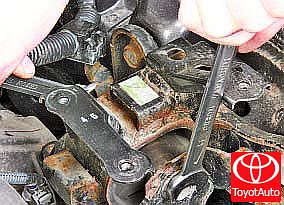
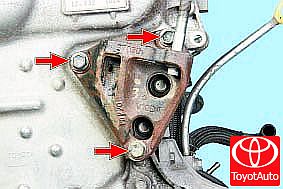
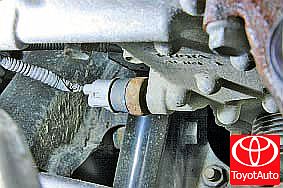
41. While holding the bolt securing the left engine mount to the gearbox bracket with one wrench, unscrew the bolt nut with the second wrench and remove the bolt.
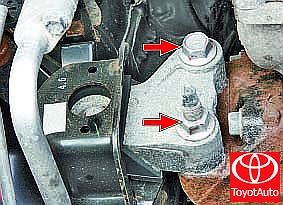
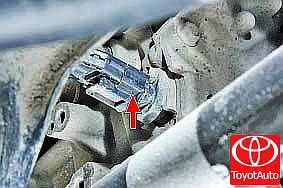
42. Turn out a bolt and turn away a nut of fastening of the right support of a suspension bracket of the power unit to the engine.
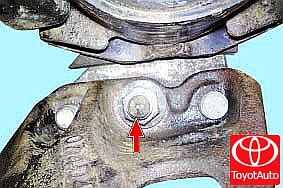
43. Turn out a bolt of fastening from below.
44. Check again that all wires, hoses and attachments are disconnected from the engine.
45. Lower the engine down.
46. Hang the front of the car (raise the car on a lift) to a height sufficient to remove the power unit from under it, and place reliable supports under the body.
47. Remove the engine from under the car. Install the engine, as well as all removed components and parts in the reverse order of removal, taking into account the following:
- before installing the power unit, clean the threaded holes for fastening its supports from rust with a tap;
– Necessarily replace a new lining of a reception pipe;
- when connecting wires and pipelines, carefully monitor the correct location of them in the engine compartment, avoiding contact with heating and moving elements of the power unit. After installing the engine, do the following.
1. Fill with oil (see "Changing the engine oil and oil filter").
2. Fill in the coolant (see "Changing the coolant").
3. Fill the gearbox with oil (see "Checking the level and topping up the oil in a manual and robotic gearbox"; "Checking the level and replacing the working fluid in an automatic transmission").
4. Adjust the tension of the accessory drive belt (see "Checking, adjusting and replacing the accessory drive belt").
5. Start the engine and check for fuel, oil and coolant leaks. Check oil pressure. Listen to the engine, it should run smoothly, without extraneous noise and knocks.
Source: http://toyotauto.net/corolla/snyatie-i-ustanovka-dvigatelya.html