![B10 [2006 - 2013]](/uploads/Nissan_Almera_Classic_2006-2013_.jpg)

The main malfunctions, for which it is necessary to remove the gearbox from the car, are eliminated:
- increased (compared to usual) noise;
- spontaneous disengagement or fuzzy engagement of gears;
- oil leakage through seals and gaskets.
In addition, the gearbox is removed before the clutch, flywheel and rear oil seal of the engine crankshaft are replaced.
USEFUL ADVICE: The work of removing and installing the gearbox is very laborious, so be sure to first make sure that its malfunctions are not caused by other reasons (insufficient oil level, defects in the clutch release drive, loosening of the gearbox, etc.).
The gearbox is quite heavy and its shape is awkward to hold, so we recommend removing it with an assistant.
You will need: keys "for 14" and "for 24".
1. Drain the oil from the gearbox (see "Checking the level and changing the oil in a manual gearbox").
2. Remove the front wheel drives (see "Removing and installing front wheel drives").
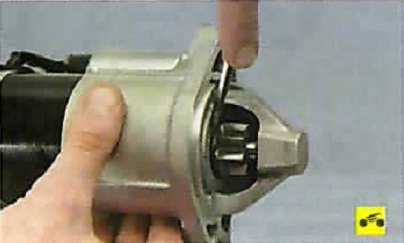
3. Remove the starter (see "Removing and installing the starter").
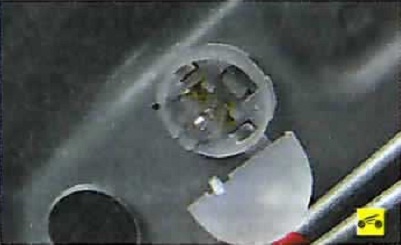
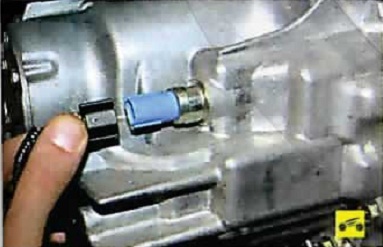
4. Disconnect the wiring harness connector from the reversing light switch (see "Replacing the reversing light switch").
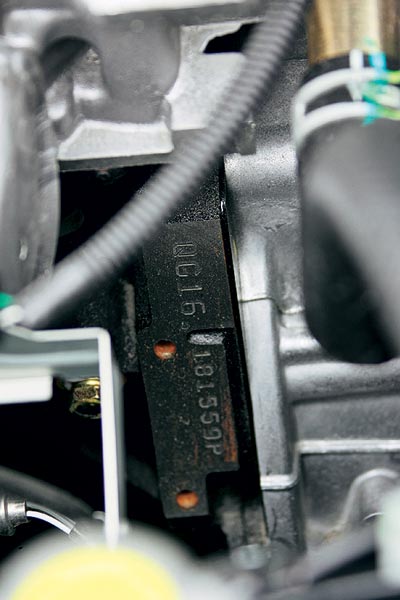
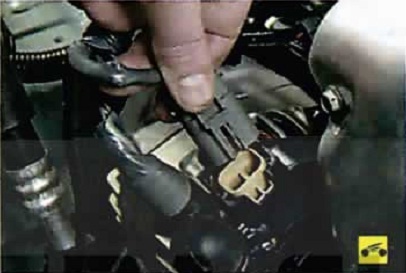
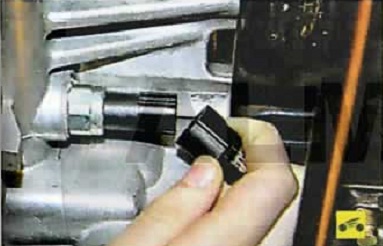
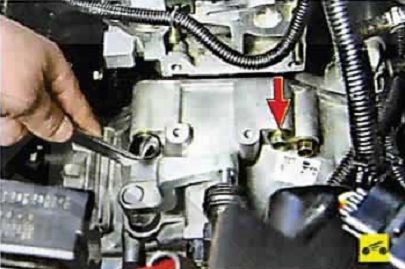
5. Disconnect the wiring harness block from the neutral position sensor in the gearbox ...
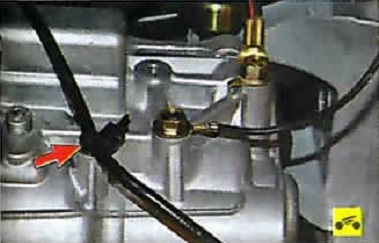
6. ... and remove the wire harness holders from the holes in the gearbox housing.
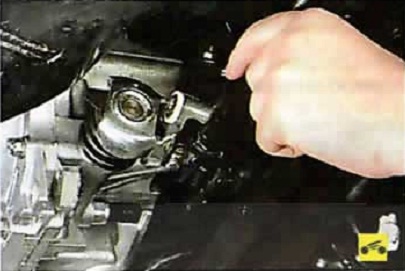
7. Remove the bolts securing the clutch slave cylinder, and then, without disconnecting the hose from it, remove the cylinder from the gearbox and take it to the side (see "Replacing the clutch slave cylinder").
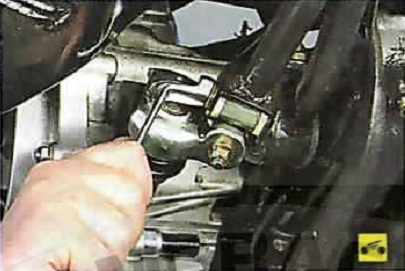
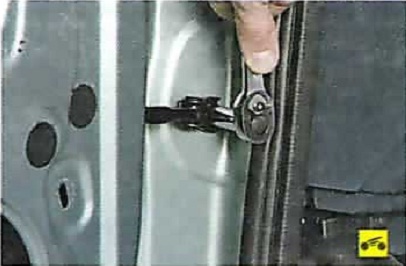
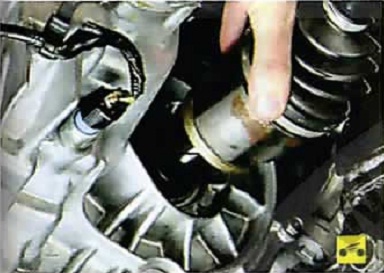
8. Unscrew the nut of the axis of attachment of the gear selection rod to the sleeve of the selection mechanism ...
9. ... remove the axle and remove the thrust bracket from the bushing.
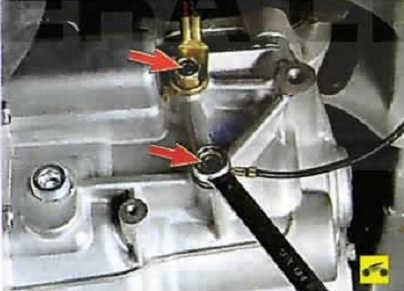
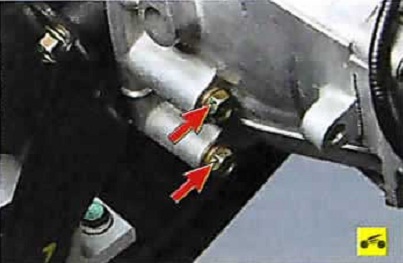
10. Turn out two bolts of plugs of "mass" wires and remove plugs from a transmission.
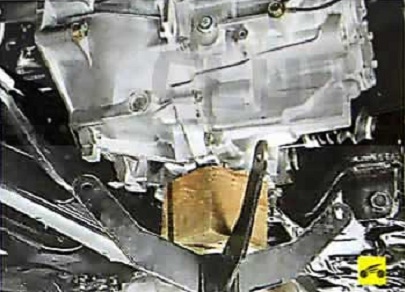
11. Place supports under the crankcase and gearbox housing, remove the protective bar and the left support of the power unit (see "Replacing the support of the suspension of the power unit and the protective bar").
12. Turn out two bolts of forward fastening of a transmission to the block of cylinders...
13. ... and two top mounting bolts.
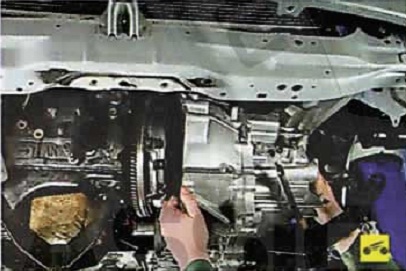
14. Move the gearbox back until the input shaft of the box comes out of the hub of the clutch disc. Then move the box as far back as possible, remove the support from under it and, tilting the back of the box down, remove it from the car.
WARNING: When removing the gearbox, do not rest the end of the input shaft on the petals of the diaphragm spring, so as not to deform them.
15. Install the gearbox, as well as all removed parts and assemblies in the reverse order of removal.
HELPFUL ADVICE: Before installing the gearbox, lubricate the splines of the input shaft with a thin layer of refractory grease. Check how the clutch disc is centered using a special mandrel (see "Removing and installing the clutch").
16. Fill the gearbox with oil (see "Checking the level and changing the oil in a manual gearbox").
17. If necessary, adjust the gearbox control drive (see "Adjusting the gearbox control drive").
Source: http://remont-nissan-almera.net/transmissiya/179-korobka-peredach-snyatie-i-ustanovka-korobki-peredach.html