![IX [2000 - 2005]](/uploads/mitsubishi_lancer_2005_images_2.jpg)
![X [2007 - 2017]](/uploads/Mitsubishi_Lancer_Sedan_2007.jpg)

You will need: socket wrench "10". pliers, flat blade screwdriver.
1. Perform the operations of paragraphs. 1-9 described in the previous subsection (see "Removing and installing the thermostat", p. 104).
2. Remove the harness holders from the bracket secured with one of the thermostat housing mounting bolts.
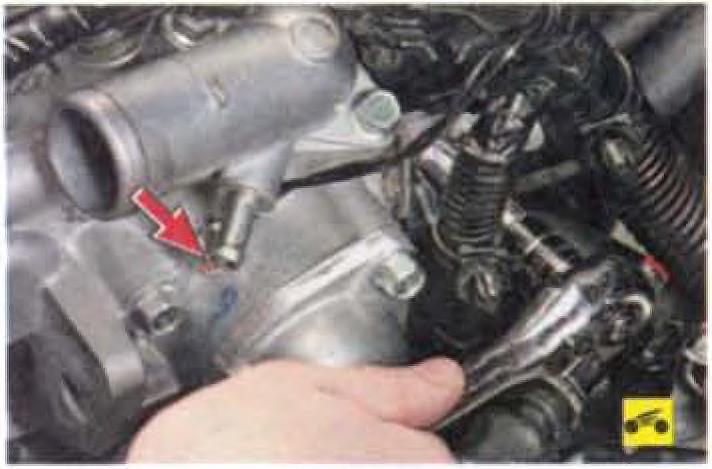
3. Turn out two bolts of fastening of the case of the thermostat, at the same time holding an arm of a plait of wires and the plug of a "mass" wire.
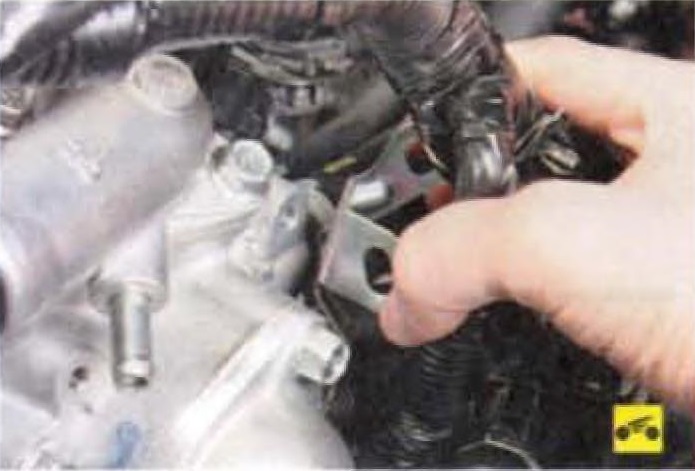
4. Remove the bracket.
5. and take aside the "mass" wire.
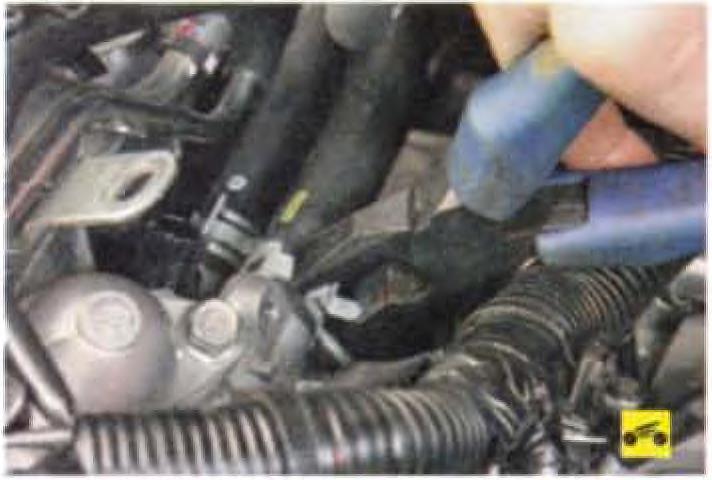
6. Loosen the hose clamps of the heater radiator hoses, squeezing the ears of the clamps with pliers, slide the clamps along the hoses ...
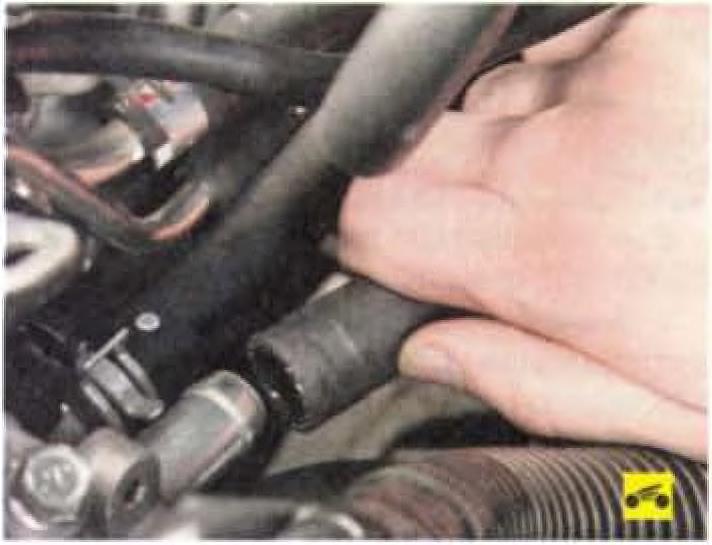
7. ... and disconnect the hoses from the nozzles of the thermostat housing.
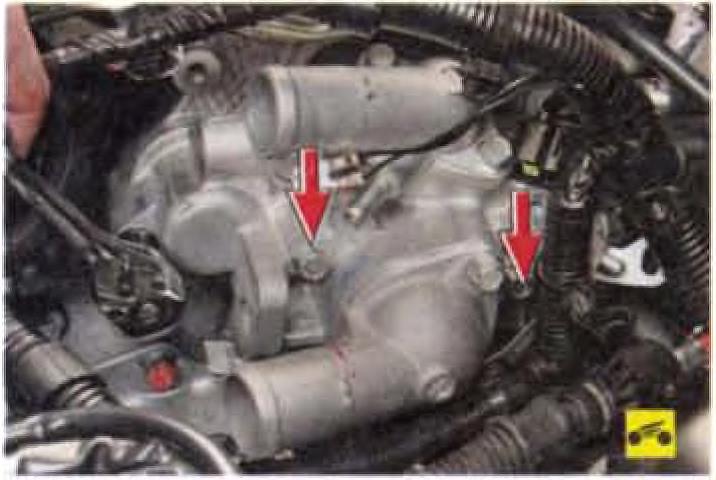
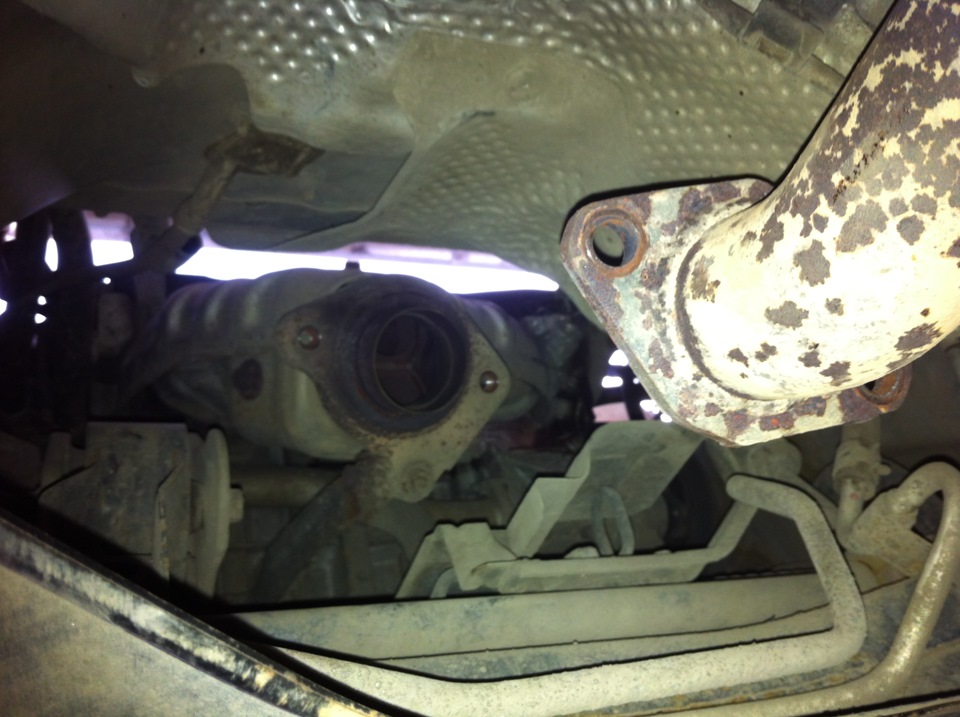
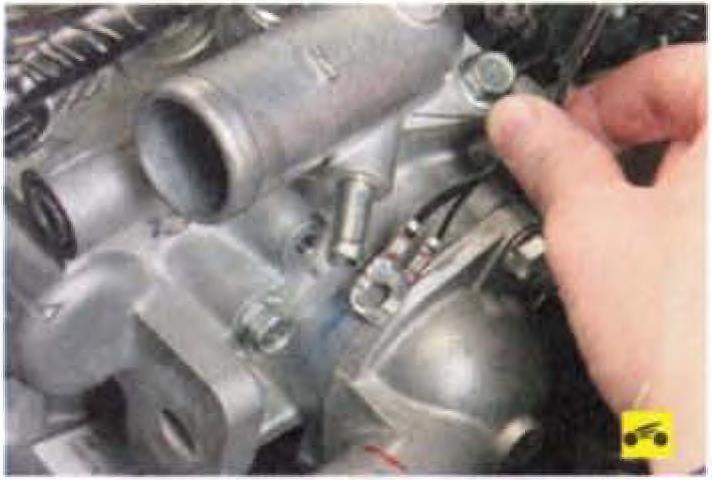
8. Turn out three remaining bolts of fastening

9. ... and remove the thermostat housing.
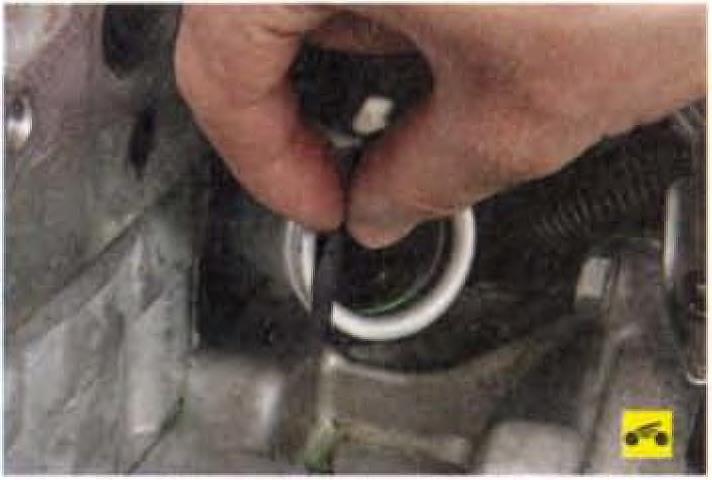
10. Remove the O-ring from the water pump pipe. Replace a severely compressed, hardened or torn ring.
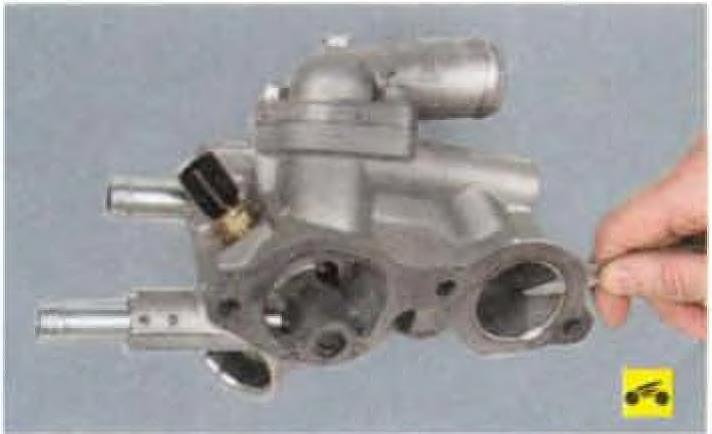
11. Remove the gasket from the thermostat housing.
Note
Replace the gasket with a new one each time the thermostat housing is removed.
12. Install the thermostat housing and all removed parts in the reverse order of removal.
13. Fill in the coolant and remove air pockets from the cooling system (see "Replacing the coolant", page 64).
Useful advice
Before installing the thermostat housing, apply a bead of sealant to the housing flange surface and to the mating surface of the cylinder head.
Source: Mitsubishi Lancer X Owner's Manual