![3 generation [2012 - 2015]](/uploads/56857_780x510_tc2.jpg)

Tools:
- Screwdriver flat medium
- Plastic mounting spatulas
- Phillips screwdriver, medium
Note:
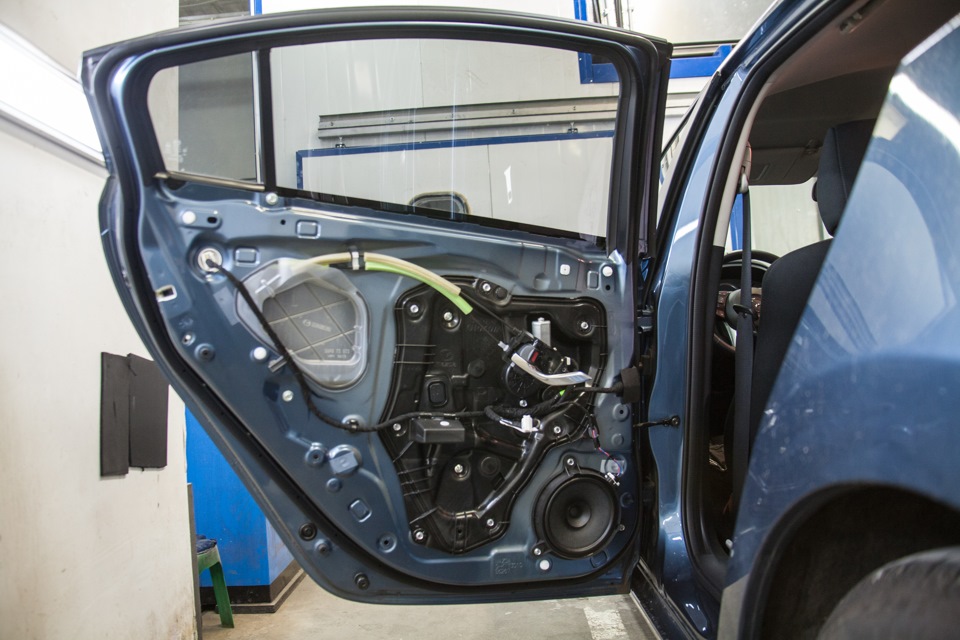
The upholstery of the rear door of the Mazda 6 (GJ) is removed in the same way as the front door.
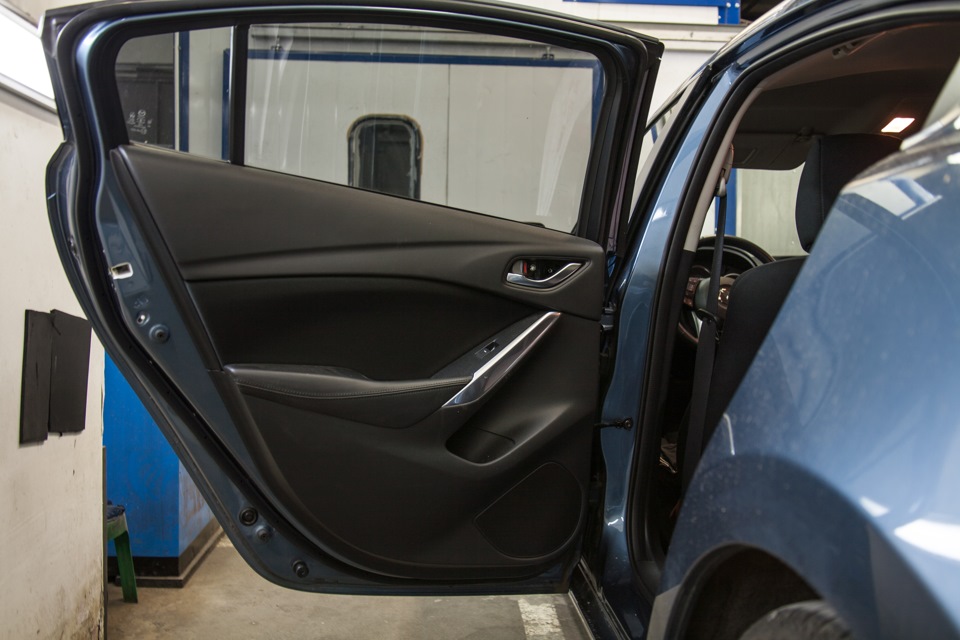
Removing the upholstery of the front door Mazda 6. The procedure for performing work:
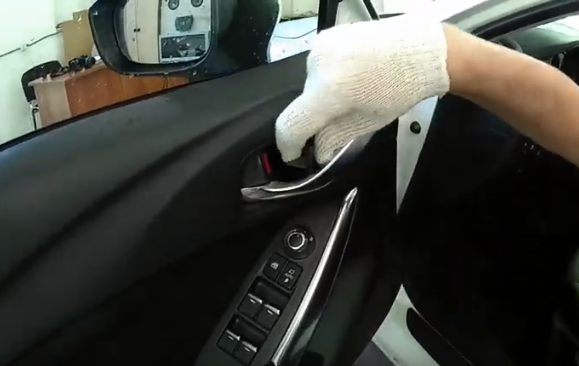
1. Fully lower the power window and open the front door.
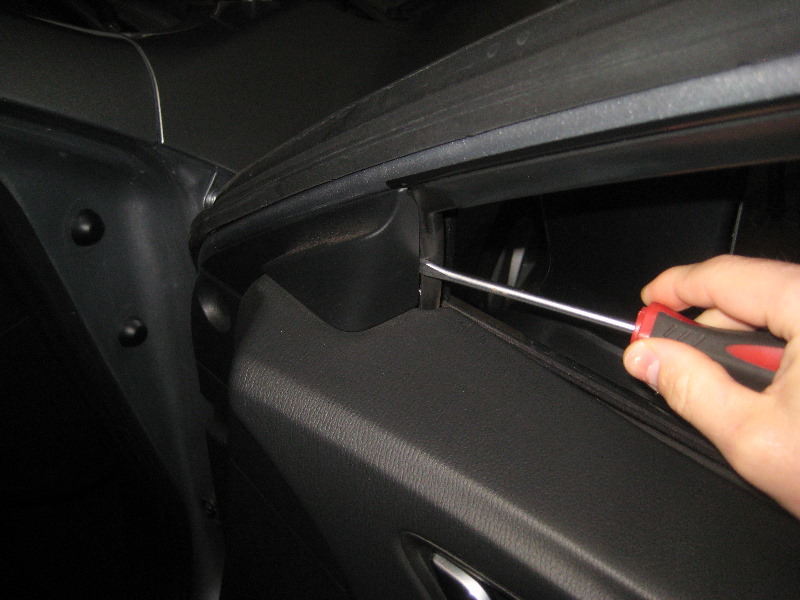
2. In the upper inner corner of the door, pry with a screwdriver and pull out the plastic panel (resembles two triangles connected by a small plastic strip).
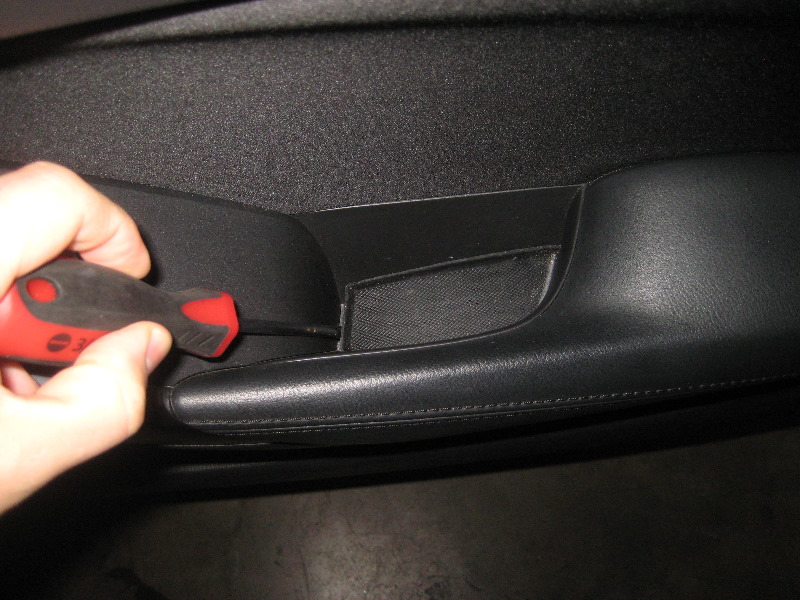
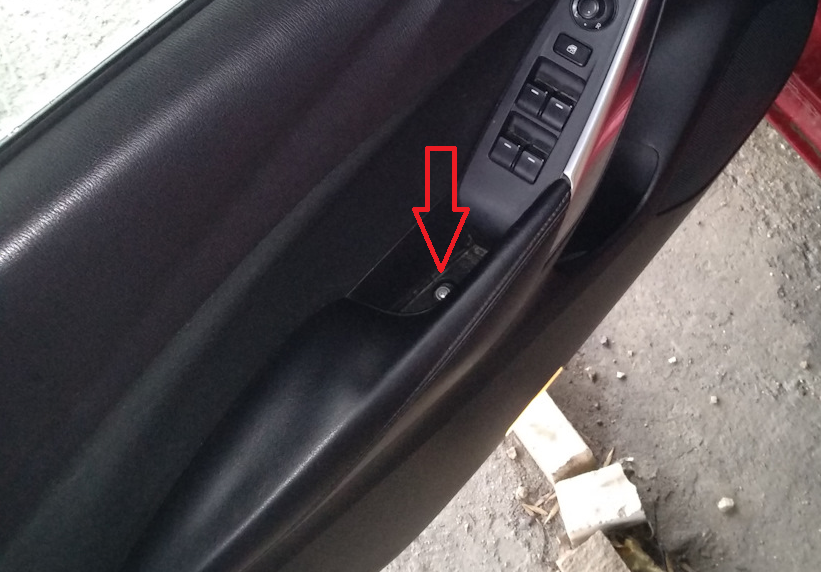
3. Using a small flathead screwdriver, carefully pry out the interior trim (located behind the door opener handle).

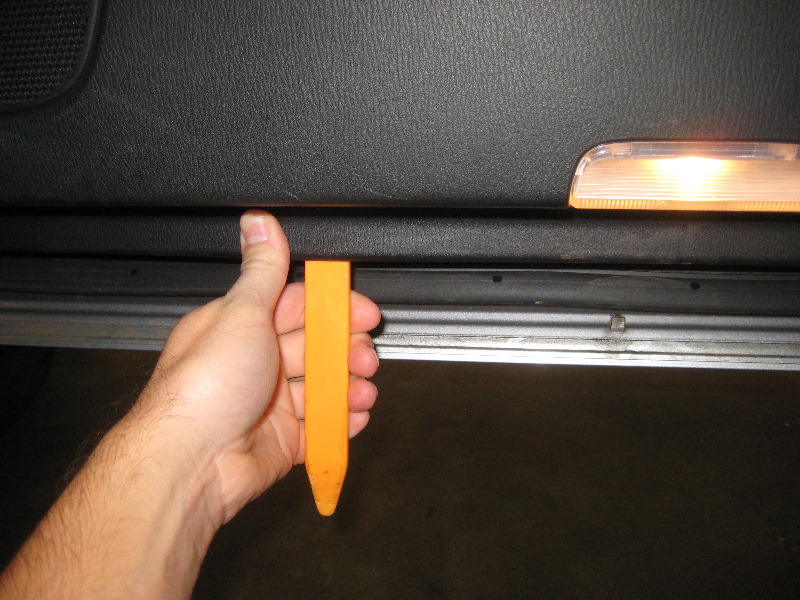
4. Pry at the bottom of the door with a flathead screwdriver and remove the rubber cover.
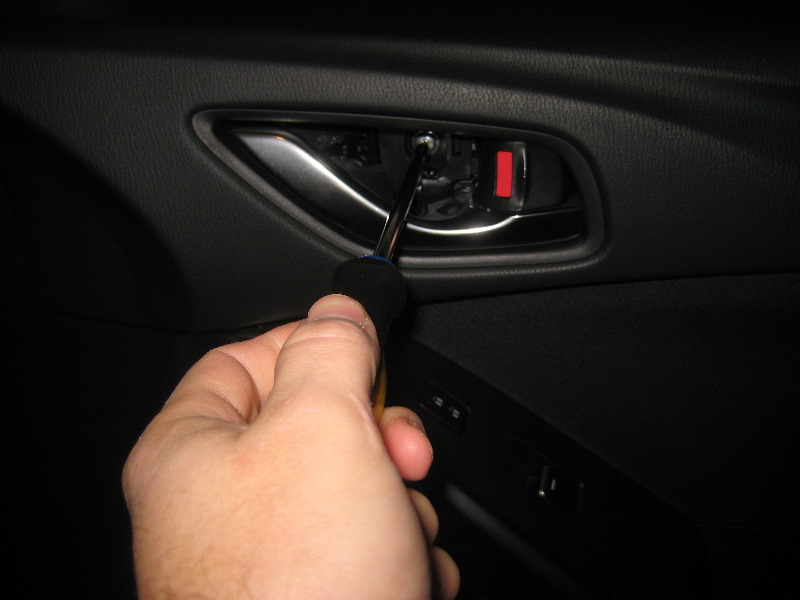
5. Use a Phillips screwdriver to remove the screw located behind the door opener handle by turning it counterclockwise.
6. Remove the screw at the bottom of the door by turning it counterclockwise with a Phillips screwdriver.
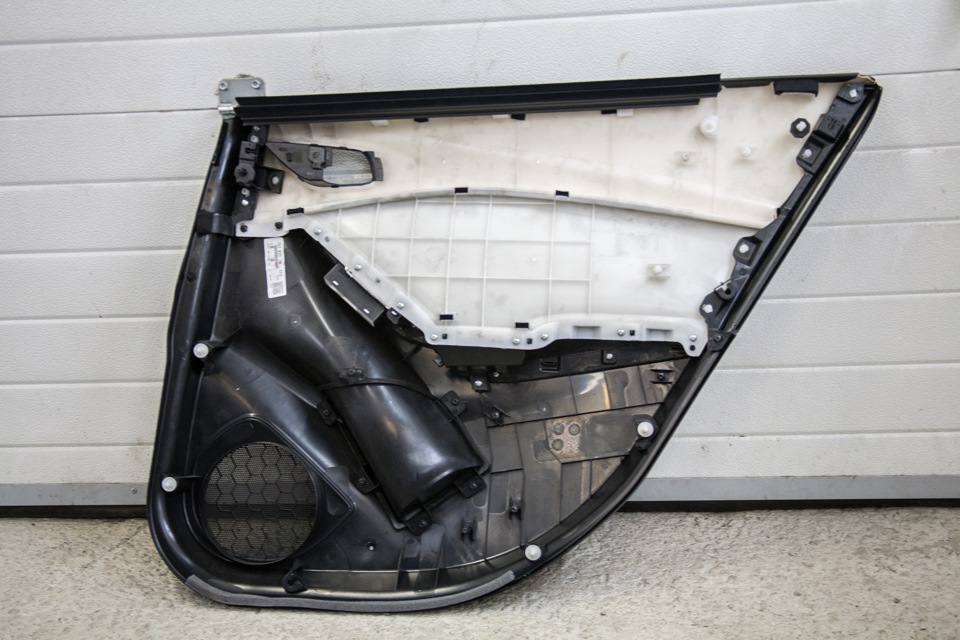
7. Insert a plastic spatula or large flathead screwdriver between the bottom edge of the door panel and the metal door frame. Pry off the bottom edge of the door panel. Release the plastic clips, hooks and pin.
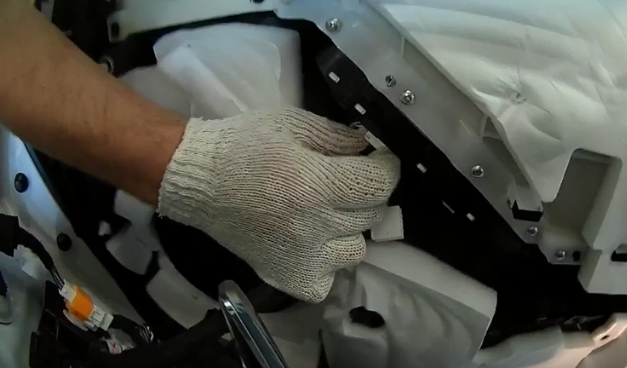
8. Grasp the convenient ledge of the bottom of the Mazda 6 door trim and pull it towards you. After all the clips are unfastened, the trim will still hang on the loops near the glass. Gently pull the entire trim up.
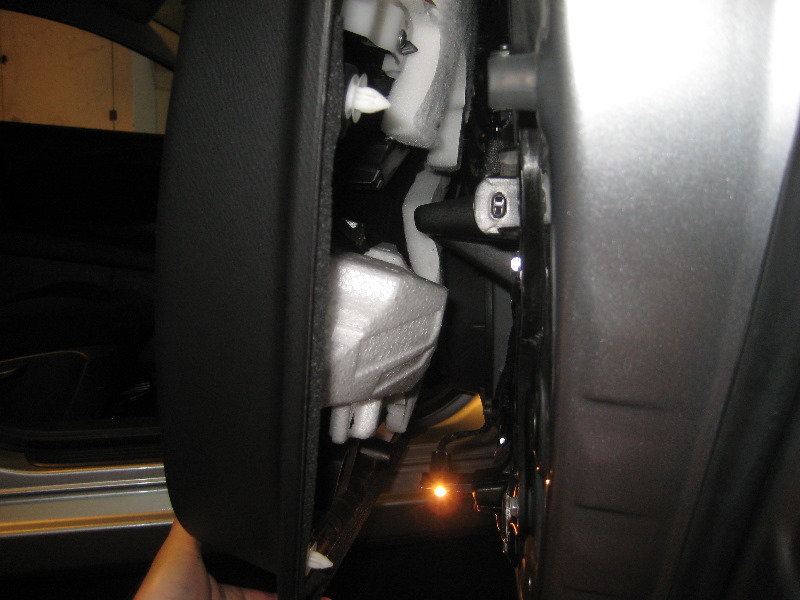
9. Disconnect the connector for the main (driver's door) and local power window switches (gray and white plastic electrical connectors on the underside of the switch panel).
10. Remove the Mazda 6 front door trim.
11. Install the Mazda 6 front door trim in reverse order.
12. Get into the vehicle, close the door, and verify that the door opener handle, door lock switch, power window switch, power door lock switch, and new speaker are working properly.
Source: carpedia.club