![1 generation [2011 - 2017]](/uploads/Lada_Granta_2011_-_2015.jpg)

Tools:
- Open end wrench 10 mm
- Phillips screwdriver, medium
- Flat screwdriver (or knife)
- Ratchet wrench
- Head 17 mm
- trim remover
Parts and consumables:
- Ceiling lining (if needed)
- Sheathing fasteners (if necessary)
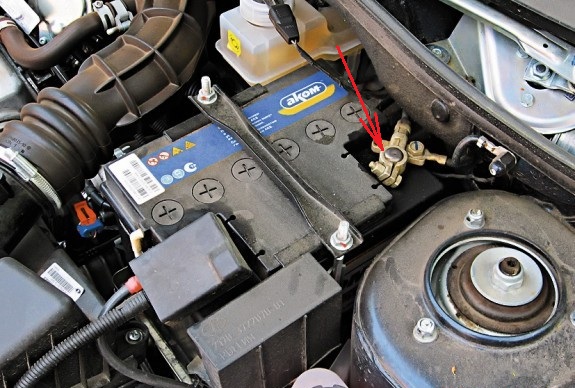
1. Disconnect the wire from the negative terminal of the battery.
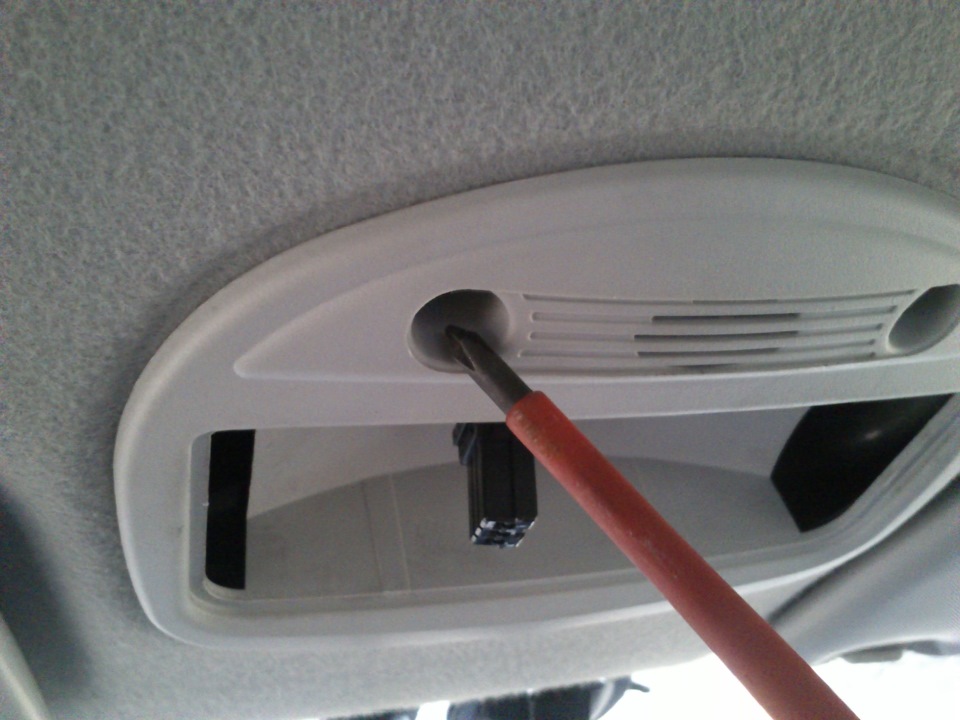
2. Remove the dome light as described here .
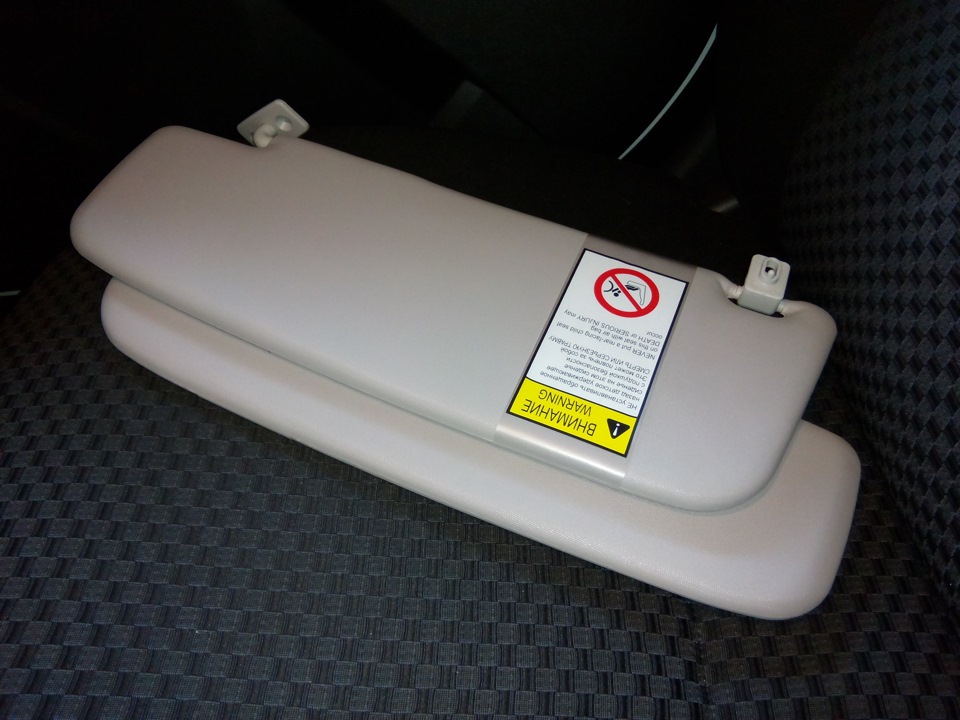
3. Remove the sun visors as described here .
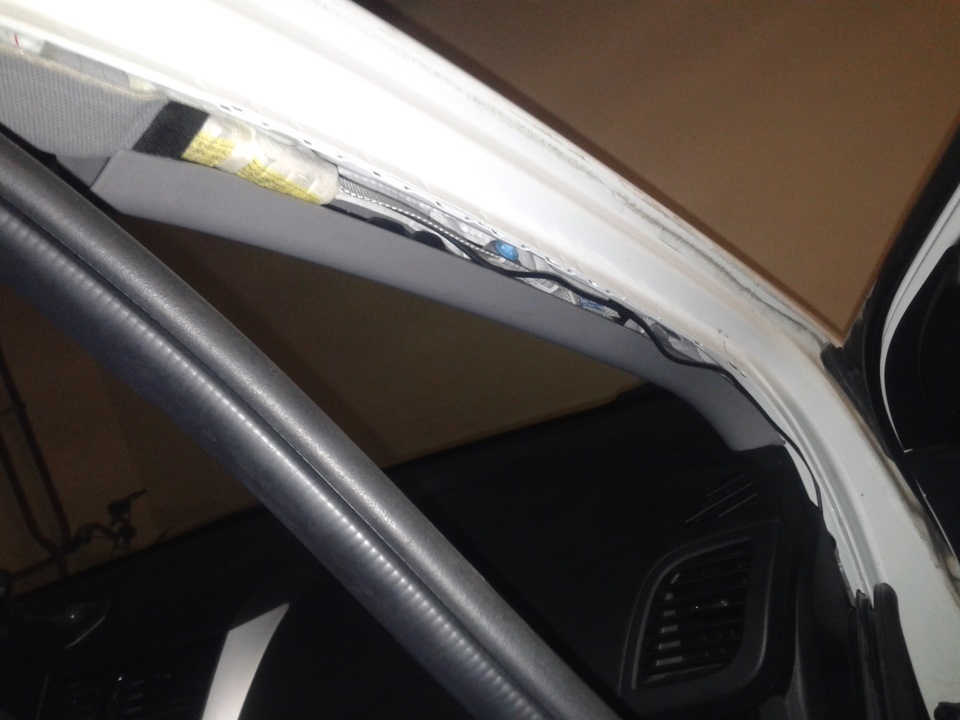
4. Disconnect door seals.
5. Remove the A-pillar trims as described here .

6. Remove the B-pillar trims as described here .
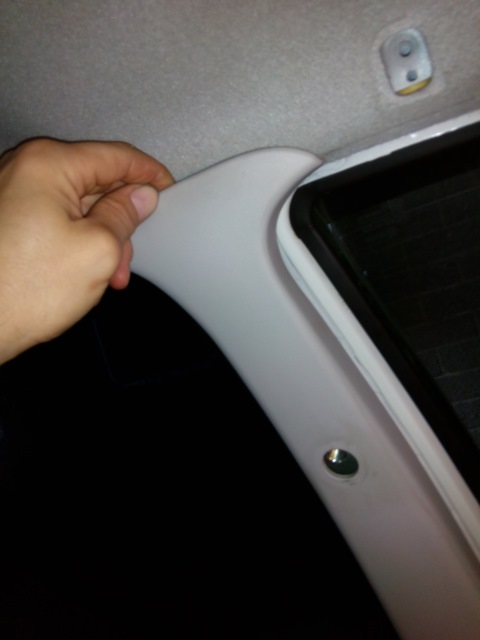
7. Remove the C-pillar trims as described here .
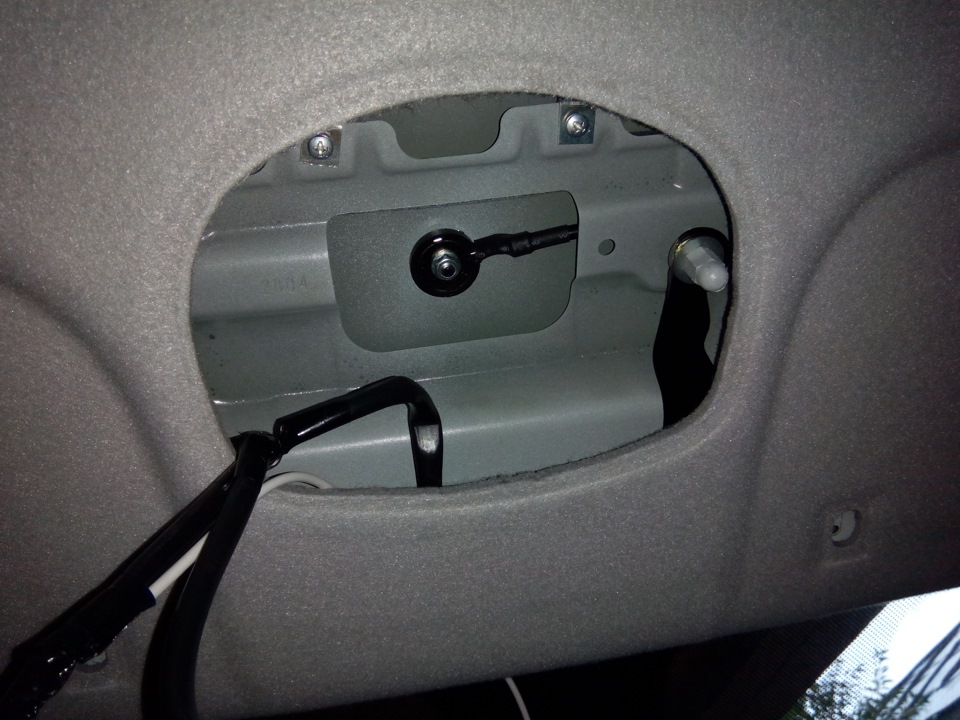
8. Remove the goggle case by undoing the screws securing the goggles to the roof with a Phillips screwdriver.
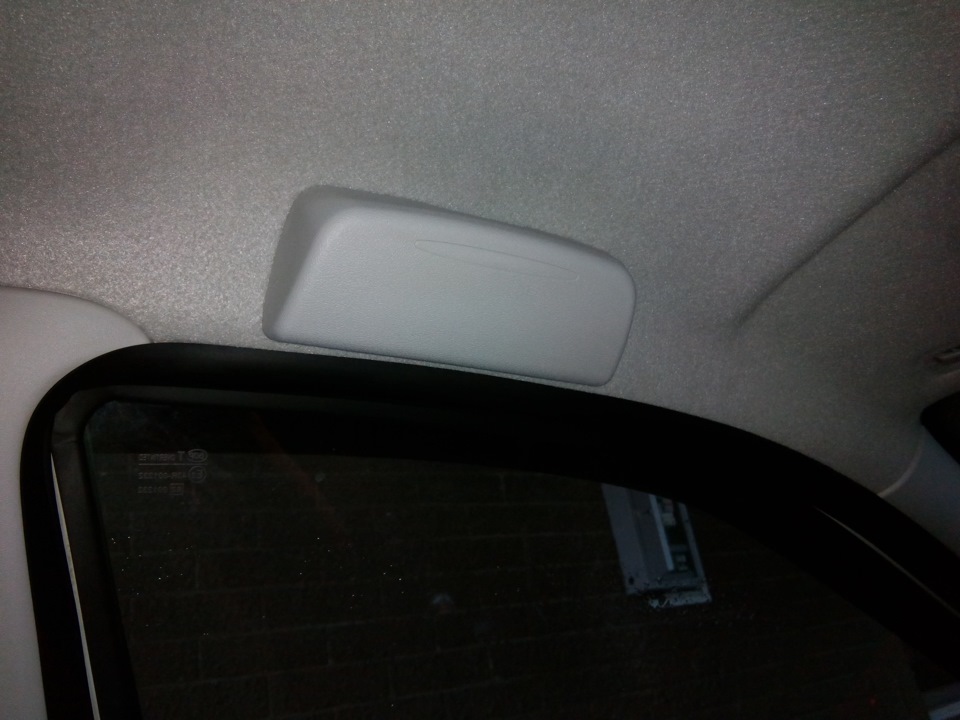
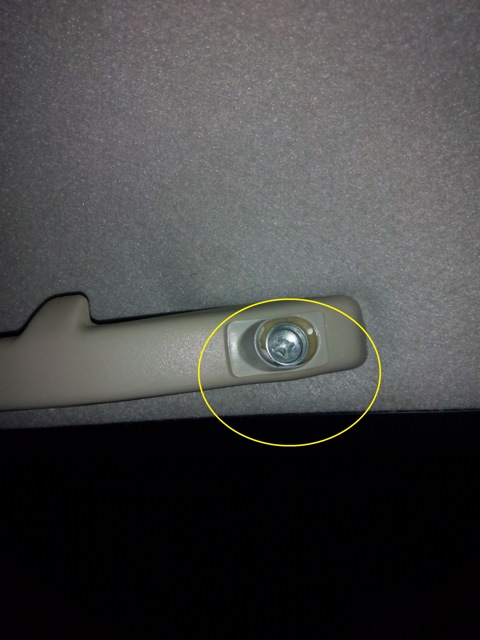
9. Remove plugs of the top handles of passengers.
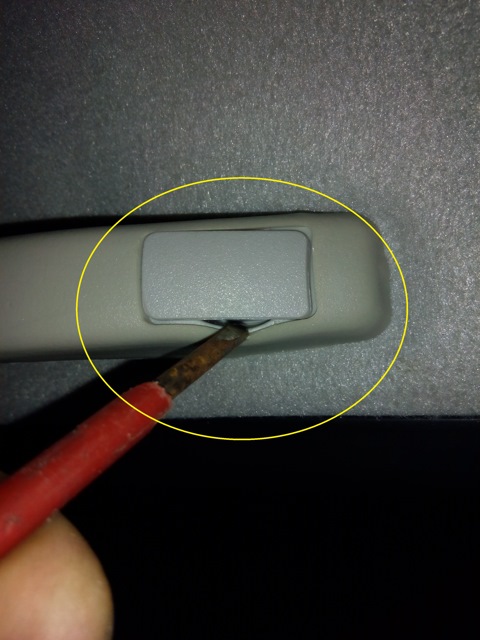
Note:
The plug can be removed with both a screwdriver and fingers, it can be easily removed.
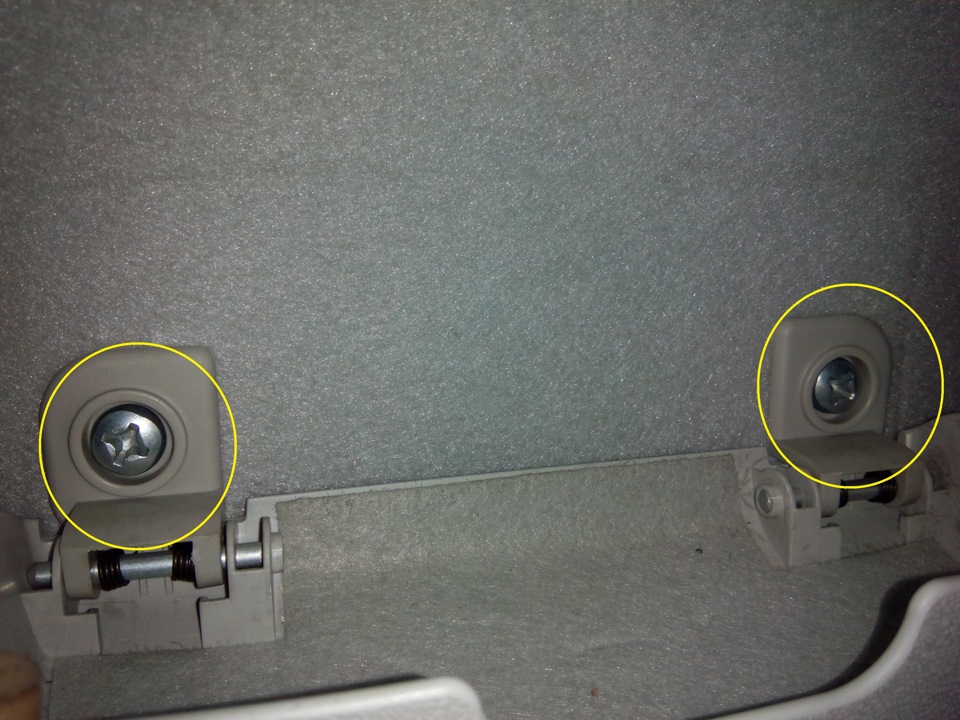
10. Turn out on two screws of the top handles of passengers.
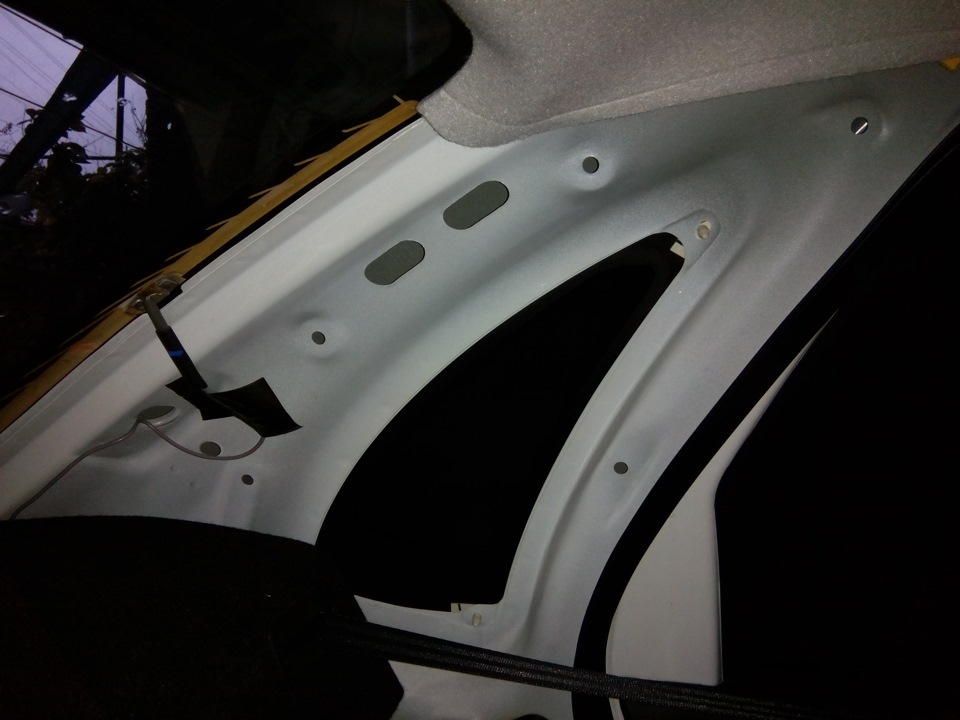
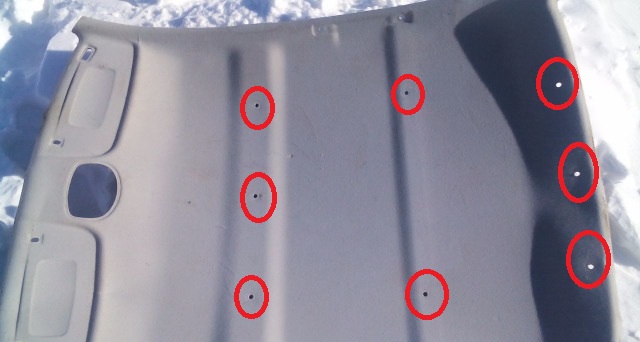
11. Remove the eight fixing clips of the ceiling lining with a piston remover, and remove the lining (for clarity, shown on the removed lining).
12. Install the ceiling lining on the Lada Grant car in the reverse order.
The article is missing:
- Tool photo
- Photo of parts and consumables
Source: carpedia.club