![CM [2006 - 2010]](/uploads/Hyundai_Santa_Fe_2006-2010_.jpg)
![DM [2012 - 2016]](/uploads/Hyundai_Santa_Fe_2012_-_3.jpg)


Tools:
- socket head 14 mm
- Ratchet wrench
- socket extension
- pliers
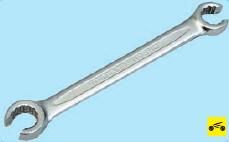
- Open-end wrench 10 mm
- Open-end wrench 17 mm
- Open-end wrench 19 mm
- Screwdriver flat medium
- Support
Parts and consumables:
- Cloth gloves
- rags
Note:
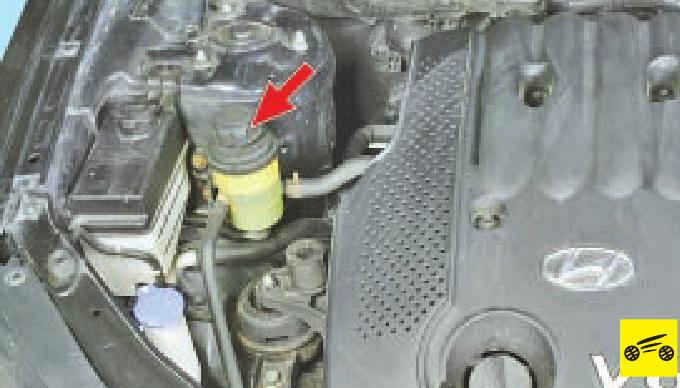
The Hyundai Santa Fe plastic fuel tank and filler pipe are a one-piece assembly. If a fuel leak is detected from the tank, it is recommended to replace it.
If the fuel filter becomes clogged frequently, remove and flush the tank with filler pipe.
It is more convenient to remove an empty tank while working on a lift, overpass or inspection ditch.
To remove fuel residues, remove the fuel pump module (see "Removing, disassembling, assembling and installing the fuel module") and pump out the fuel through the opened hole in the tank.
Removing and installing fuel tank Hyundai Santa Fe
1. Reduce the pressure in the supply system (see "Reducing the pressure in the supply system").
2. Disconnect a wire from the minus plug of the storage battery.
3. Remove a back seat (see "Removal and installation of a back seat").
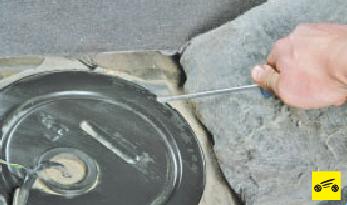
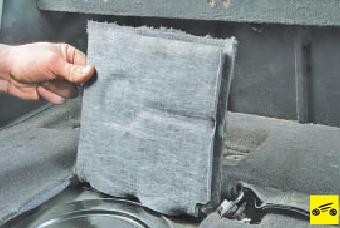
4. Fold out the cut-out part of the rug on the left.

5. Pry off the fuel module hatch cover with a screwdriver.
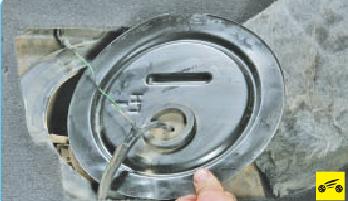
6. Slide the cover aside.
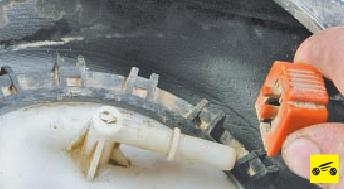
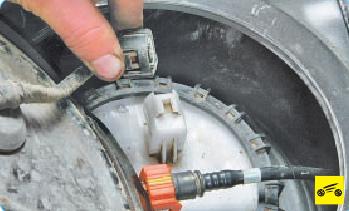
7. Wring out a clamp and disconnect a block of a plait of wires from the fuel module.
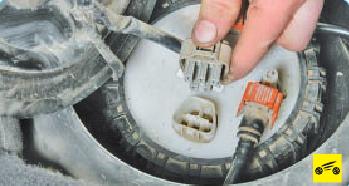
8. Squeeze the retainer and disconnect the pressure line hose from the fitting on the fuel module.
9. Fold out the cut-out part of the rug on the right.
10. Use a screwdriver to pry aside the fuel module access cover.

11. Wring out a clamp and disconnect a block of a plait of wires from a socket of the gauge of level of fuel.
12. Remove the additional muffler (see "Removal and installation of the additional muffler").
NOTE:
On all-wheel drive vehicles, remove the cardan shafts (see "Removing and installing the cardan transmission").
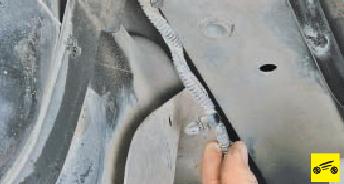
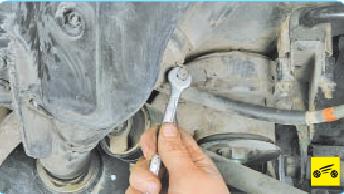
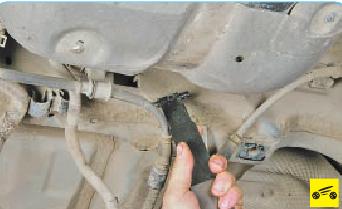
13. Pry off the harness holder with a screwdriver.
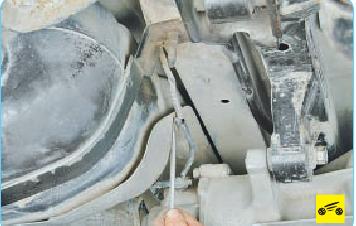
14. Disconnect the wiring harness from the thermal screen.
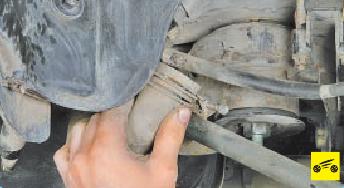
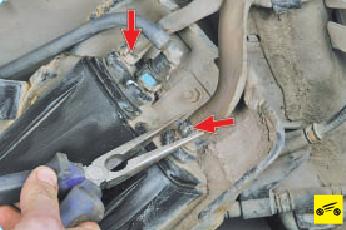
15. Loosen the clamp securing the filler pipe hose to the Hyundai Santa Fe fuel tank nozzle. Slide the clamp over the hose.
16. Disconnect the hose.
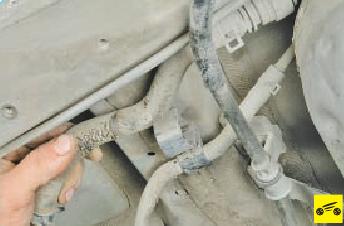
17. Wring out a clamp and disconnect an atmospheric hose of an adsorber of system of catching vapors of fuel from a branch pipe.
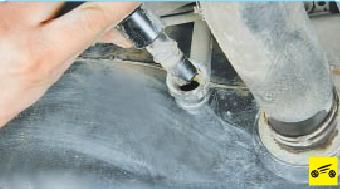
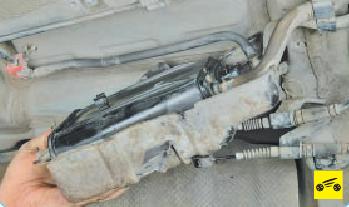
18. Turn out three bolts of fastening of a casing of an adsorber.
19. Lower down a casing with an adsorber.
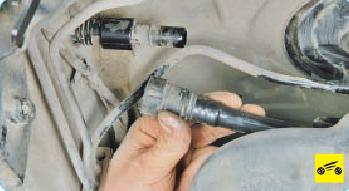
20. Squeeze the bent ears of the mounting clamps, slide the clamps along the hoses and disconnect the hoses from the adsorber.
21. Remove the adsorber hoses from the brackets on the body.
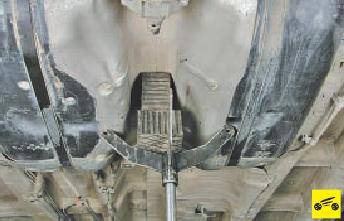
22. Install the Hyundai Santa Fe fuel tank support.
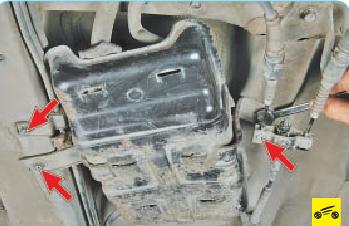
23. Turn away nuts of fastening of a forward part of collars of fastening.
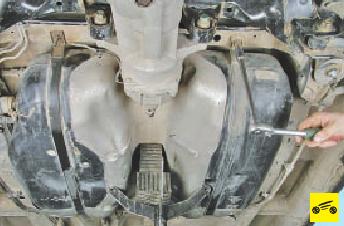
24. Remove the rear parts of the fastening collars from the grooves in the body and remove the collars.
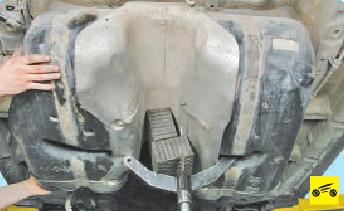
25. Lower the fuel tank 10-15 cm.
26. Squeeze clamps of an air-removing hose and disconnect a hose from a branch pipe on a fuel tank.
27. Remove the fuel tank from the Hyundai Santa Fe.
28. Install the fuel tank and all parts in the reverse order of removal.
Source: Hyundai Santa Fe Owner's Manual, Third Rome Publishing House