![IX [2000 - 2005]](/uploads/mitsubishi_lancer_2005_images_2.jpg)
![X [2007 - 2017]](/uploads/Mitsubishi_Lancer_Sedan_2007.jpg)

Tool:
- Open-end wrench 8 mm

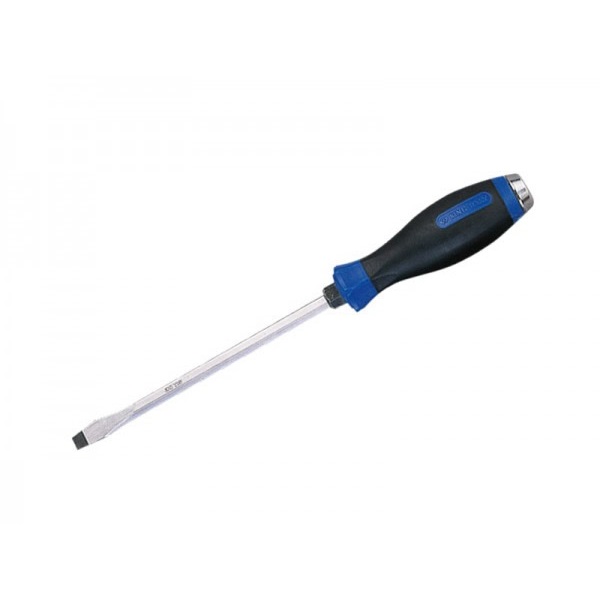
- Large flat screwdriver
Parts and consumables:
- Coarse mesh
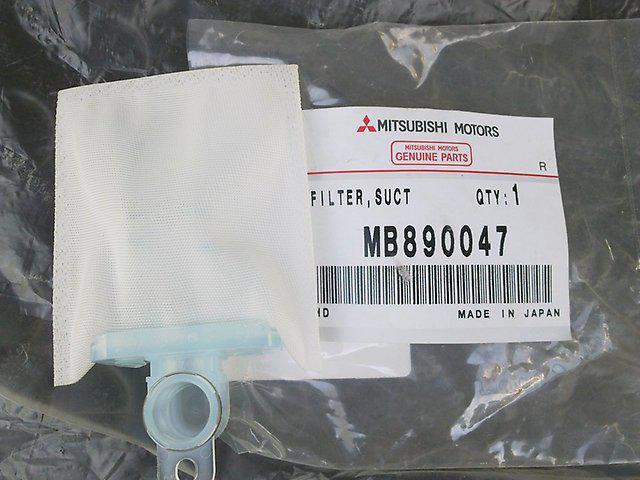
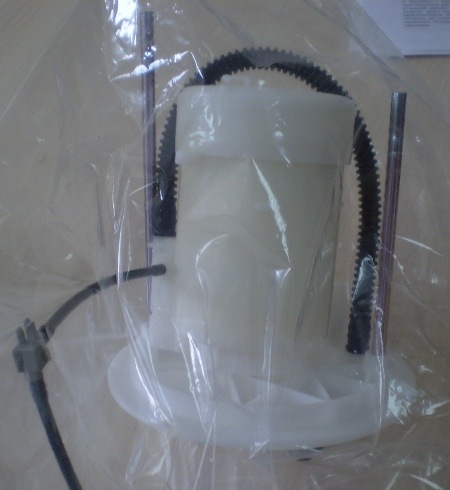
- Fuel filter
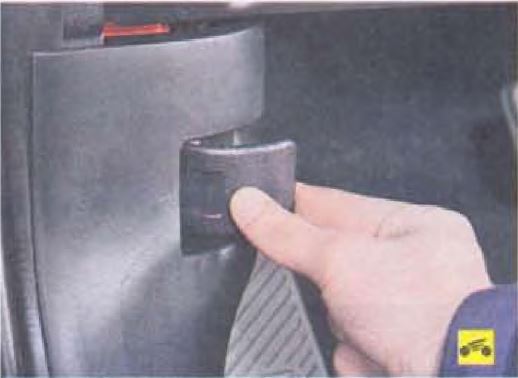
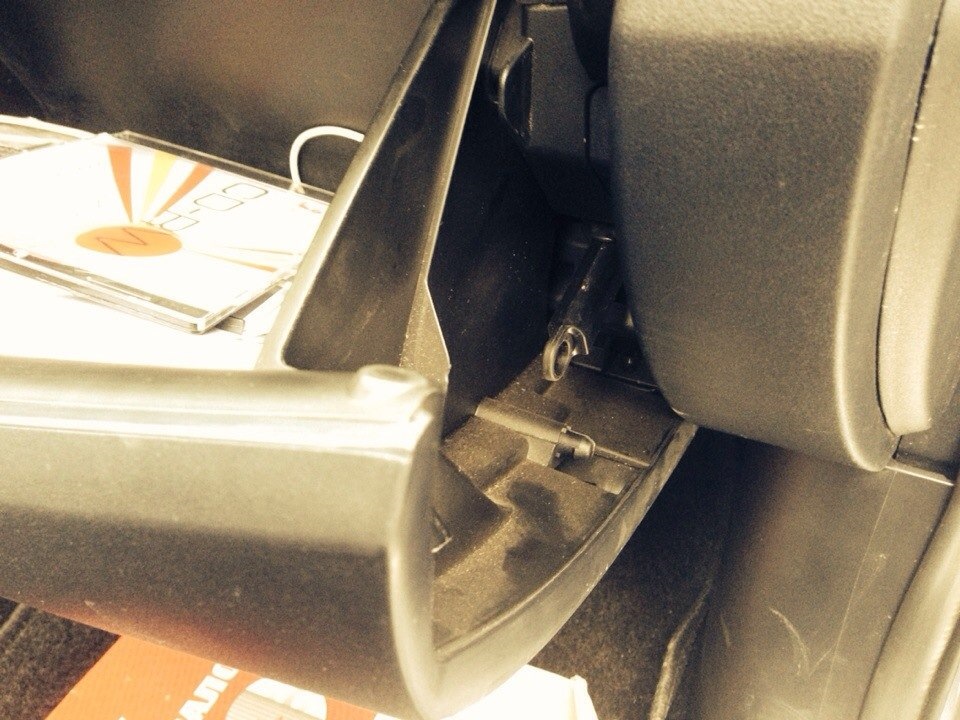
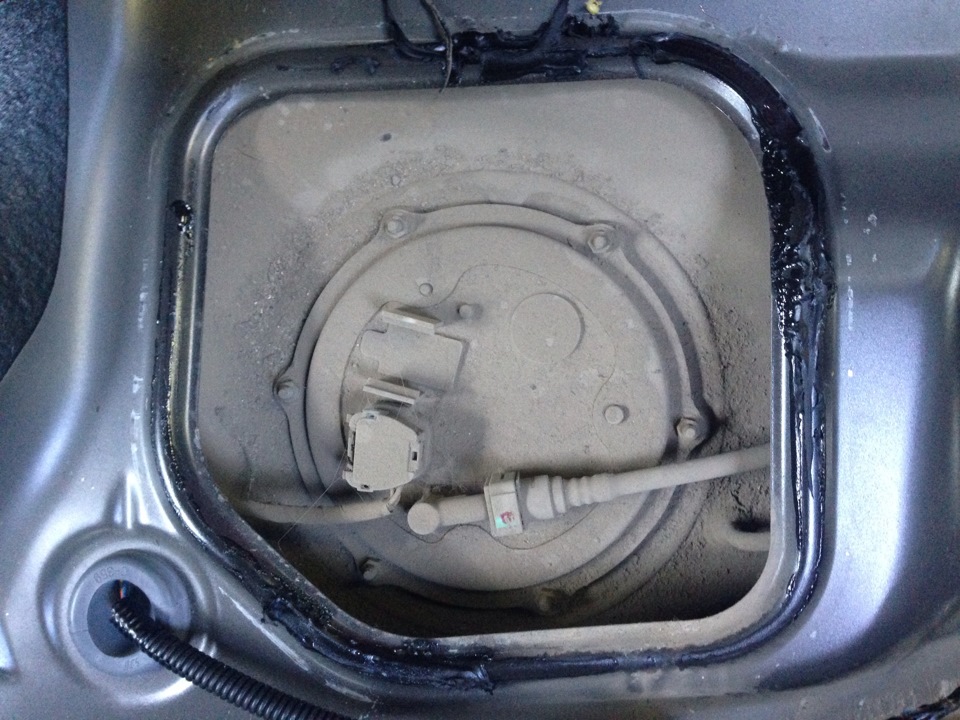
1. Remove the rear seat, find the gas tank cap, pry it off and remove it.
Note:
The lid is held on by sealant, it will be easy to open it.
2. Now you need to wash off all the dirt, wash it well so that when you open the tank, the debris does not get inside.
3. Unscrew the 6 nuts that hold the filter cover, for this, take an 8 mm wrench.
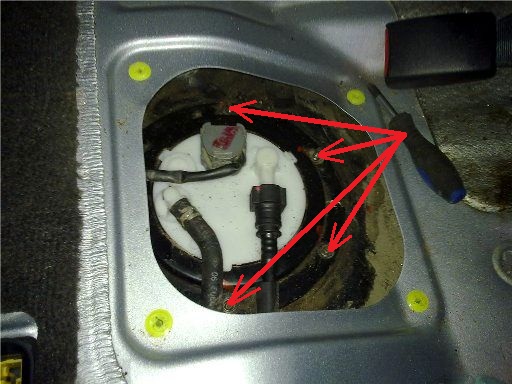
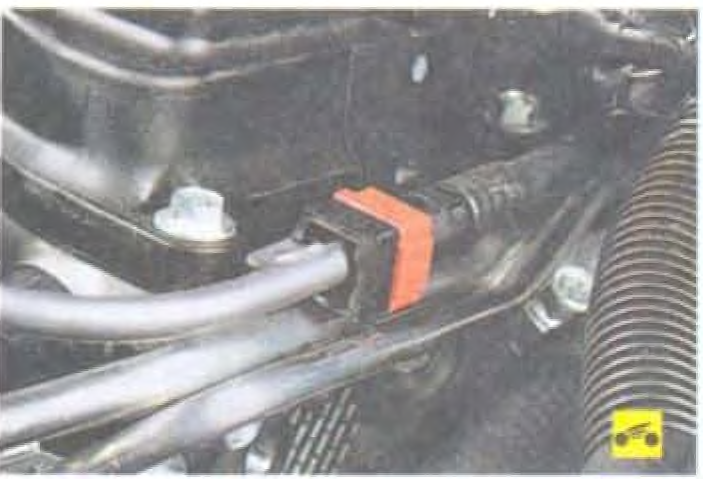
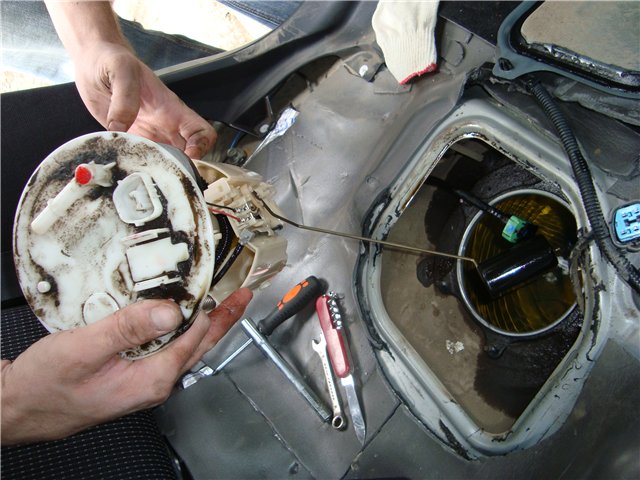
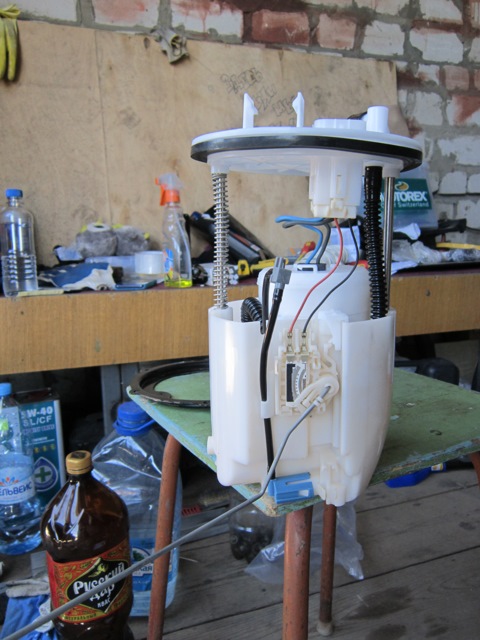
4. Disconnect all connectors and hoses from the filter, and take it out.

Note:
When you take it out, do it carefully, as there may be residual pressure inside, gasoline may subsequently pour out.
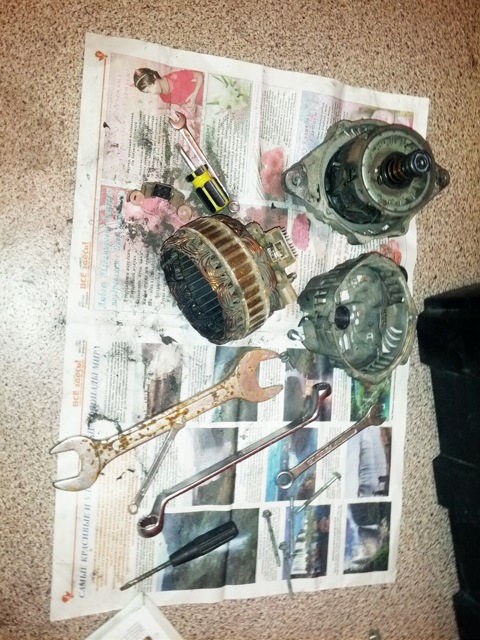
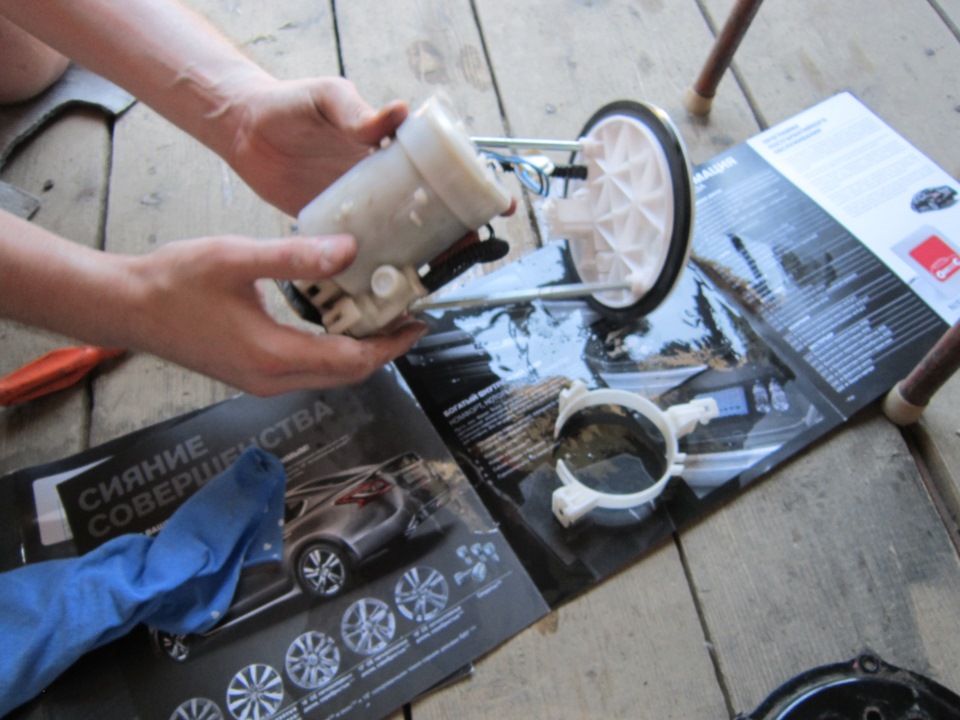
5. We completely disassemble the filter, everything is held on by latches, so there should be no problems. Change the filter itself using all rubber rings and gaskets.
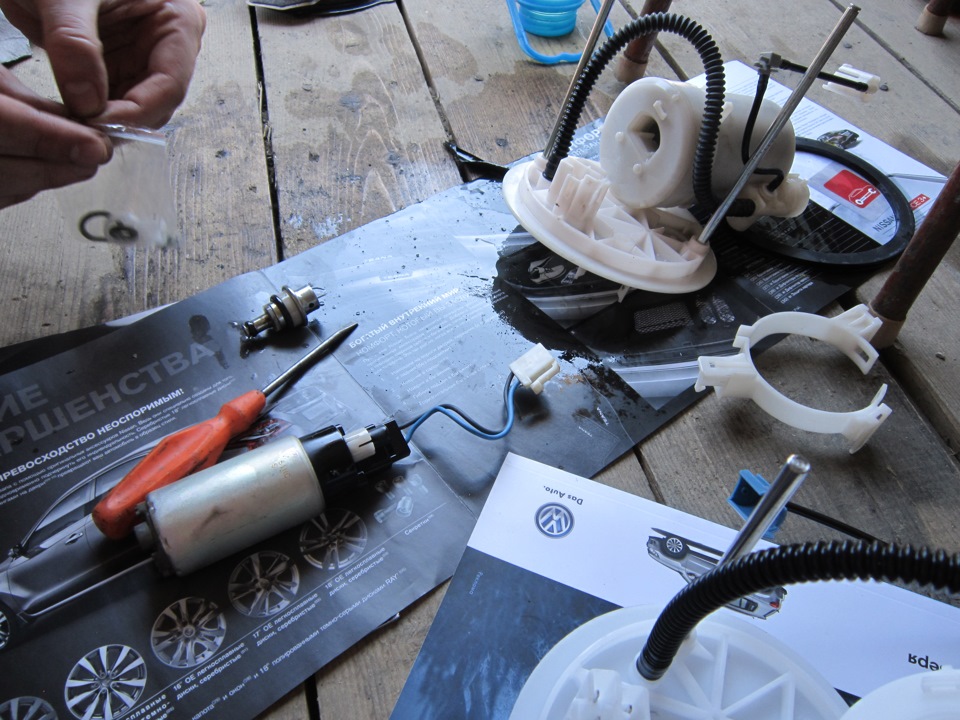
6. Change the coarse mesh and assemble everything in the reverse order.
Note:
After you have everything assembled and connected, do not be alarmed if your car does not start right away, the system needs time to drive all the gasoline again.
Source: http://carpedia.club