![1 generation [2011 - 2017]](/uploads/Lada_Granta_2011_-_2015.jpg)

Tools:
- Ratchet wrench
- Head 10 mm
- Open end wrench 10 mm
- Screwdriver flat medium
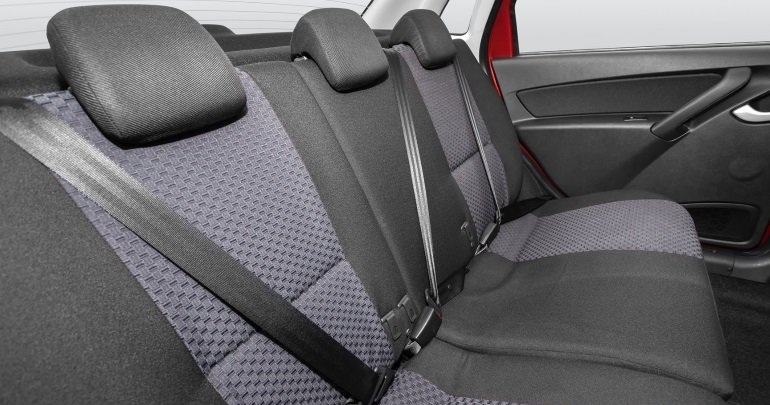
1. Remove the rear seat cushion hinge caps.
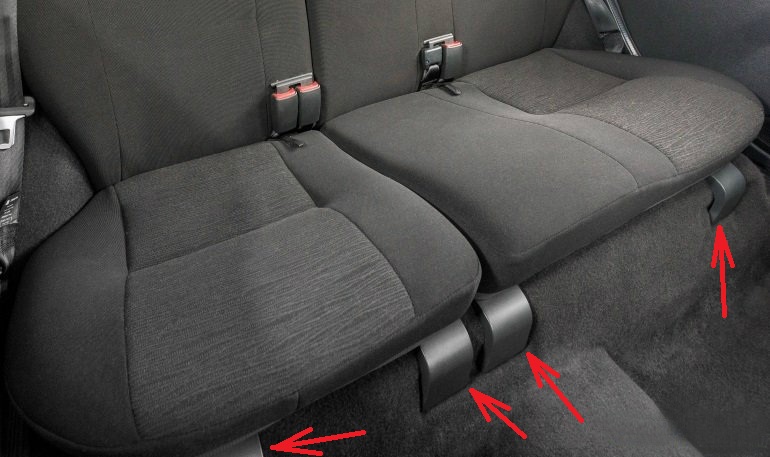

2. Lift the front part of the pillow up and remove the pillow loops from the holders on the body.
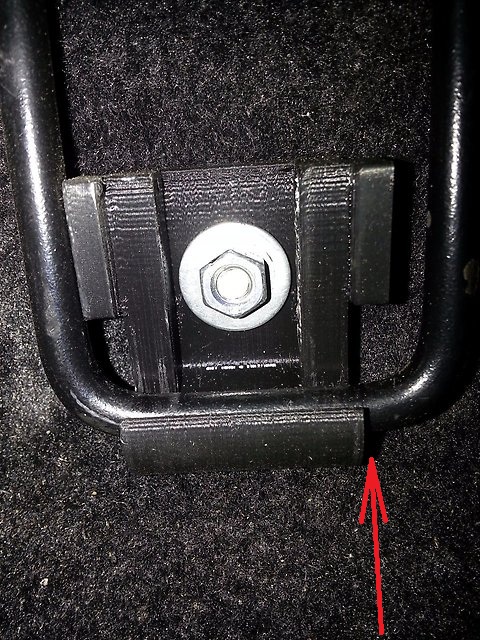
3. Remove the rear seat cushion.
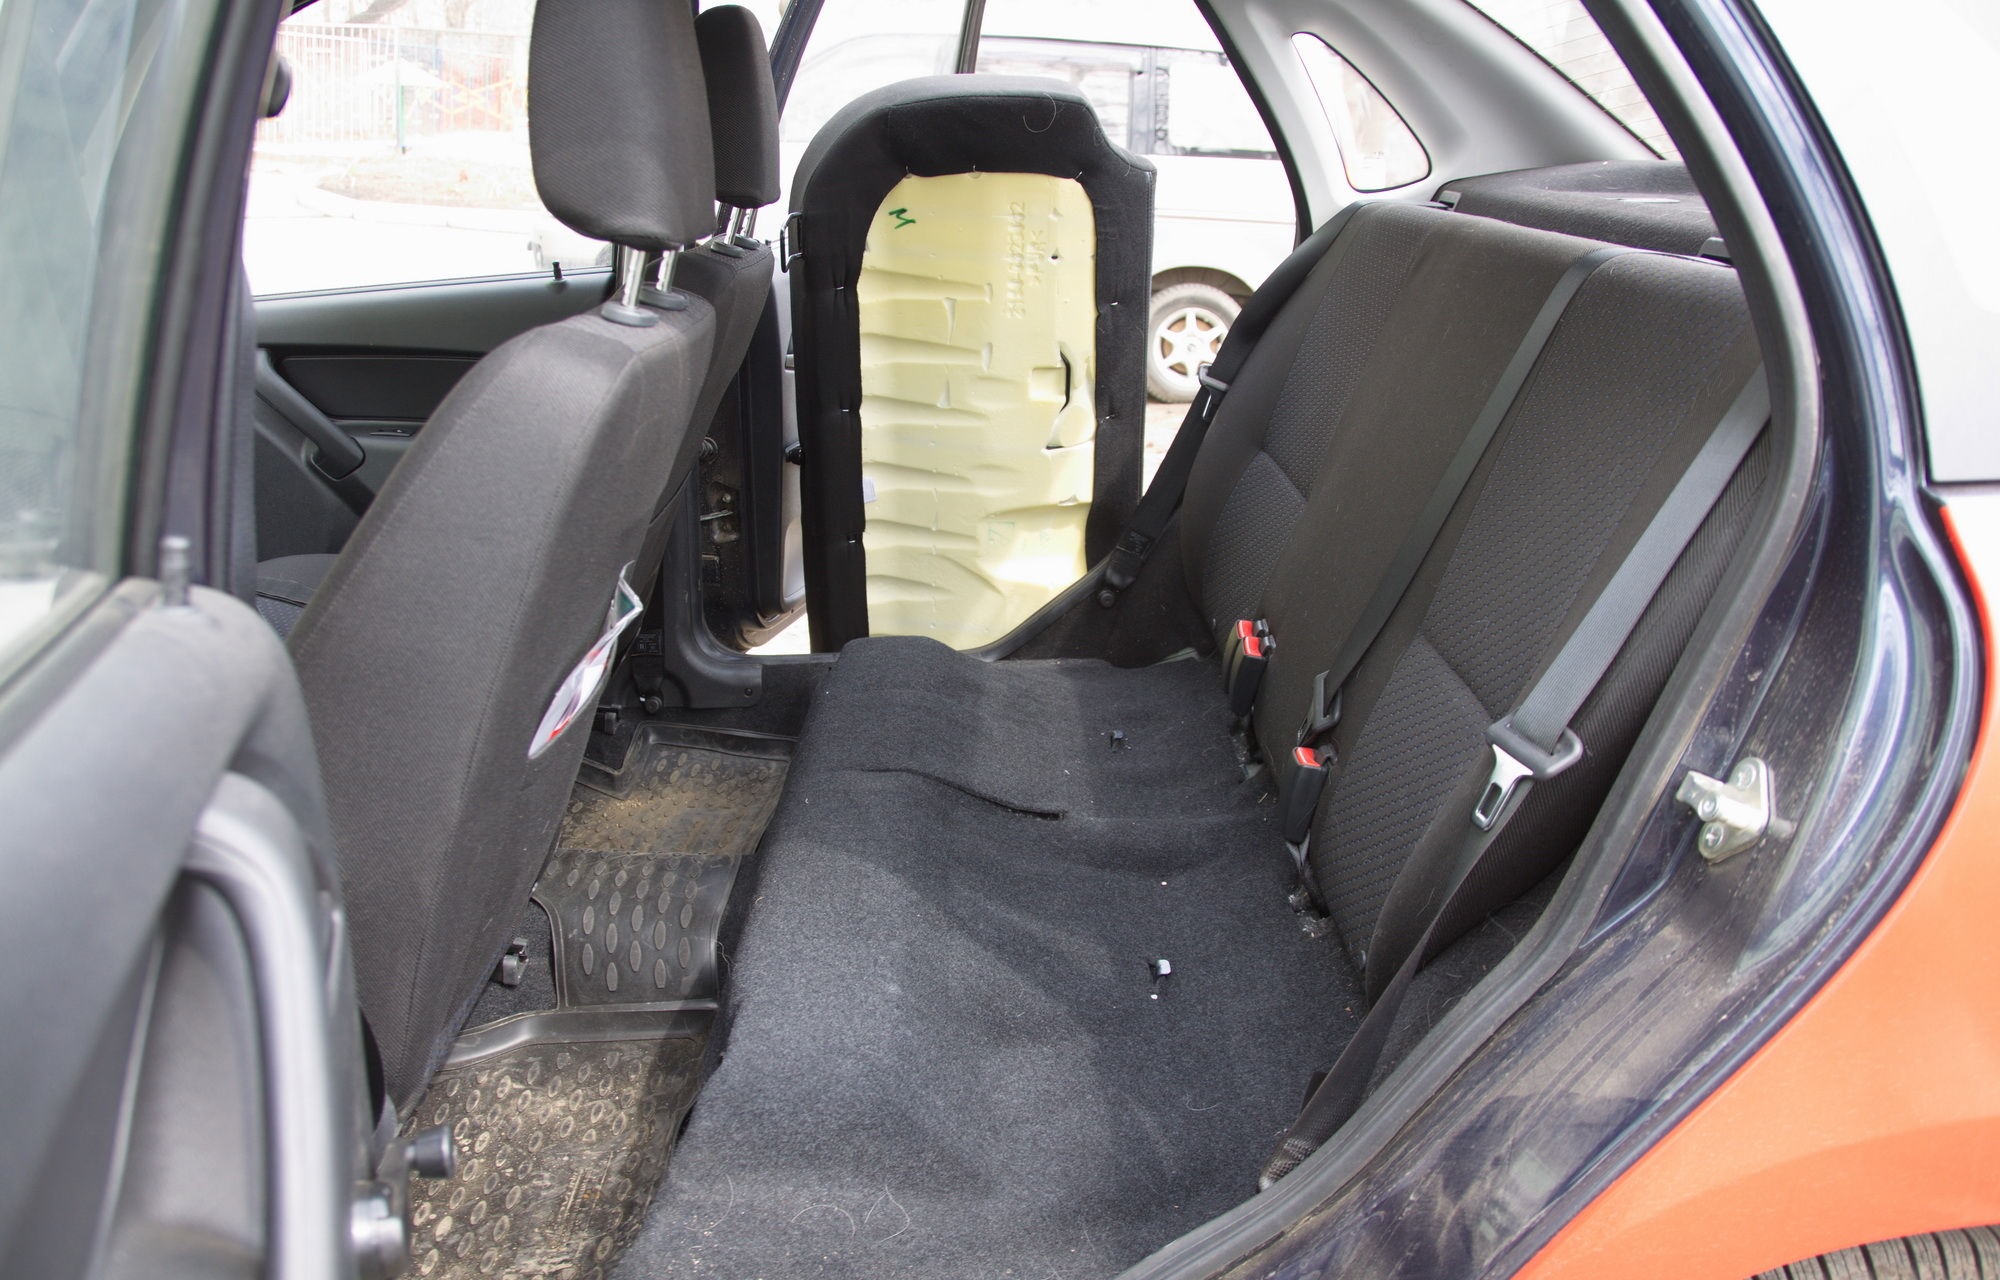
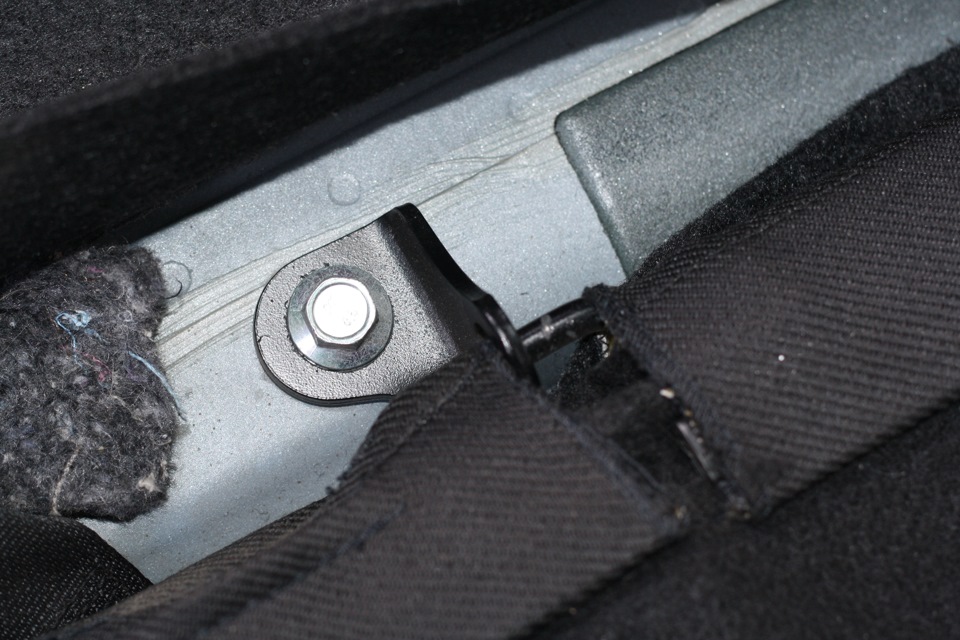
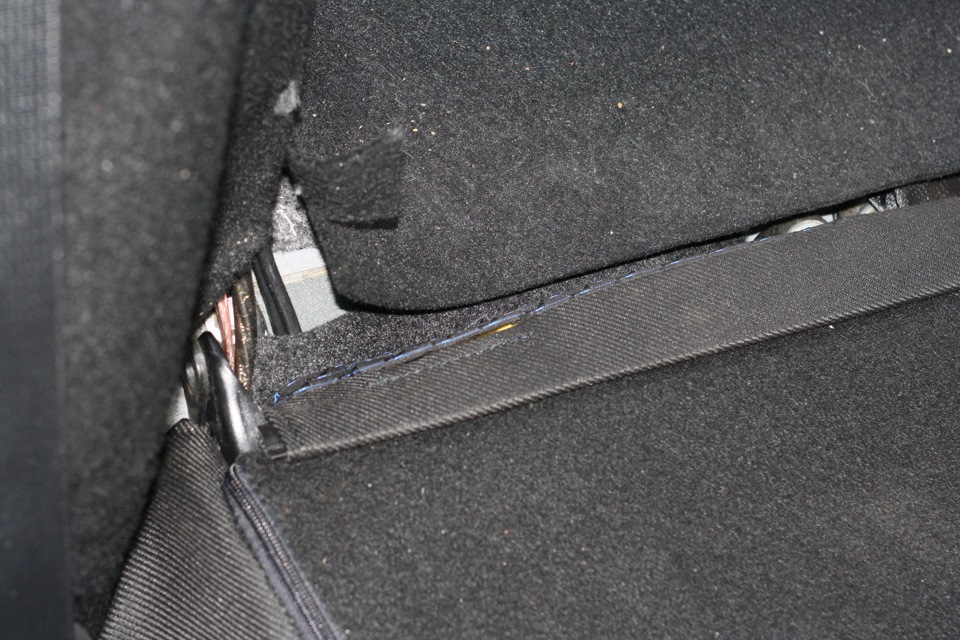
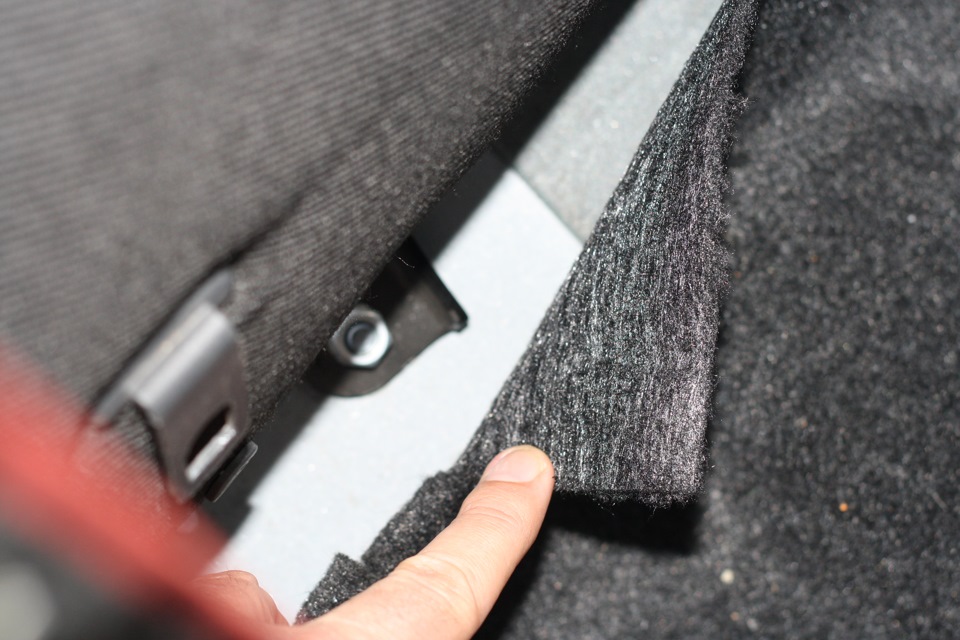
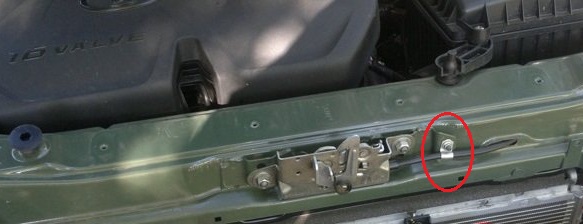
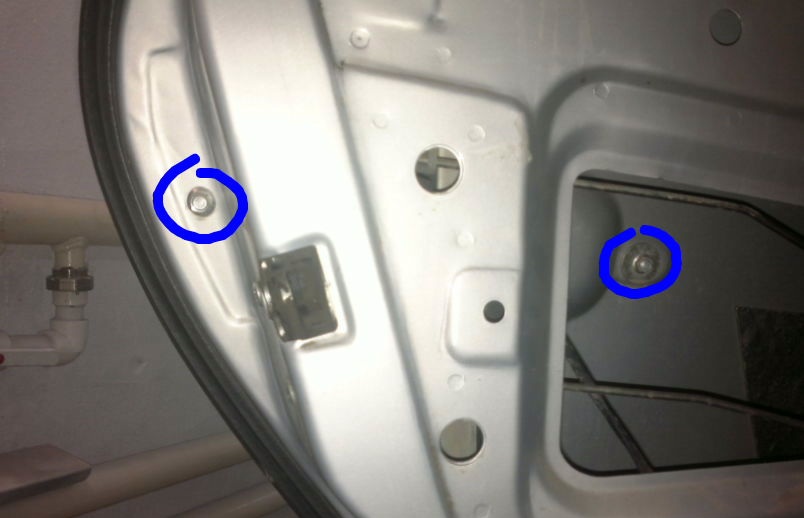
4. To remove the rear seat back, use a 10 mm wrench to unscrew the backrest mounting bolts from the trunk side: on the right (see the first photo), in the center (see the second photo) and on the left (see the third photo).
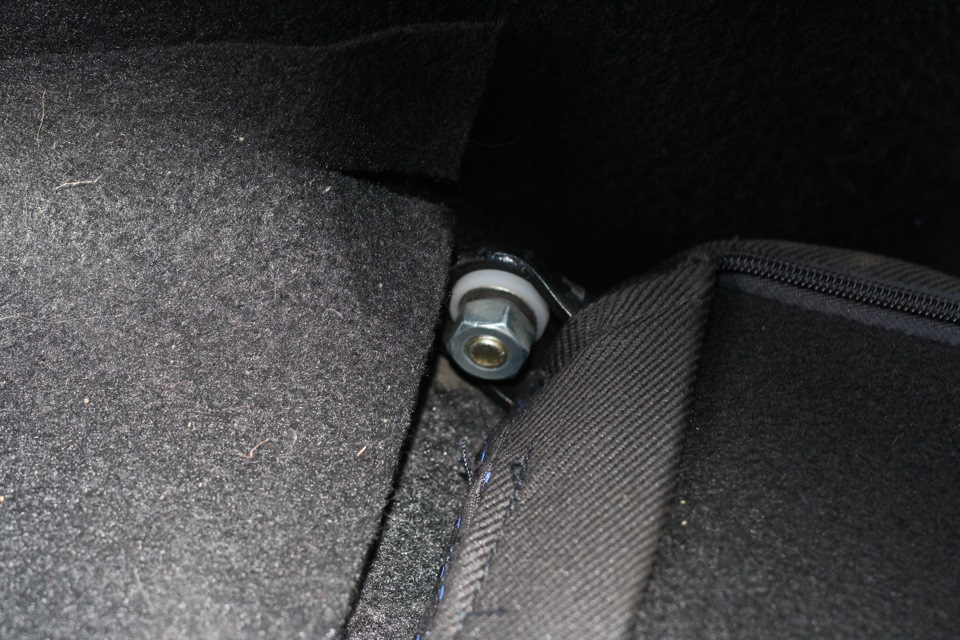
5. Then turn away a bolt of fastening of a back of a back seat located on the center in interior.
6. Take out a back of a back seat from salon. 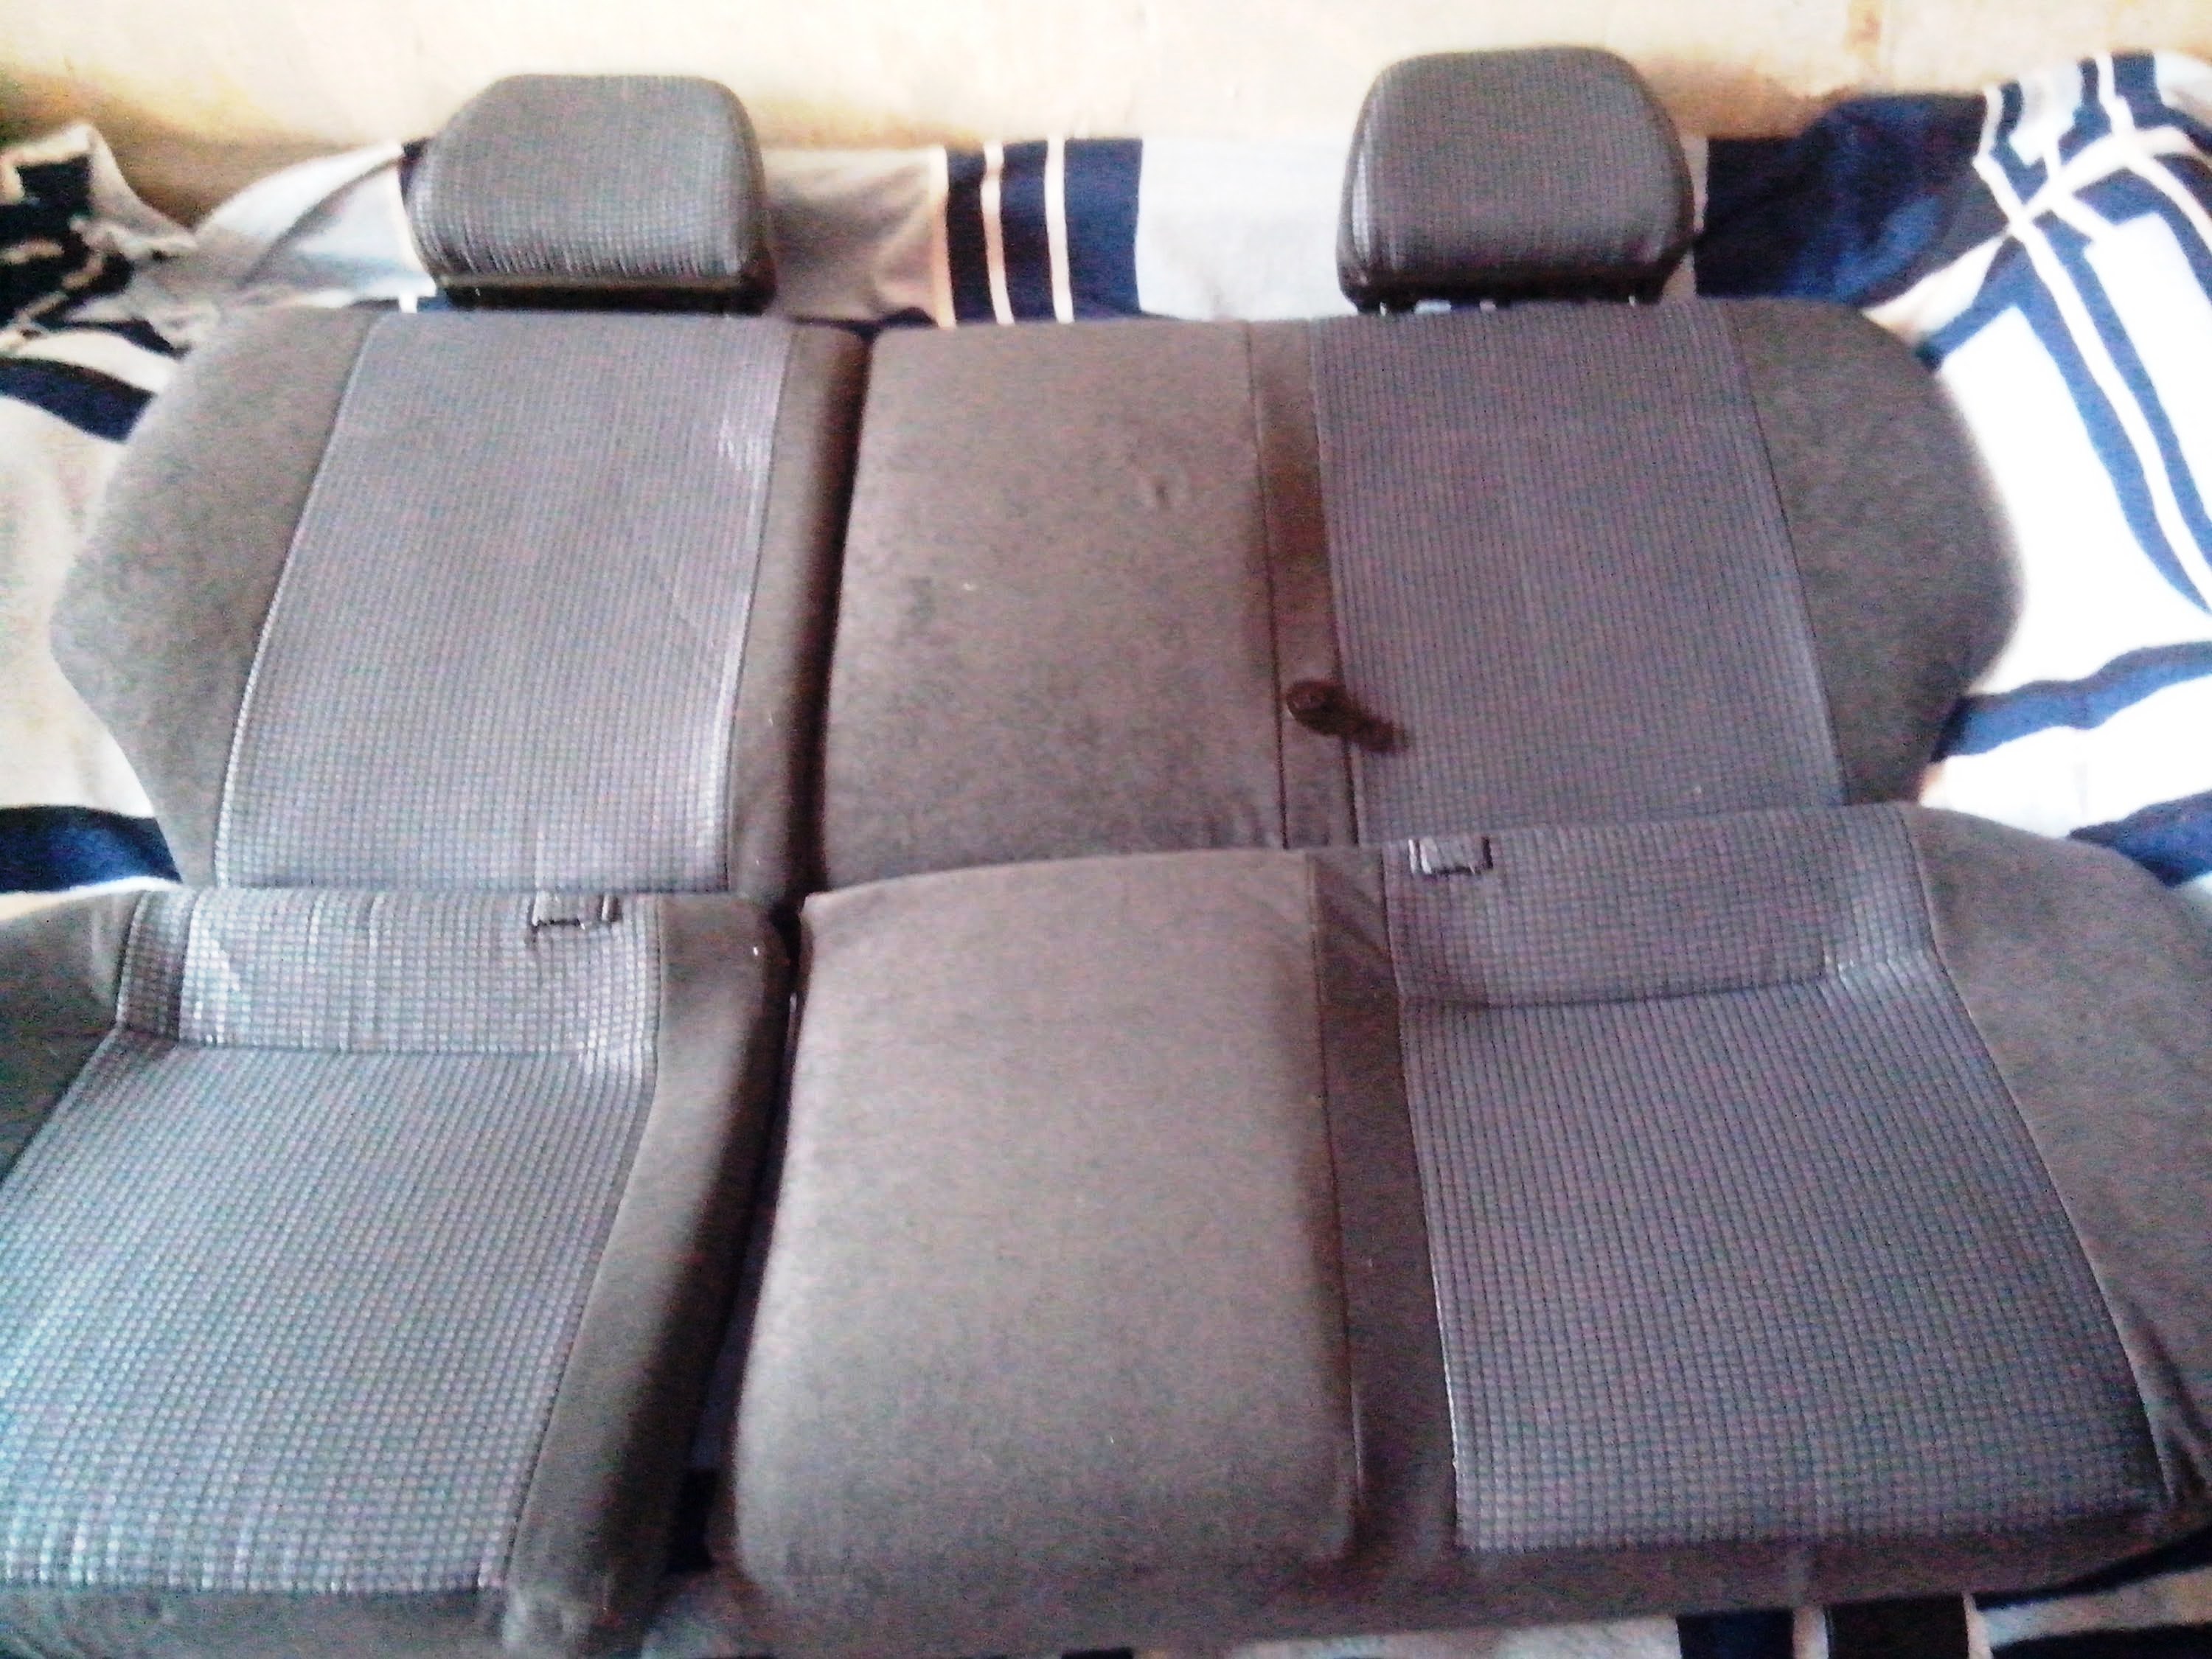
7. Install the rear seat on the vehicle in the reverse order of removal.
The article is missing:
- Tool photo
Source: carpedia.club

Removal and installation of the front wing Lada Granta
3 - 6 hours
[[ article.getBookmarkIcon() ]]
Instrument
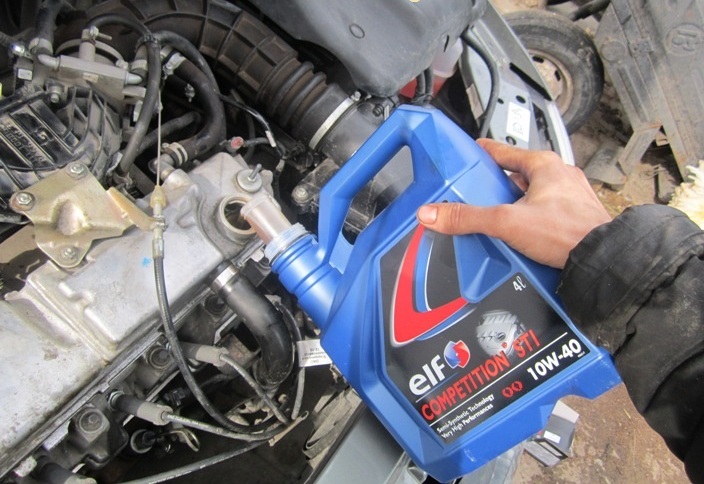
Checking the oil level in the Lada Granta gearbox
5 - 30 minutes
[[ article.getBookmarkIcon() ]]
Instrument
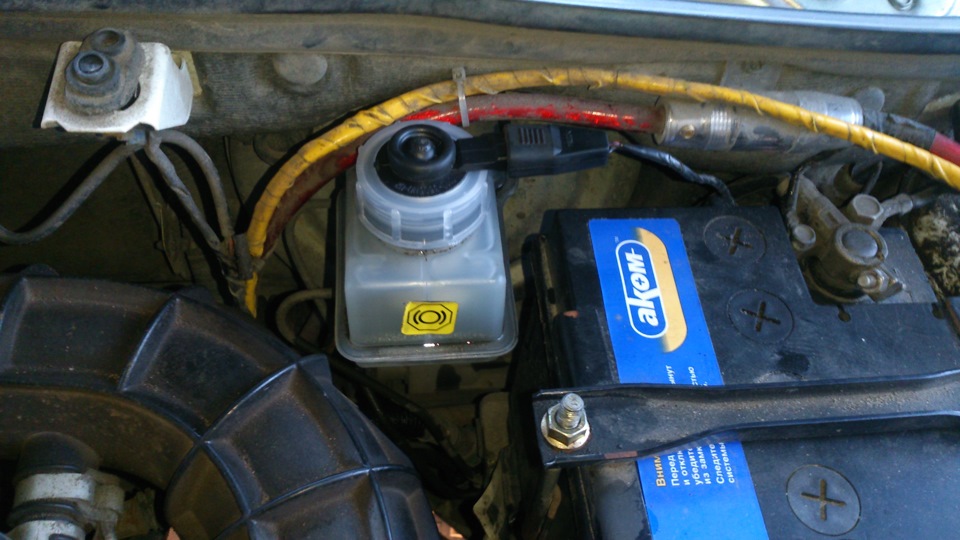
Checking the level and replacing the fluid in the hydraulic brake reservoir Lada Granta
30 minutes - 1 hour
[[ article.getBookmarkIcon() ]]
Pit / Flyover
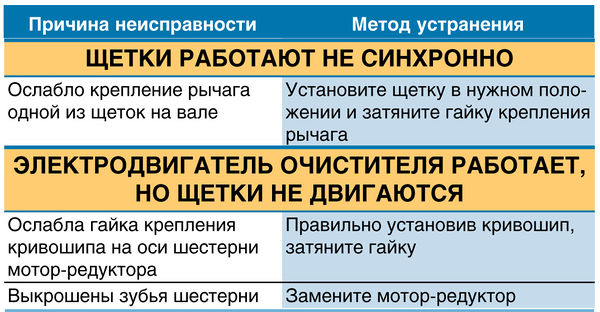
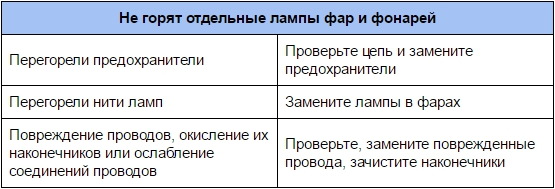
Malfunctions of lighting and light signaling on a Lada Granta VAZ 2190 car, their causes, troubleshooting and repair
[[ article.getBookmarkIcon() ]]
Removing the outer handle of the rear door Lada Granta
1 to 3 hours
[[ article.getBookmarkIcon() ]]
Instrument
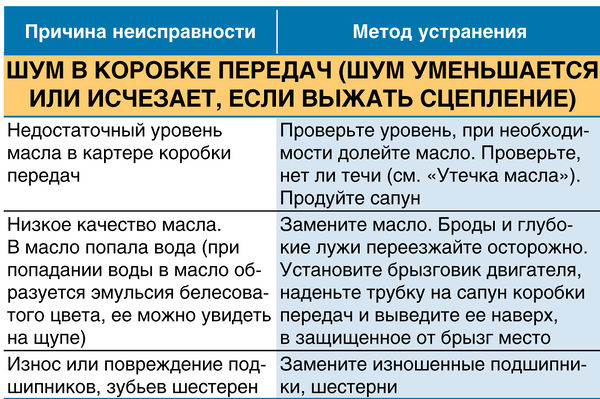
Noise in the gearbox (noise decreases or disappears if you squeeze the clutch) Lada Granta
[[ article.getBookmarkIcon() ]]
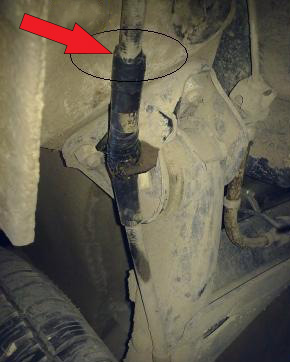
Handbrake cable rubbed the body to the metal Lada Granta
5 - 30 minutes
[[ article.getBookmarkIcon() ]]
Pit / Flyover