![8 generation [2005 - 2011]](/uploads/Honda_Civic_2011_-_2012.jpg)

Note:
To avoid injury and damage to vehicle parts, remove the hood with an assistant.
How to remove the hood on a Honda Civic
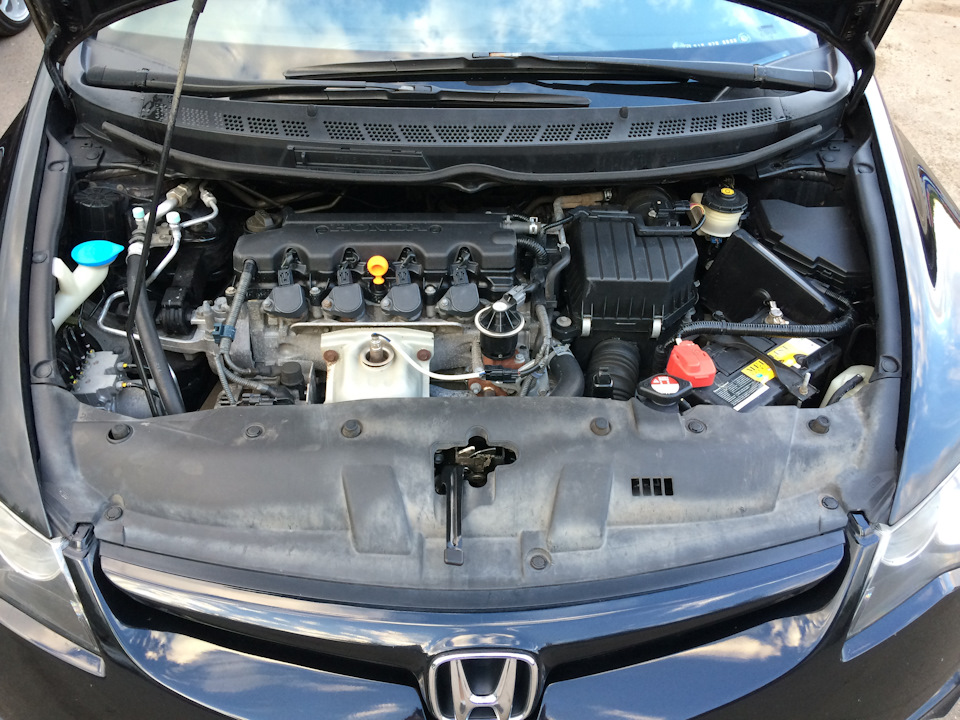
1. Raise the hood cover and fix it with a stop.
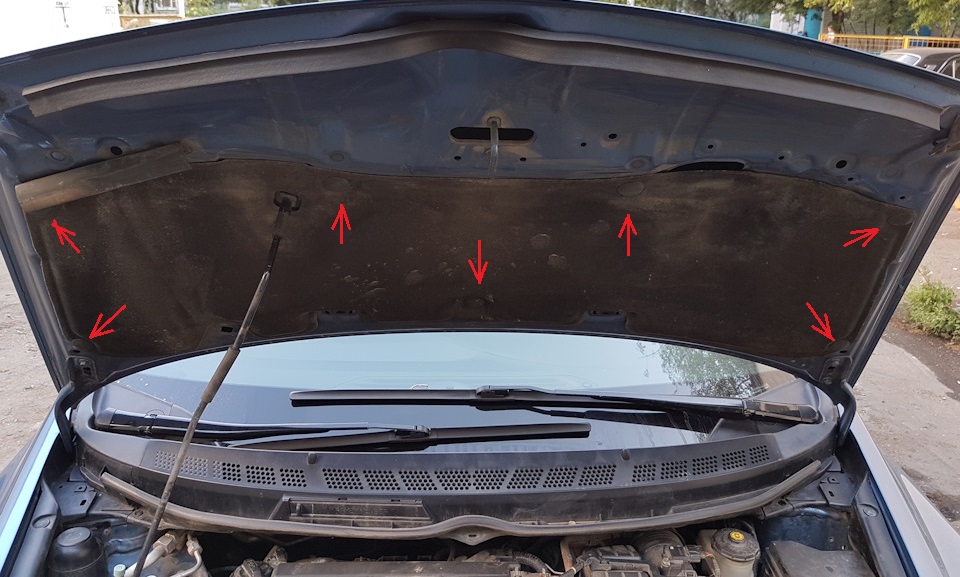
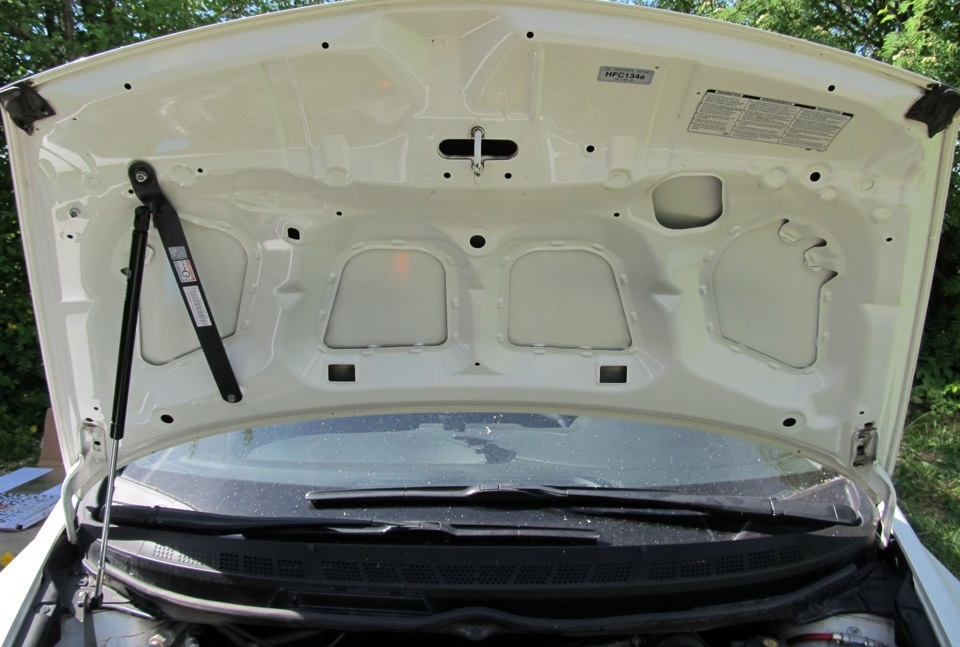
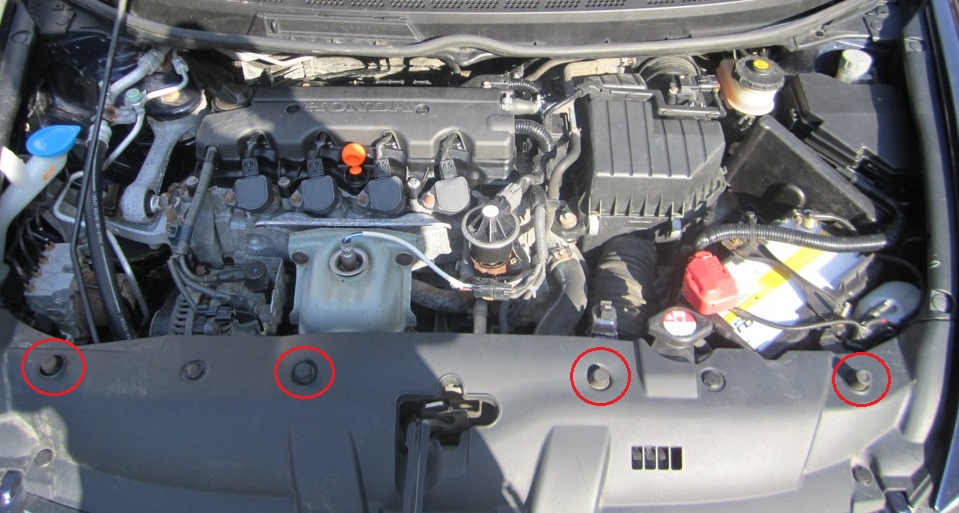
2. If necessary, remove the 7 fastening clips and remove the noise insulation.
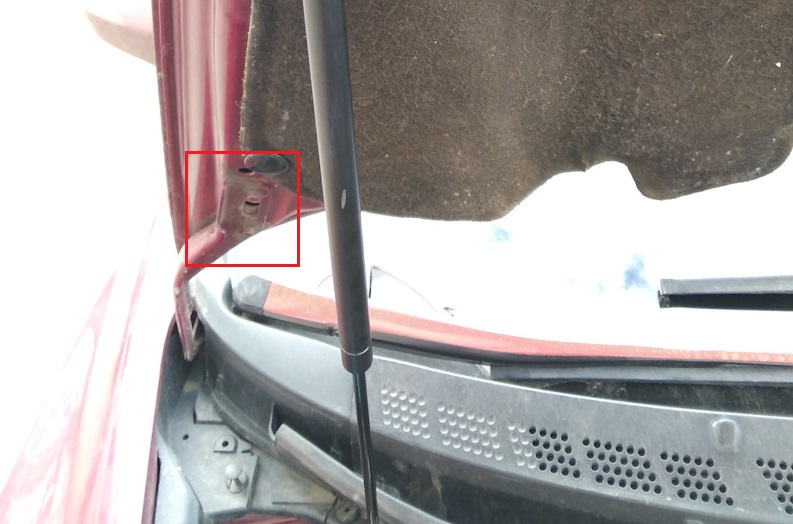
3. With a 10 mm head, unscrew the 2 bolts securing the Honda Civic hood to the hinges on the left side.
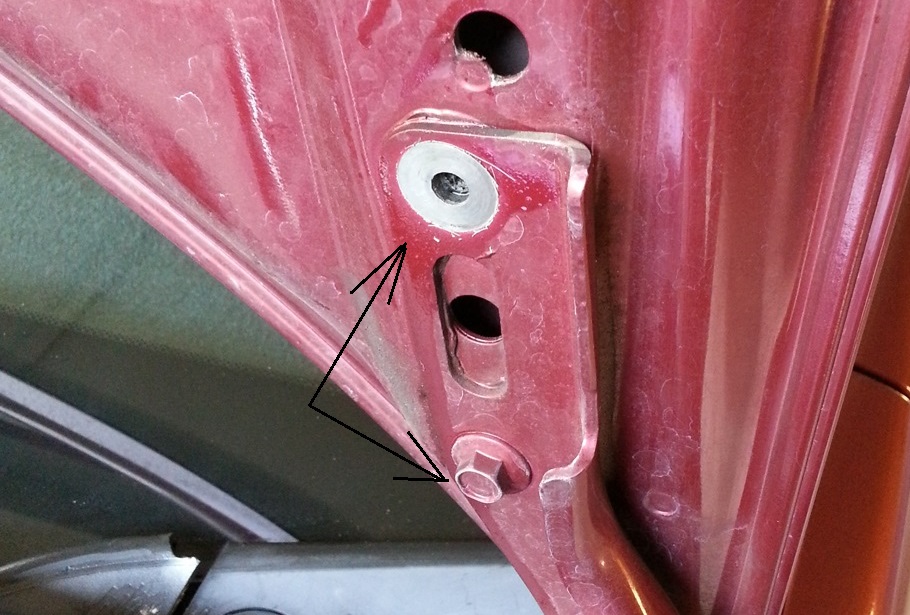
4. While holding the hood (this should be done by an assistant), turn out the 2 bolts securing the hood to the hinges on the right side with a 10 mm head.
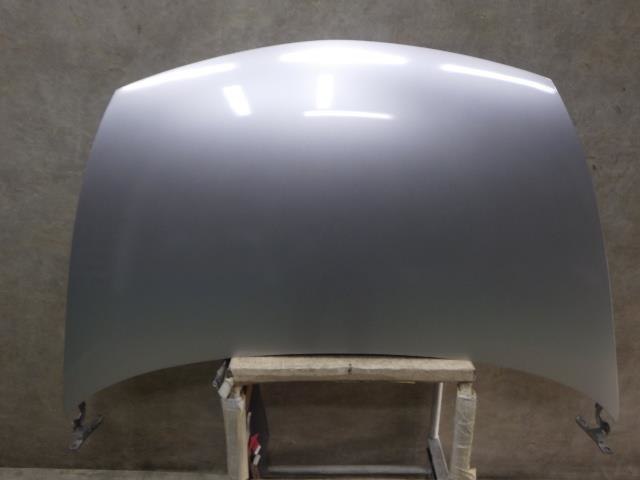
5. Together with an assistant, remove the hood of the Honda Civic. If necessary, replace it with a new one.
Note:
If you remove the hood not for replacement, mark its position relative to the hinges with a marker (circle the hinges along the contour).
6. Install the hood on the Honda Civic in the reverse order of removal.

Note:
When installing the old hood, before the final tightening of the bolts, orient it according to the marks previously made with a marker.
When installing a new hood, before final tightening the bolts, adjust its position so that the gaps between the hood and wings are the same on both sides, and the gap between the upper cross member of the radiator frame and the edge of the hood is uniform throughout its entire length.
7. Adjust the height of the Honda Civic hood by screwing in or out
the adjusting buffers (set the buffers so that the surface of the hood coincides with the surface of the wings).
Source: carpedia.club