Note:
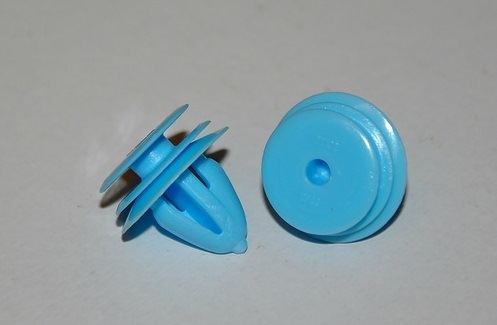
Before starting work, we recommend purchasing several spare door trim fasteners, as they often break during removal.
Removing the tailgate trim Hyundai Creta
1. Place the vehicle on a level surface and turn off the ignition.
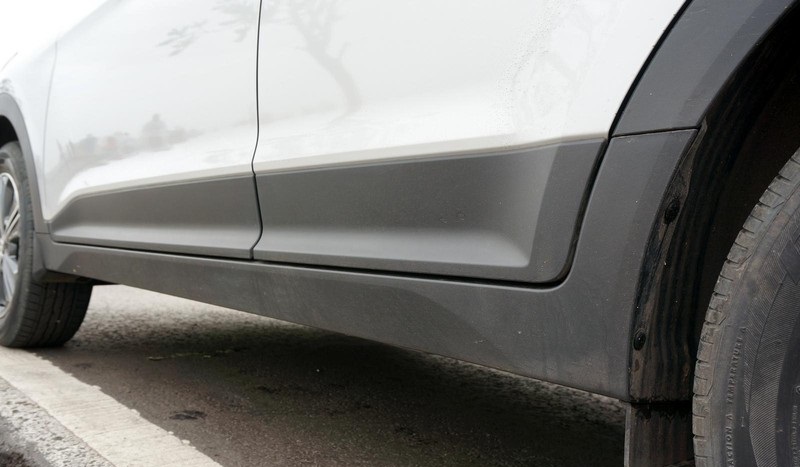
2. Raise the luggage compartment lid.
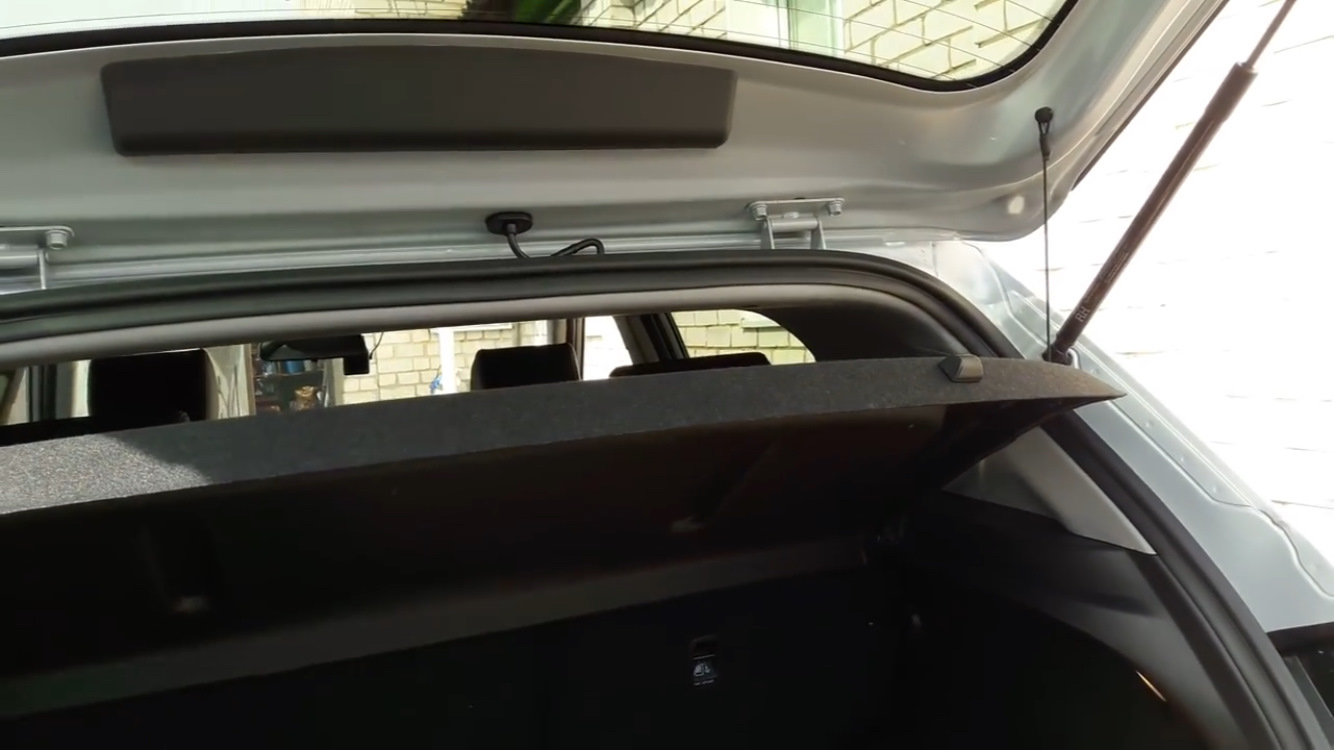
3. Using a Phillips screwdriver, unscrew the 2 screws securing the casing from below.

4. Use a flat head screwdriver to carefully pry the trim.
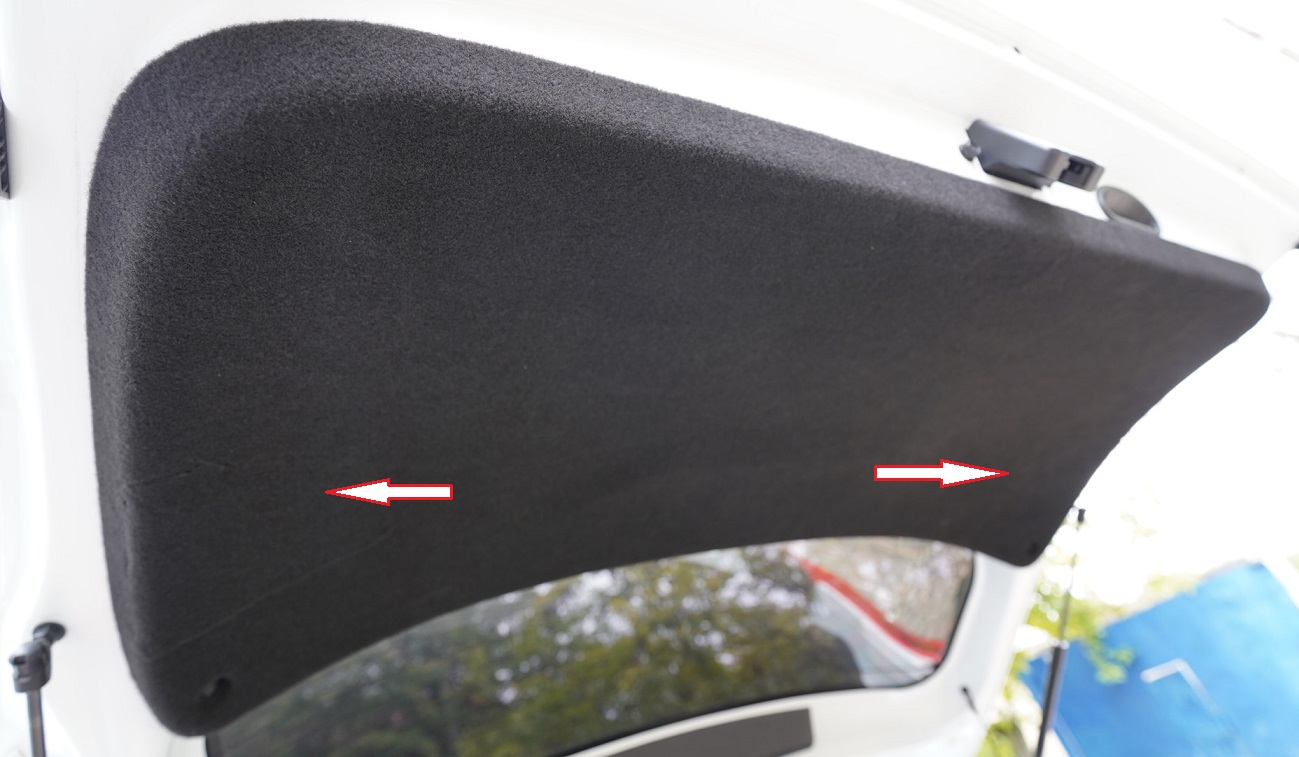
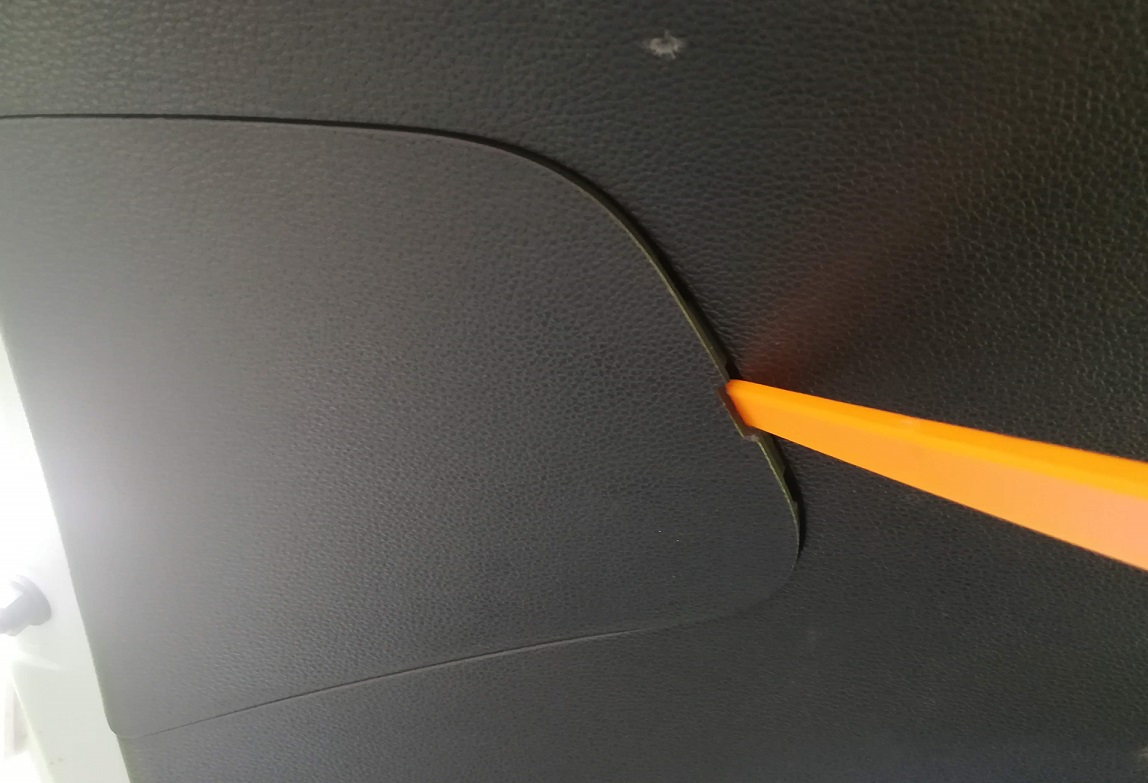
5. Remove from the latches and remove it.
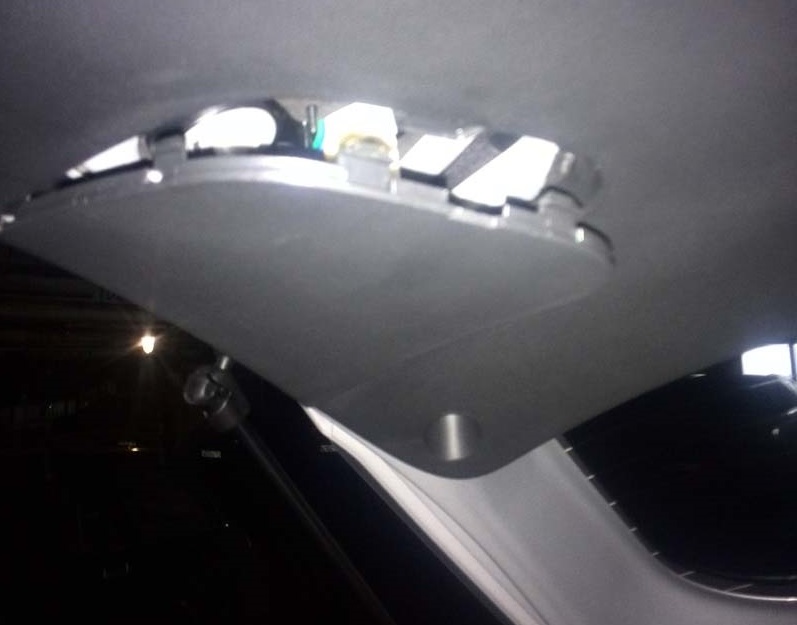
6. In the same way, remove the trim on the other side of the skin.
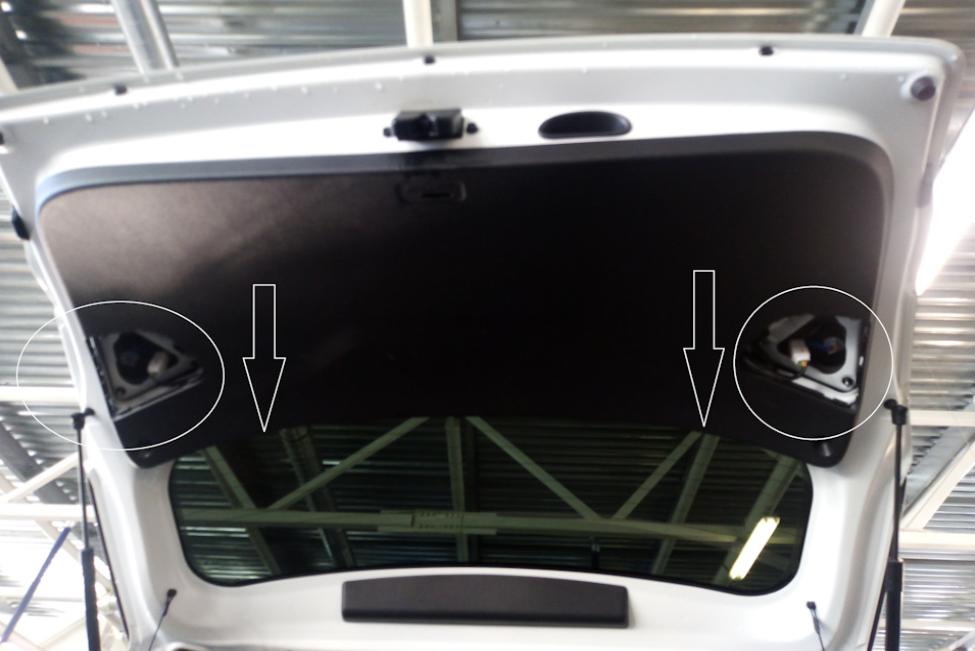
7. Starting from the edge, slowly pull towards you, remove the fasteners from the fasteners and remove the Hyundai Creta tailgate trim.
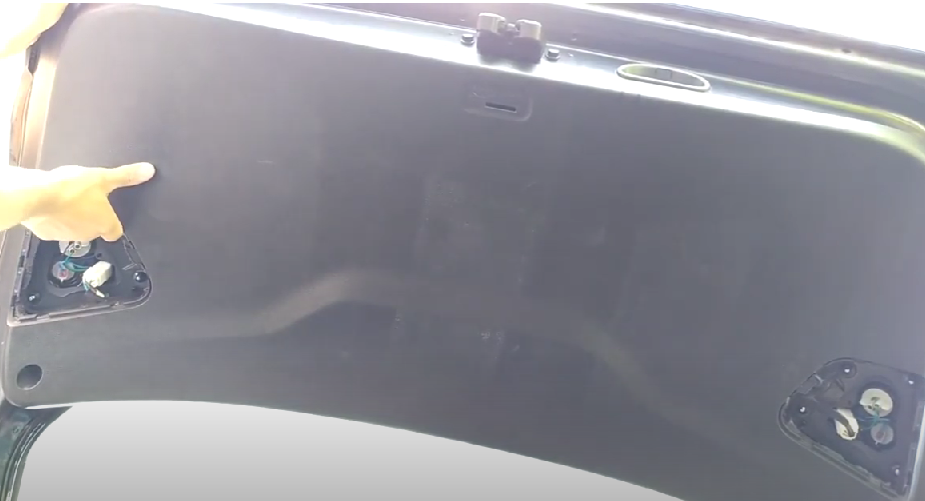
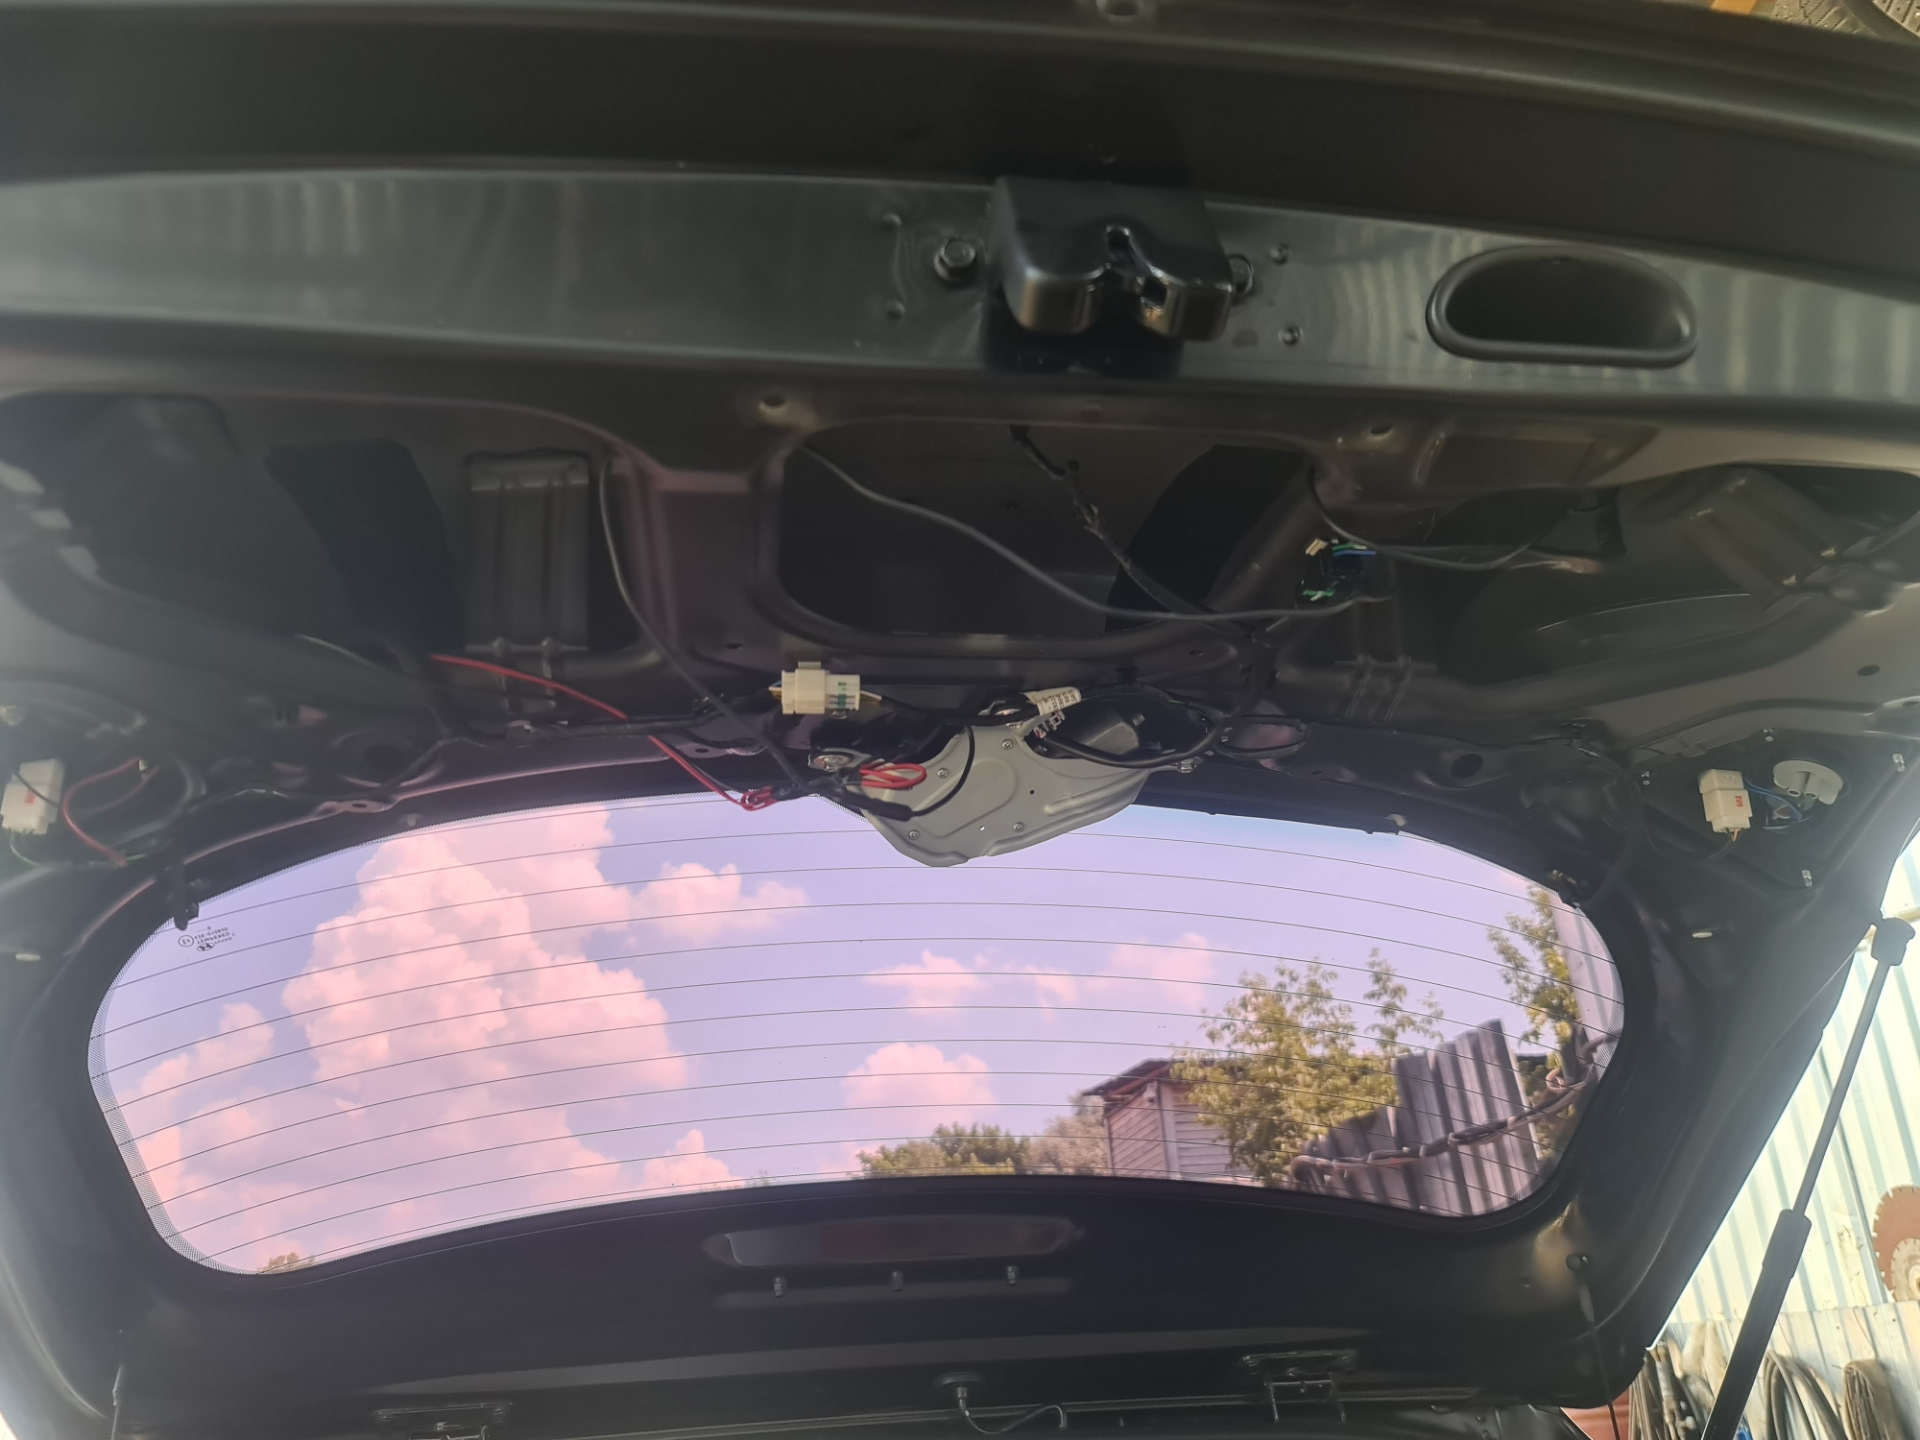
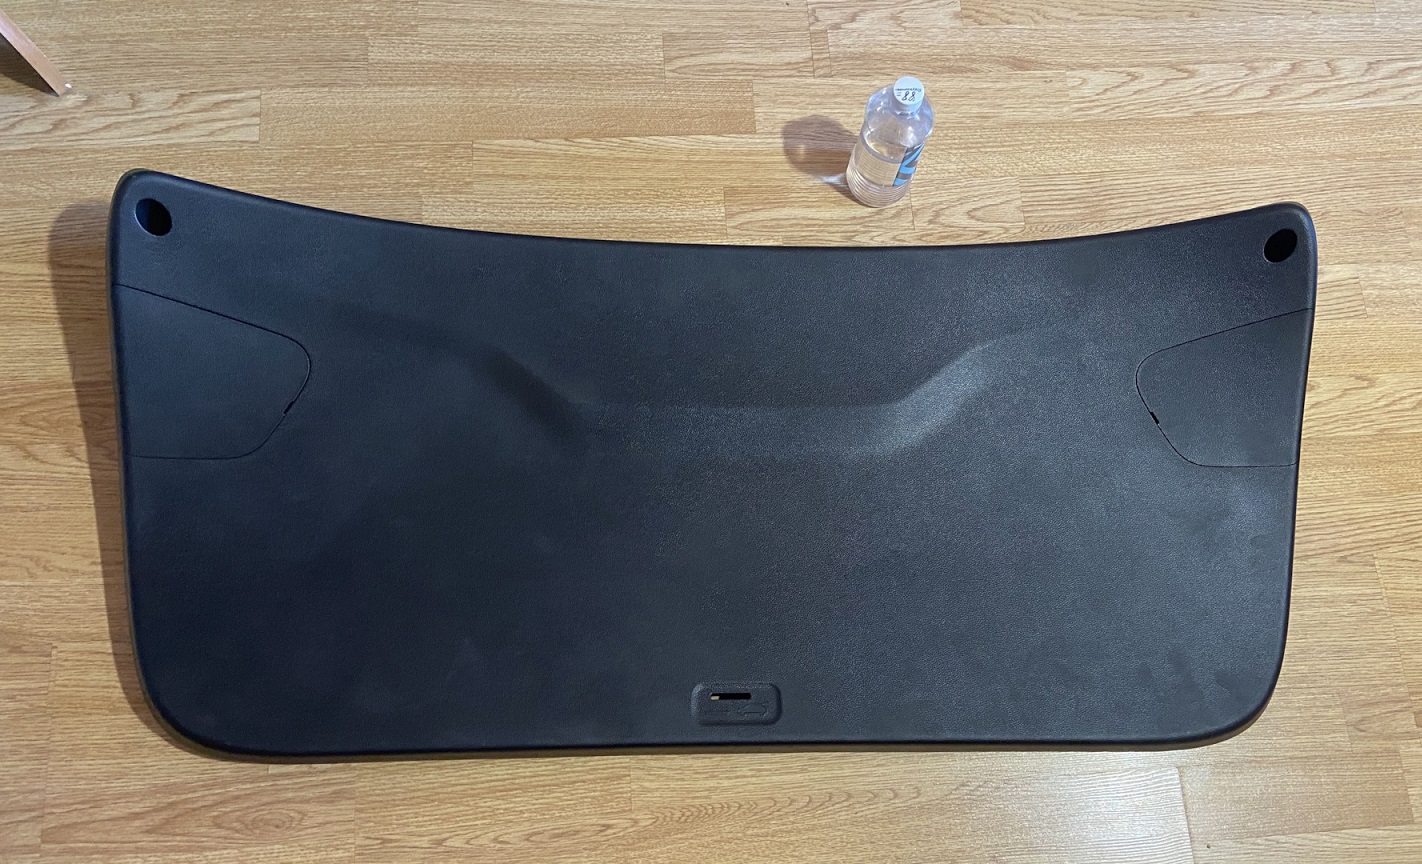
7. Inspect the holders before installation. Replace broken ones with new ones.
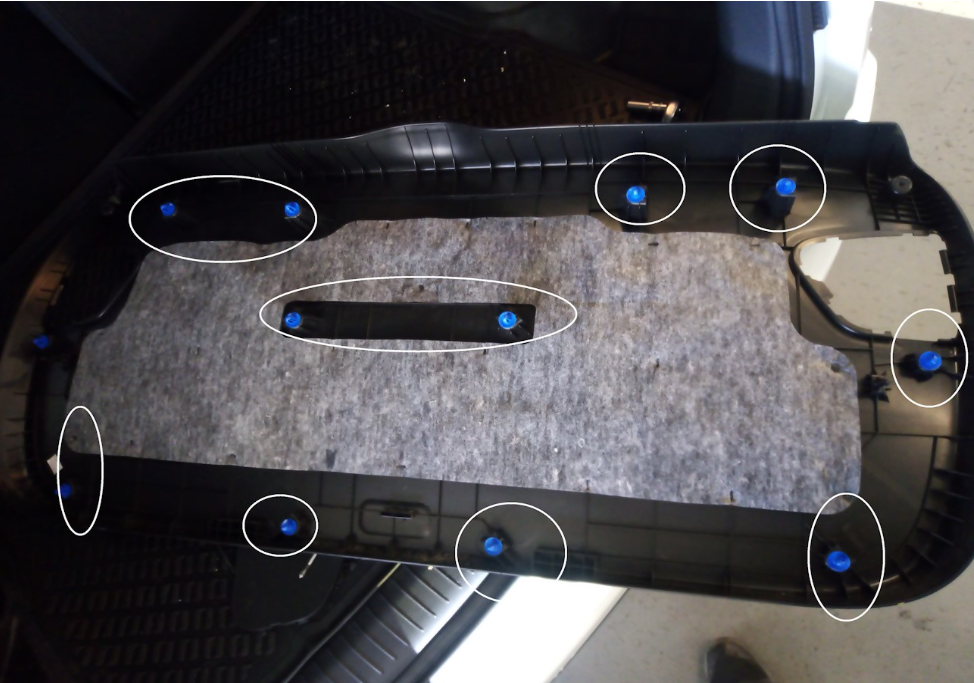
8. Install the Hyundai Creta tailgate trim in the reverse order of removal.
Similar articles:
Removing the front door trim Hyundai Creta
Removing the rear door trim Hyundai Creta
Source: carpedia.club

![1 generation [2015 - 2022]](/uploads/hyundai_creta_2016_1.jpg)
