Note:
The casing is removed to repair or replace the equipment installed in the door, as well as to repair the door itself. On the right and left doors is removed in the same way.
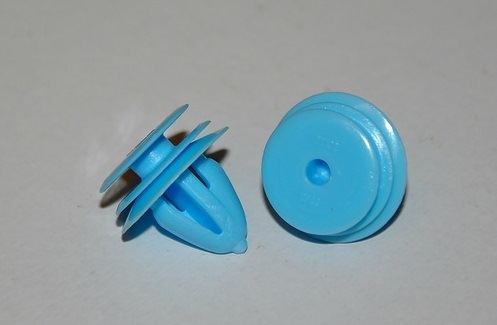
Before starting work, get a few spare fasteners for fastening the skin, as they often break during the removal process.
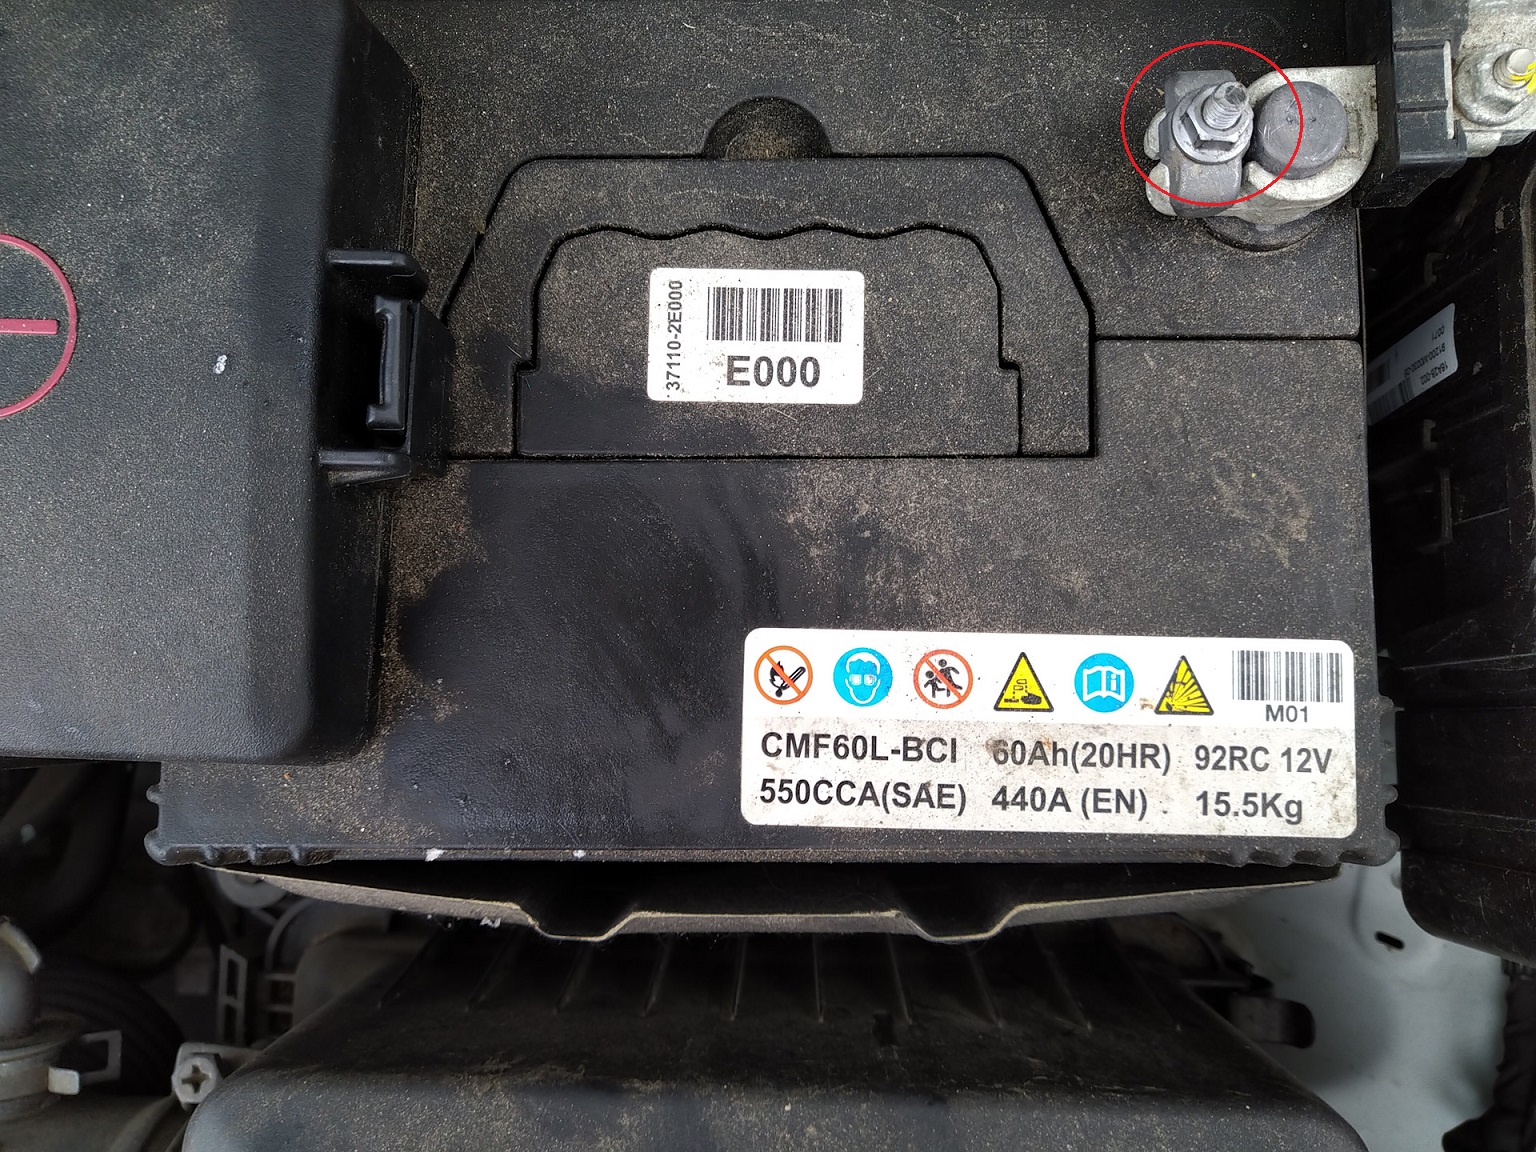
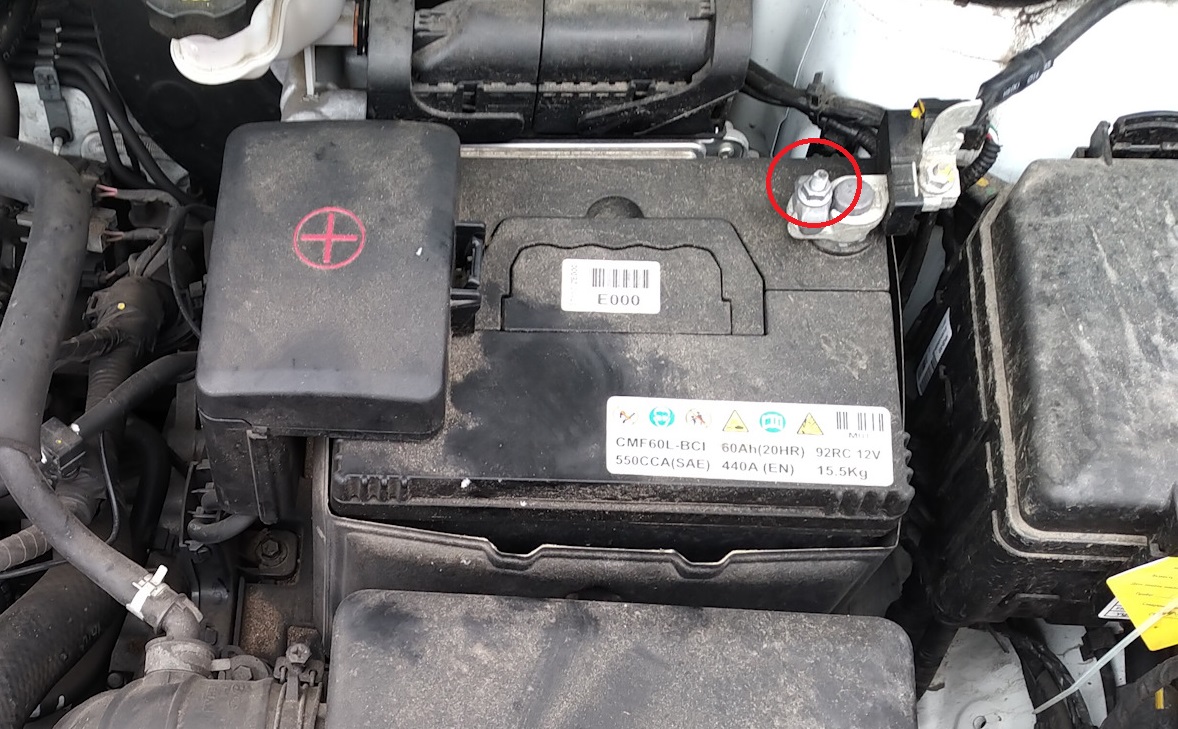
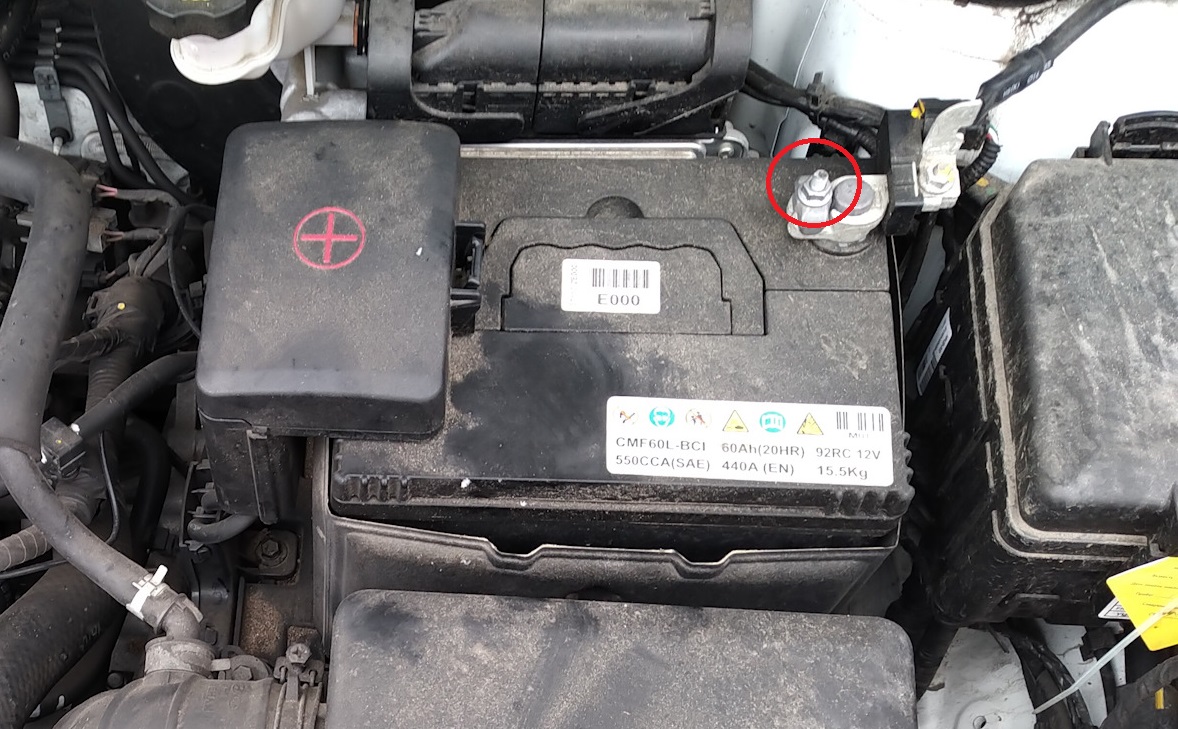
Before removing the door trim on the Hyundai, it is advisable to disconnect the wire from the "negative" terminal of the battery with a 10 mm wrench.
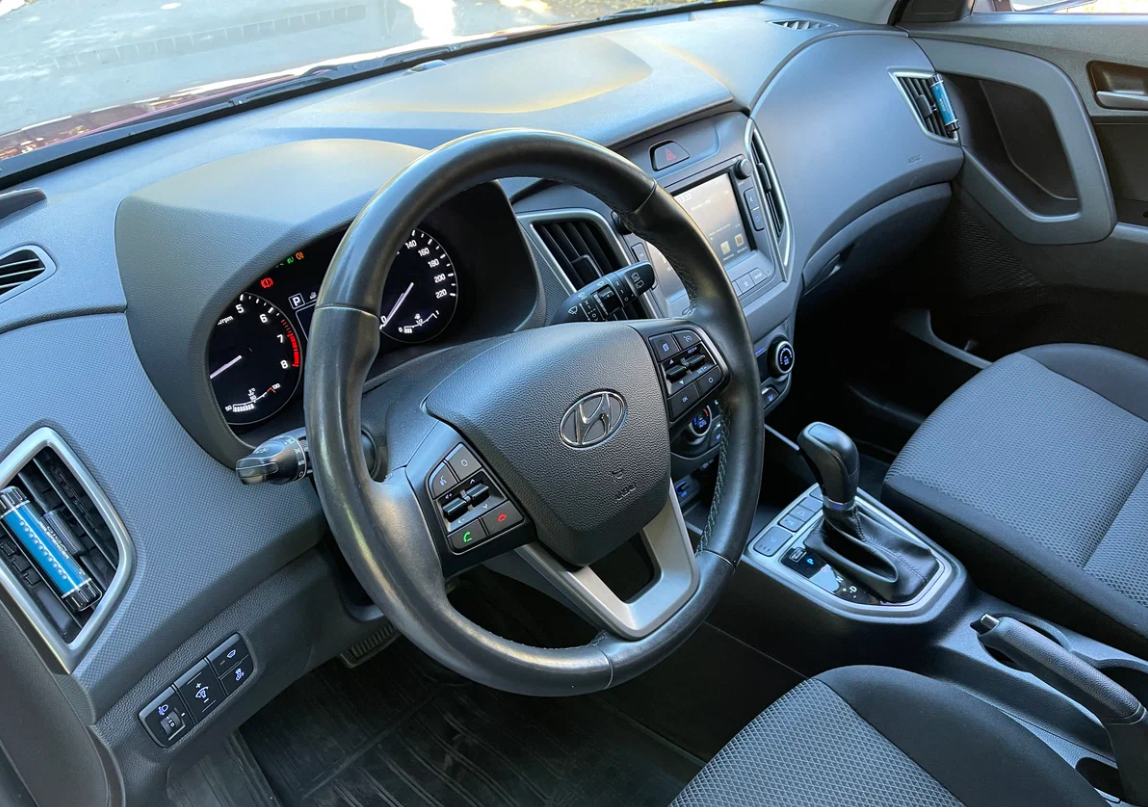
Removing the front door trim Hyundai Creta
1. Place the vehicle on a level surface and turn off the ignition.
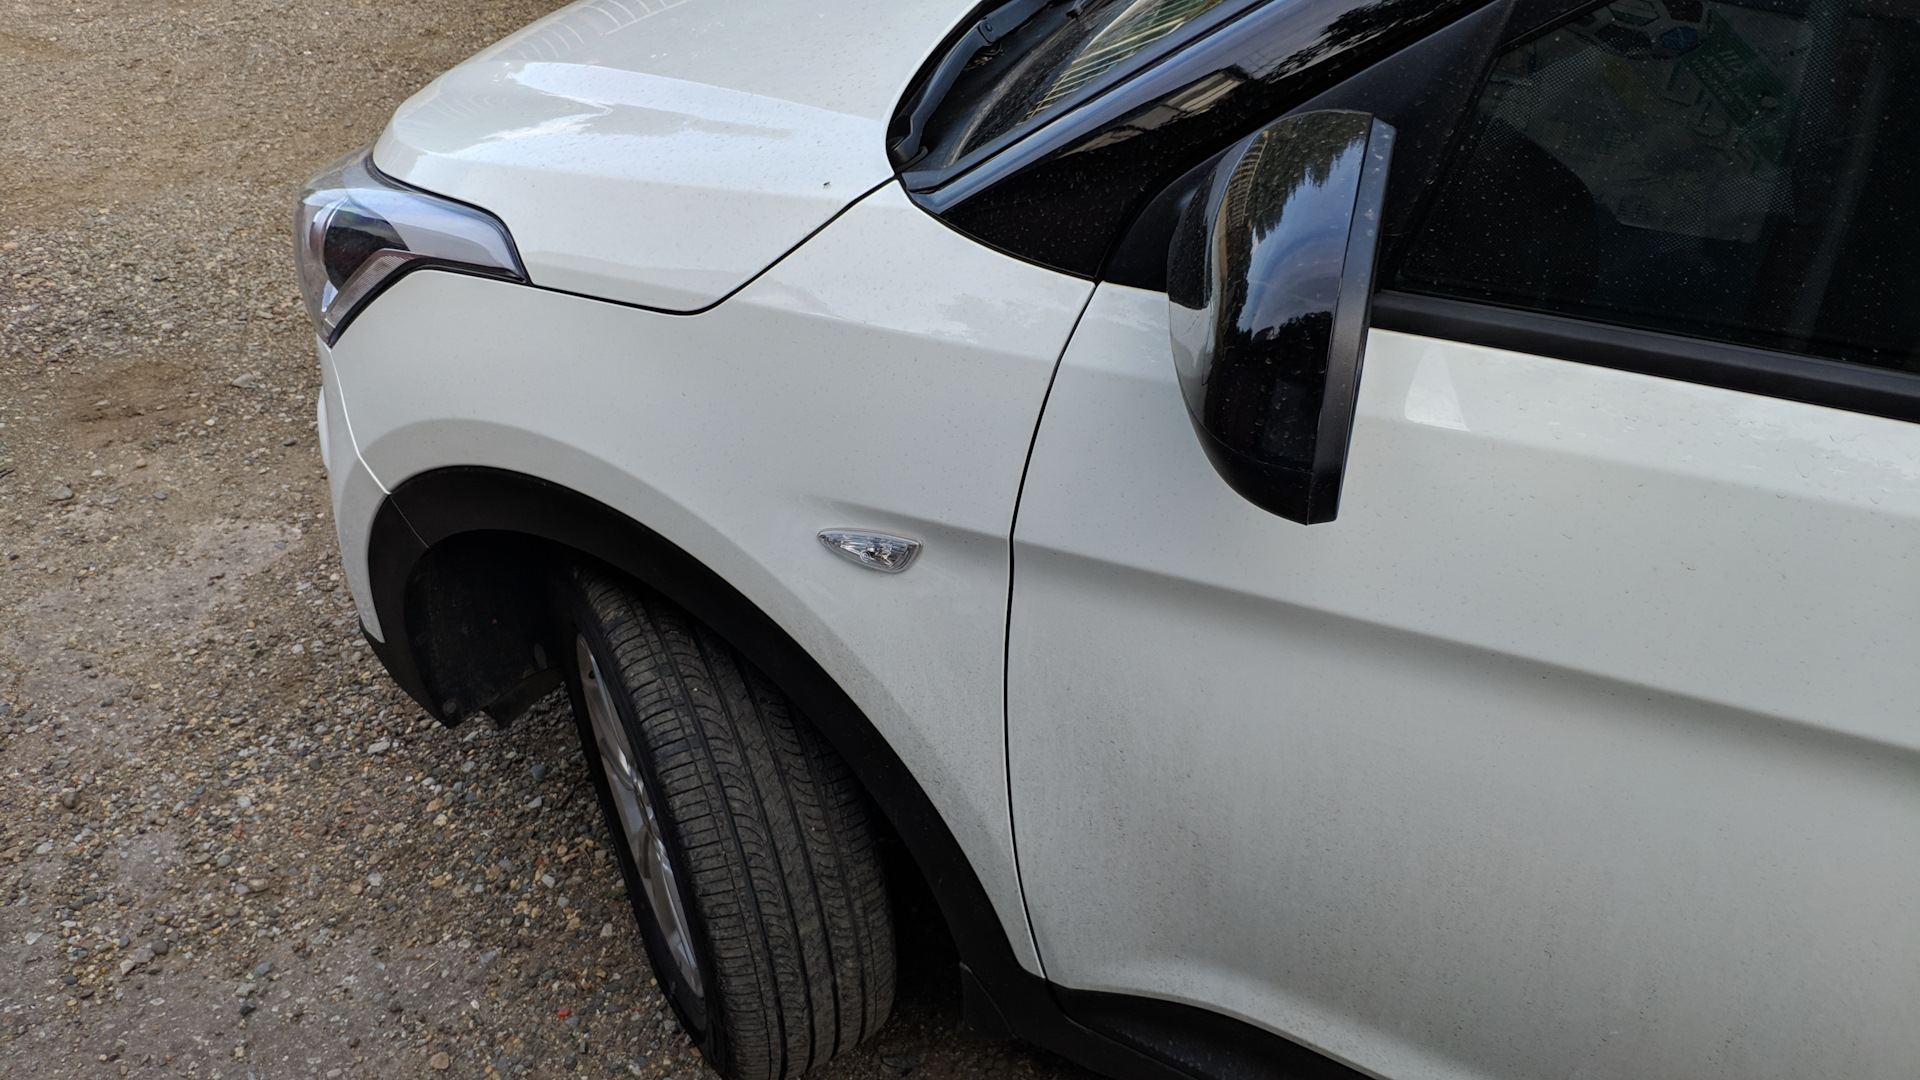
2. Open the front door.
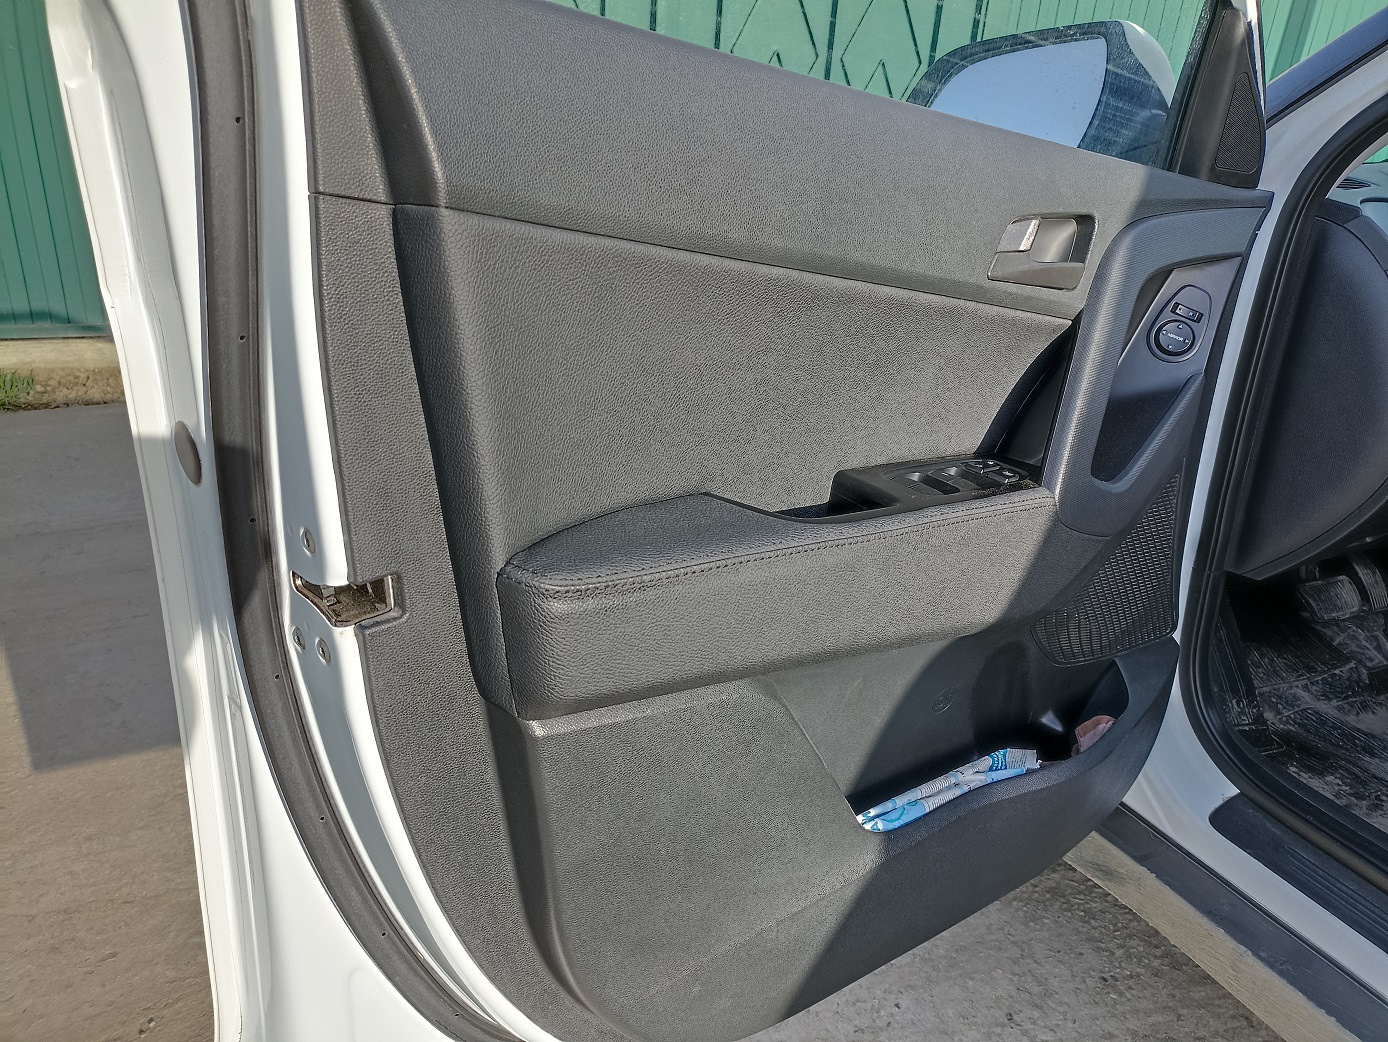
3. Pry off the door pillar trim with a flat screwdriver.
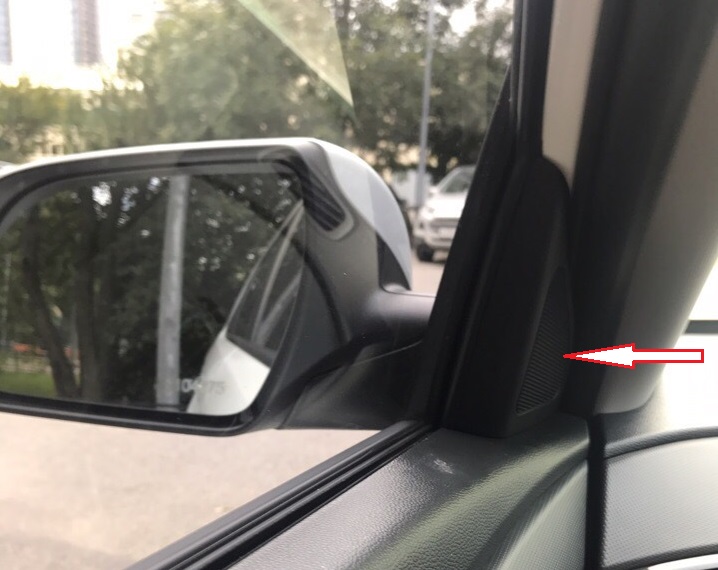
4. Pull out from latches and remove a decorative overlay.
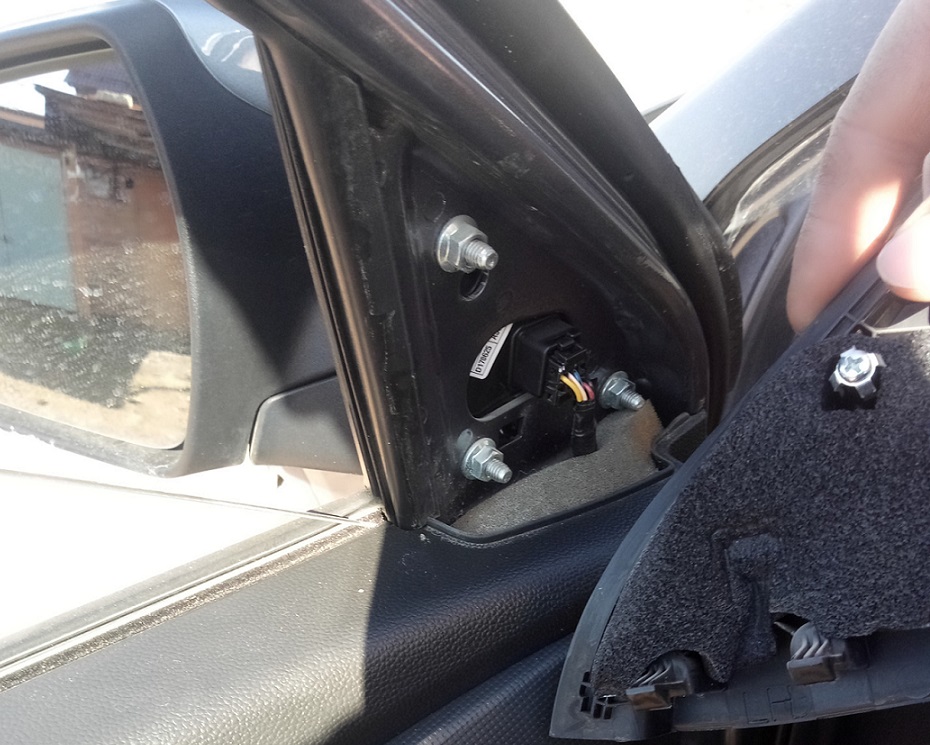
5. Pry with a flat screwdriver and remove the trim of the inner door handle.
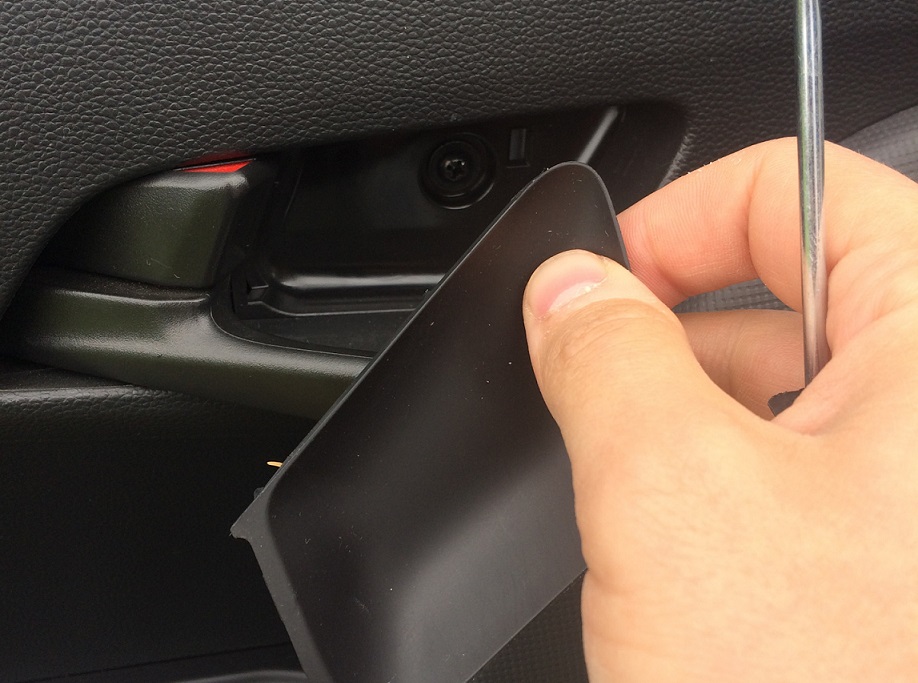
6. Using a Phillips screwdriver, remove the fastening screw.
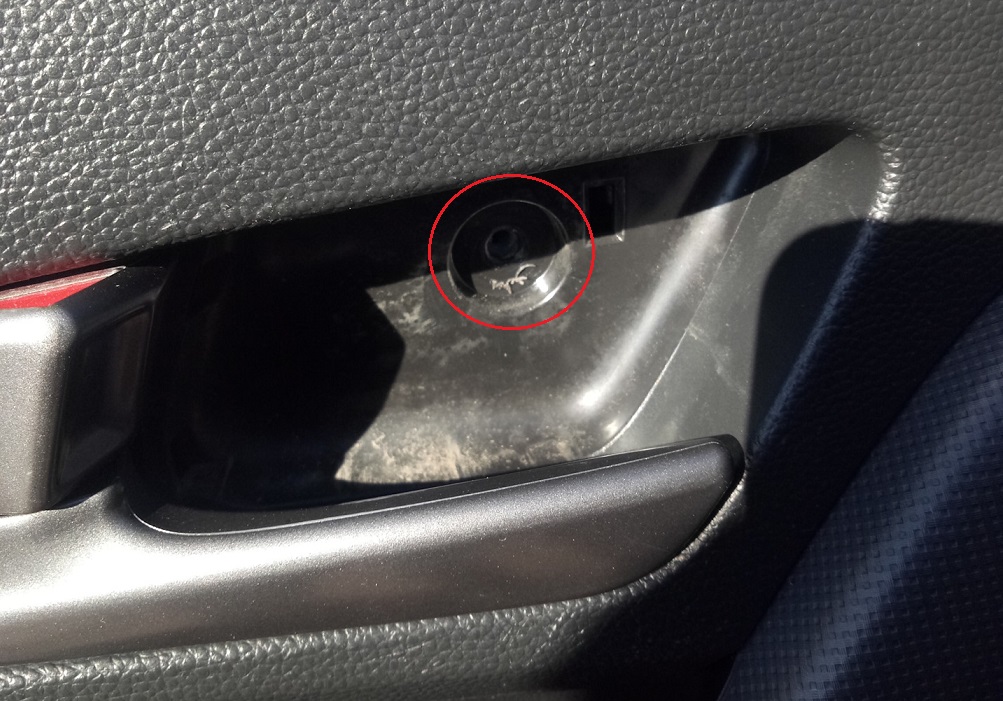
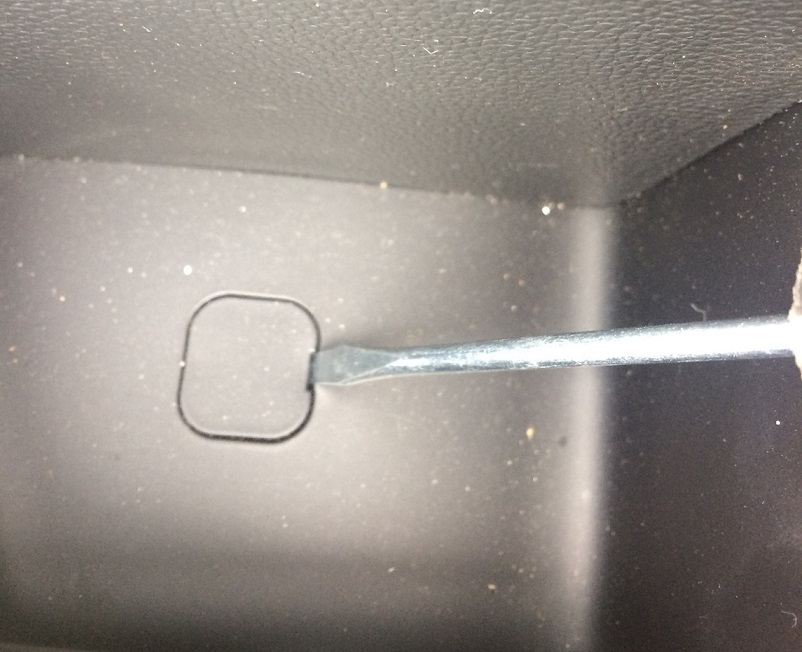
7. Pry with a flathead screwdriver and pry up the plug in the niche.
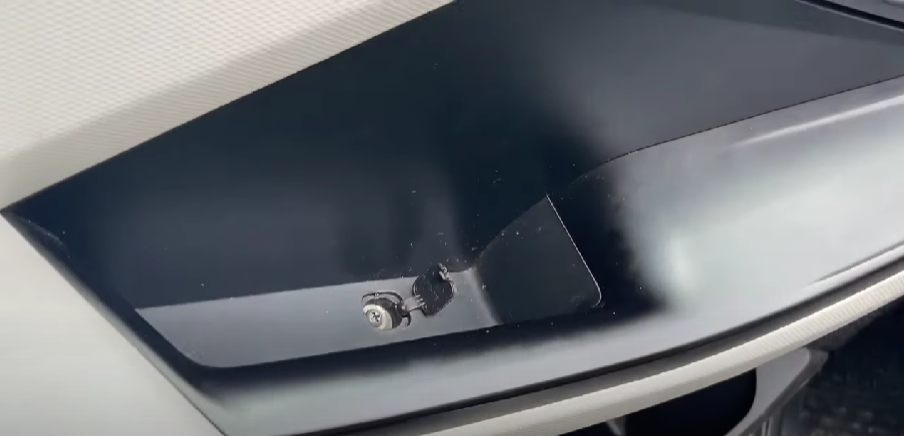
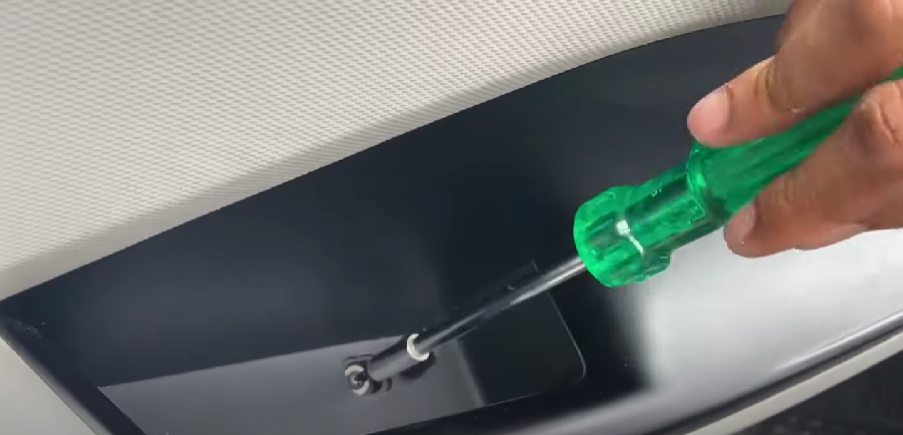
8. Loosen the fastening screw with a Phillips screwdriver.
9. Starting from the bottom, slowly, alternately squeeze out the caps for fastening the front door trim of the Hyundai Creta.
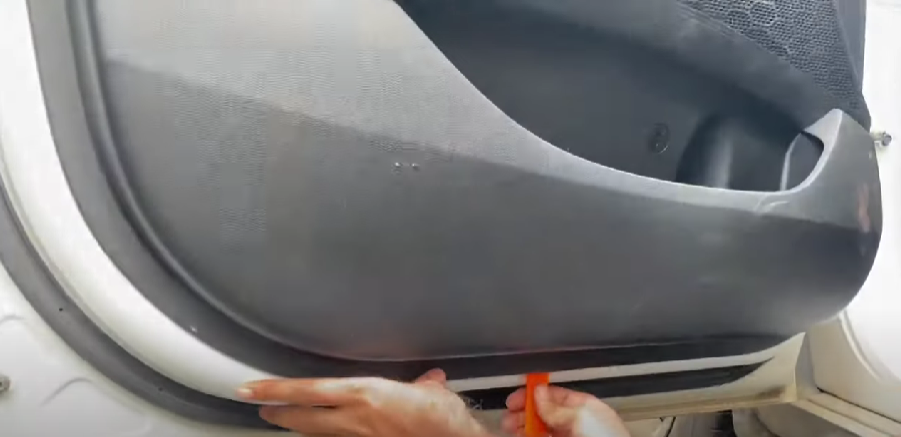
10. Move the trim aside.
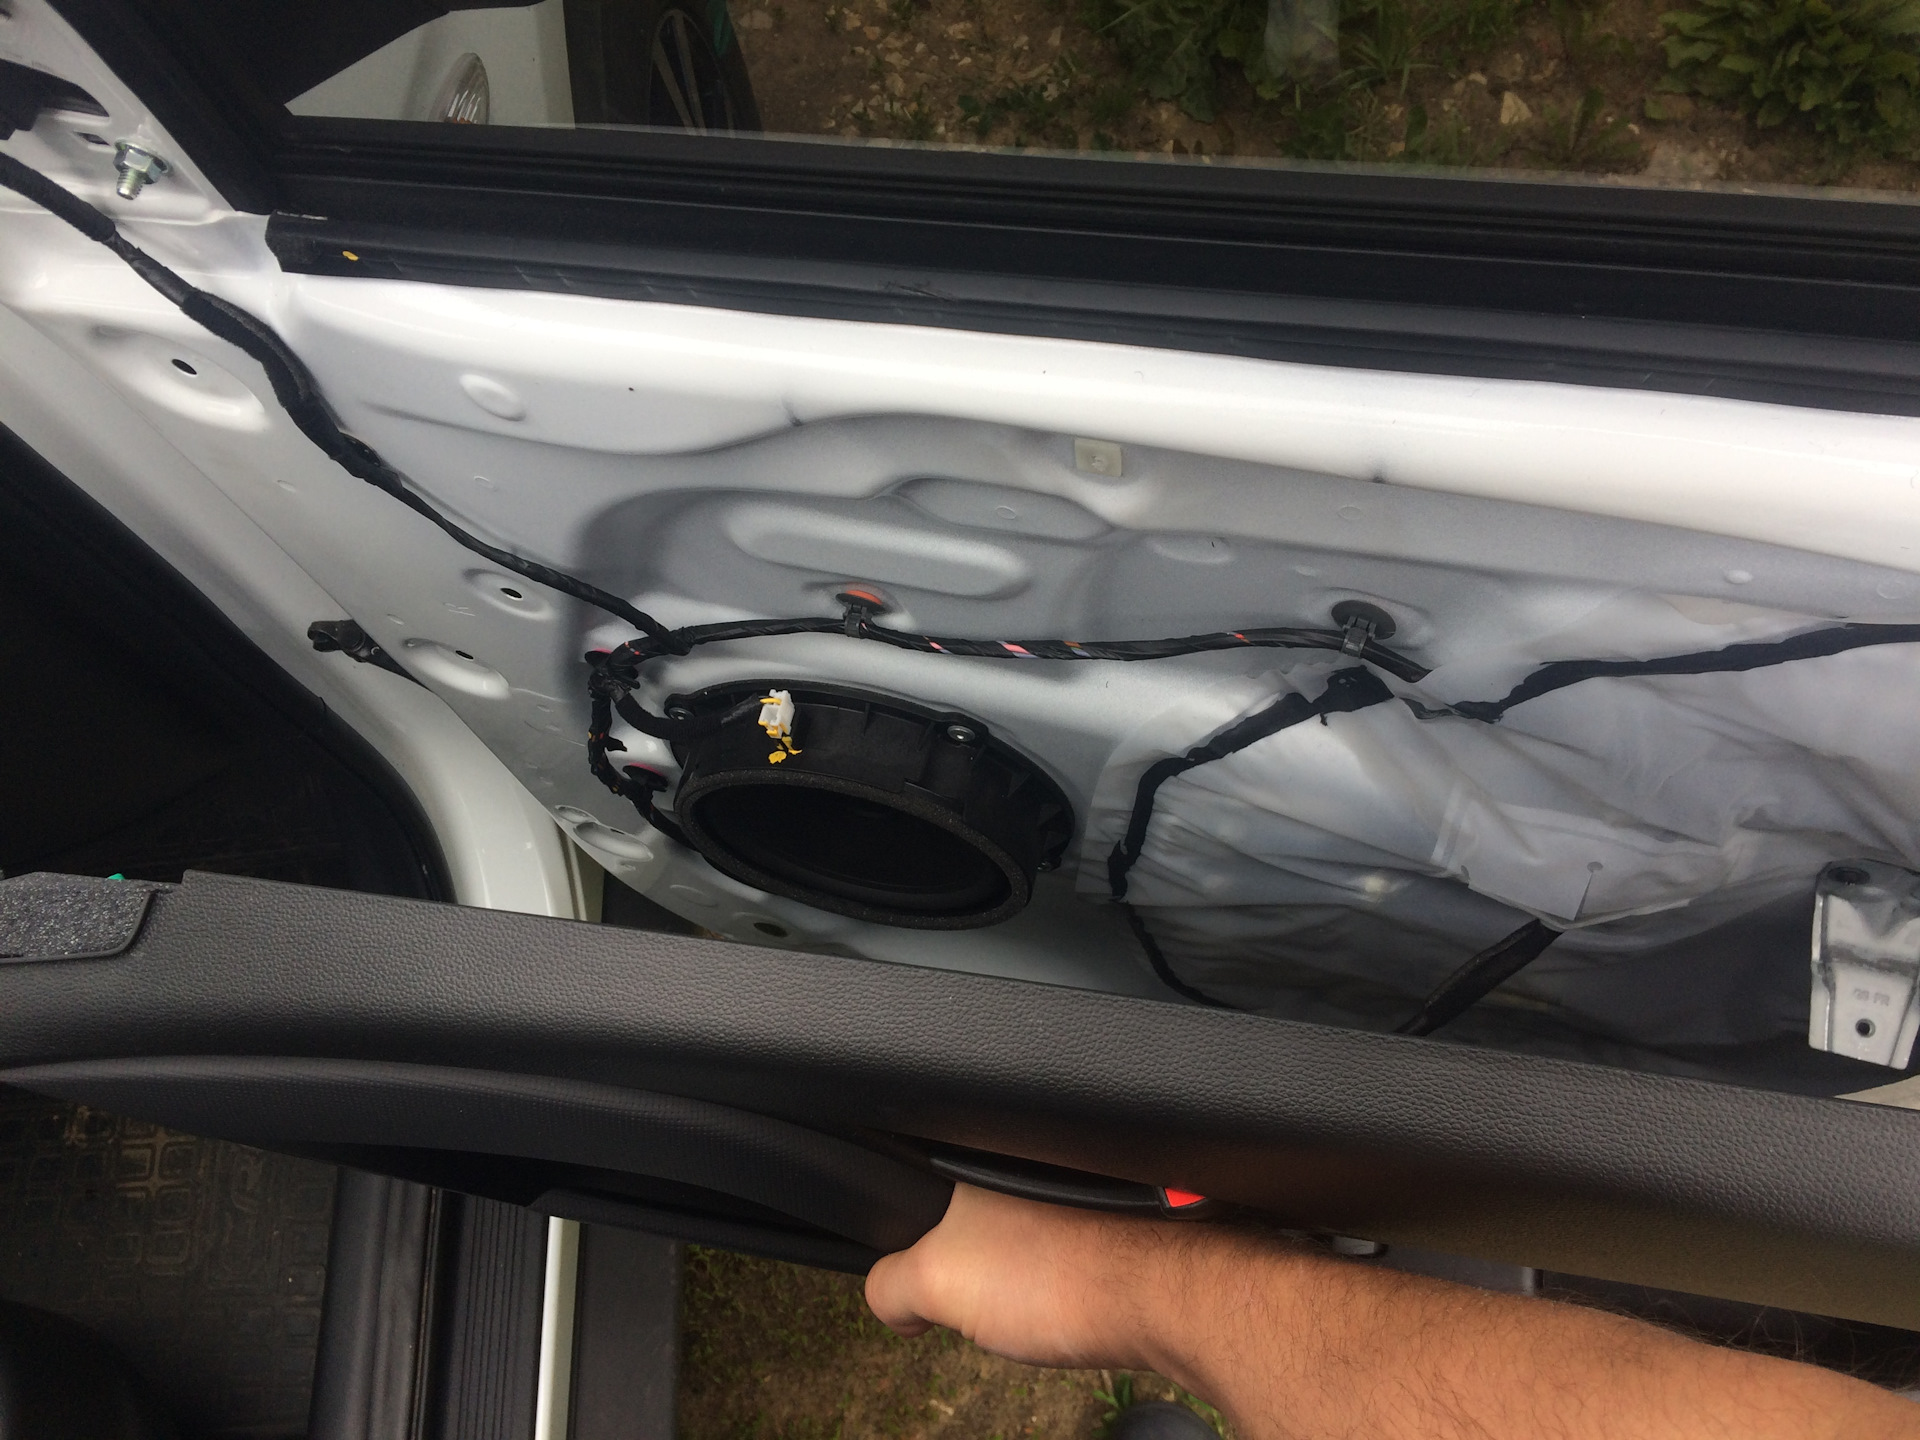
11. Press the latch and disconnect the lock drive rod from the door handle.
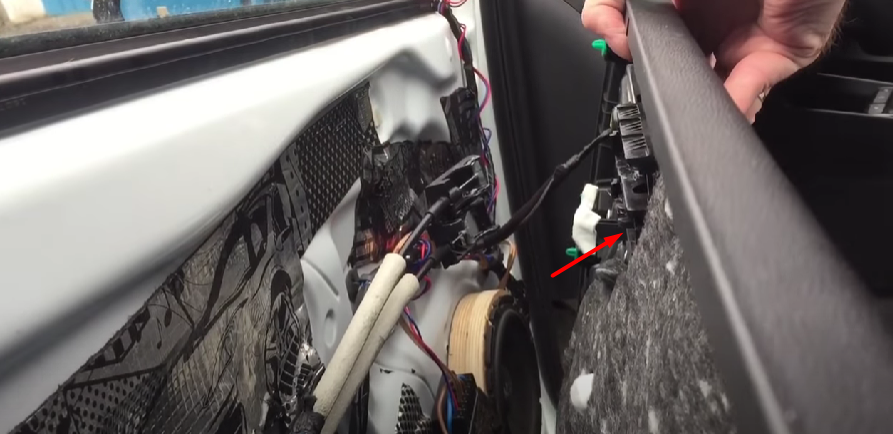
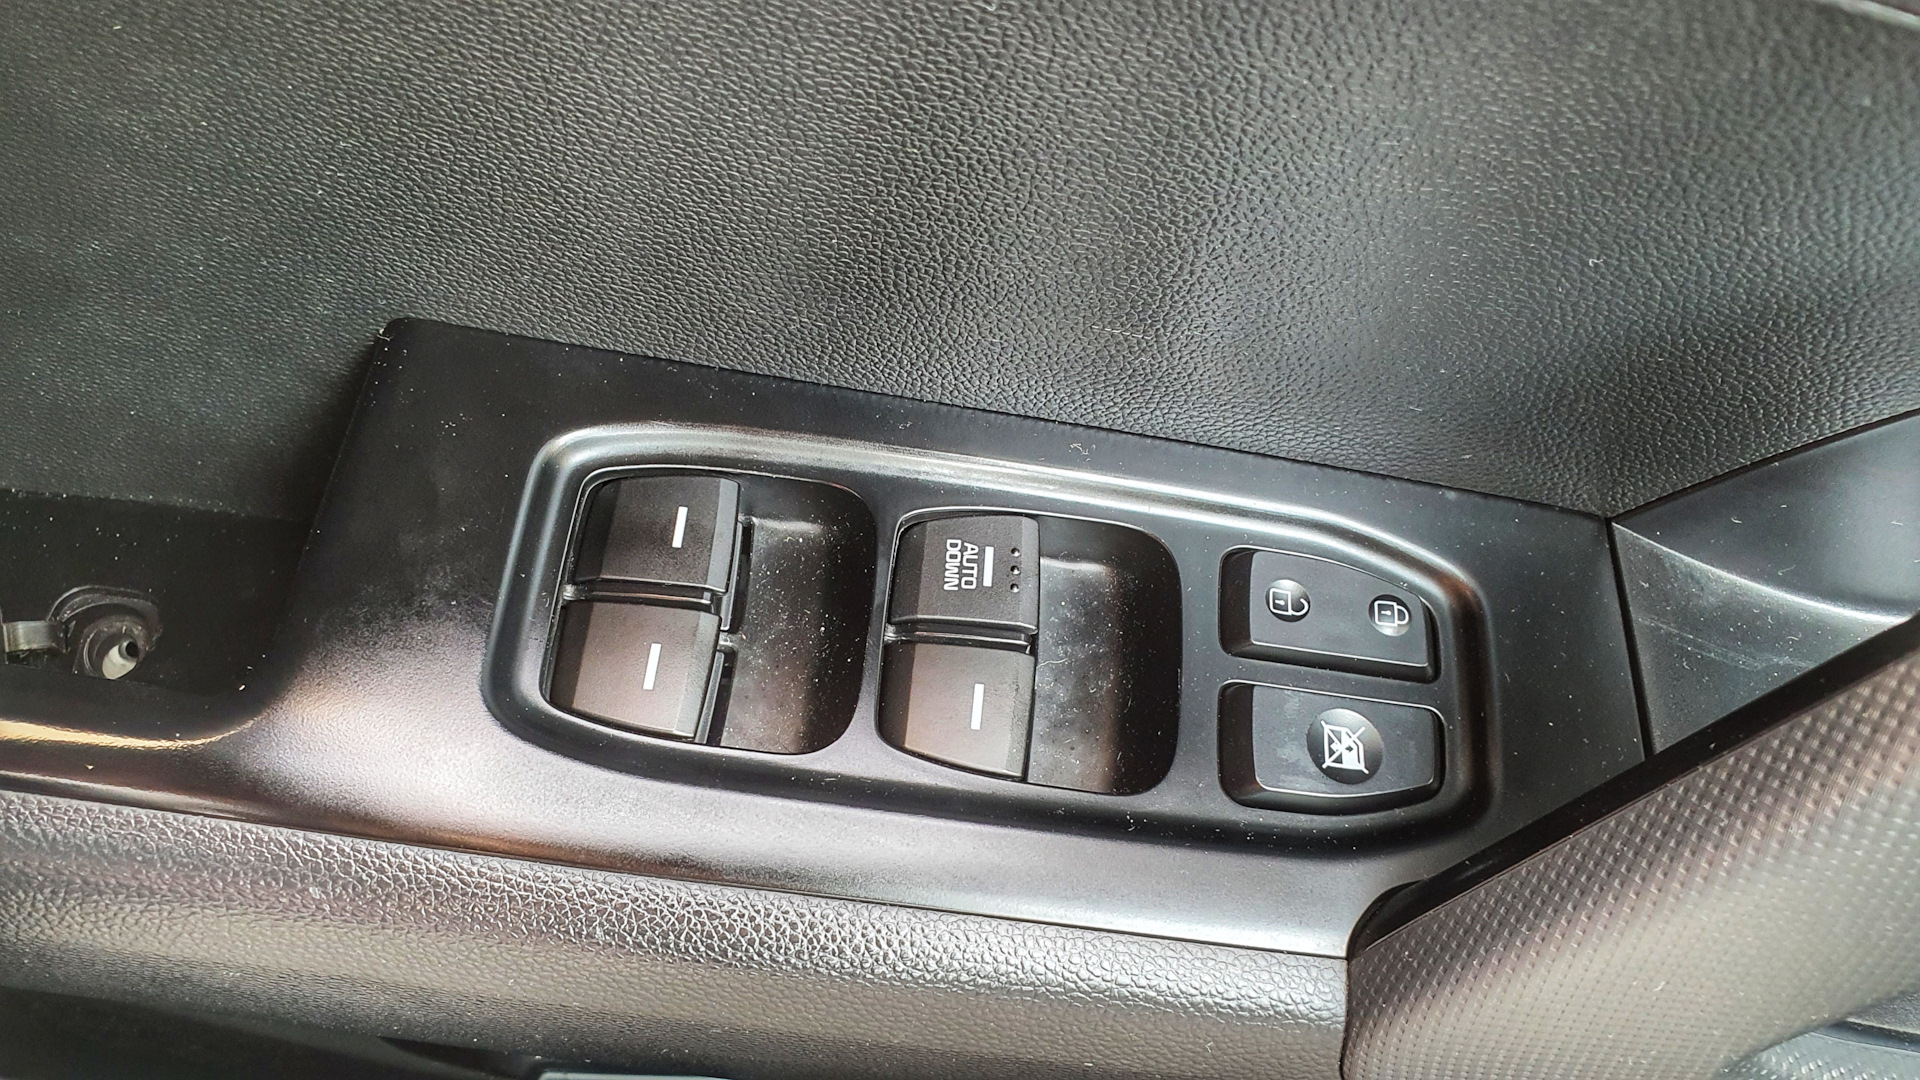
12. Disconnect blocks from the block of management of external mirrors (if is). Also from the power window unit.
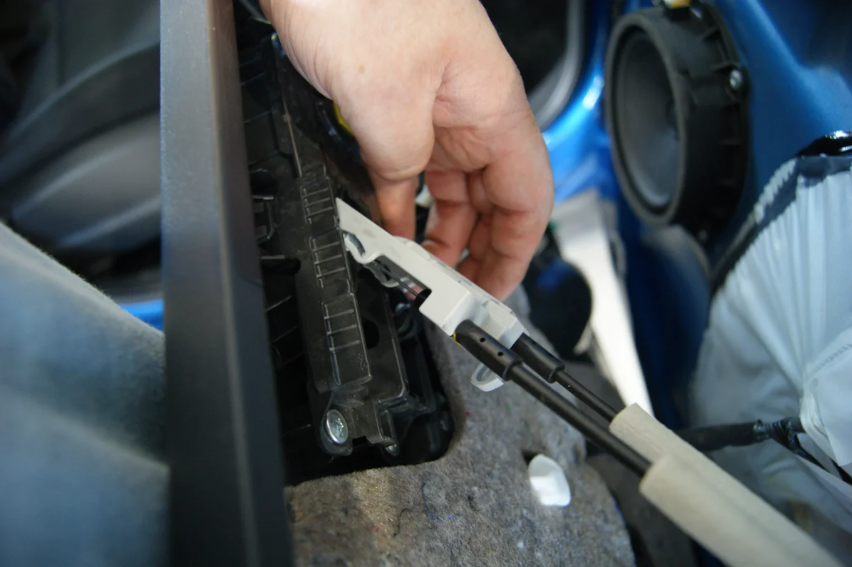
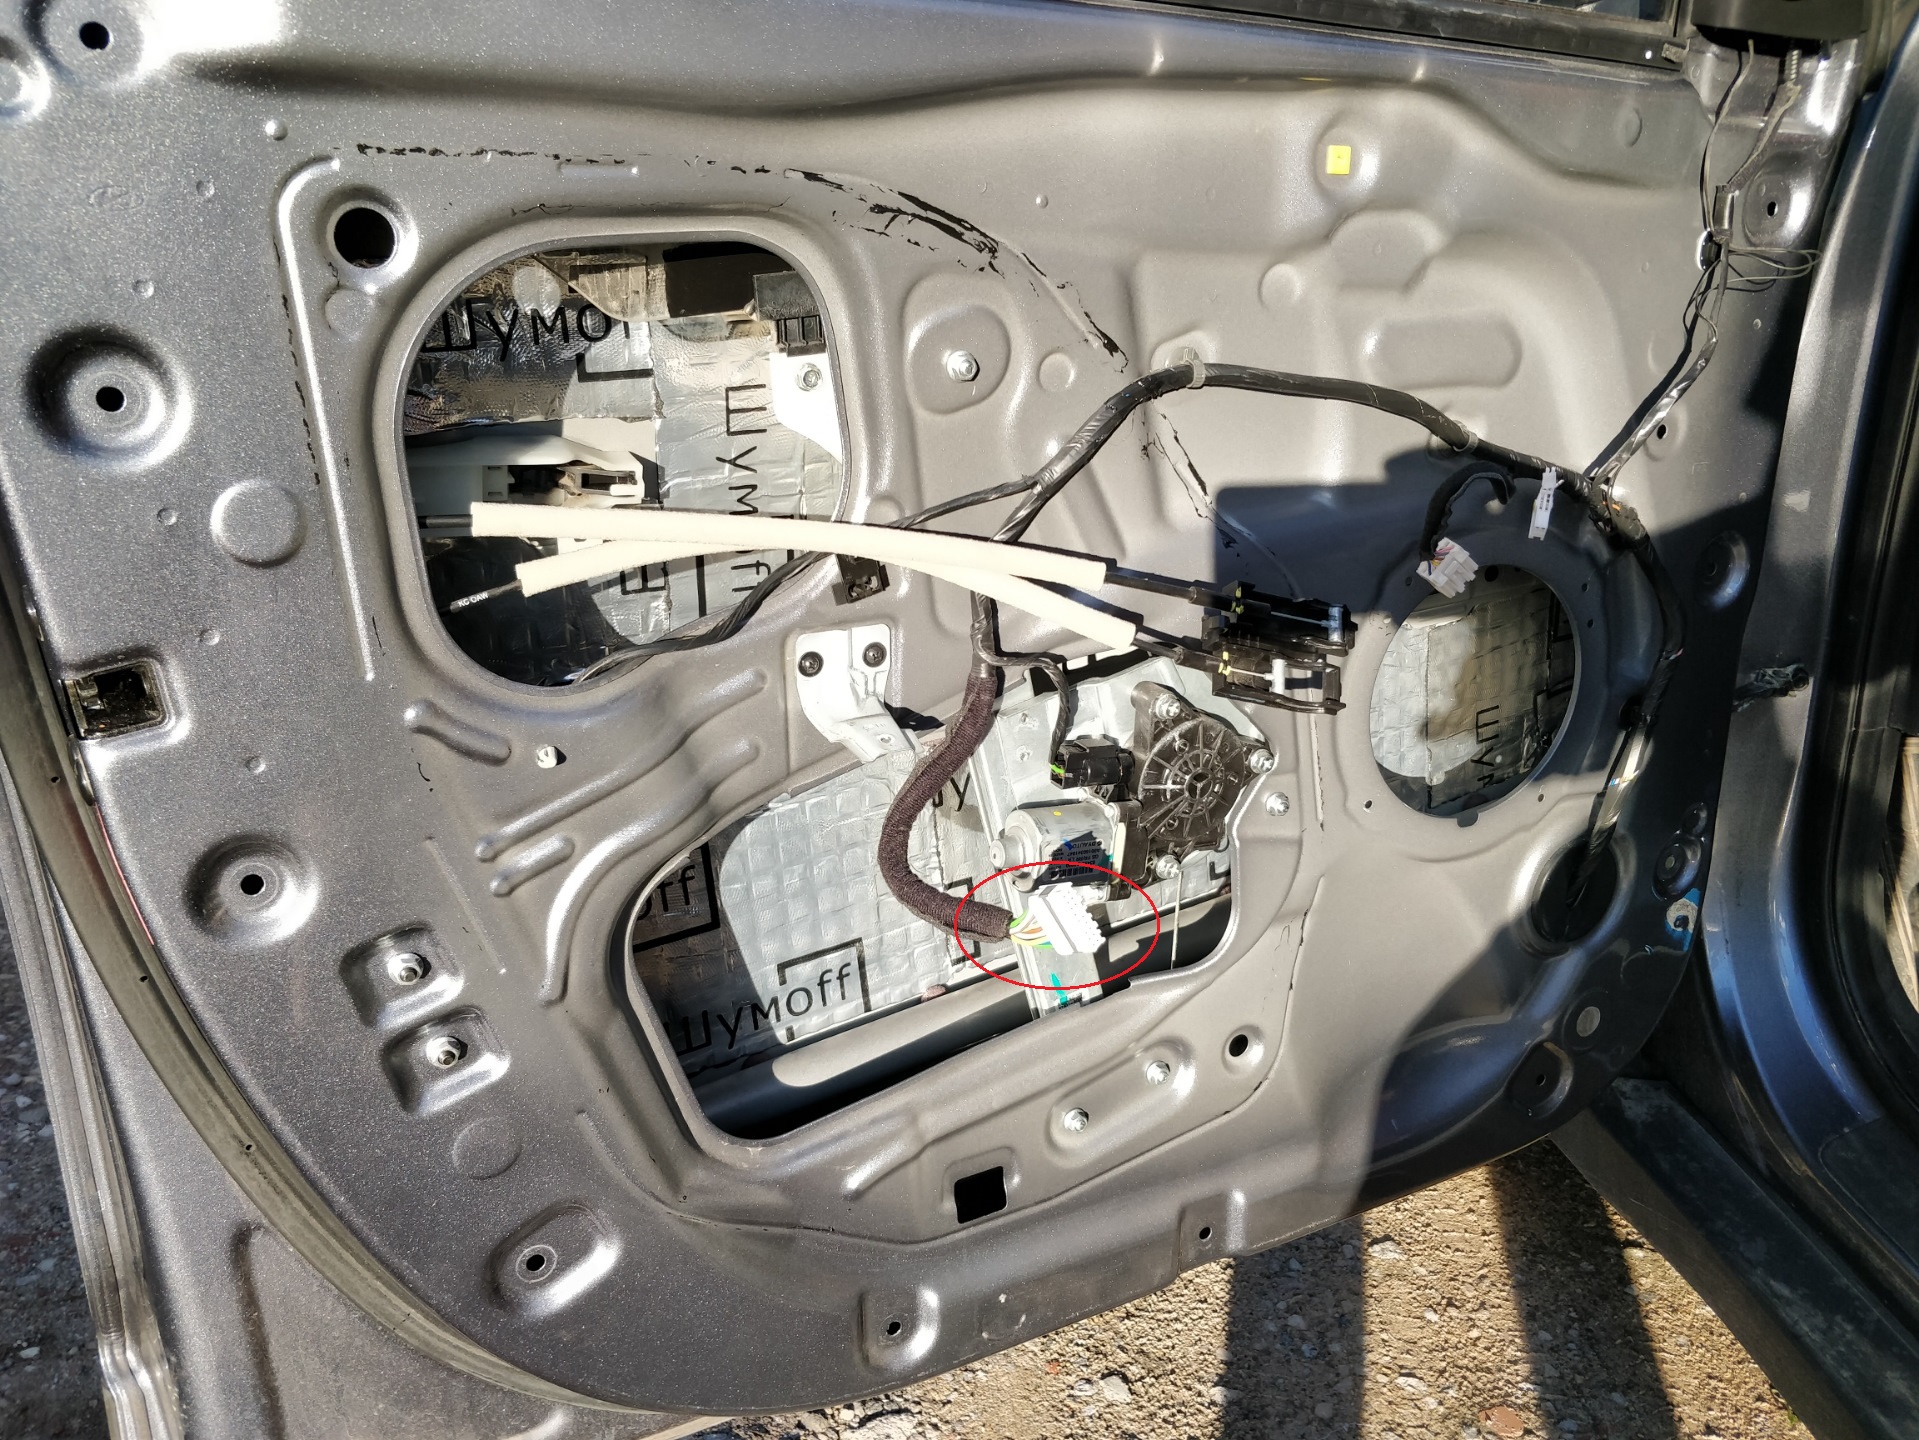
13. Remove the Hyundai Creta front door trim.
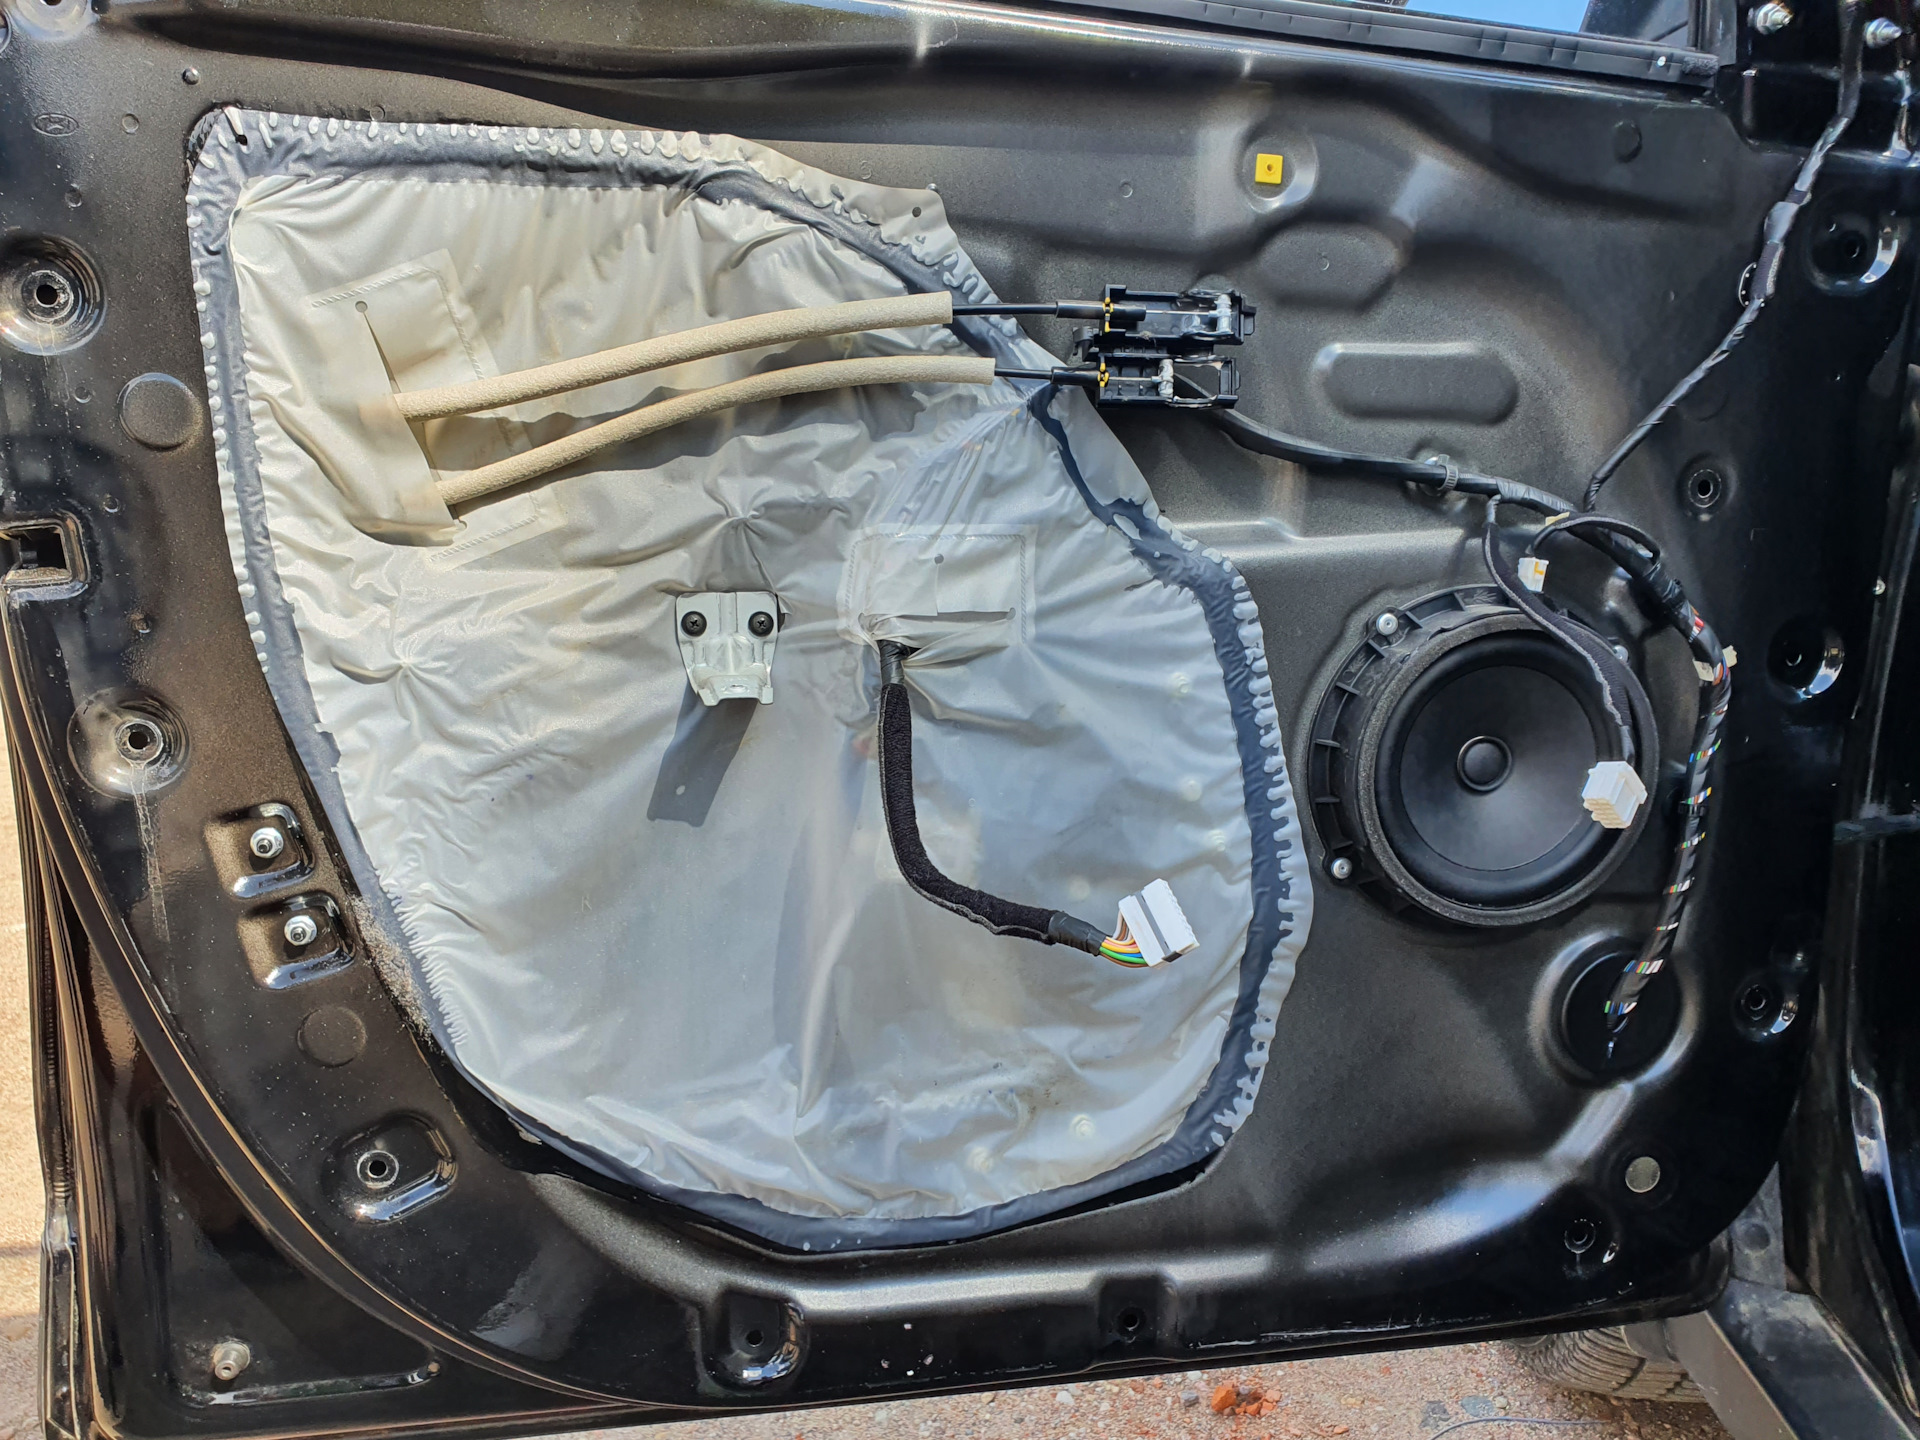
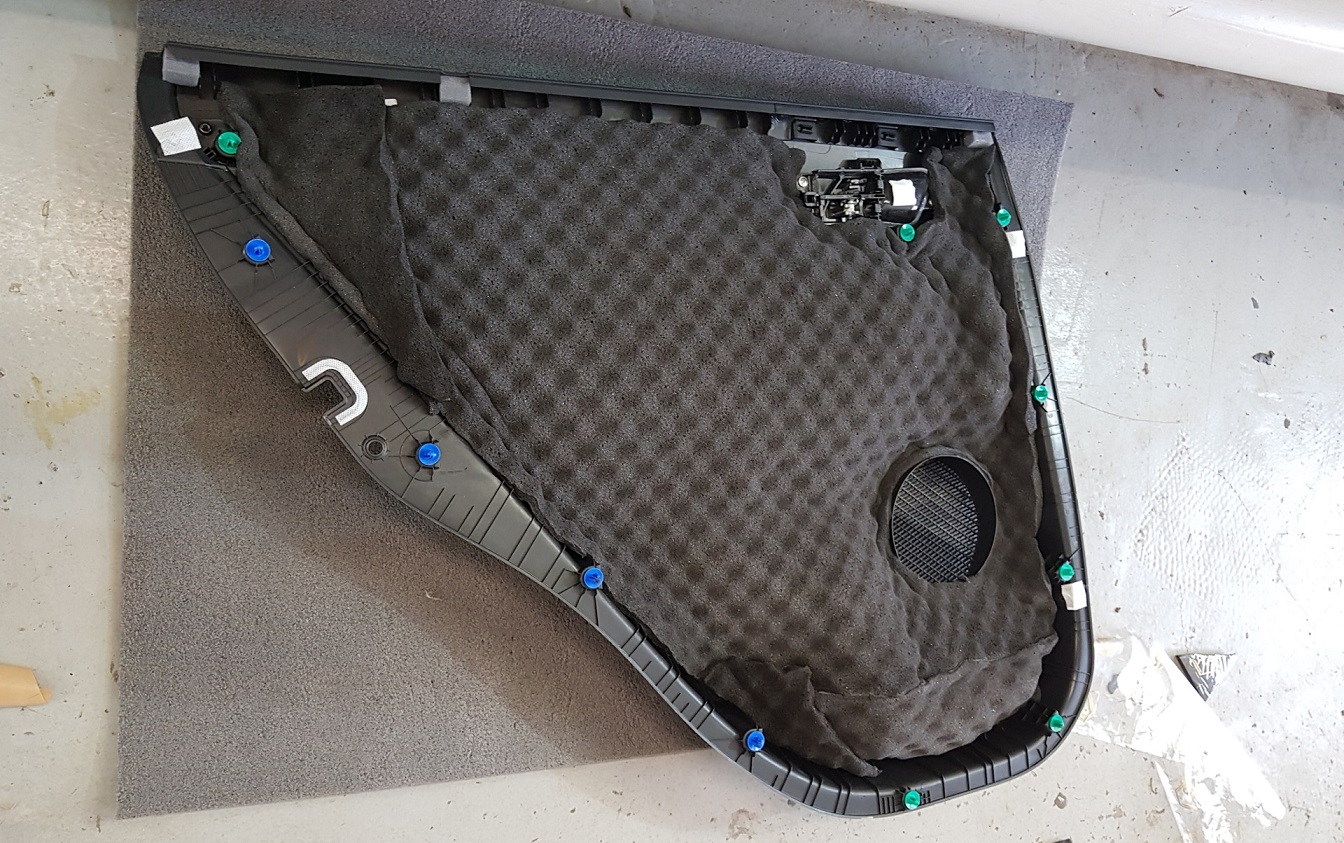
14. If necessary, replace with a new one.
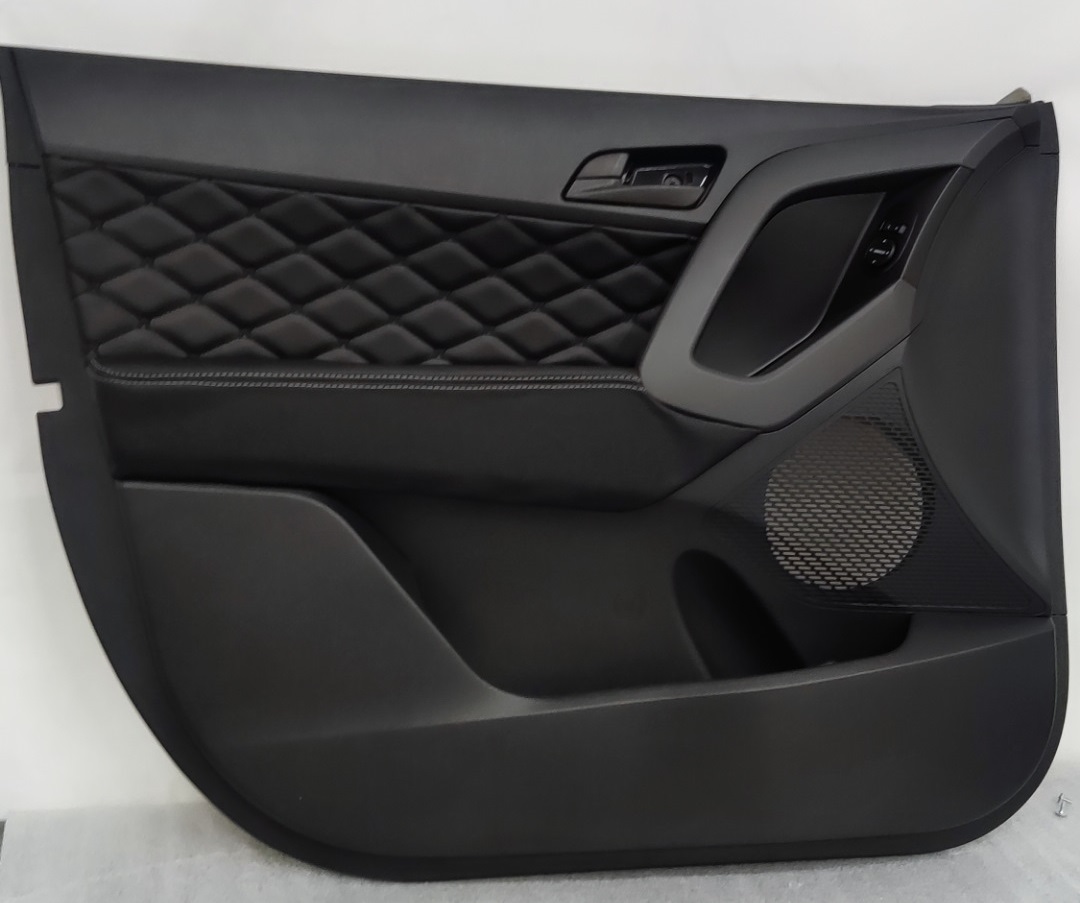
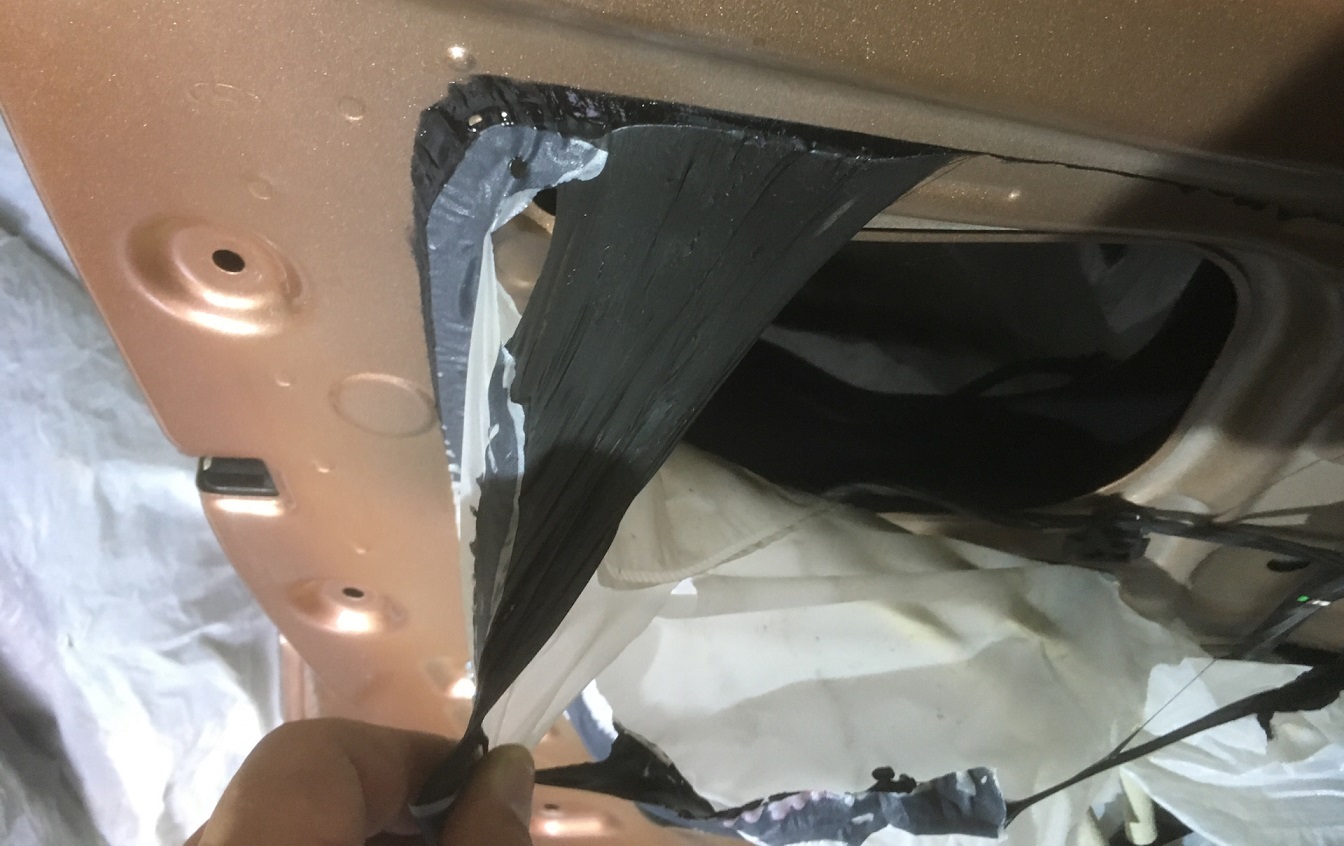
15. To remove the protective film, use a Phillips screwdriver to remove the 2 bracket screws.
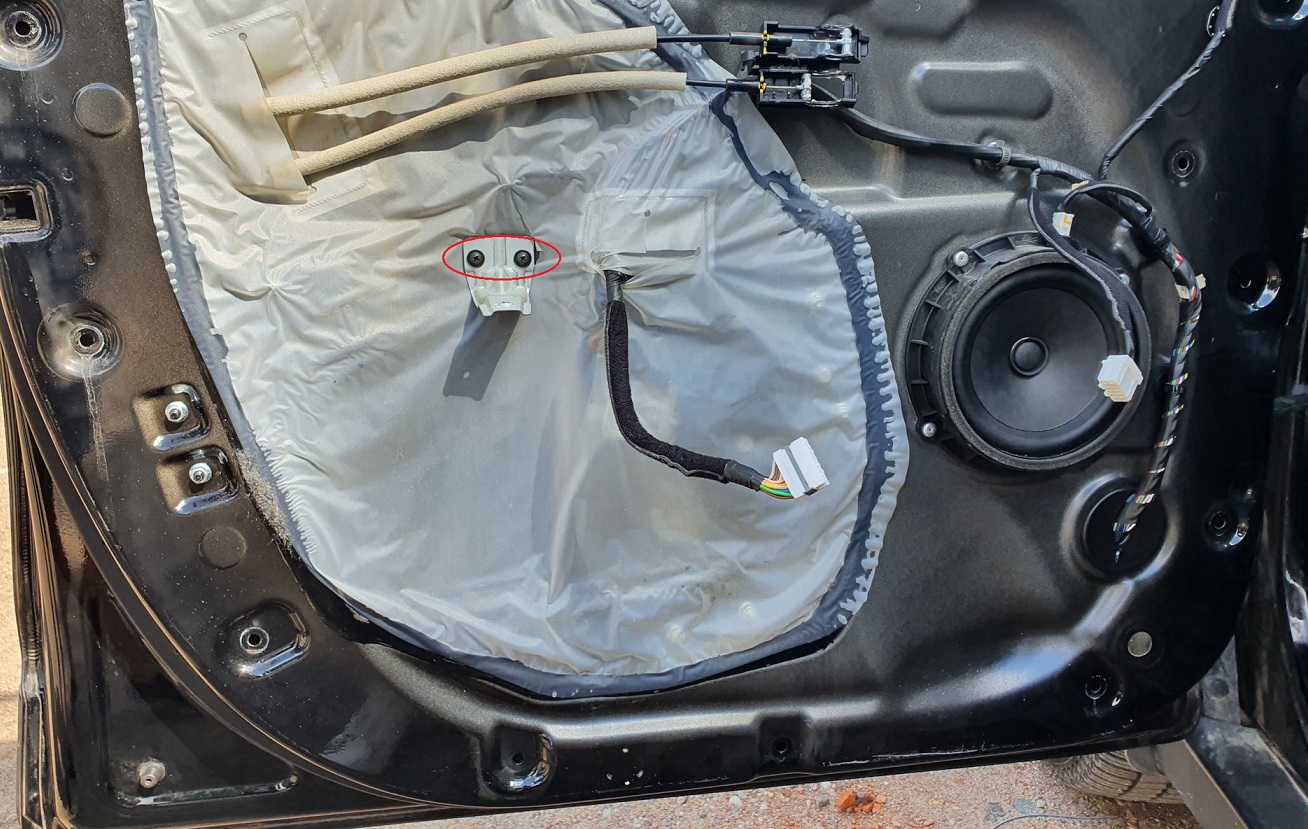
16. Remove the bracket and peel off the film.
17. Check up a condition of holders of a covering of a door. Replace damaged holders with new ones.
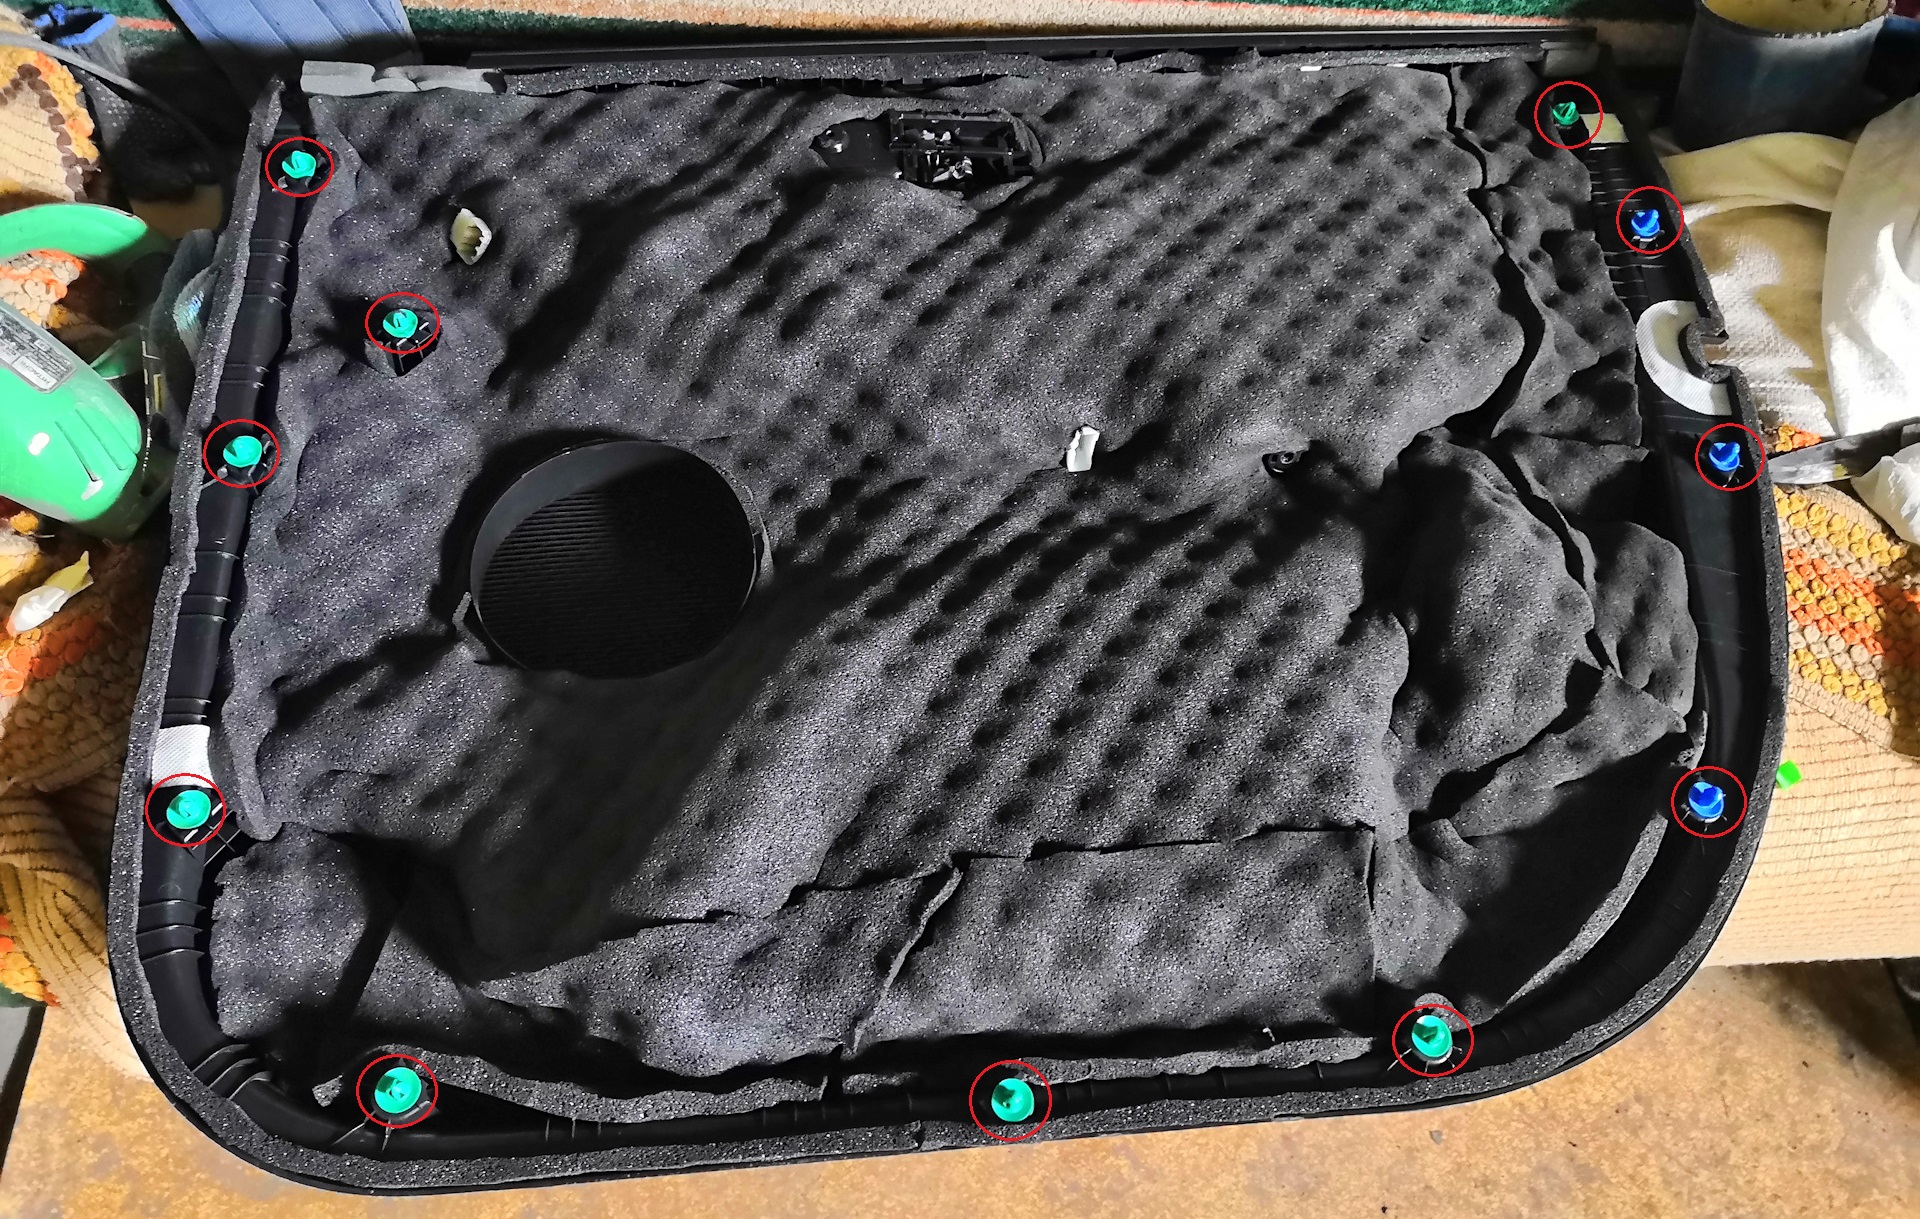
18. Install the Hyundai Crete front door trim in the reverse order of removal.
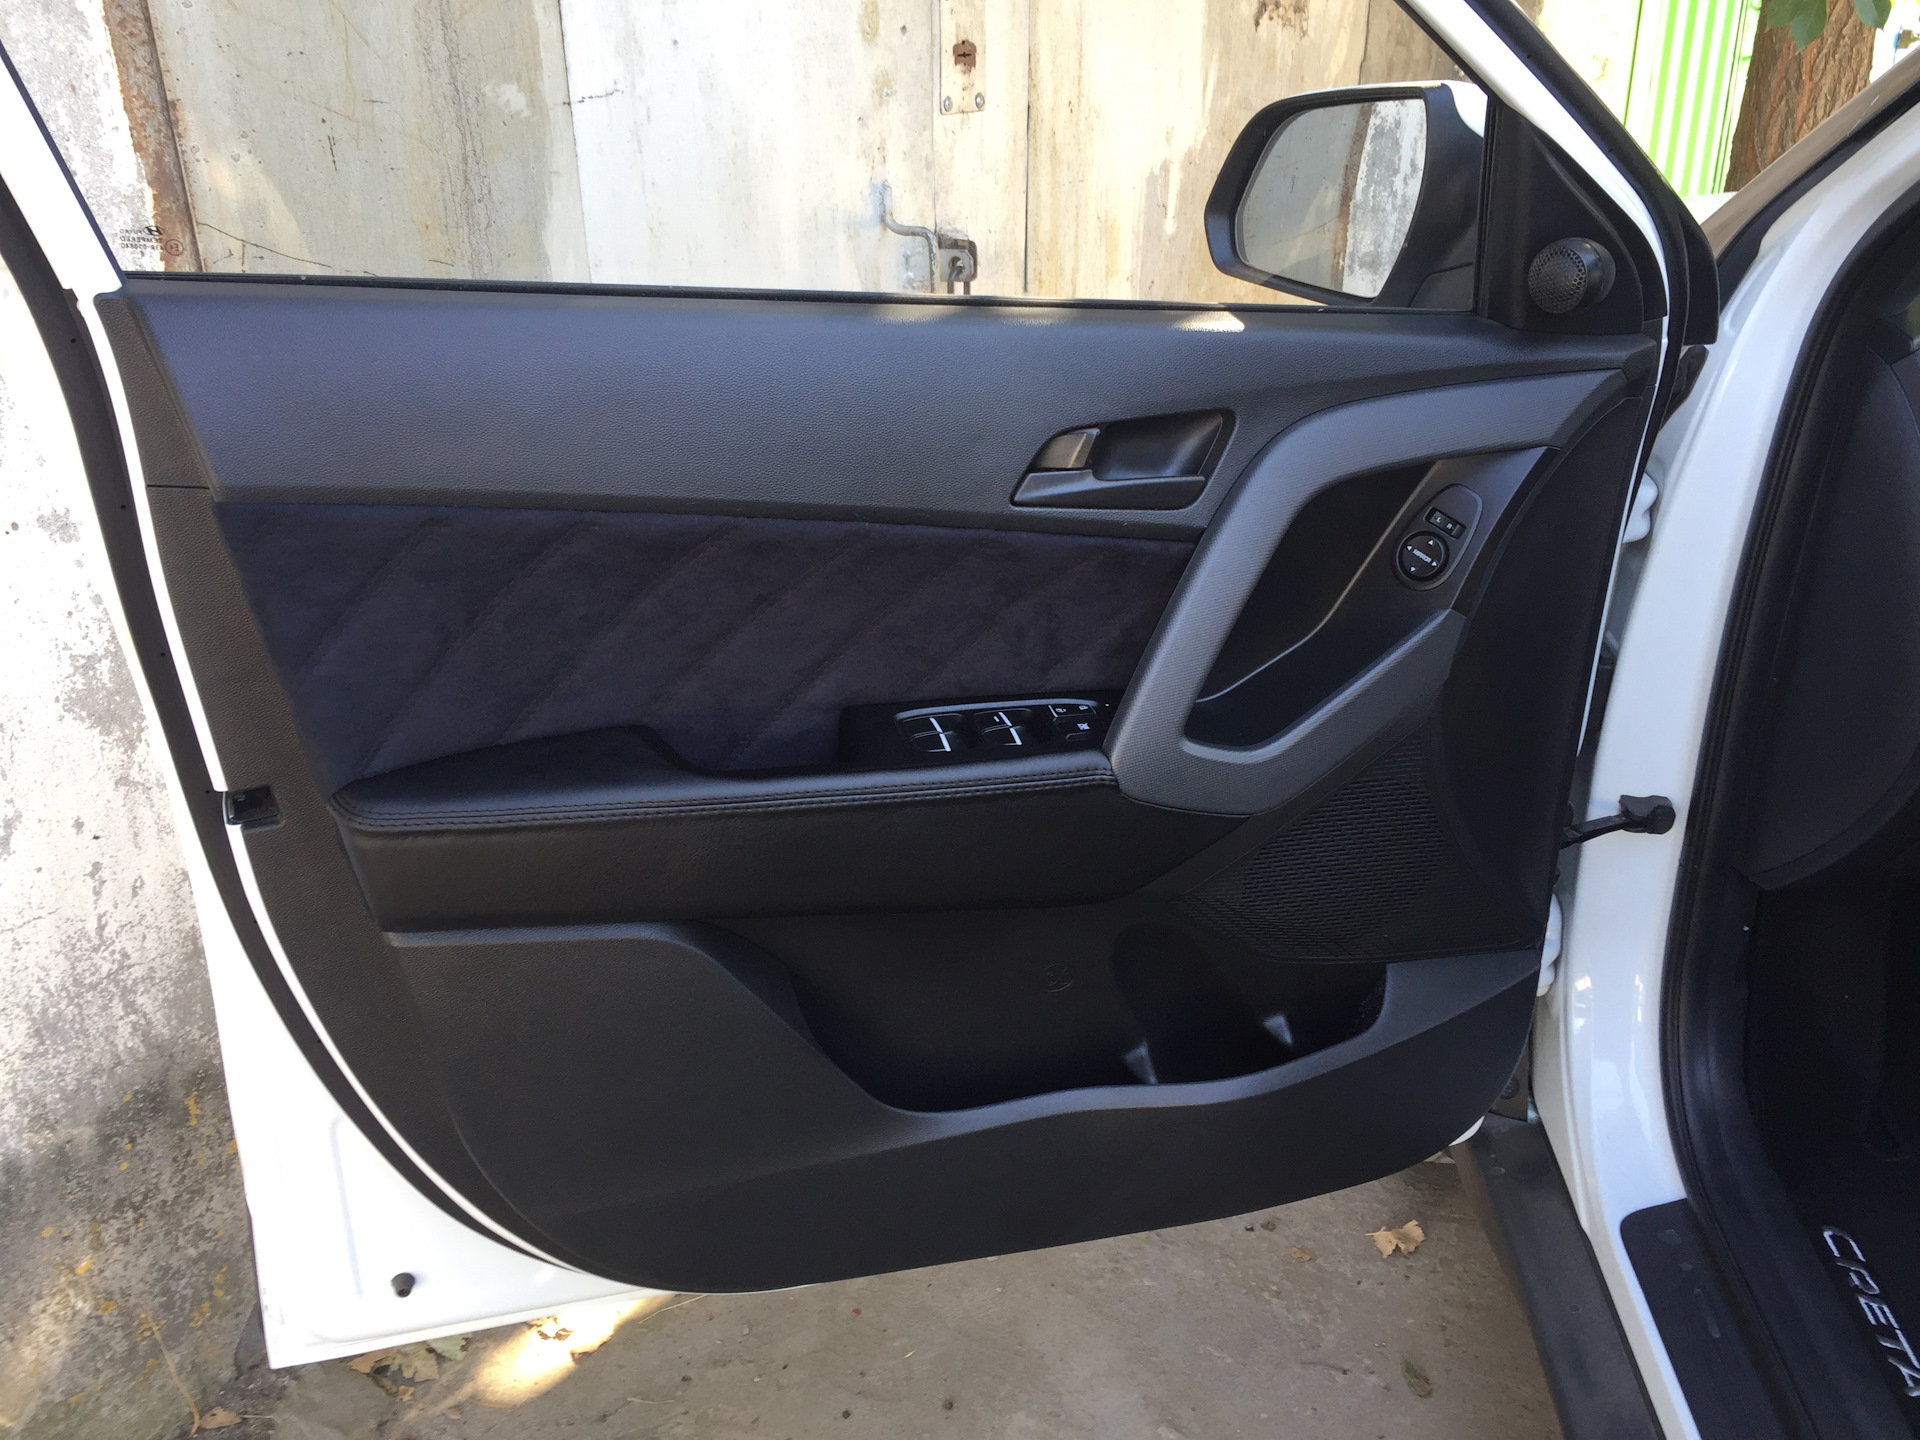
19. Press it firmly against the door panel so that the clips are firmly fixed in the holes.
Similar articles:
Removing the rear door trim Hyundai Creta
Removing the tailgate trim Hyundai Creta
Source: carpedia.club

![1 generation [2015 - 2022]](/uploads/hyundai_creta_2016_1.jpg)
