![E140/E150 [2006 - 2010]](/uploads/Toyota_Corolla_E140_2006_-_2010_.jpg)

One fine day, when turning the ignition key, I heard the sound of a rotating starter resembling a rattle, but separately without an engine. The second time the car started fine. Then this problem began to recur more and more often. Over time, I realized that the problem is in Bendix, so I drove all winter, with the onset of summer I decided to deal with this problem.
On cars of this type, a Denso DSN946 starter or Toyota 28100-0N050 is installed.
Starter specifications:
Manufacturer: Denso;
Model: DSN946;
Starter power: 2kW;
Voltage: 12V;
Direction of rotation: clockwise;
Dimensions: 255x155x135 mm;
Weight: 6300 g;
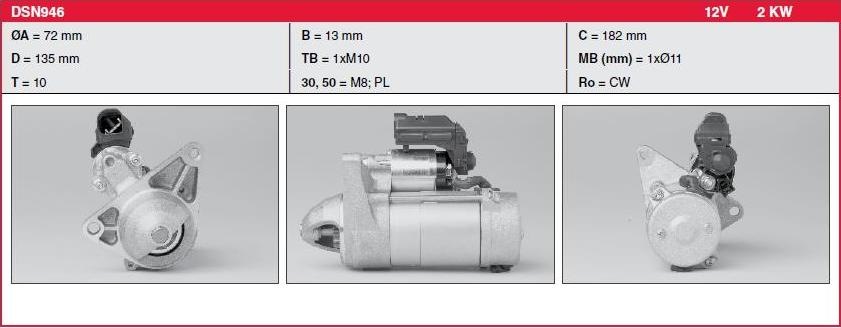
Starter Denso DSN946
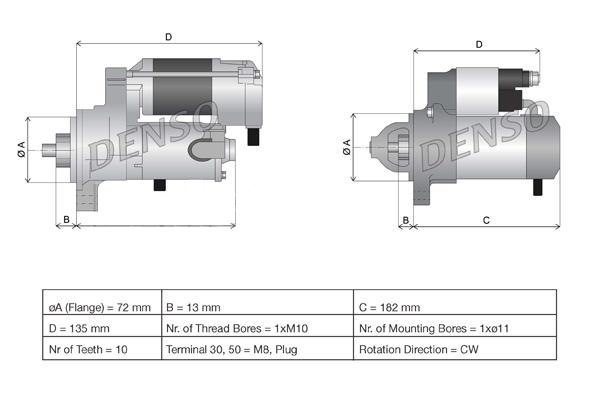
Starter Denso DSN946
Here are the original part numbers:
CLUTCH SUB-ASSY, STARTER CENTER BEARING 28021-0N050
CLUTCH SUB-ASSY, STARTER CENTER BEARING 28021-33090 (people in the comments say it doesn't fit)
Removing starter Denso DSN946 from Toyota Corolla 1,4TD
Oddly enough, but in order to get to the starter, it is necessary to remove half of the tubes of the cooling system.
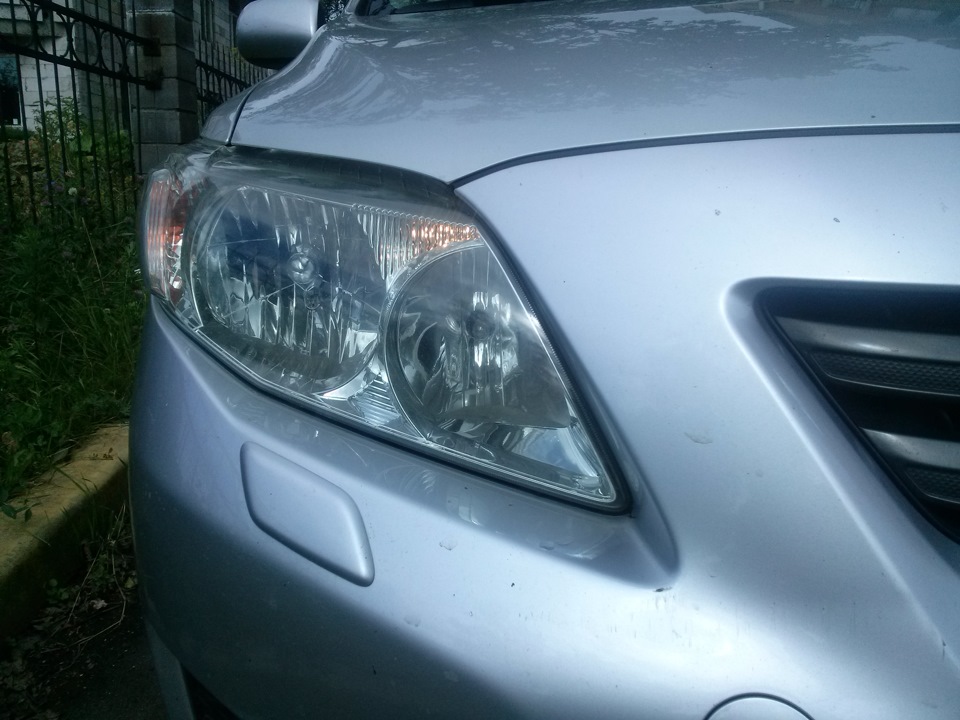
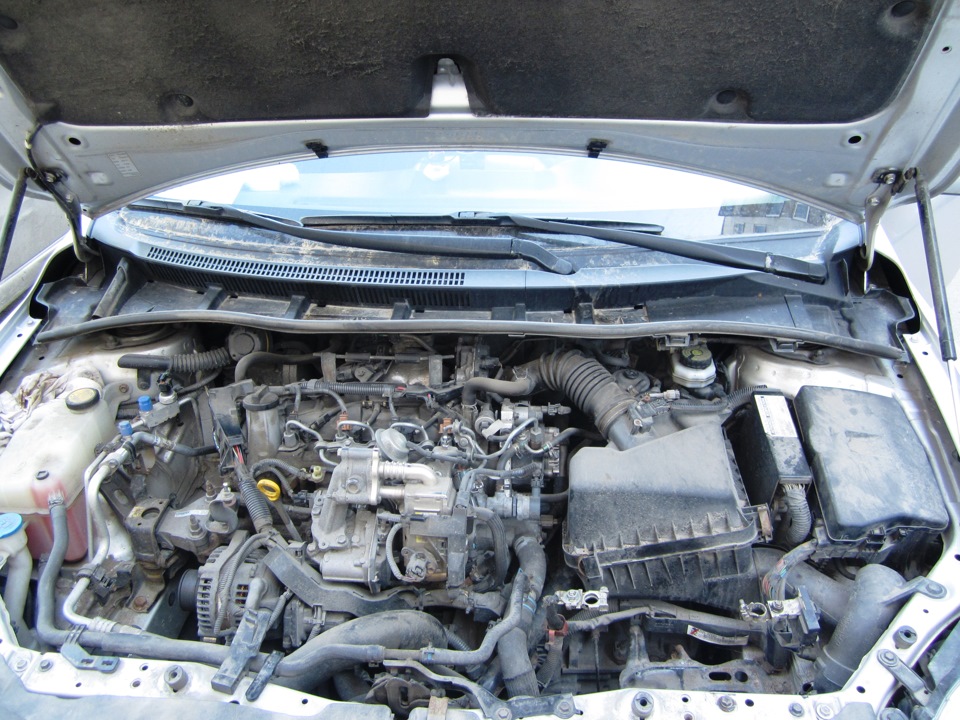
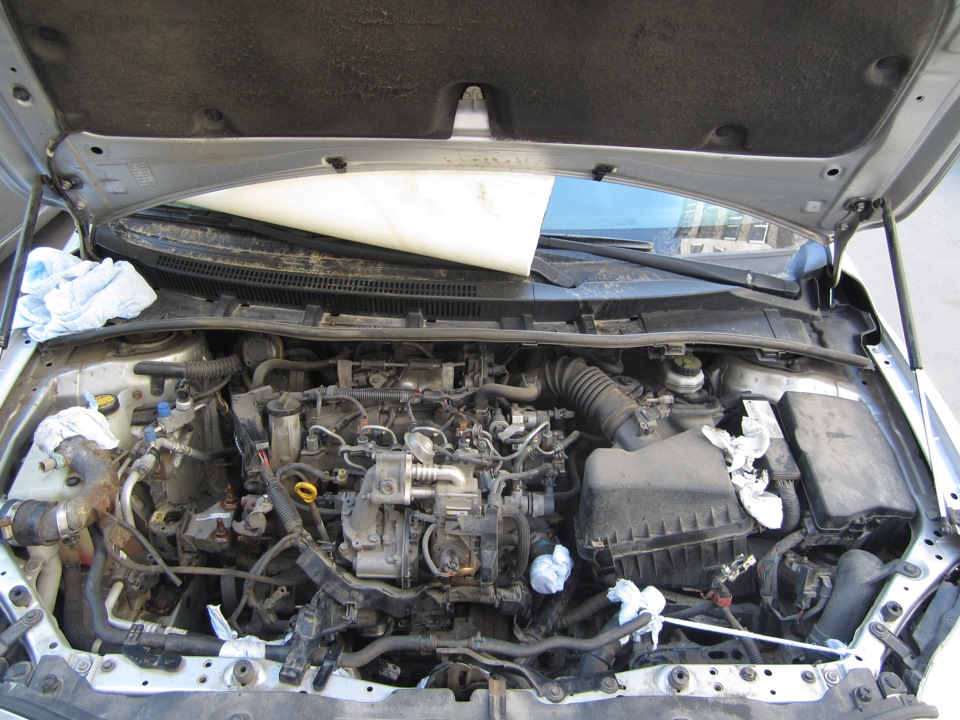
1. General view of the engine compartment
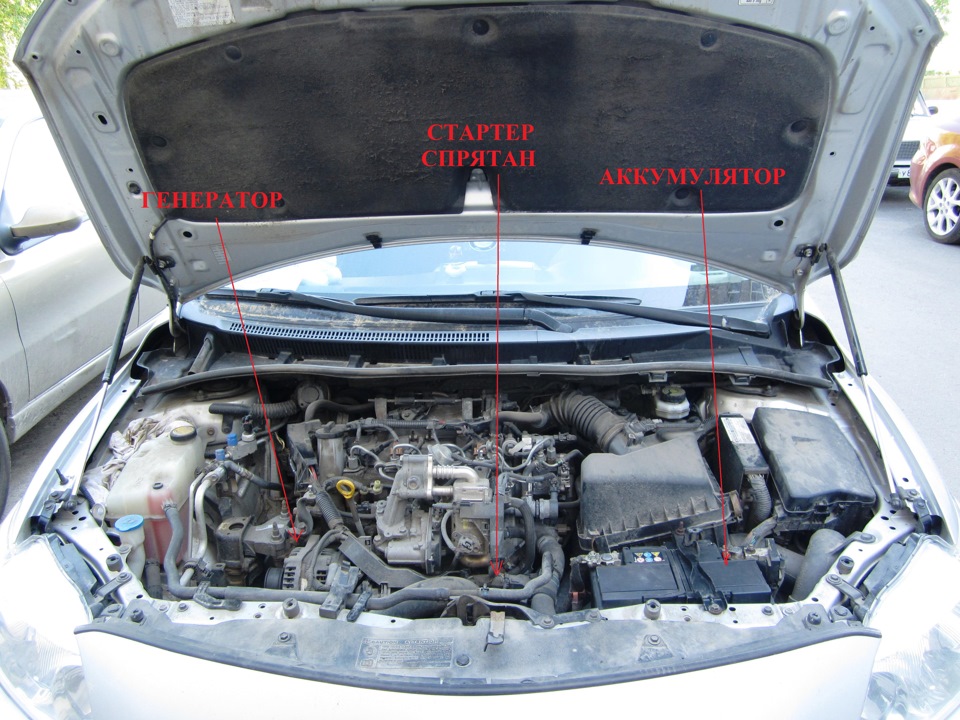
General view under the hood before removing the generator.
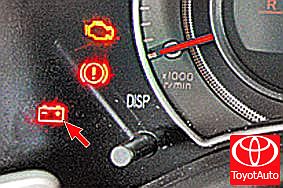
2. Remove the battery.
Without battery.
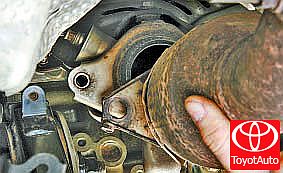
3. The photo shows part of the hidden starter.
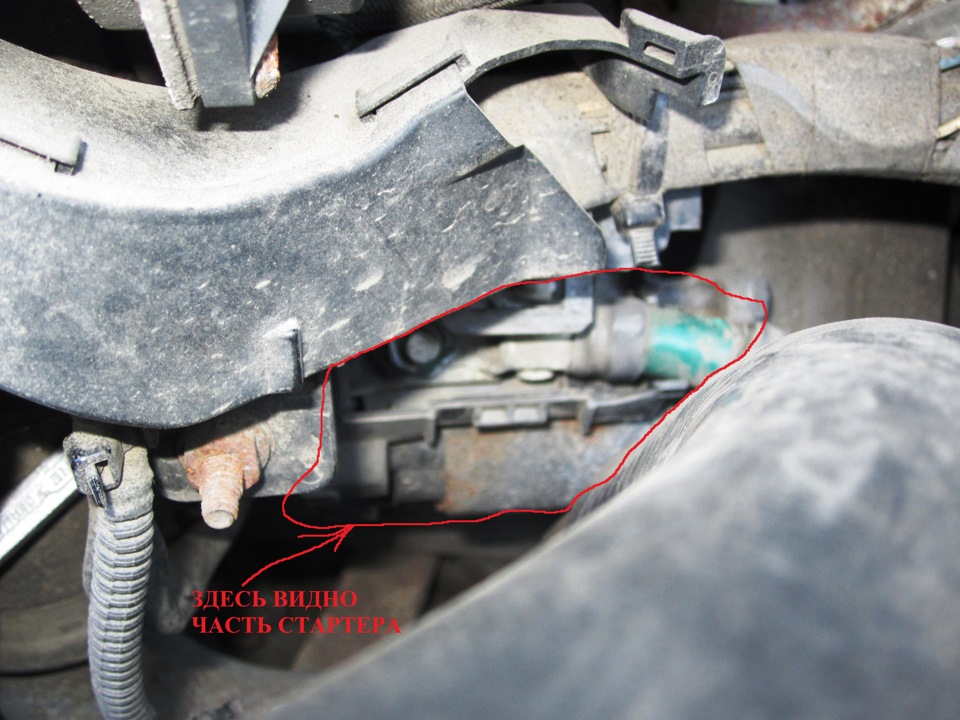
The starter is hidden.
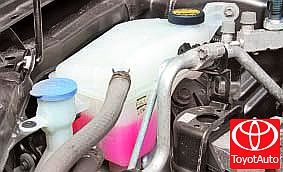
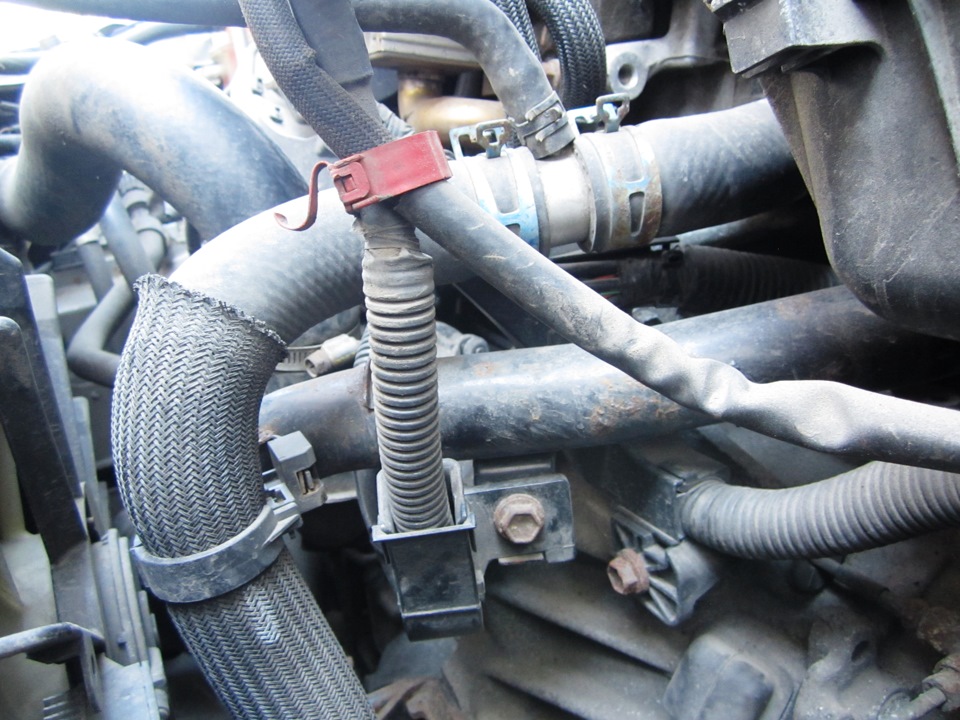
4. Side view the starter is located under the pipes of the cooling system, i.e. in order to get it, it is necessary to remove all cooling pipes, first draining the antifreeze into a clean container in order to then pour it back. I drained 6 liters, it was possible to drain more, but this amount was enough to remove the pipes. There is also a wiring harness under the plastic on top, it can also be slightly loosened from the fastening so that in the future it will be easier to remove the starter.
Conclusion: Everything that prevents you from removing the starter must be removed, disconnect the wire blocks, remove the rubber tubes. This is not in the photographs. There is one long black metal tube, you can not touch it, it does not interfere. Only the rubber hose is disconnected from it.
We do everything carefully, slowly, remember every step, put marks, We tie the holes with rags to prevent dirt from entering the cooling system. It took me half a day to remove the starter. Read more…
Starter under cooling pipes.
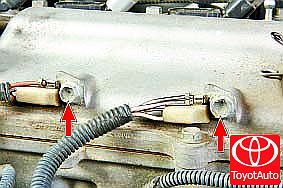
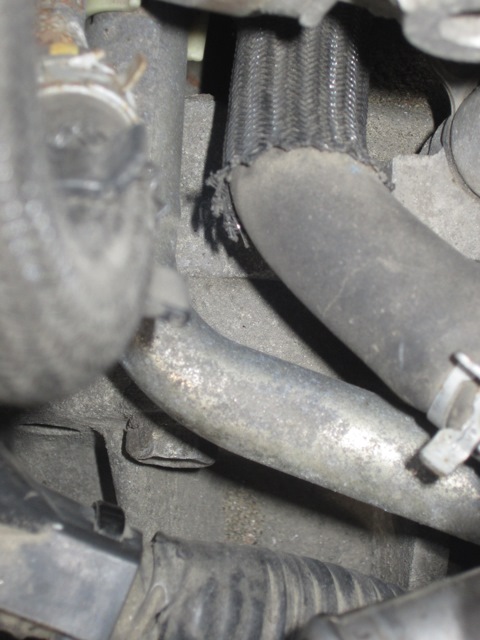
5. The tube to which, as I understand it, the thermal sensor is connected, must also be removed. After disconnecting the hoses from it, it is necessary to unscrew the bolt of the bracket welded to this tube. Also, 2 more small hoses, about 6 mm in diameter, are connected below, one of them is disconnected from under the bottom of the machine, the second one that goes sideways does not interfere. The tube was found to be heavily corroded from below , and when installing it back, I generously lubricated the surface with grease. Of course, in the future it is better to try to clean it up and paint it or change it (I did not find the number in exist 'e).
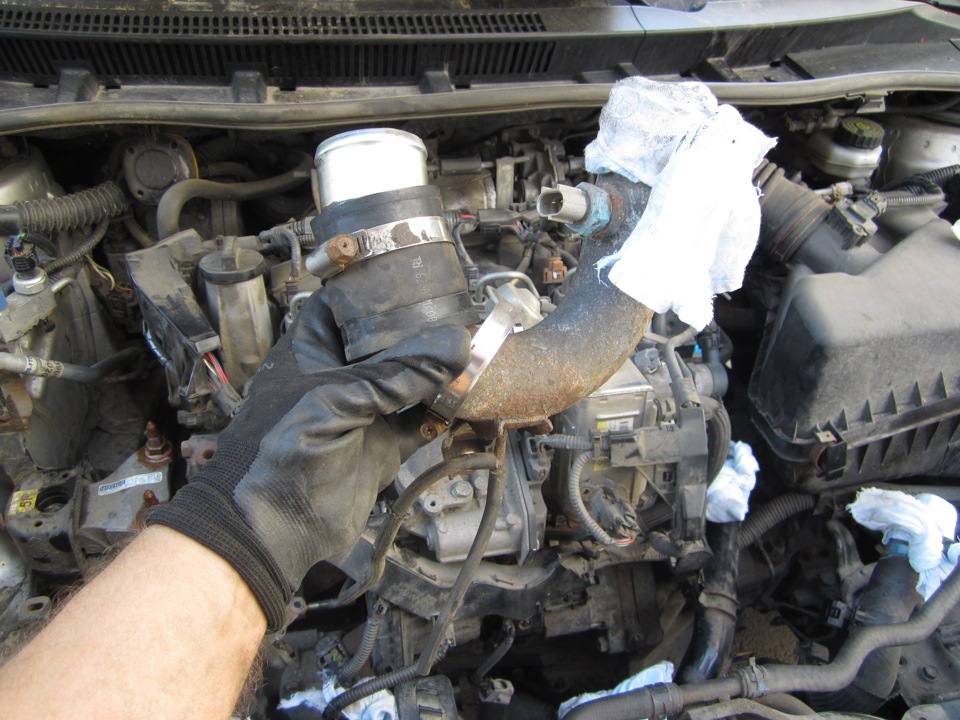
Metal tube of the cooling system.
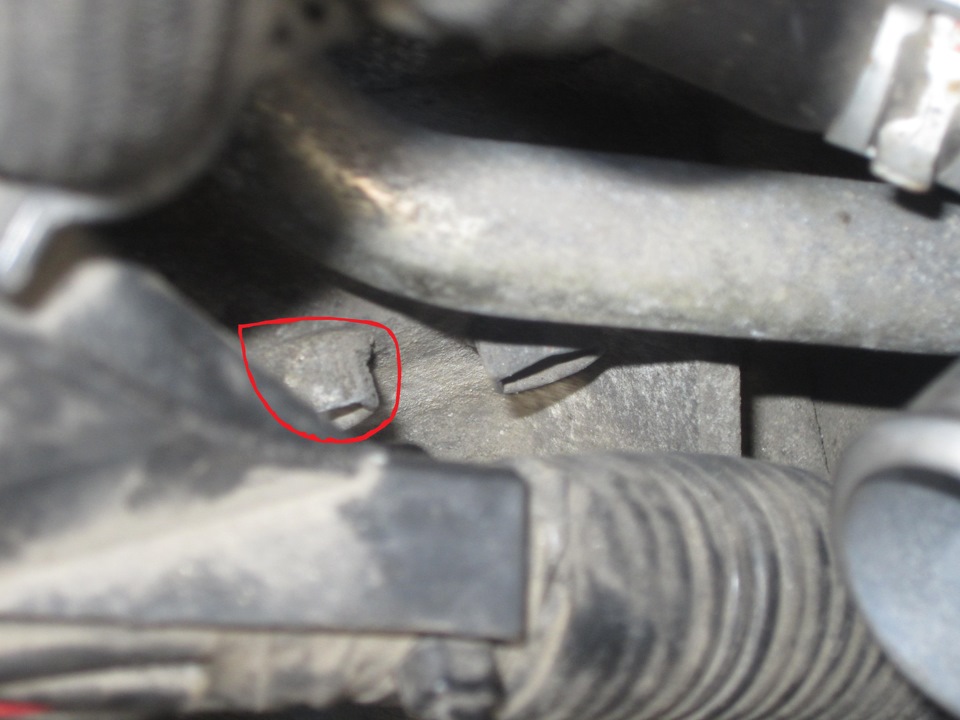
6. Below in the photo is the place where the tube is attached directly to the oil filter.

Place of fastening of the tube above the oil filter.
7. But the bolt, which is hard to reach to unscrew, you have to act on the touch.
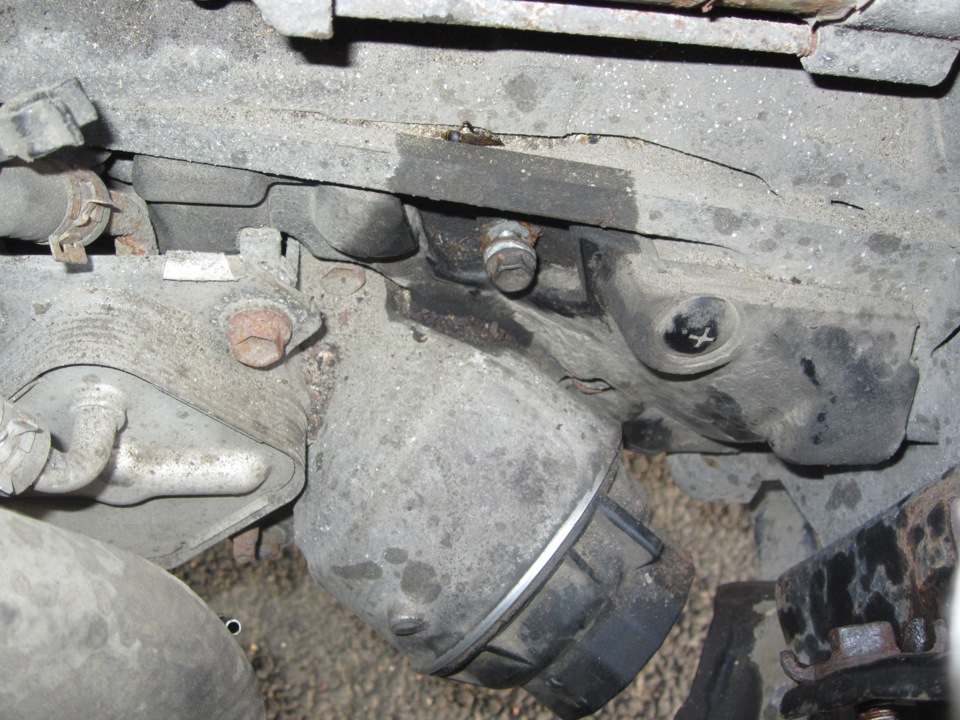
A bolt that is hard to get.
8. All cooling tubes removed access to the starter is open but difficult to see.
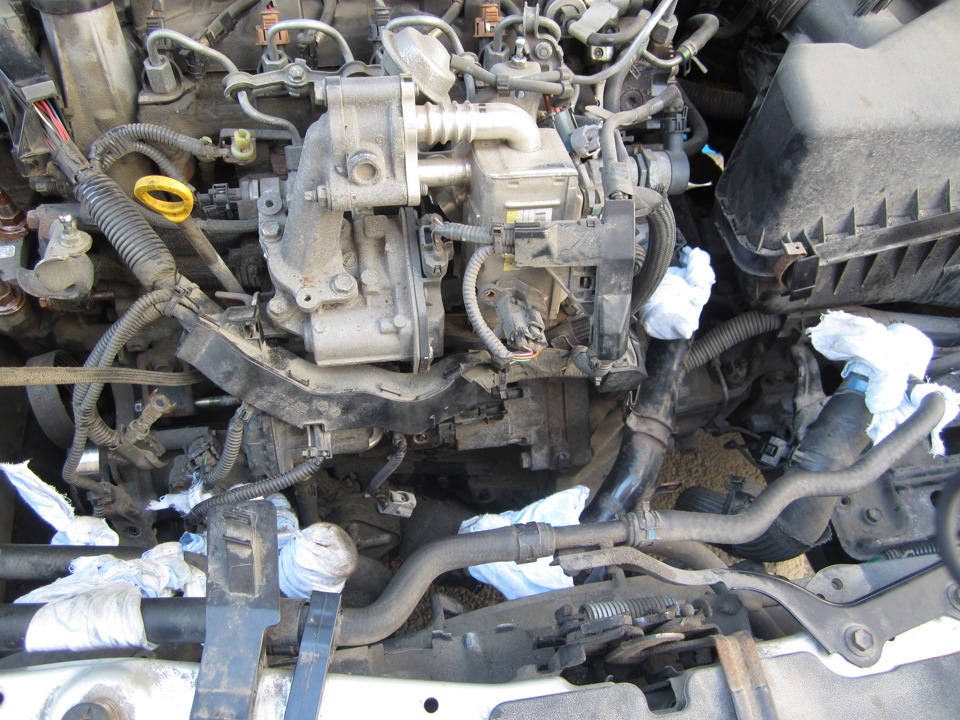
Coolant pipes removed.
9. General view of the engine compartment.
10. It is necessary to unscrew the power wire.
Unscrew the power cable.
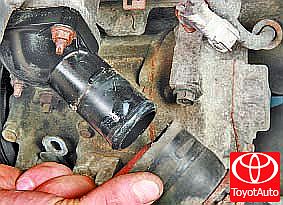
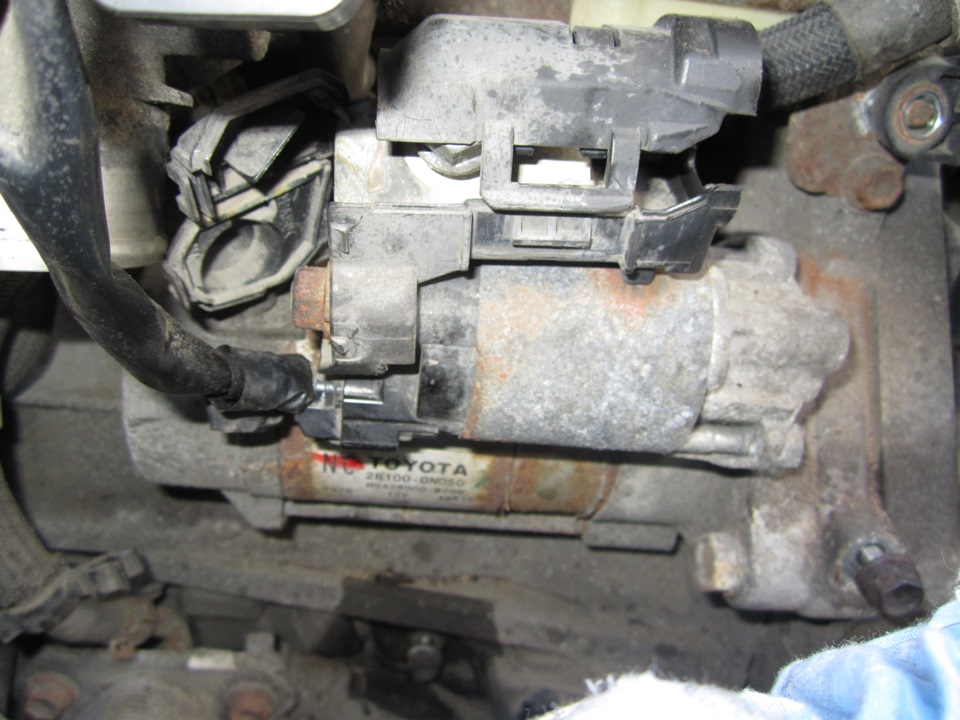
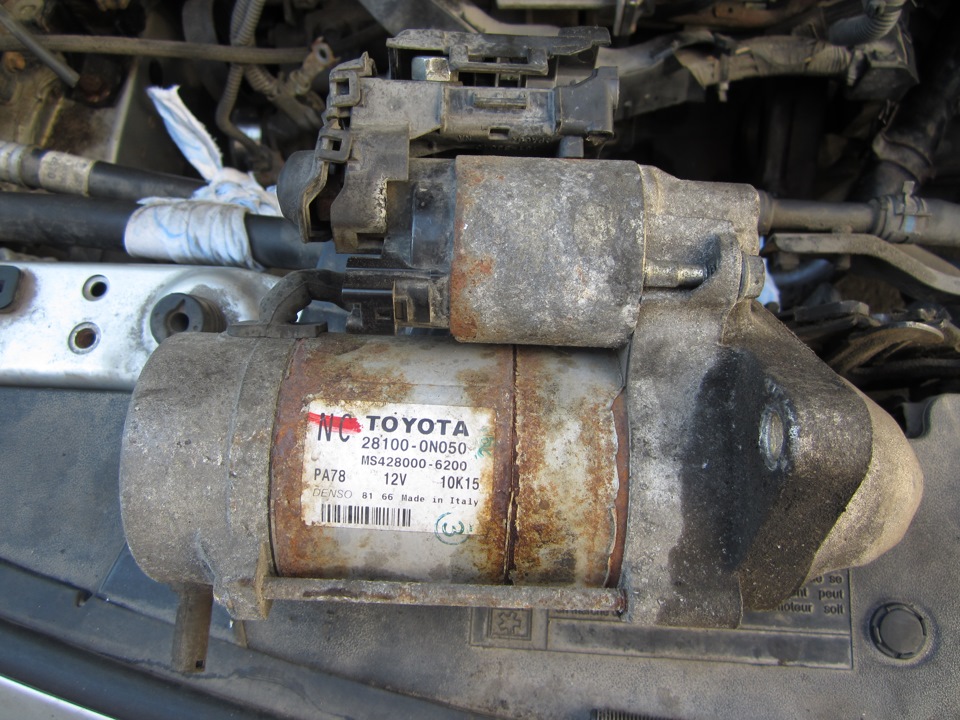
11. This photo shows the starter number as well as the connection of the traction relay, which is difficult to disconnect, because it is not immediately clear what needs to be pressed. But as I understand it, you can first unscrew the starter bolts, then you will have free access to this connection.
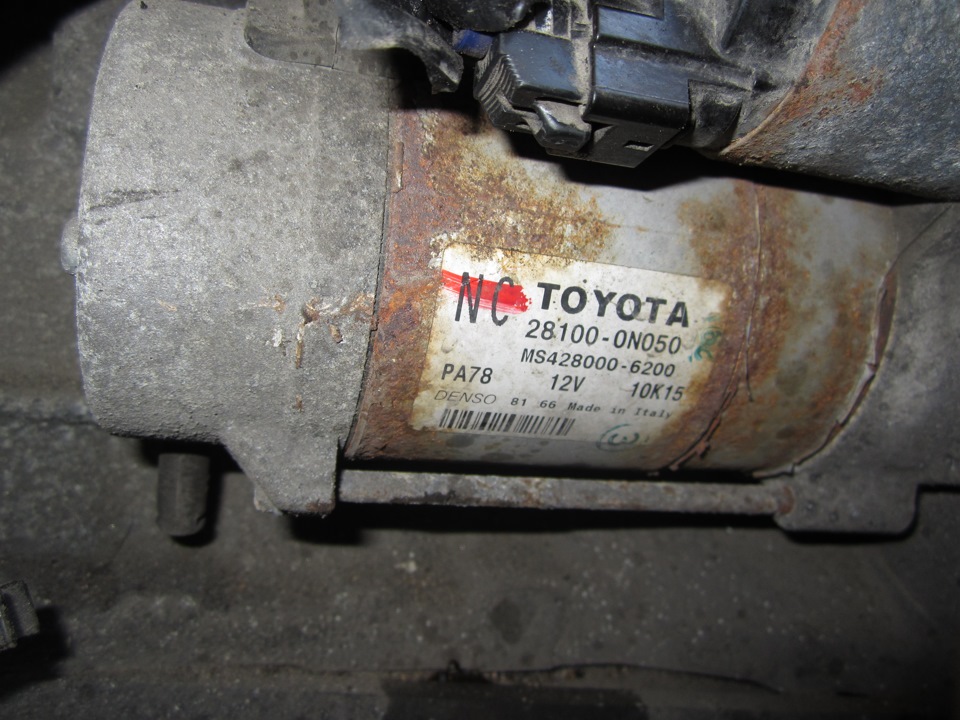
Starter number and traction relay connection.
12. Connection of the traction relay, bottom view, the button on which you need to press is located below.
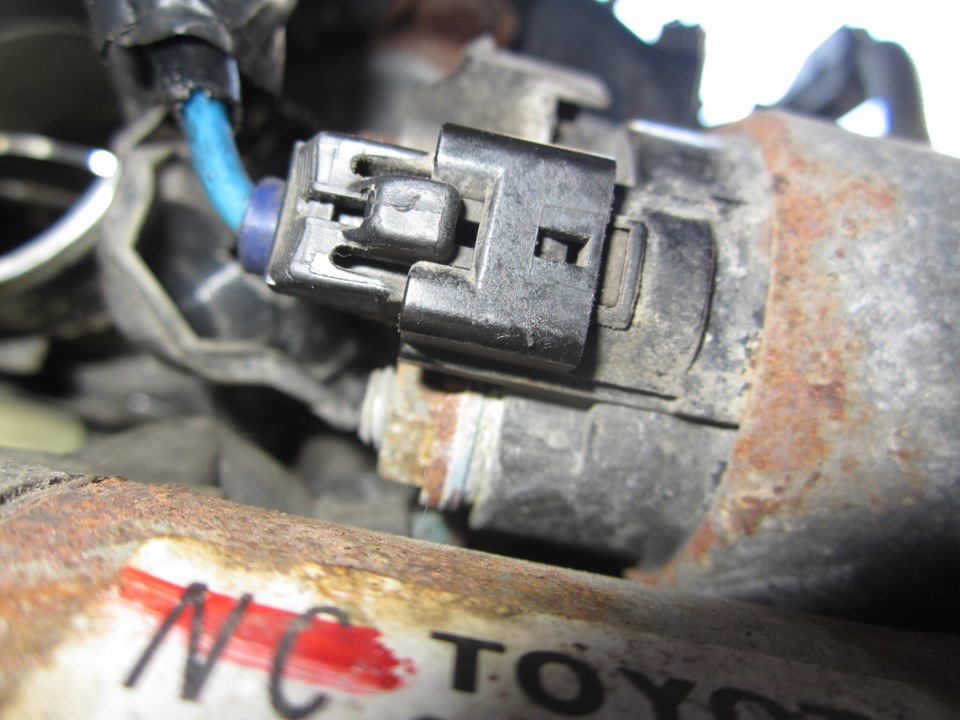
Bottom view traction relay connection.
13. Block of the traction relay, disconnected.
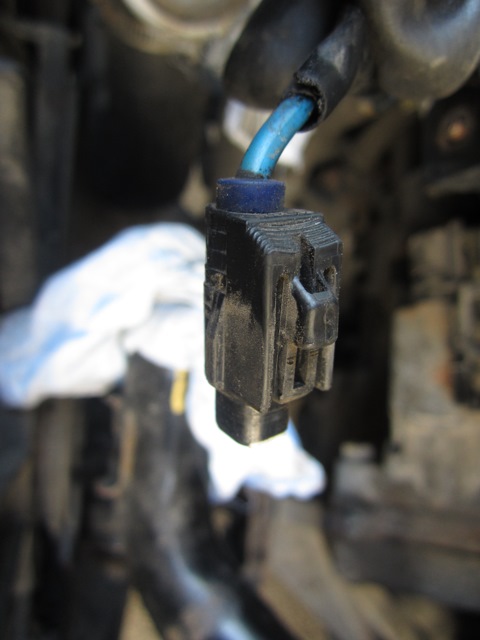
Traction relay box.
14. First starter bolt.
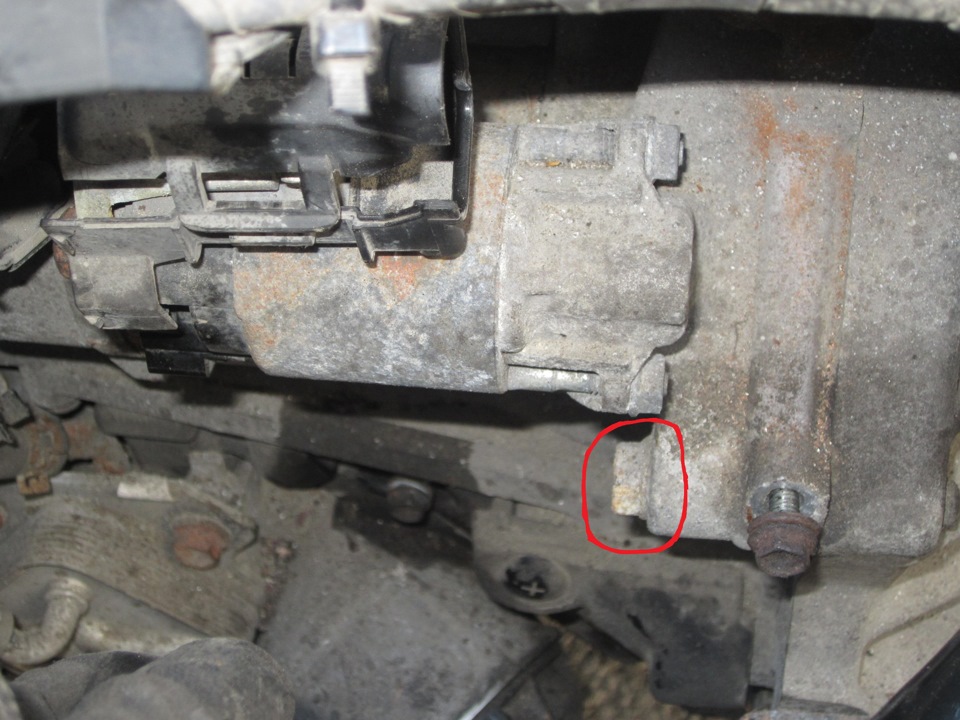
First starter bolt.
15. Second starter bolt.
Second starter bolt.
16. The second starter bolt is a different view. The one on the left.
The second starter bolt is different.
17. Starter removed!
Starter removed!
Source: https://www.drive2.ru/l/3775166/