Tools:
- Open-end wrench 17 mm
- Nozzle for crank 27 mm
- Extension
- ratchet
- Diesel injector puller
- torque wrench
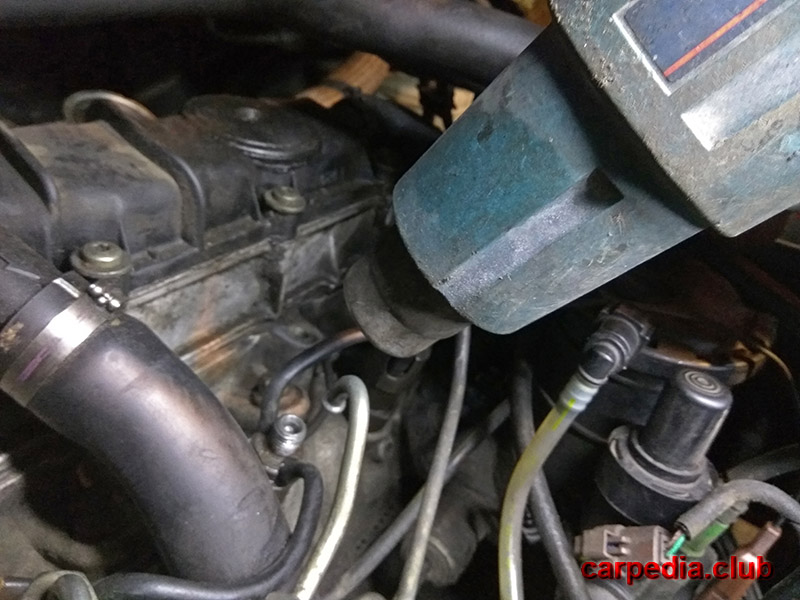
- Electric hair dryer technical
Parts and consumables:
- Cloth gloves
- rags
- Fuel injector Citroen/Peugeot — 1980.G3 (4 pcs.)
- Sealing ring (copper) Citroen/Peugeot —1981.05 (4 pcs.)
- Injector sealing ring Citroen/Peugeot — 1981.02 (4 pcs.)
Notes:
This repair description also applies to Fiat Scudo (I) 1995-2007 and Citroen Jumpy (I) 1994-2006.
The power supply system is equipped with fuel injectors of various types. Peugeot Expert injectors are color-coded for easy identification.
The body of the injectors installed on cylinders 1-3 is the same. The injector mounted on the 4th cylinder has a needle stroke sensor designed to determine the start of fuel injection. The signal from this sensor is sent to the electronic control unit for the injection system. Cylinder number 4 and the corresponding nozzle are located on the side of the toothed belt.
It is also recommended that nozzles be numbered or otherwise marked prior to removal to indicate their original positions. The need for this step is dictated by the peculiarities of setting up an electronic control unit that adapts to each nozzle. In the case of changing the installation locations of the injectors, signs of unstable engine operation may appear, and some engine models may stop starting altogether.
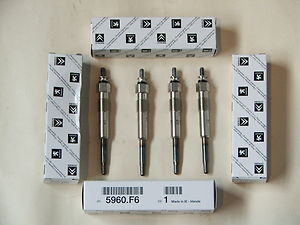
The injectors are located next to the glow plugs and protrude from the mounting on the cylinder head.
1. Disconnect the negative terminal from the battery.
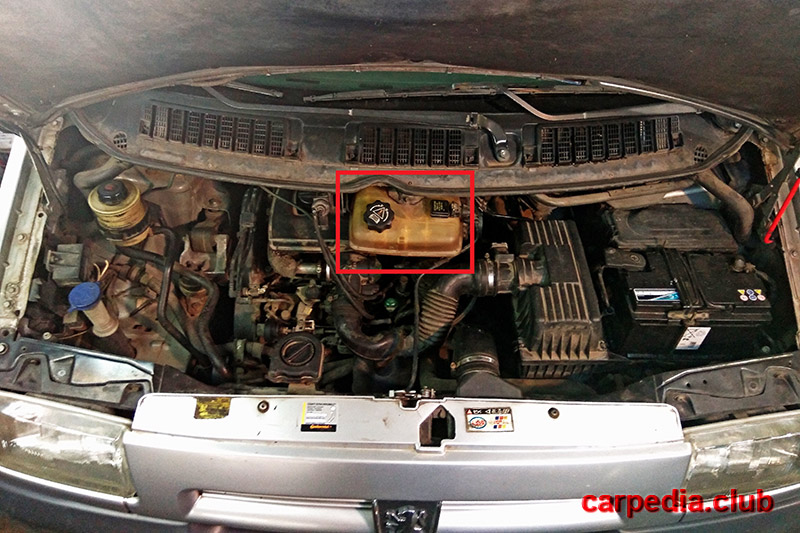
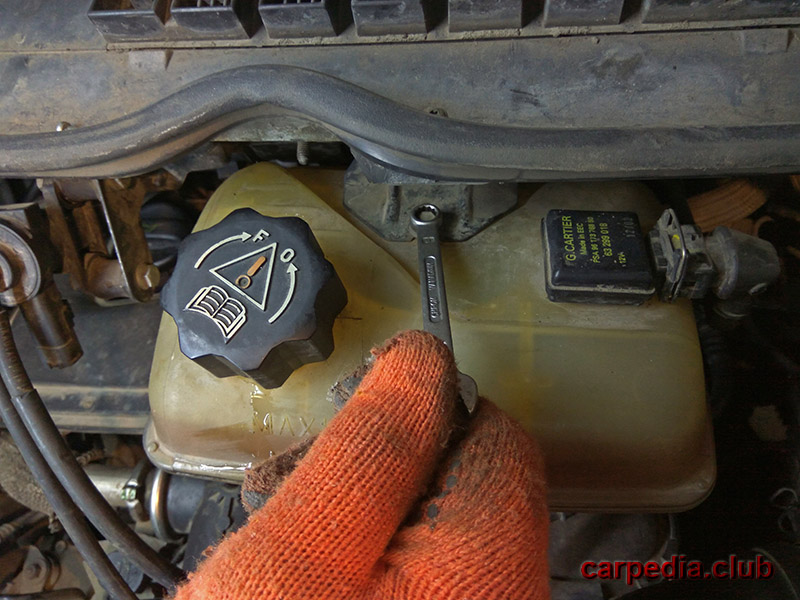
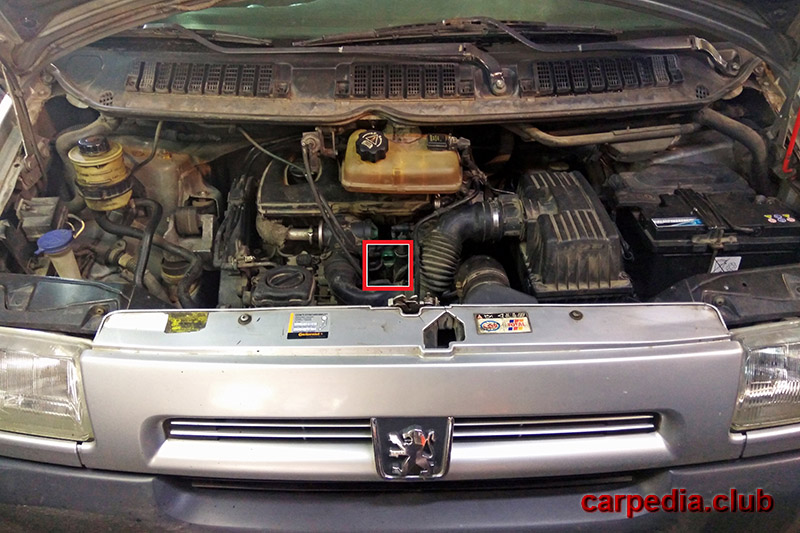
2. To gain access to the injectors, you need to disconnect and move aside the expansion tank of the cooling system and remove the intake manifold, as described in this article.
3. Thoroughly clean the nozzles and the area around them. Unscrew the union nut of the high pressure fuel line of the corresponding injector.
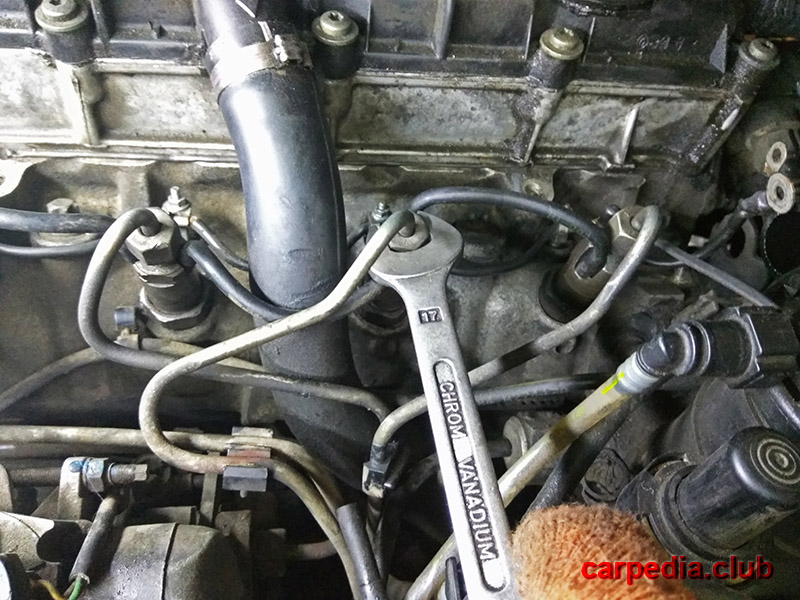
Note:
You can use a regular wrench to loosen the union nuts, but do not allow the wrench to slip on the nut.
4. Move the high pressure fuel line of the corresponding injector to the side.
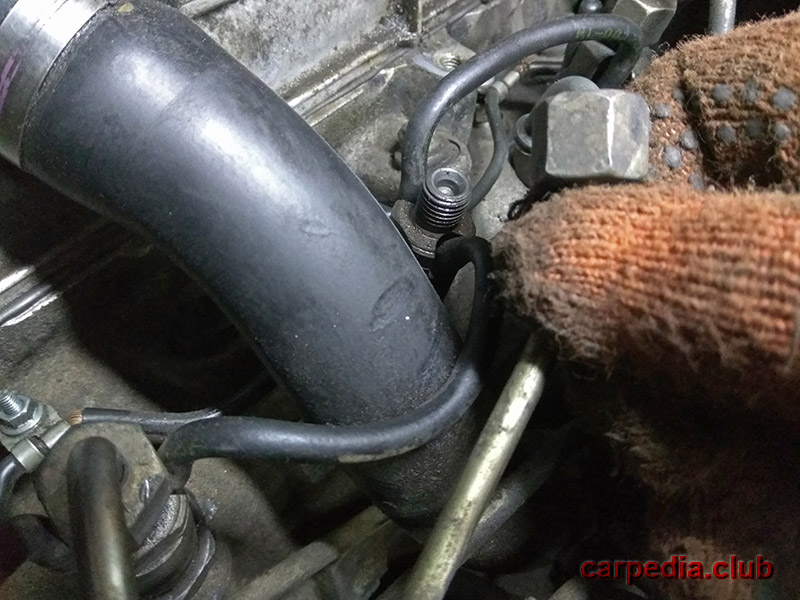
5. To disconnect the fuel return lines from the fuel injector, first heat the pipes with a hot air blower.
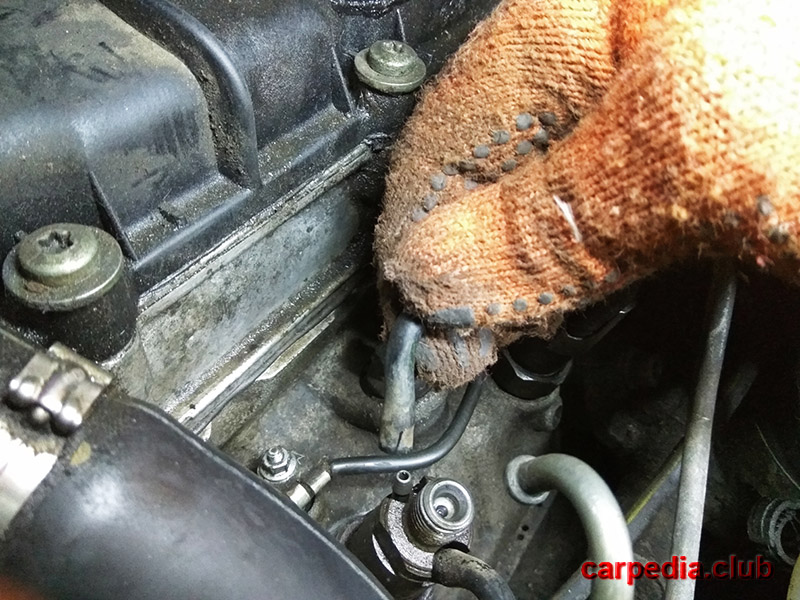
6. Disconnect the fuel return lines from the Peugeot Expert fuel injector.
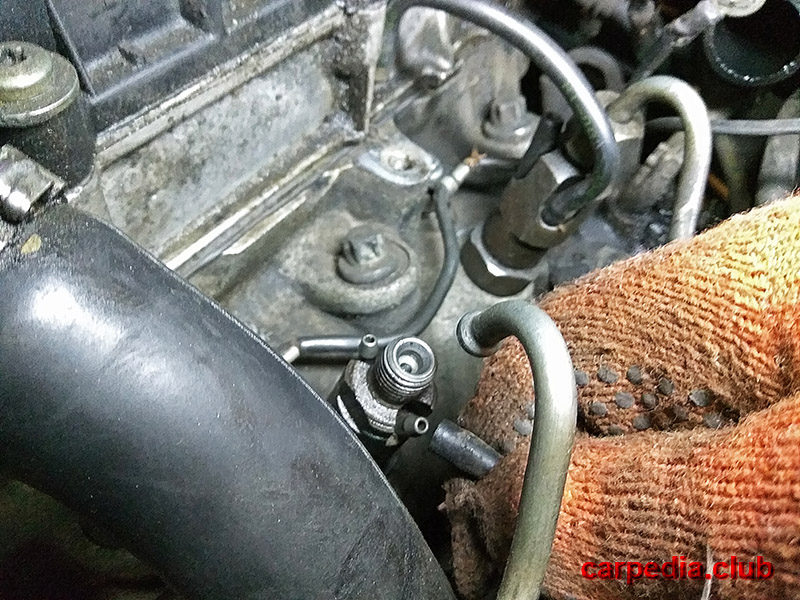
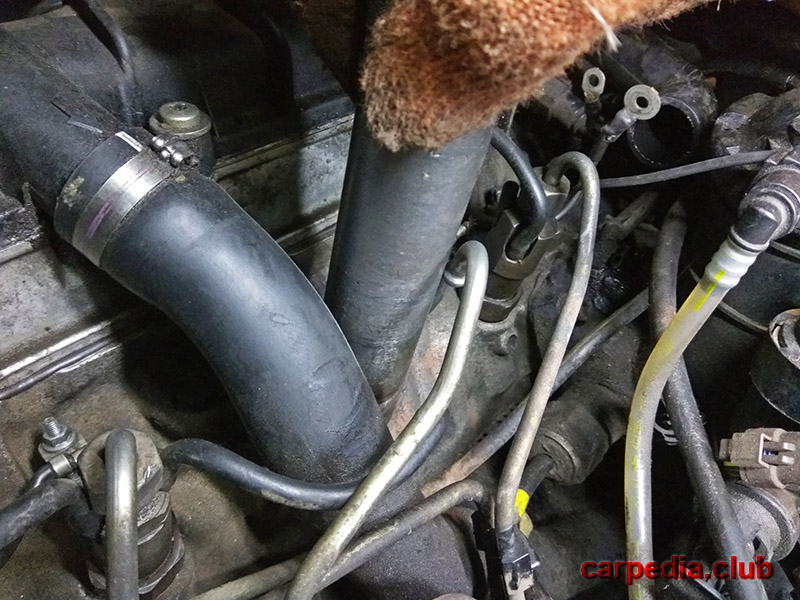
7. Unscrew the injector using a special diesel injector puller.
Note:
If you do not have a special diesel injector remover, then try to unscrew the nozzle with a 27 mm socket wrench.
8. Remove the fuel injector from its seat.

9. Remove the nozzle copper o-ring and heat shield gasket.
10. Clean the fuel injector seat from carbon deposits and traces of dirt. Pay special attention to the presence of scratches or dents, the presence of which on the surface of the seat is unacceptable.
11. Install a new copper o-ring, heat shield and screw in the nozzle.
12. Torque the nozzle to 90 N•m. The union nuts of the fuel lines are tightened with a torque of 20 N•m. When tightening the union nuts, do not damage the hexagon of the nut.
Notes:
An inoperative injector can be determined by loosening the high pressure fuel line nuts on each injector in turn. The engine must be running at idle. If, when the fuel line nut on the next injector is loosened, the engine still continues to operate with the same noise or knocks, then this particular injector is faulty.
Leak testing and repair of Peugeot Expert injectors should be entrusted to a workshop. These works cannot be done on your own, because they require special skills and equipment. In addition, there is a risk of injury due to unprofessional performance of these works.
The article is missing:
- Tool photo
- Photo of parts and consumables
Source: carpedia.club
