![1 generation [2010 - 2015]](/uploads/Renault_Duster_2010-2015_.jpg)

We replace the pads in the event of the maximum permissible wear of their pads or the rear wheel brake drum.
The pads also need to be replaced when the pads are oily, have deep grooves and chips on them, or if the pads peel off from the base of the pads.
We work on level ground.
The brake pads of the rear wheels must be replaced only as a set - all four pads.
Replacing only one brake pad can cause the vehicle to pull to the side when braking.
We show the replacement of pads on the left rear wheel.
Before removing the brake drum, lower the parking cable lever to the stop - the car must be disengaged.
We remove the rear wheel and securely fix the car on the factory-made support stand.
In order to remove the drum, the pads must be brought together.
For this.
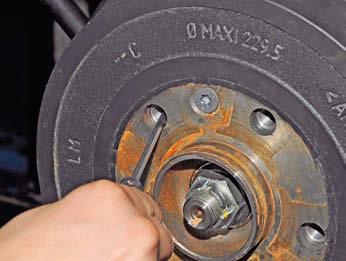
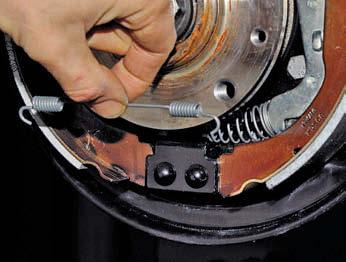
with a slotted screwdriver through the threaded hole in the hub (drum - on a 4 × 2 car), rotate the ratchet nut of the mechanism for automatically adjusting the gap between the shoes and the drum, thereby reducing the length of the spacer bar.
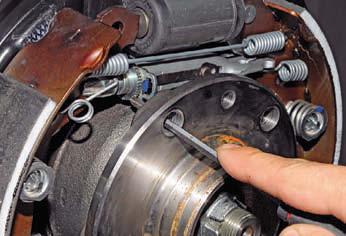
For clarity, the operation is shown with the drum removed.
We turn the ratchet nut on the left and right wheels by the teeth from the bottom up.
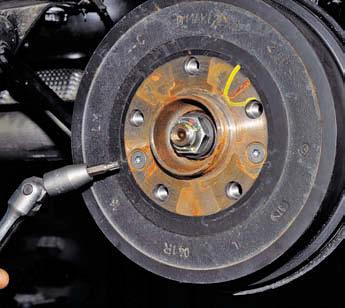
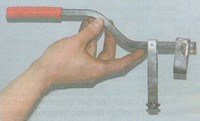
With a Torx T-40 wrench, we unscrew the two screws securing the brake drum to the hub.
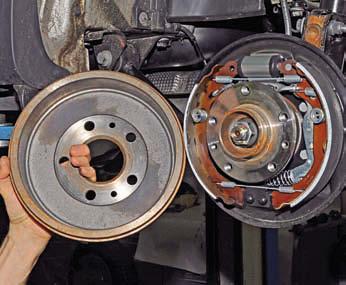
Remove the brake drum.
Do not depress the brake pedal after removing the brake drum, as the pistons may completely come out of the wheel cylinder.
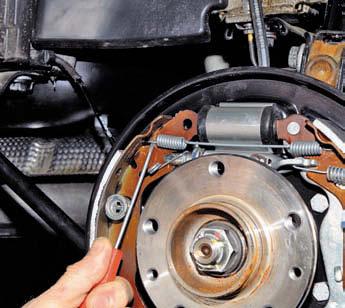
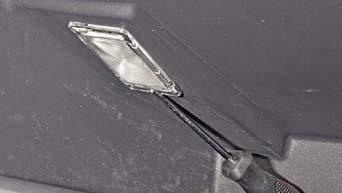
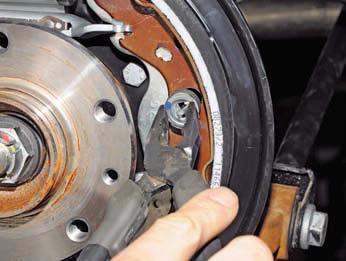
Prying with a screwdriver, we disengage the hook of the upper coupling spring from engagement with the block ...
... and remove the spring.
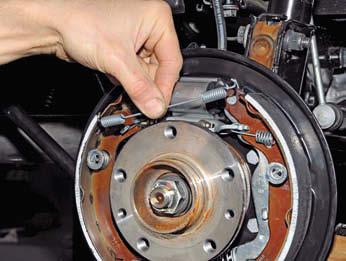
Similarly, remove the lower coupling spring ...

... and a spring adjuster gaps.
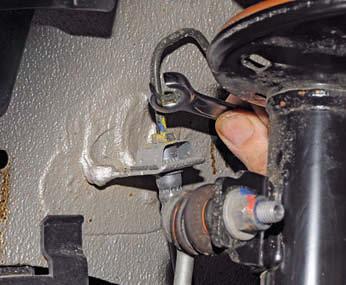
Using pliers, we turn the cup of the spring of the support strut of the rear shoe until the groove in the cup aligns with the shank of the strut.
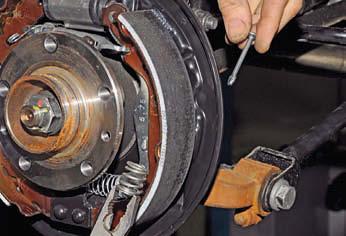
We remove the cup with the spring and take out the support column from the hole in the brake shield.
Remove the front strut in the same way.
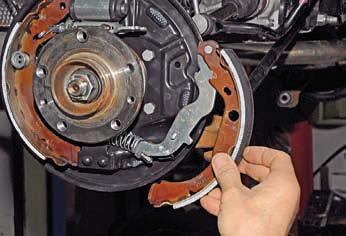
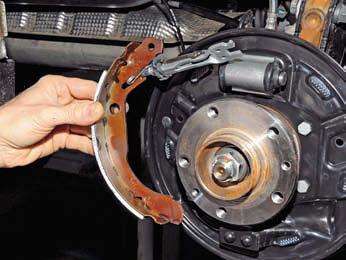
We remove the rear brake shoe from the brake shield.

Disconnect the parking brake cable from the rear shoe lever.
Remove the shoe and cable end spring.
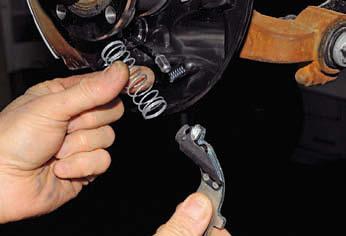
Remove the front brake pad together with the spacer bar and separate them.
We check the technical condition of the parts and clean them.
Before installing new pads, clean the threads of the spacer tip and ratchet nut and apply a thin layer of grease to the threads.
We set the automatic gap adjustment mechanism to its original state by screwing the tip of the spacer bar into the hole of the bar with our hands (the thread on the tip of the spacer bar and the ratchet nut is right-handed).
Install new rear brake pads in reverse order.
Before installing the brake drum, we clean its working surface with a metal brush from dirt and wear products of the pads.
Similarly, we replace the brake pads of the right wheel (the thread on the tip of the spacer bar and the ratchet nut is left).
To adjust the position of the brake pads, press the brake pedal several times.
We hold it in the pressed position and then repeatedly raise and lower the parking brake lever (when moving the lever, keep the parking brake off button on the lever pressed all the time so that the ratchet mechanism does not work).
At the same time, clicks will be heard in the brake mechanisms of the rear wheels from the operation of the mechanism for automatically adjusting the gaps between the pads and the brake drums.
Raise and lower the parking brake lever until the clicks in the brake mechanisms stop.
We check the level of brake fluid in the reservoir of the hydraulic drive of the system and, if necessary, bring it to normal.
Source: http://www.renault-duster.dv13.ru/tormoznaya-sistema/zamena-kolodok-tormoznyx-mexanizmov-zadnix-koles/