![1 generation [restyling] [2000 - 2010]](/uploads/Skoda_Octavia_2000_-_2010_.jpg)
![2 generation [2004 - 2008]](/uploads/Skoda_Octavia_2004_-_2012_.jpg)
![3 generation [2013 - 2017]](/uploads/Skoda_Octavia_2013_-_2015_.jpg)

Earlier, I already wrote in the driver's door lock the micro switch button was worn out. This problem occurs not only among Octavia owners, but also among other members of the VAG family. The main symptoms are such that when the door is opened, no indication is displayed on Maxidot, the backlight located in the card of the door itself does not light up. For replacement, it is necessary to disassemble the door, with the removal of the cassette. So, to begin with, we disassemble the trim of the driver's door. We remove the handle with the power window control buttons, pull out the tweeter speaker panel along with the mirror control knob, gently prying it, for example, with a plastic card. Then we unscrew 3 large torxes on the door handle, 2 small torxes at the bottom of the door card, and one torx near the door opening handle. Then carefully remove the door card, without damaging the caps, unfasten the chips.
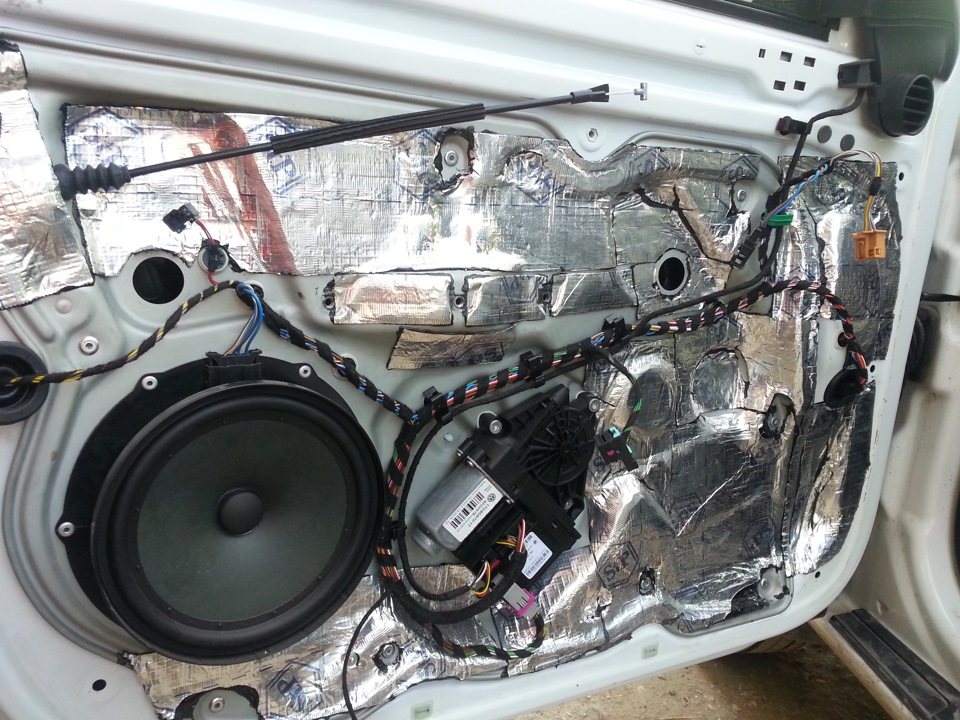
We release all the harnesses from the connectors so that they do not interfere. Next, drill 8 rivets in a circle to remove the cassette. After we take out the two black plugs and see the mechanism for attaching the glass to the power window.
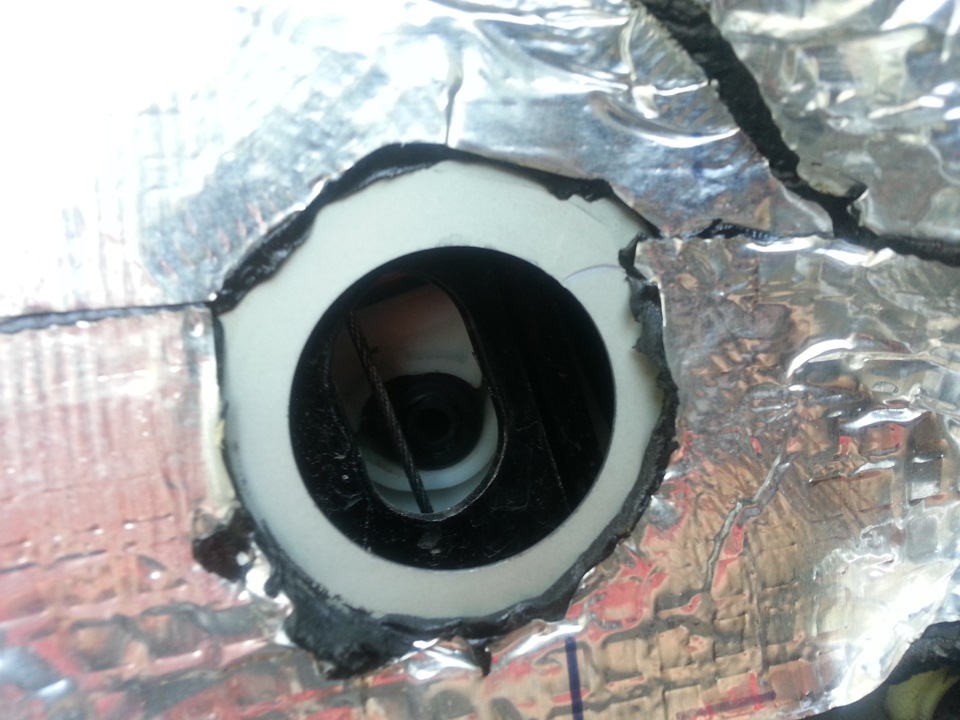
To pull out, you need two long bolts M5 and M8.
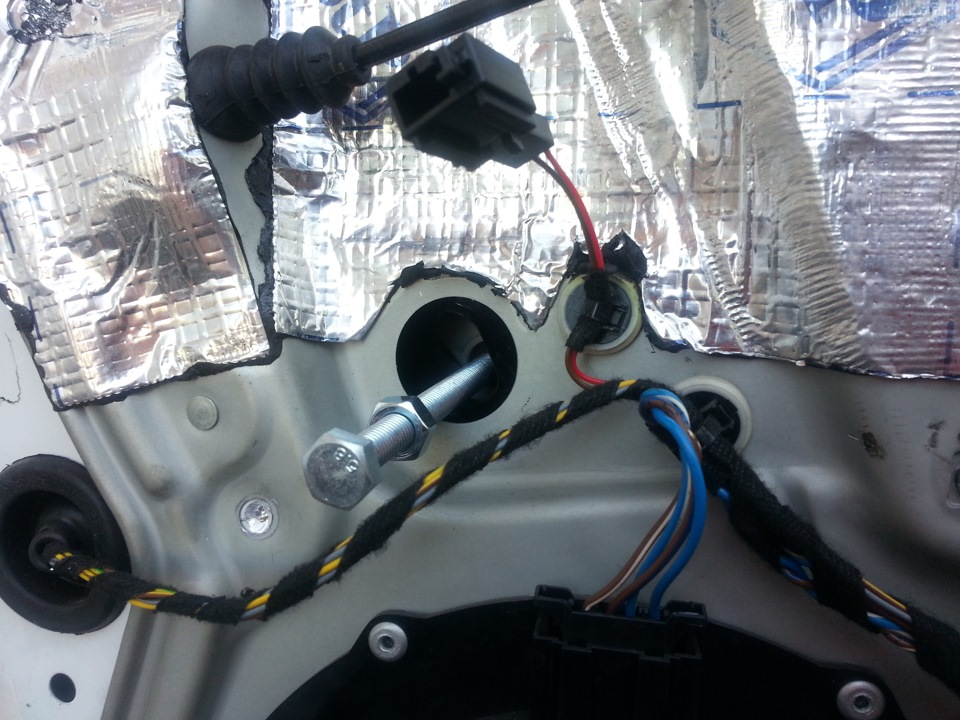
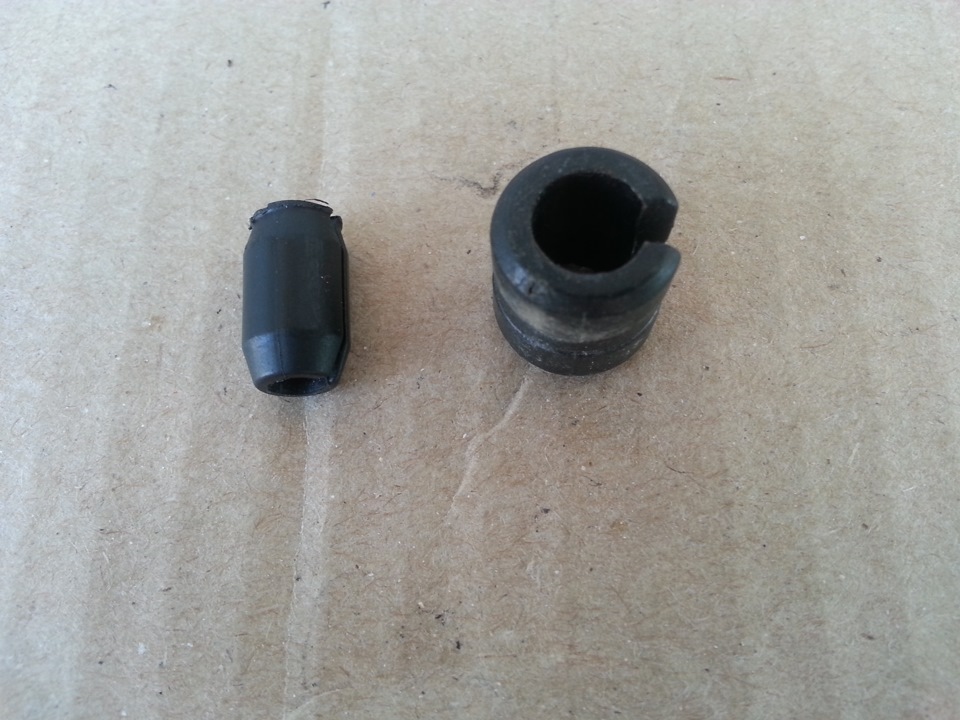
Carefully screw in the bolts to extract the bushings M5 for small, M8 for large.
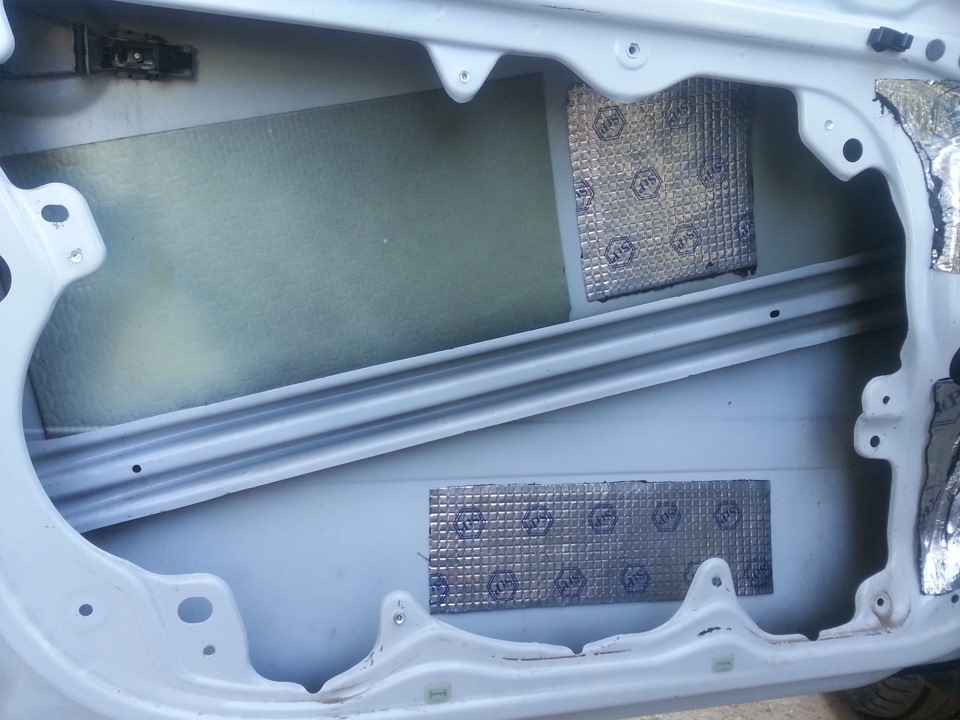
We fix the glass with masking tape and carefully remove the cassette, releasing the door opening cable. As a result, we get this:
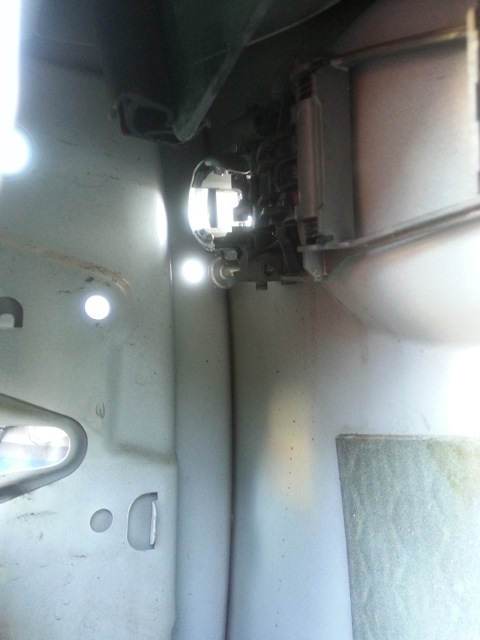
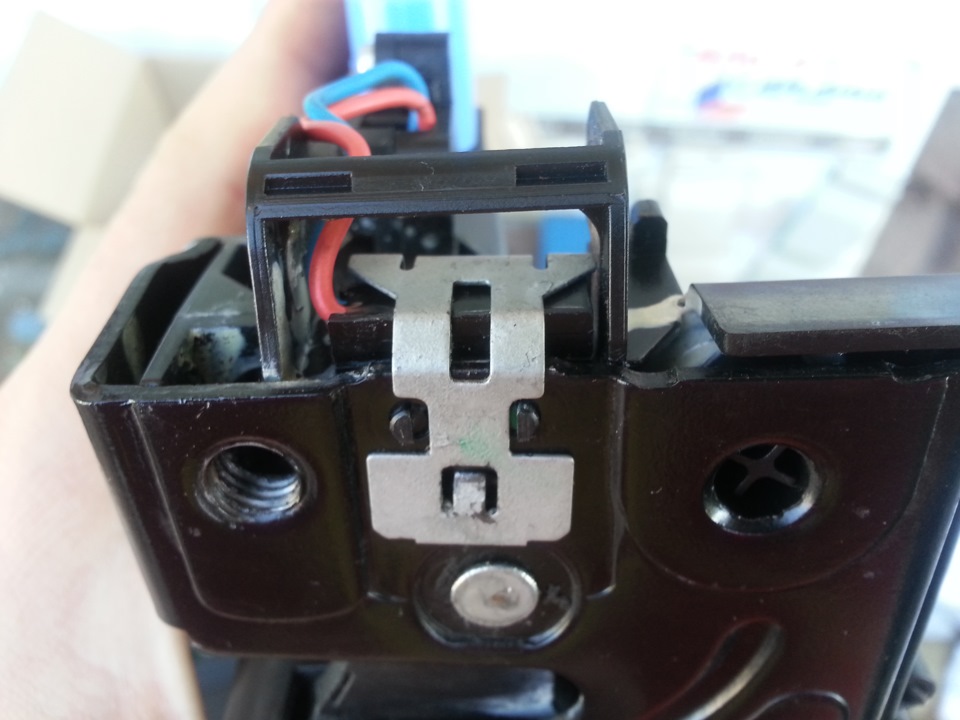
Next, unscrew the two bolts from the end that fix the larva. We unscrew the upper one completely, weaken the lower one until we pull out the door larva, it is not necessary to unscrew it to the end, we release the cable for opening the door. After we unscrew the two bolts holding the door lock and pull out the lock.
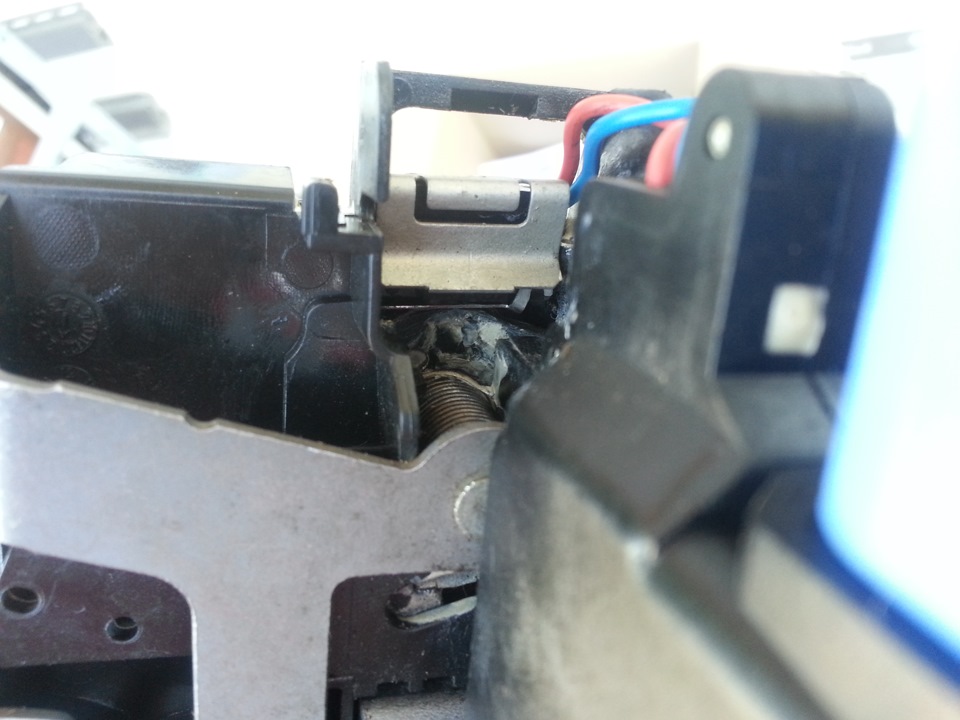
Next, we proceed to remove the micro lock. It is held by a metal plate and two pins.

Remove the steel plate and release the micro switch.
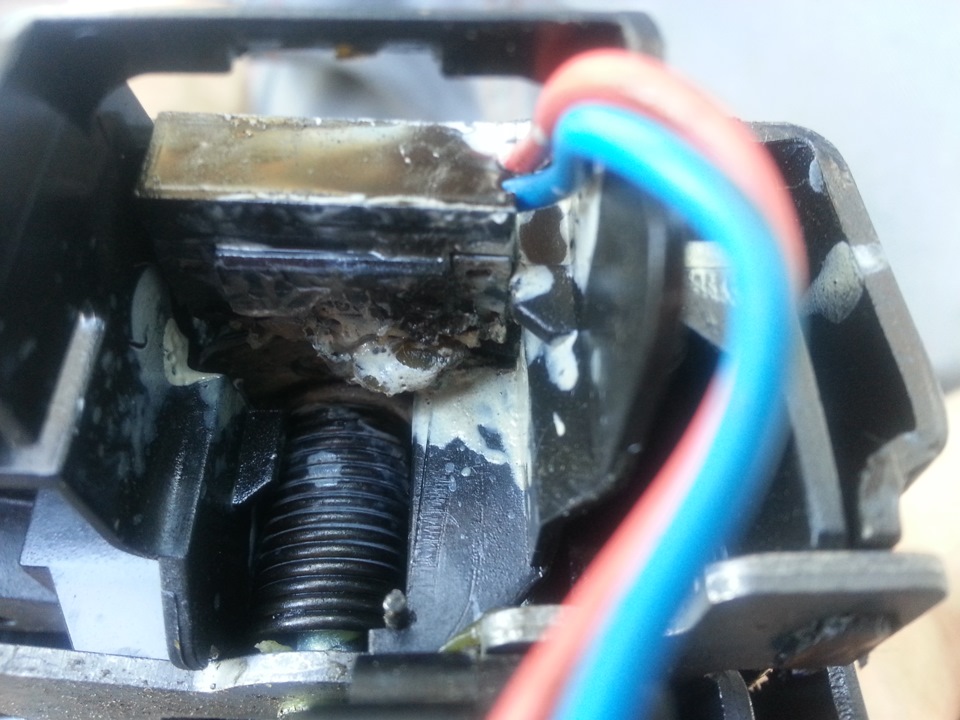
Bad micro switch, it simply wore out the pip.
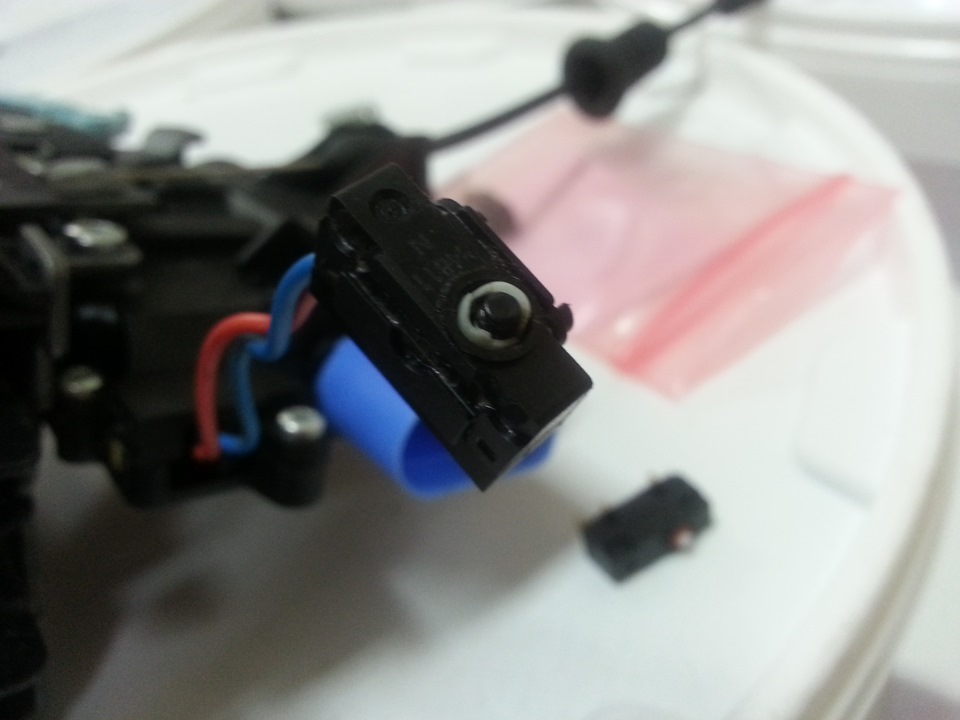

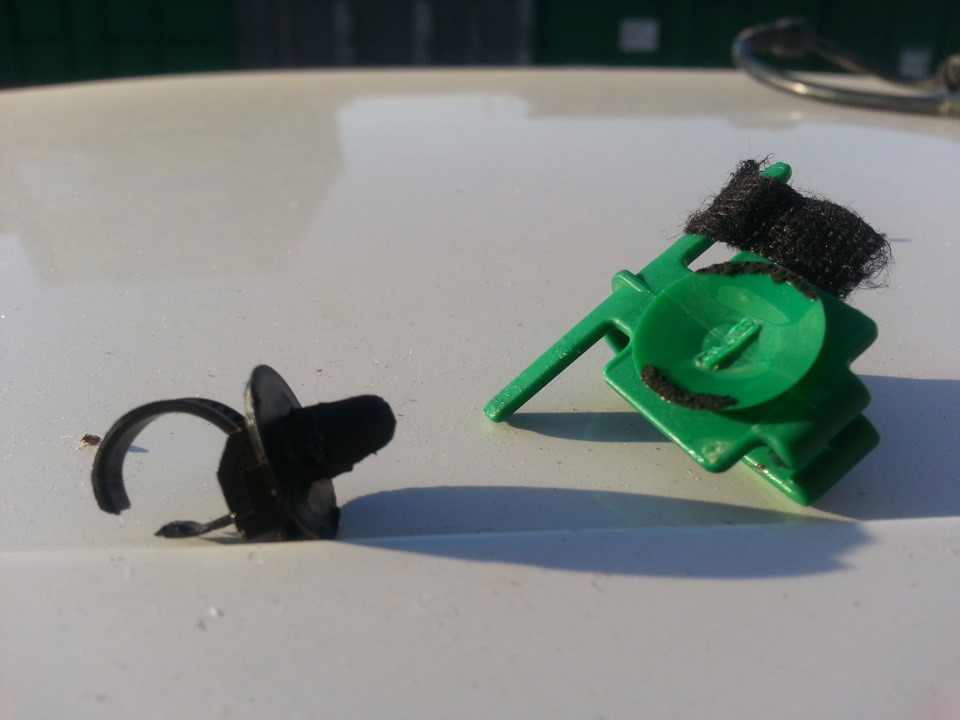
We replace the upper part without forgetting to upgrade the micro switch.

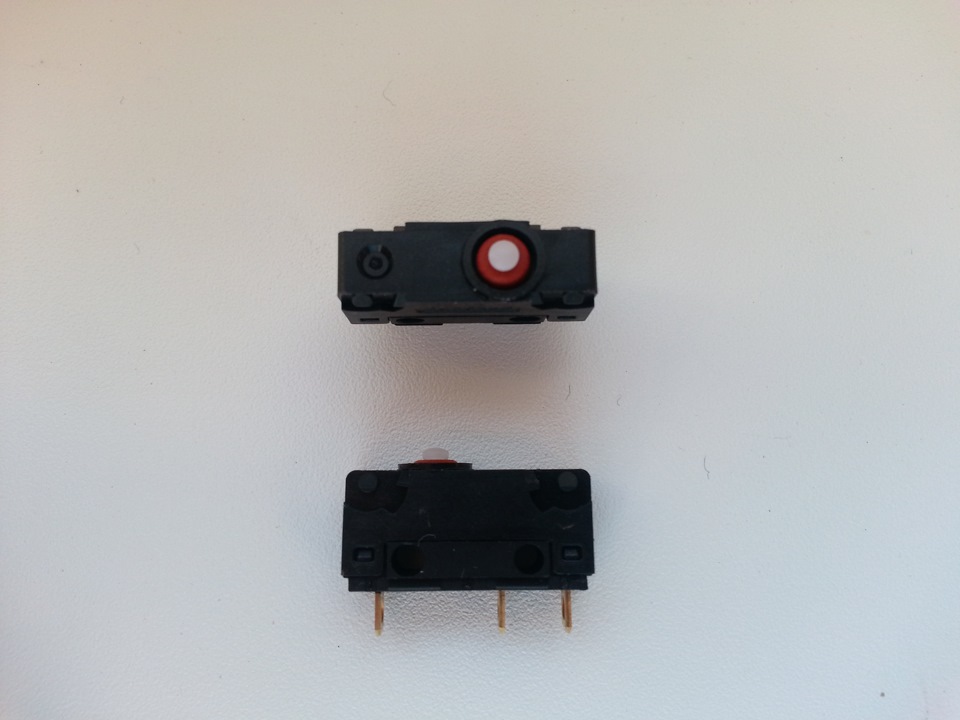
Modernization.
Here's what happened:
After that, we assemble the door in the reverse order. Rivets 6.4x10 were used to fix the cassette, micro switch number SAIA-BURGESS V4NCST7. Now everything is working properly.
Source: https://www.drive2.ru/l/6706274/