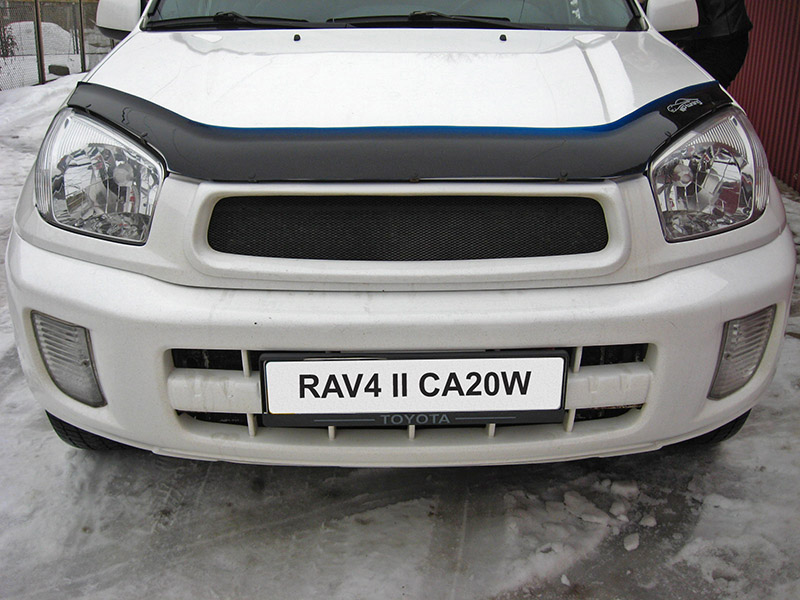
![2 generation [2000 - 2003]](/uploads/toyota-rav-4-ii-11109.jpg)
![3 generation [2005 - 2009]](/uploads/Toyota_RAV_4_-_2006_-_2009_.jpg)
![4 generation [2012 - 2015]](/uploads/Toyota_RAV_4_-_2012-2015_.jpg)

Tool:
- Spanner wrench curved
- Phillips screwdriver small
Parts and consumables:
- Hose
- Liquid collection container
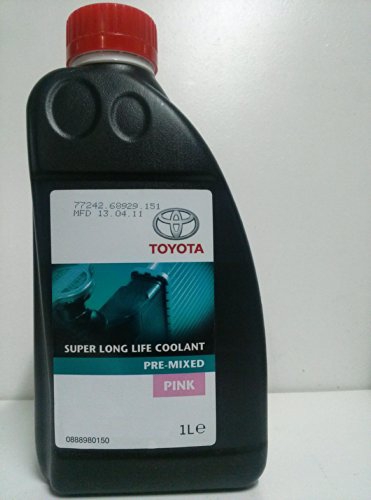
- Coolant
- Watering can
Notes:
Do not allow coolant to come into contact with clothing or body paintwork. Otherwise, rinse the surface with plenty of water. Collect and dispose of the drained coolant.
Change the coolant at the recommended intervals (every 50,000 km or 24 months), and after any work on the elements of the cooling system, draining the coolant. If the cylinder head, head gasket, radiator or oil heat exchanger was replaced during the repair, fill the cooling system with fresh coolant. This is due to the fact that the anti-corrosion additive in the coolant is deposited during engine operation and creates anti-corrosion protection. In used coolant, anti-corrosion additives are not active enough to form a protective layer on newly installed parts.
Drain the coolant on a cold engine.
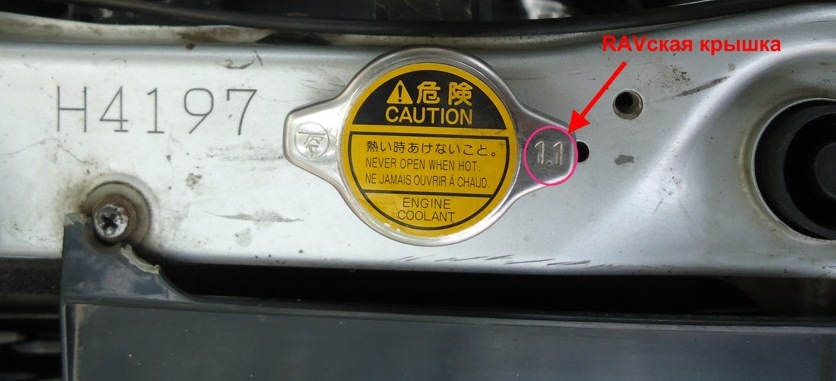
1. Remove the cap from the radiator.
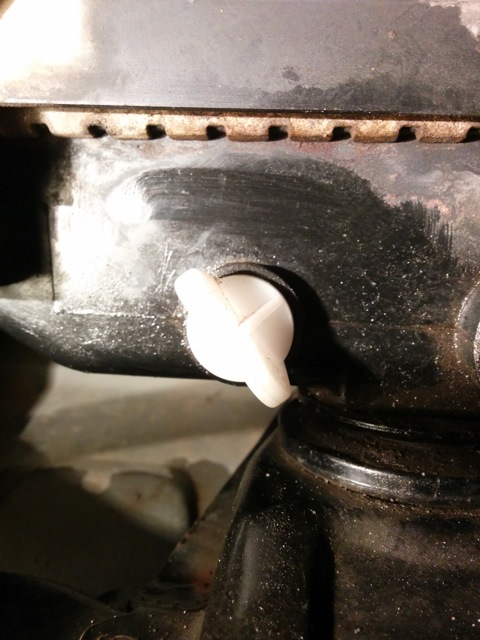
2. Install a container to collect the coolant under the radiator drain pipe. Attach a 9.5 mm ID hose to the drain port to direct the coolant into a container.
Note:
On some models, the hose is installed at the time of manufacture of the vehicle.
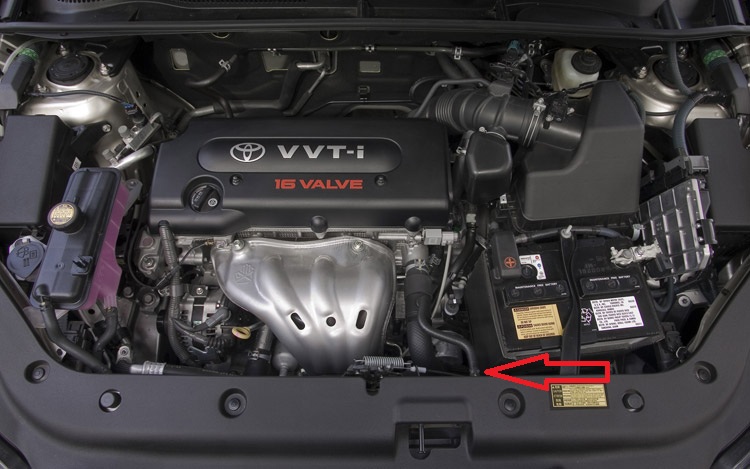
3. Open the drain plug and drain the coolant from the radiator.
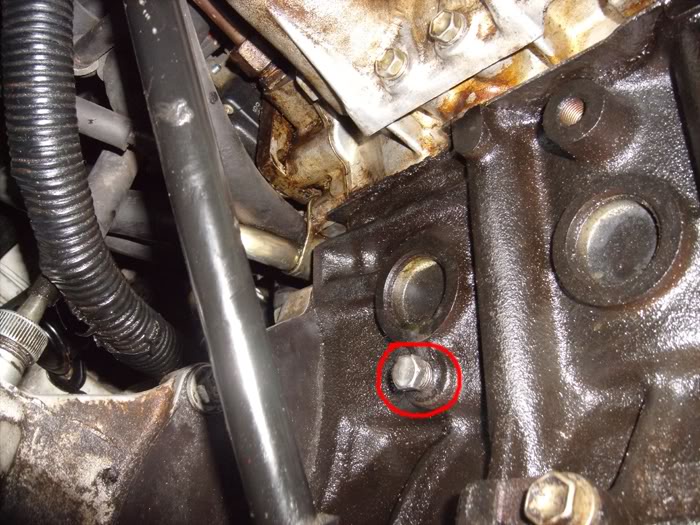
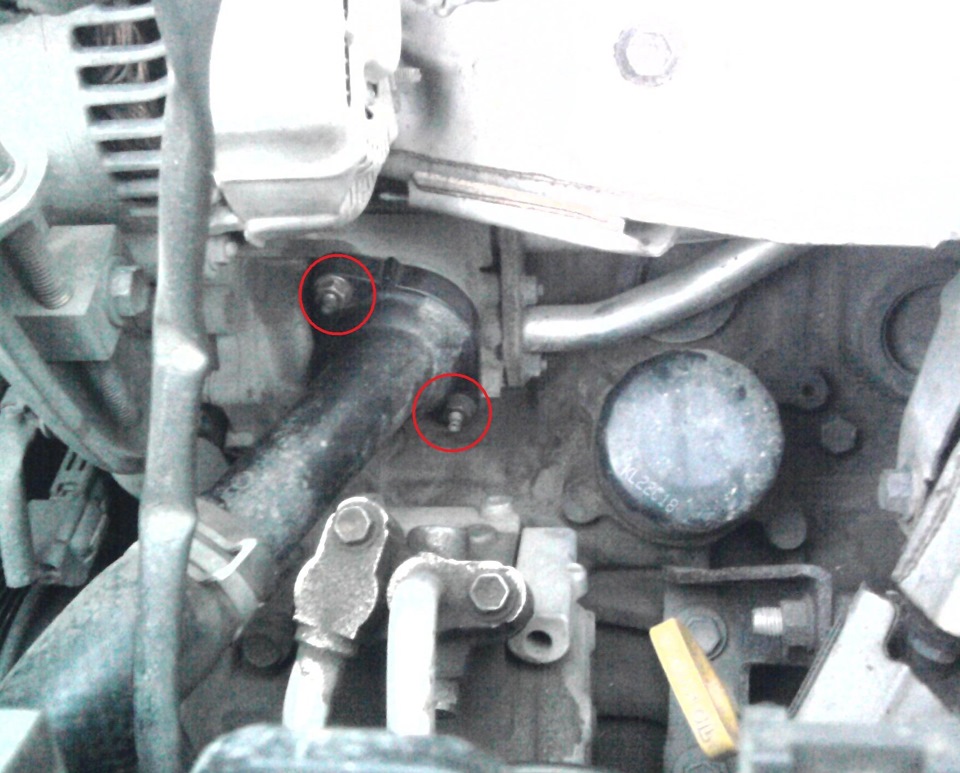
4. Move the container under the coolant drain pipe from the cylinder block. Attach a 9.5 mm ID hose to the drain port to direct the coolant into a container. Use a wrench to open the tap and drain the coolant from the cylinder block.
5. Check up a condition of hoses of a radiator and a heater, and also reliability of their fastening by collars. Replace damaged hoses and clamps.

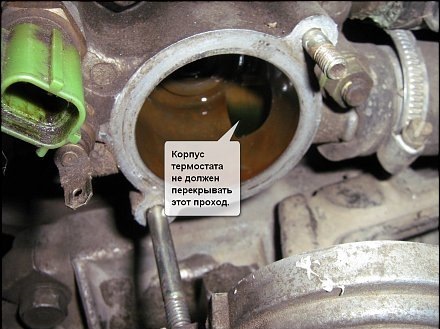
6. After draining the coolant, remove the thermostat and reinstall the thermostat housing.
Note:
Such actions will allow you to quickly flush the cooling system.
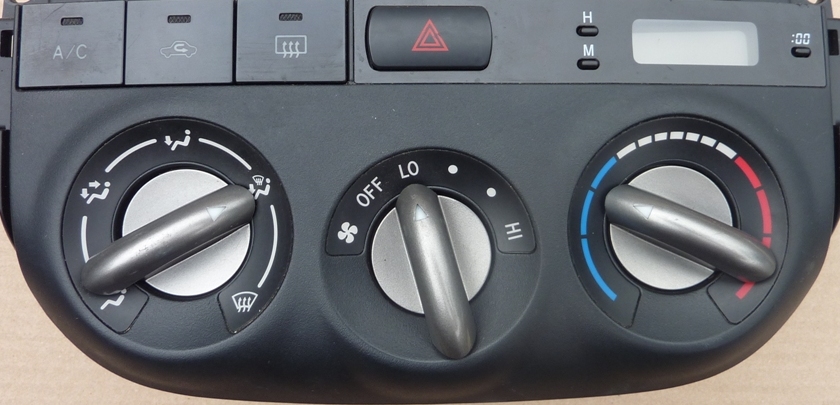
7. Close the radiator drain plug. Set the heater control knob to the maximum heat position so that the radiator and heater hoses are also flushed.
8. Disconnect the upper radiator hose from it using a Phillips screwdriver, then insert a garden hose into the radiator inlet and flush the system with clean water until clean water comes out of the upper radiator hose.
Note:
In case of serious contamination of the radiator, remove the radiator and wash it with a special agent, following the instructions for use.
9. Move the garden hose to the expansion tank and flush the system with clean water until clean water comes out of the upper radiator hose.
10. Connect the upper radiator hose to the radiator.
11. Close the coolant drain plug from the radiator and the drain cock from the cylinder block. Reinstall the thermostat.
12. Set the heater control knob to the maximum heating position.
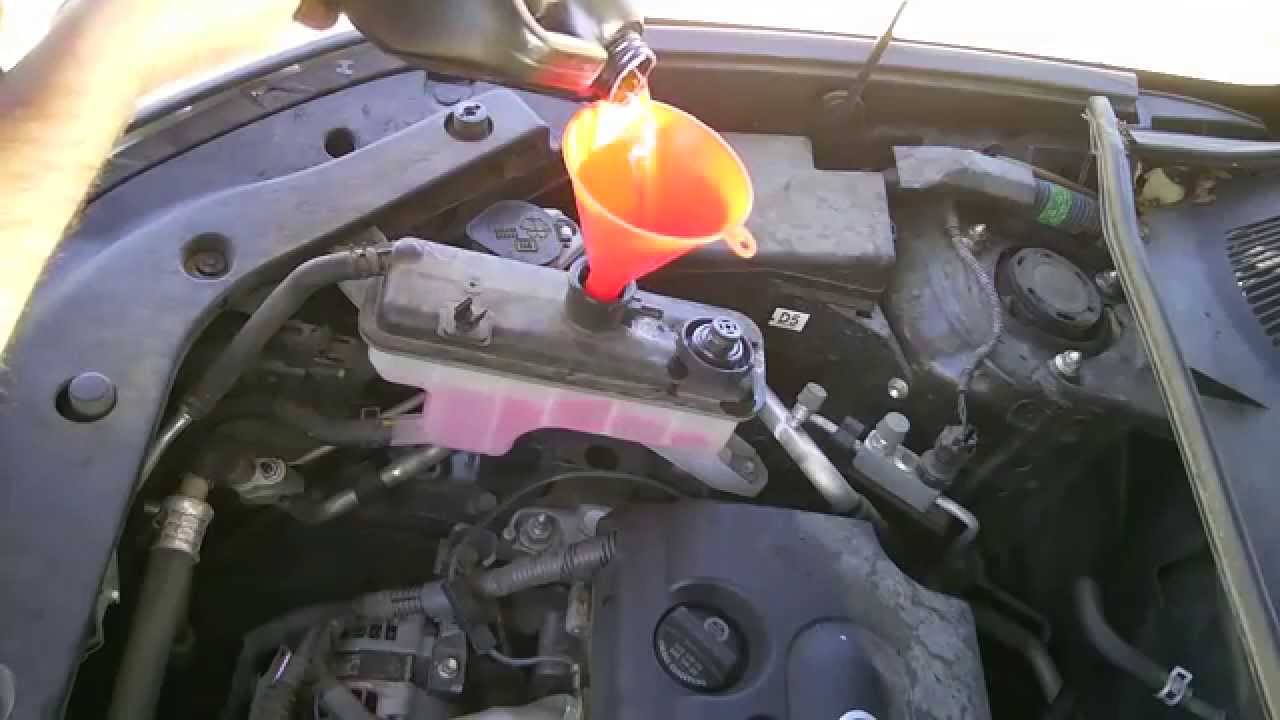
13. Slowly pour fresh coolant into the radiator with a funnel until it emerges from the radiator filler neck.
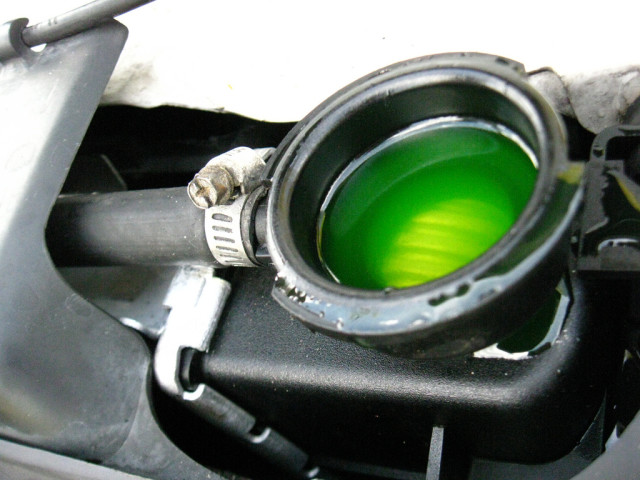
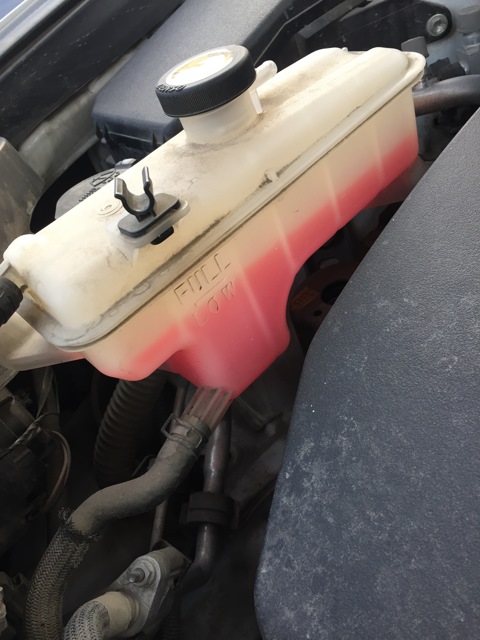
14. Add coolant to the expansion tank to the minimum mark.
15. Close the radiator cap. Start the engine and warm it up to the thermostat opening temperature, while the coolant will begin to flow through the radiator. The radiator and upper radiator hose will start to heat up.
16. Turn off the engine and wait until it cools down. Add coolant until it comes out of the radiator filler neck.
17. Squeeze the upper radiator hose several times to remove air from the cooling system and add coolant if necessary. Install the radiator cap.
18. Start the engine, warm it up to operating temperature and check the cooling system for leaks.
The article is missing:
- Tool photo
- Photo of parts and consumables
Source: http://www.navigator.mn/toyota-rav4/tehnicheskoe-obsluzhivanie/amena-ohlazhdayushchey-zhidkosti-i-promivka-sistemi-ohlazhdeniya.html