![P12 [2001 - 2008]](/uploads/Nissan_Primera_Primera_1.9_DCi_Sedan.jpg)

Tools:
- Open-end wrench 10 mm
- Straight box wrench 10 mm
- Nozzle on the crank 13 mm
- Nozzle on the crank 10 mm
- Long collar
- ratchet
- Large flat screwdriver
Parts and consumables:
- Fuse
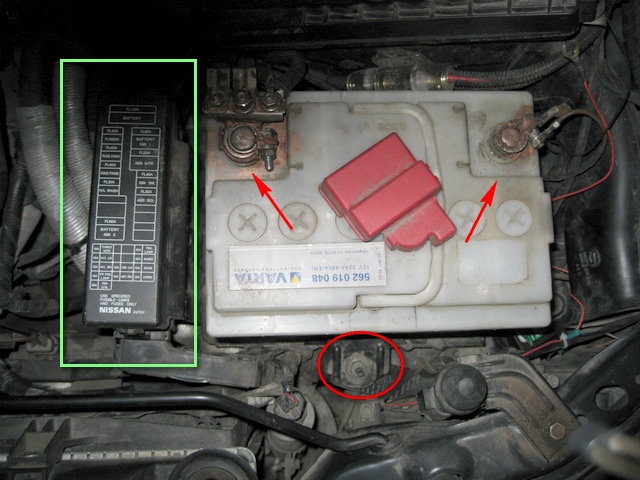
1. Remove the battery. To do this, with a key of 10, first unscrew the "negative" terminal, then the "plus". More details here .
Notes:
It is important to follow this sequence for safety reasons when the mass is disconnected. By unscrewing the "positive" terminal, if you accidentally touch the body key, there will be no short circuit. Accordingly, it is necessary to put in the reverse order, i.e. first we fasten the "plus".
2. Remove the cover of the fuse box by pressing the latch marked with an arrow and pulling the cover up.
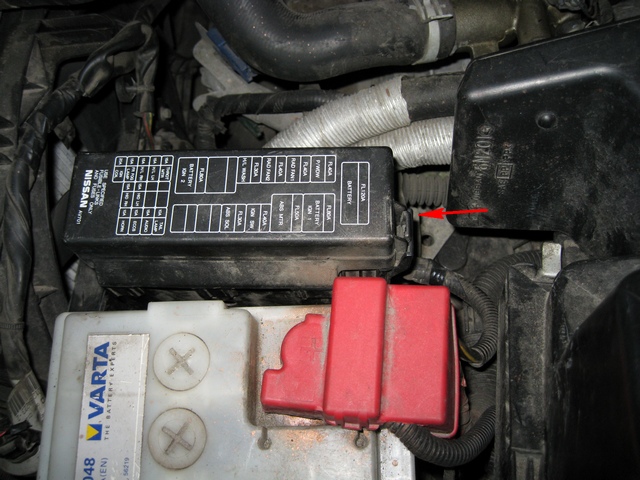
3. Using a screwdriver, press the plastic latches of the block and remove it from the bracket by pulling it up.
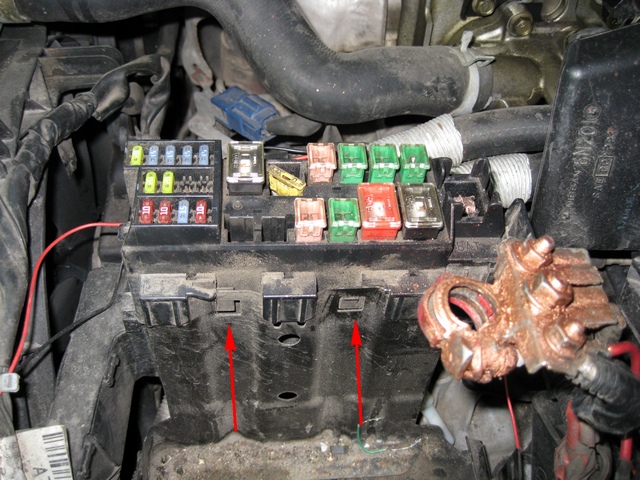
4. We squeeze out the latches with a screwdriver, indicated by arrows (I didn’t take pictures from all sides, I think it’s clear), and
split it in half by pulling the top.

5. We see that the fuse is held by two 10-key screws, one on each side. We weaken them.
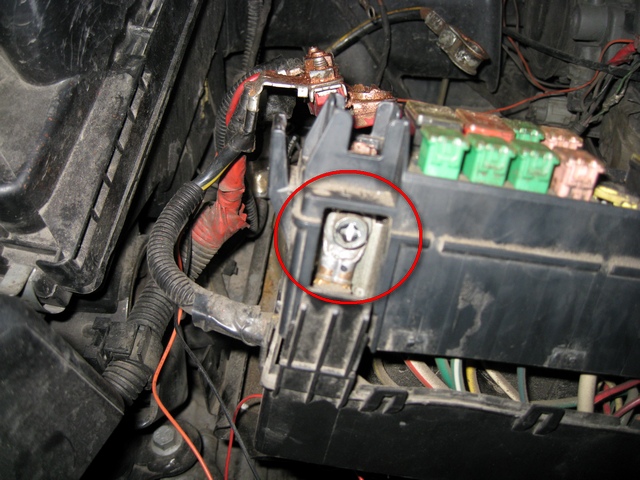
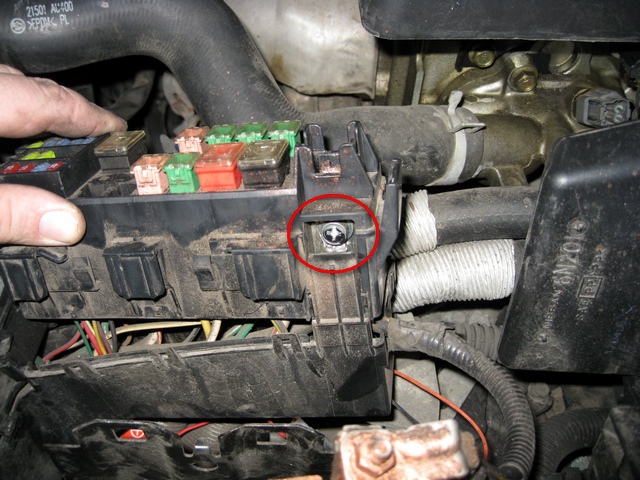
Notes:
It is advisable to avoid complete unscrewing, because. it will take some time to put them back in. The length of the threaded part is about 1 cm.
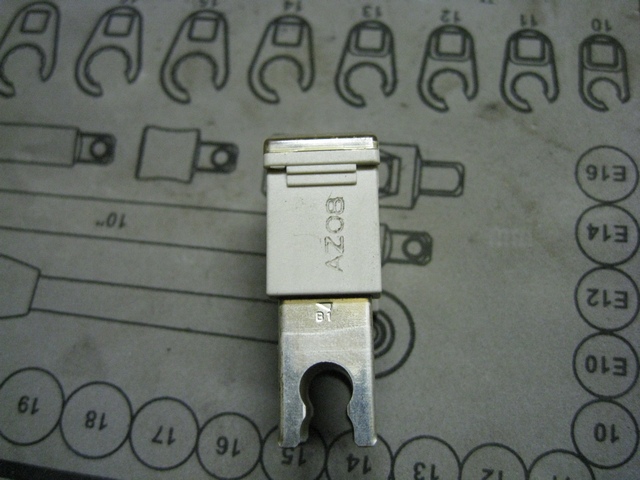
6. We change it (we make sure that the legs of the fuse get where necessary), and assemble everything in the reverse order. If you hit all the grooves in the halves of the block, then it should easily snap into place.
The article is missing:
- Tool photo
Source: http://www.primera-club.ru/f/baza-znaniy-elektrika-p12/38476-zamena-predohranitelya-na-120a-100a/