![T31 [2007 - 2011]](/uploads/-_2009.jpg)


Note:
The need to replace the Nissan X-Trail exhaust pipe should be determined during an inspection of the technical condition of the exhaust system.
To avoid burns, work must be carried out after the parts of the exhaust system have cooled down.
Downpipe ReplacementNissan X-Trail
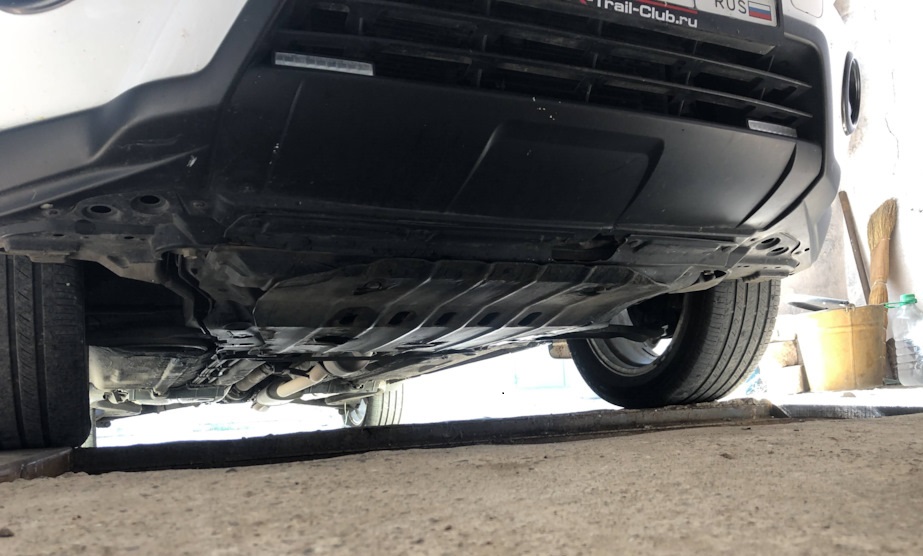
1. Install the car on a lift, inspection hole or overpass.

2. Using a 13 mm socket , unscrew the bolts and remove the engine crankcase protection.
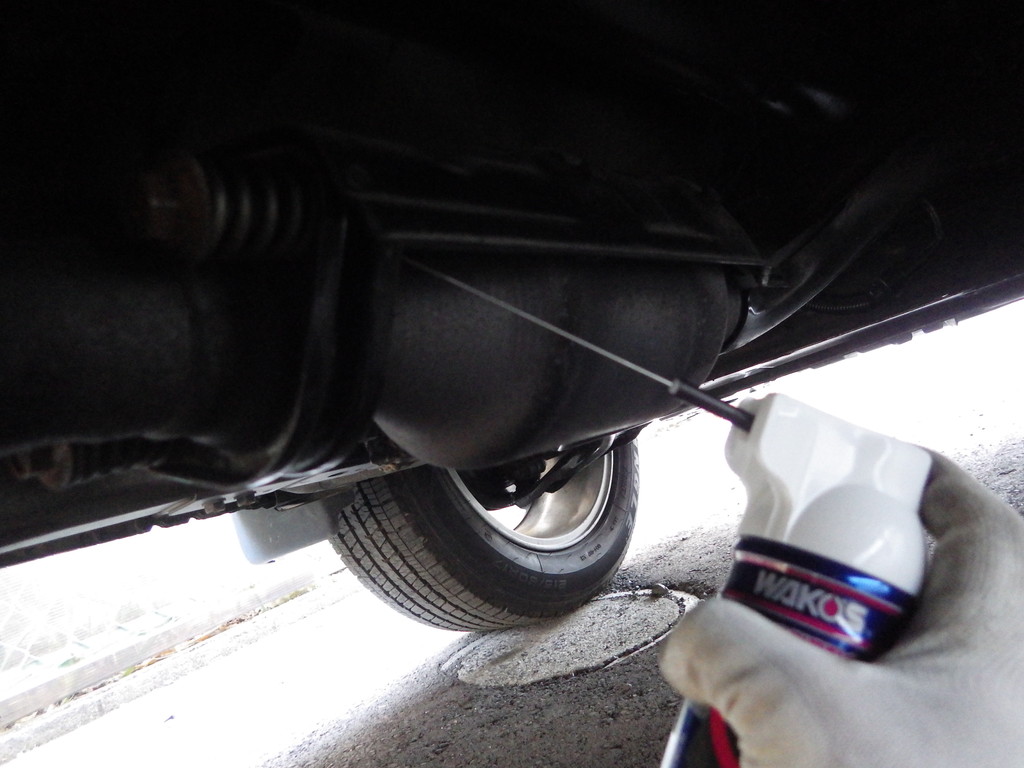
3. Clean the threads of the tie bolts with a wire brush.
4. Treat it with a penetrating lubricant like WD-40.
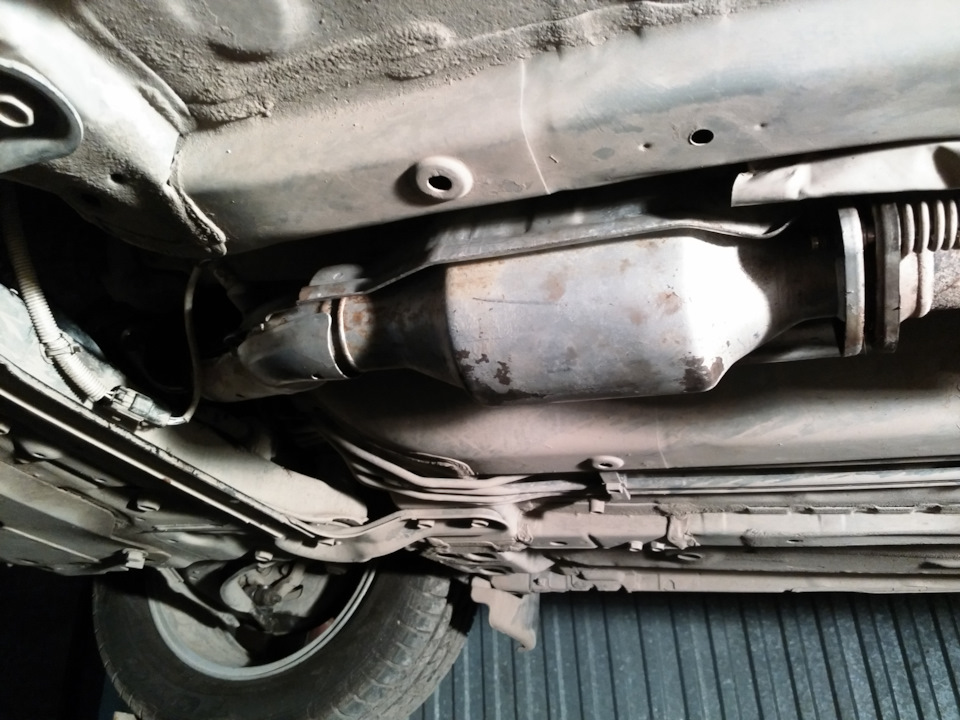
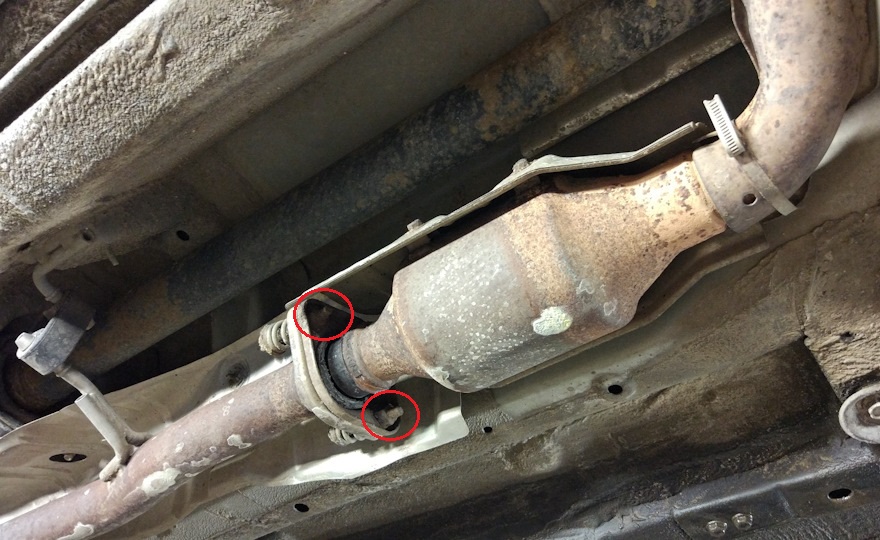
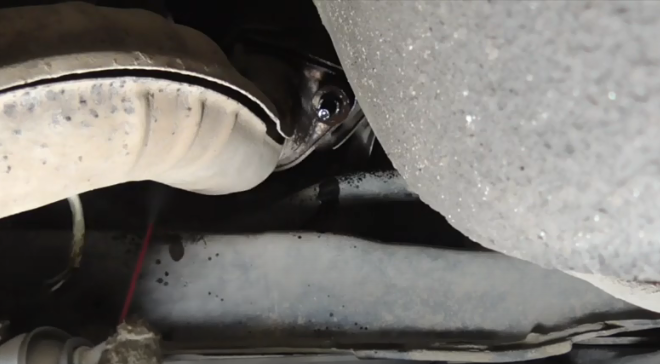
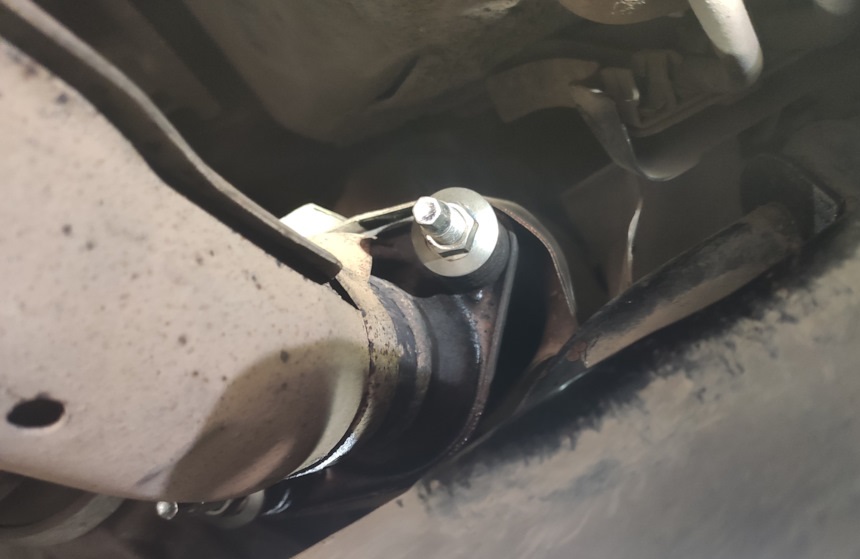
5. Using a 12 mm socket, unscrew the 2 bolts securing the pipe flange of the main and additional mufflers.
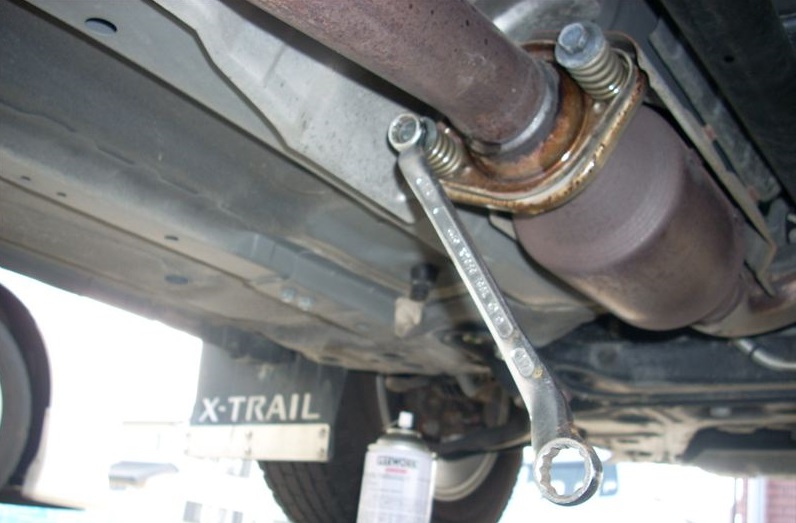
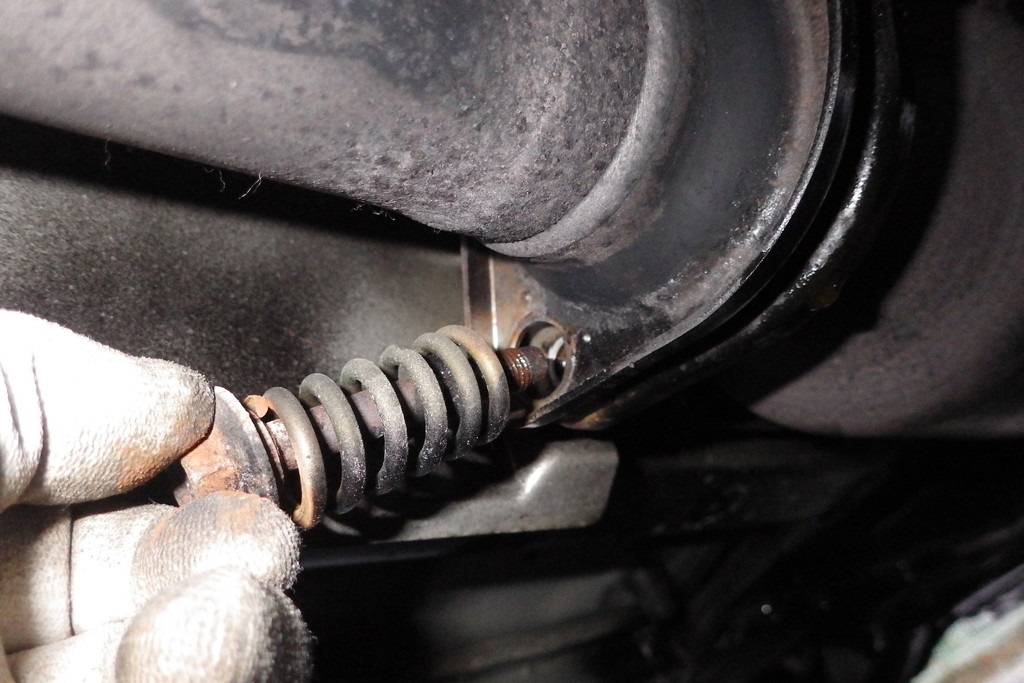
6. Remove bolts together with springs.
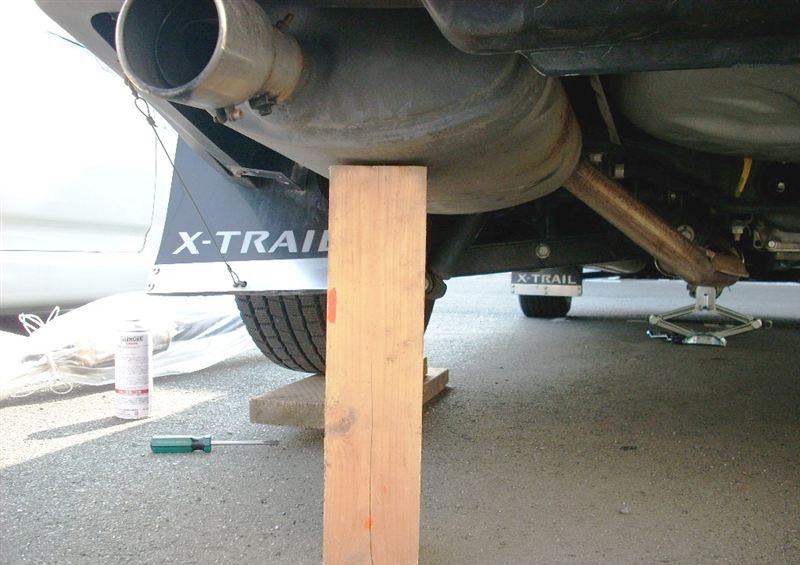
Note:
If you are disconnecting the mufflers while the vehicle is jacked up, for safety reasons, when pulling the muffler out of the bushing, place a jack or block under it to prevent the muffler from falling.
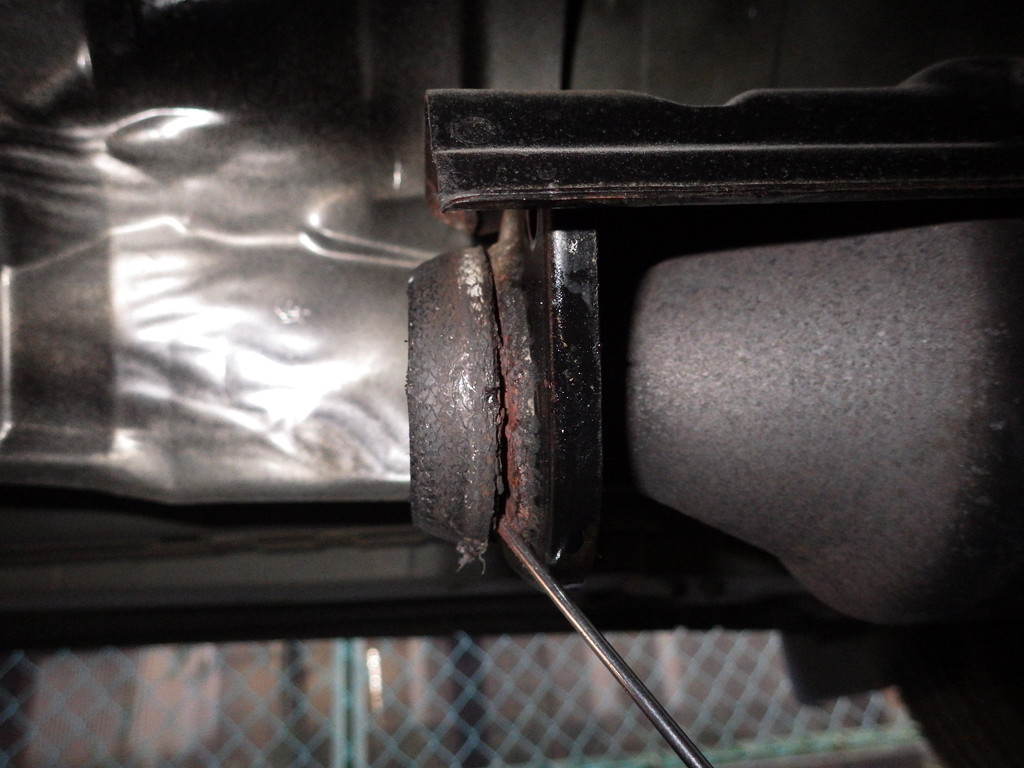
7. Pry with a flat screwdriver and remove the suspension pads from the brackets of the main and additional mufflers.

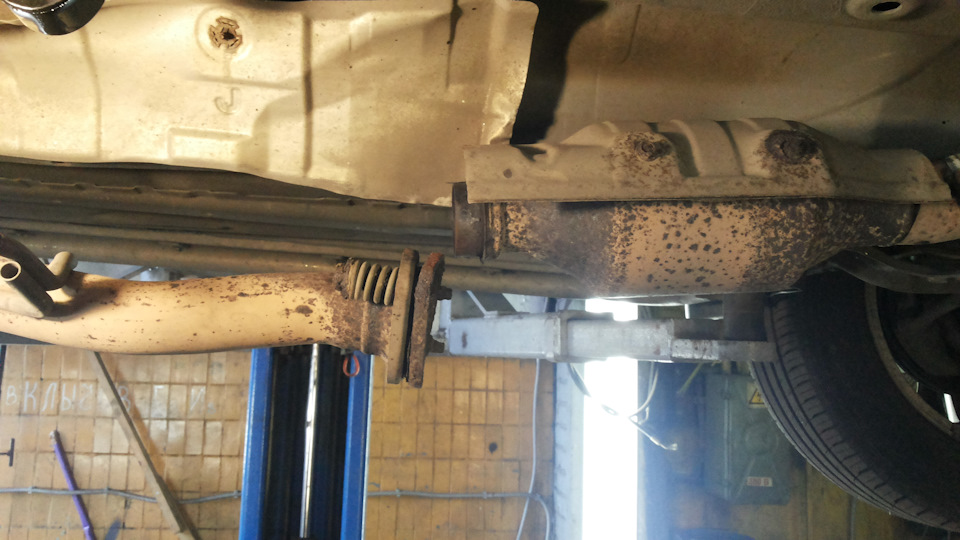
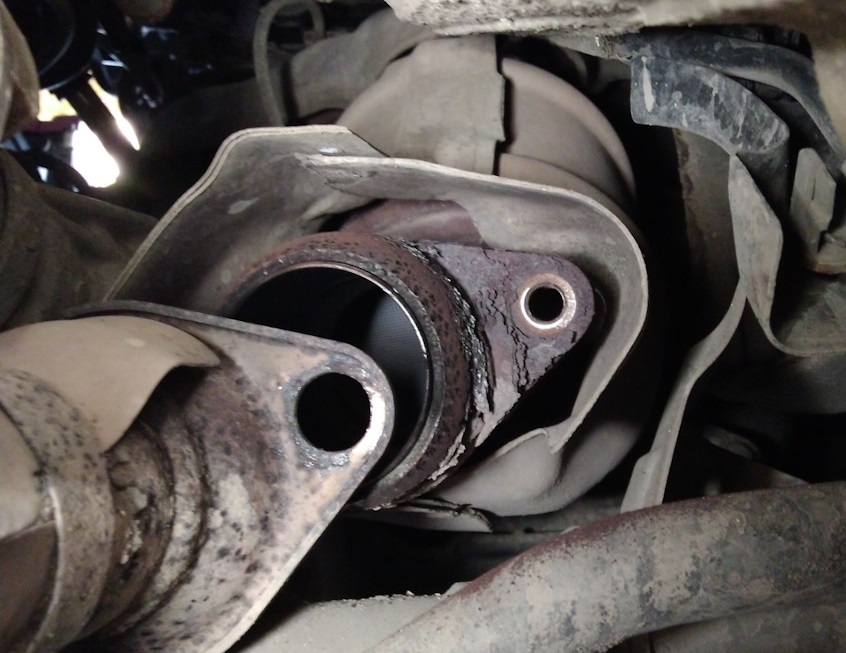
8. Remove the pipe flange of the main and additional mufflers from the Nissan X-Trail exhaust pipe flange.
9. Clean the coupling bolts securing the intermediate pipe to the exhaust manifold with a metal brush.

10. Lubricate the joint with a WD-40 type penetrating lubricant.
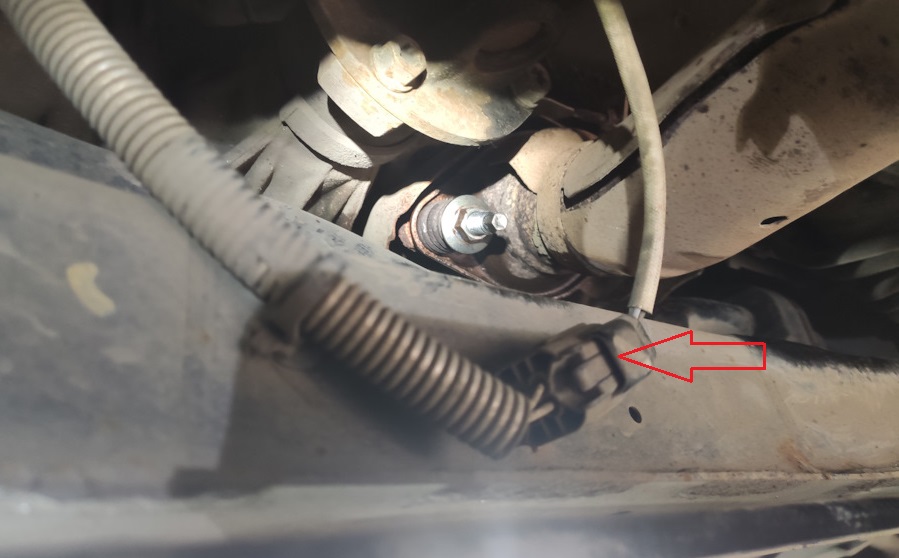
11. Disconnect the sensor block.
12. Using a 14 mm socket, unscrew the 2 bolts securing the Nissan X-Trail downpipe.
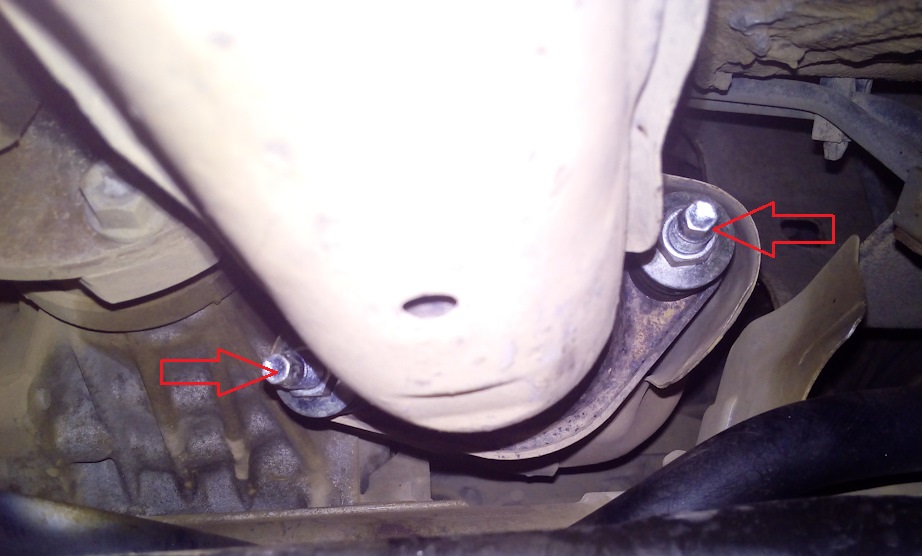
13. Remove bolts together with springs.
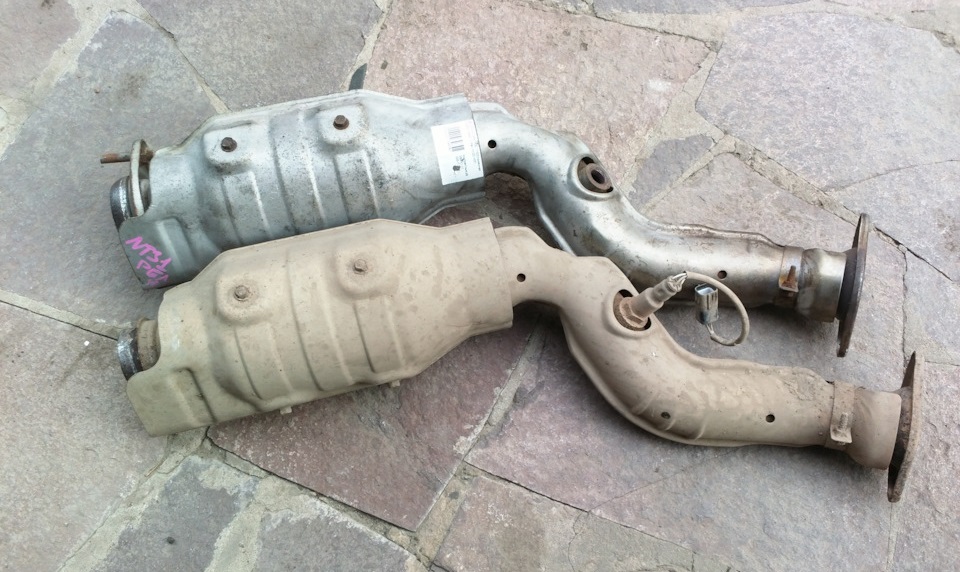
14. Remove the downpipe Nissan X-Trail.
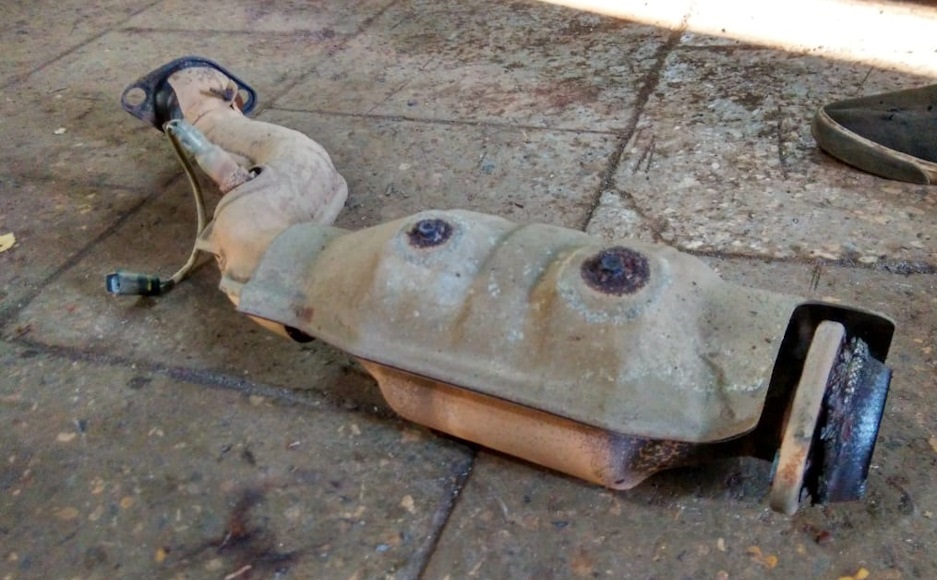
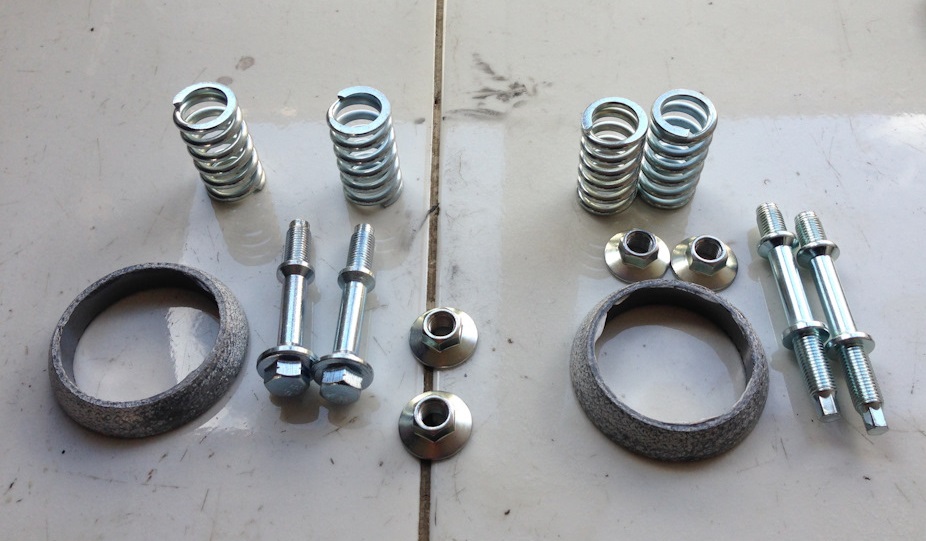
15. If necessary, replace the downpipe with a new one.
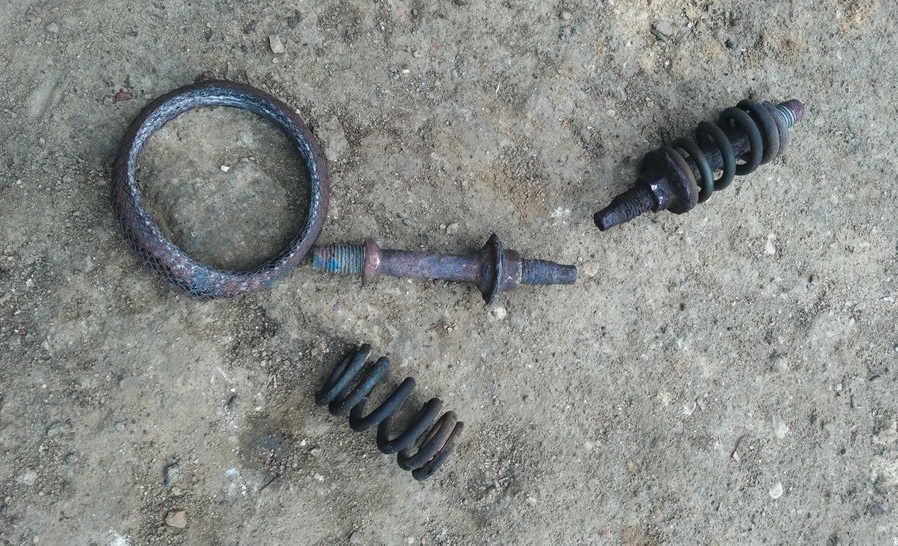
16. Use a flathead screwdriver to pry and remove the O-ring.
17. If necessary, replace a sealing ring and bolts with springs of exhaust and reception pipes with new ones.
18. Install the Nissan X-Trail downpipe in the reverse order of removal.
Source: carpedia.club