![T11 [2005 - 2014]](/uploads/Chery_Tigo_T11_2005_-_2014_.jpg)
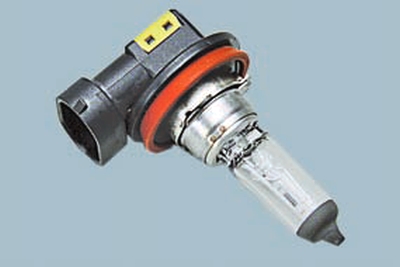
Chery Tiggo headlight bulb replacement
1. Open the hood.
2. Disconnect the wire from the negative terminal of the storage battery.
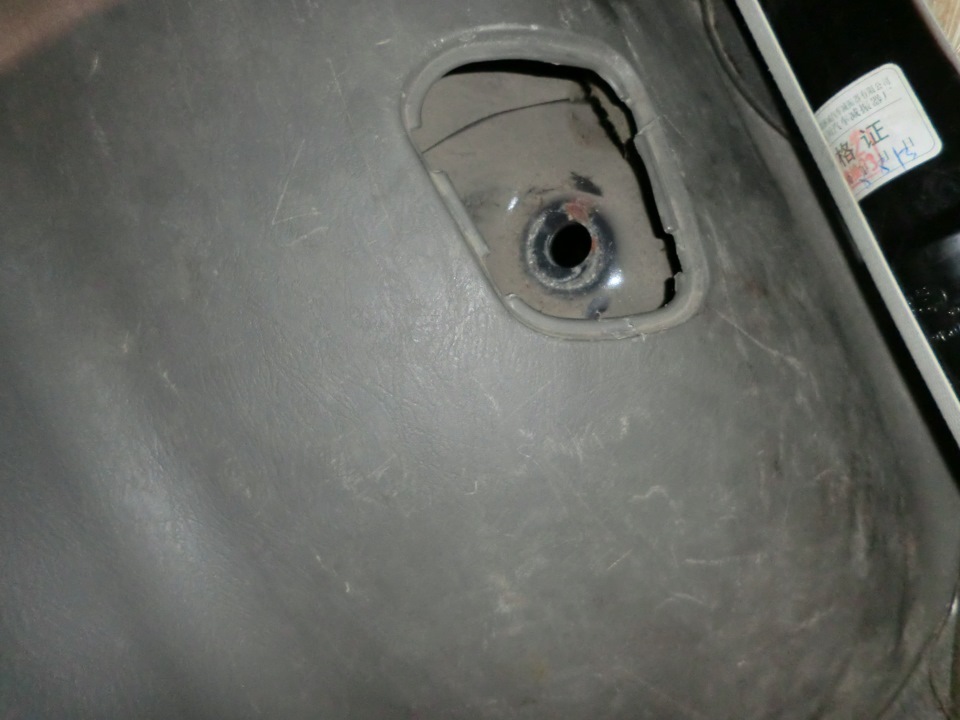
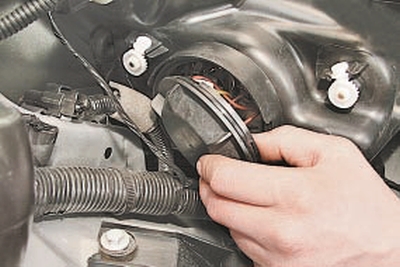
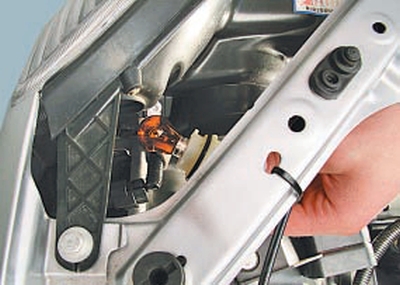
3. Turn the headlamp cover of the headlight bulb counterclockwise and remove it.
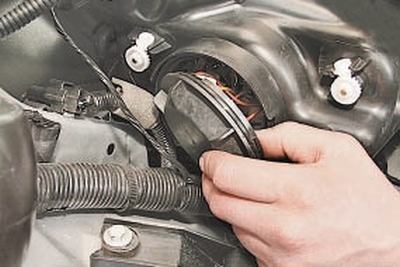
Notes:
Left headlight bulb replacement shown. The lamps in the right headlight are located symmetrically, they are replaced in the same way.
The headlamp cover is sealed with a rubber ring. Replace a heavily crimped or torn ring with a new one.
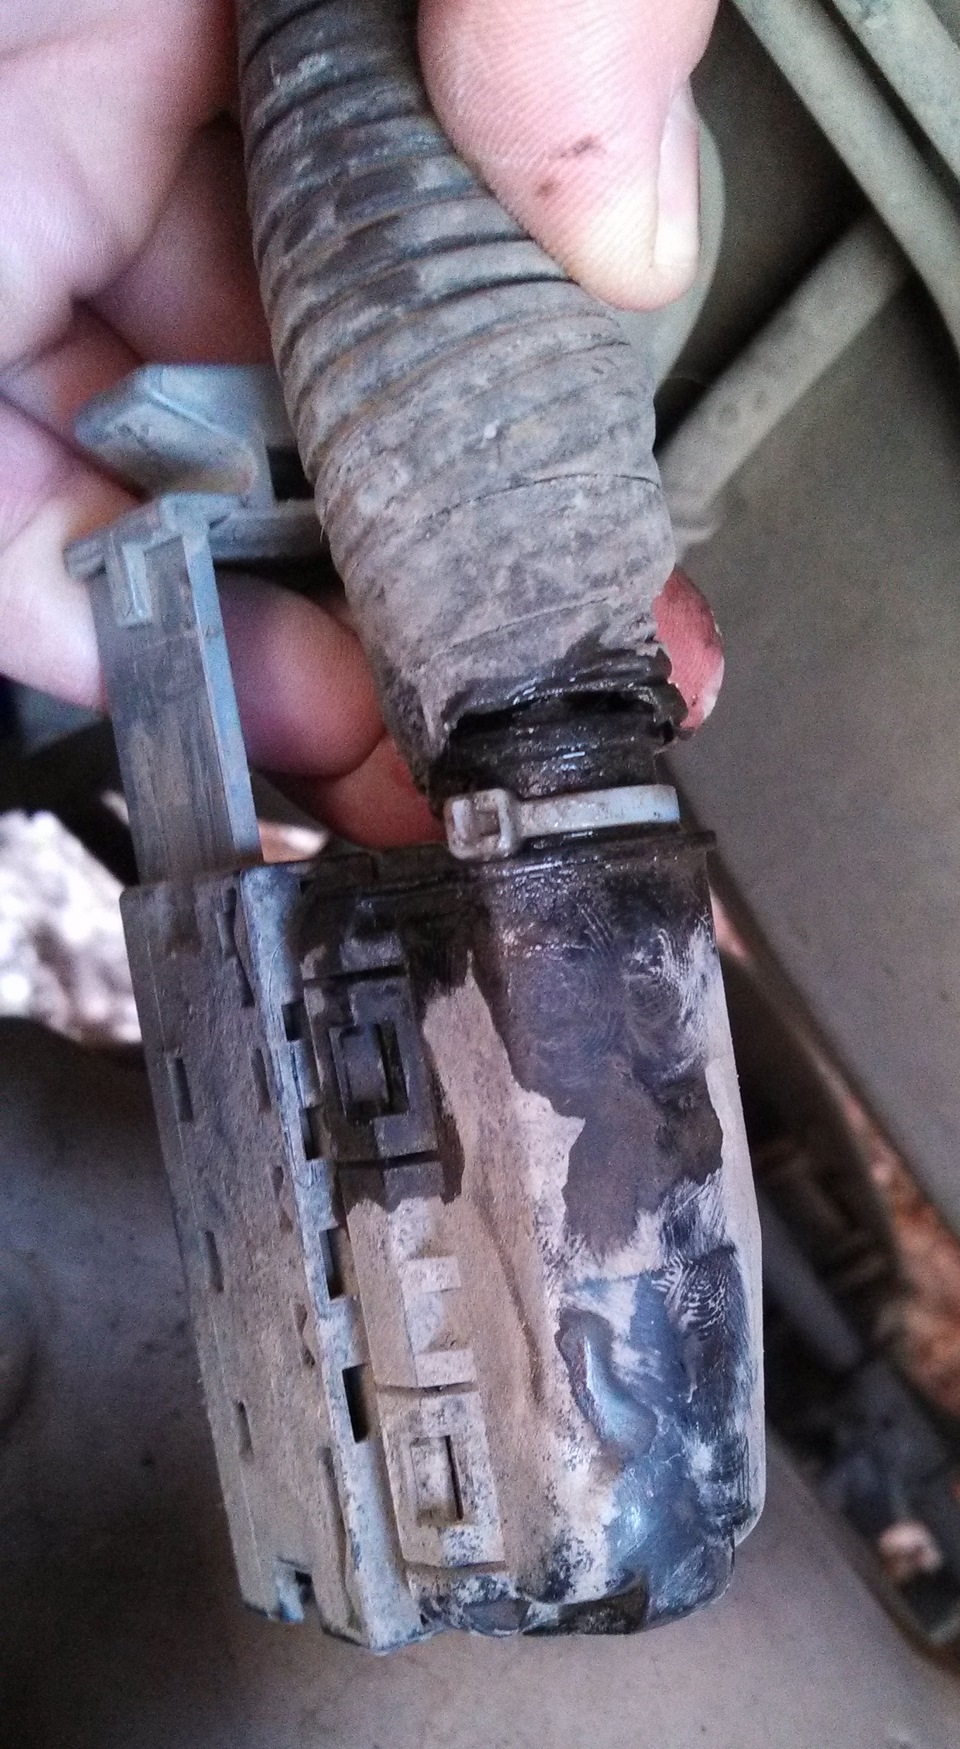
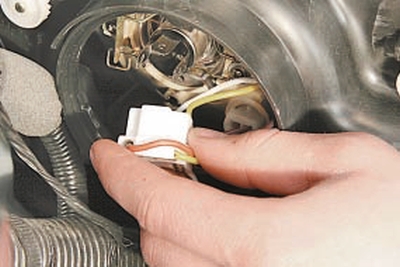
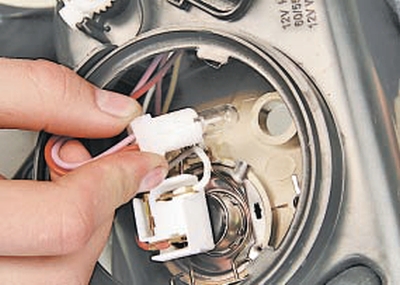
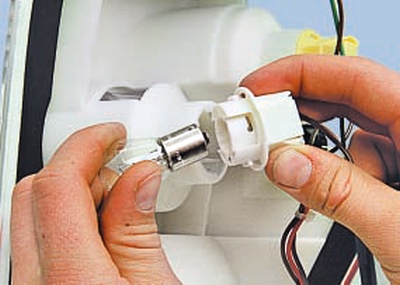
4. Disconnect the connector from the lamp terminals.
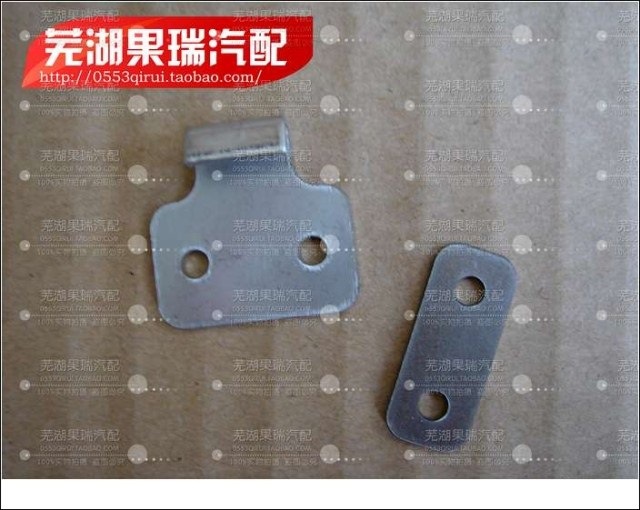
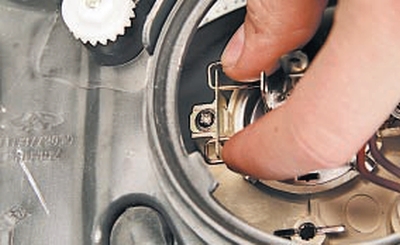
5. Remove the spring clip from the hooks on the reflector. Flip up the latch.
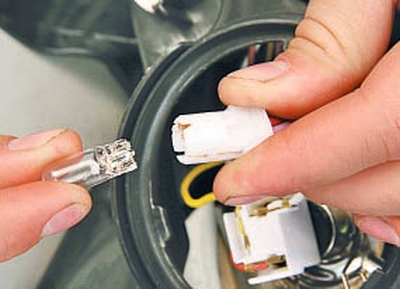
6. Take out the headlight bulb.
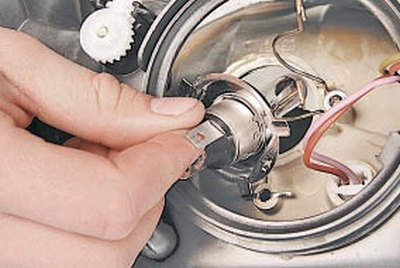
Warning:
Do not touch the bulb with your fingers, as the halogen bulb gets very hot and grease stains will cause the bulb to darken. Handle the lamp by the bulb only with clean gloves or a clean cloth. If there are still grease stains on the lamp, remove them with alcohol.
7. Connect the connector with the wire to the new lamp.
8. Insert the new lamp into the reflector and secure it with the spring clip.
9. Reinstall the headlamp cover.
Replacing the side light bulb in the Chery Tiggo headlamp unit
1. Open the hood.
2. Disconnect the wire from the negative terminal of the storage battery.
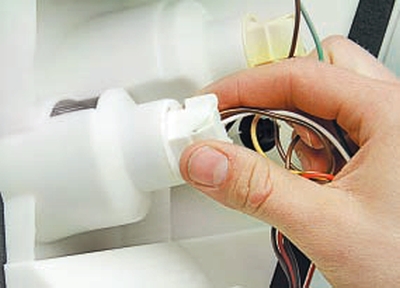
3. Turn the headlight cover of the headlight bulb counterclockwise and remove the cover.
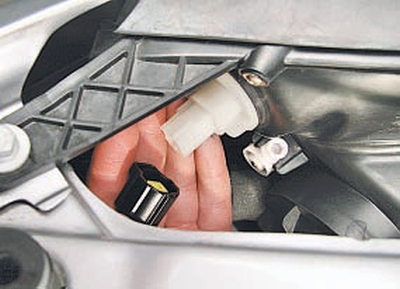
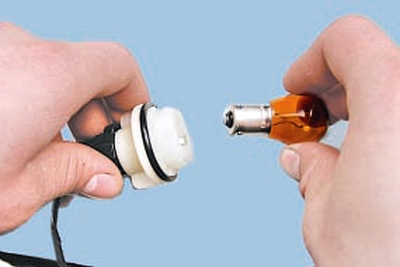
4. Pull the side light bulb holder out of the socket (the holder is installed with a slight interference) and remove it from the headlamp unit (for clarity, the headlamp unit has been removed).
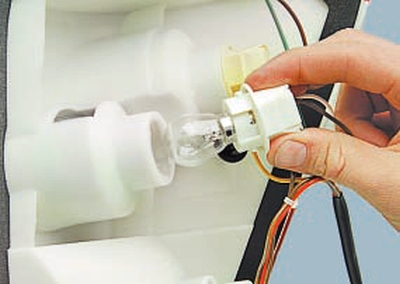
5. Remove the baseless lamp from the socket.
6. Insert a new lamp into the socket and refit the socket.
7. Replace the headlight cover.
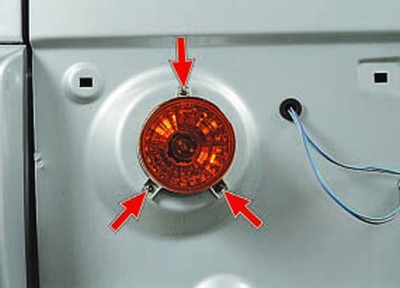
Chery Tiggo Front Turn Signal Lamp Replacement
1. Disconnect the wire from the negative terminal of the storage battery.
2. Press down on the front turn signal harness connector and disconnect the connector from the lamp terminals.
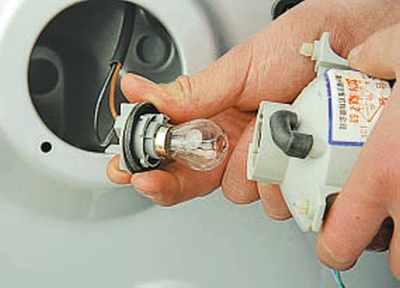
3. Turn the bulb holder counterclockwise and remove it from the lamp.
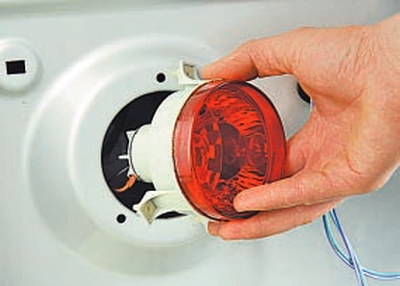
4. Press down on the lamp, turn it counterclockwise and remove it from the socket.
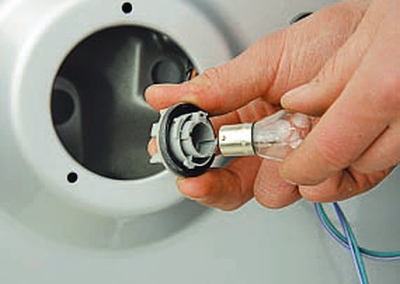
5. Install the new bulb into the socket and the socket into the lamp.
Chery Tiggo front fog lamp replacement
1. Disconnect the wire from the negative terminal of the storage battery.
2. Remove the front wheel liner.
3. Press down on the fog lamp harness connector and disconnect the connector from the lamp terminals.
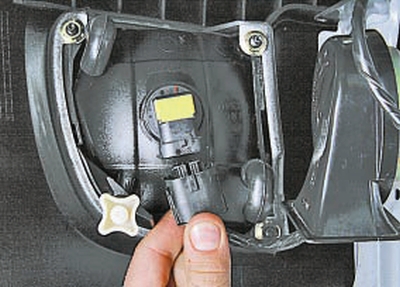
4. Turn the bulb holder counterclockwise and remove the bulb and bulb holder from the lantern.
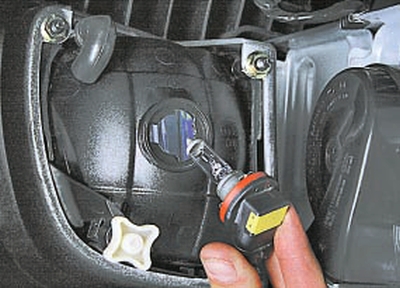
Note:
The fog lamp bulb is made in one piece with the cartridge and is replaced as an assembly with it.
5. Install the new lamp and all previously removed parts in reverse order.
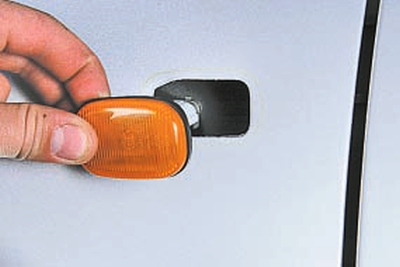
Chery Tiggo side turn signal bulb replacement
1. Disconnect the wire from the negative terminal of the storage battery.
2. Slide the direction indicator housing forward.
3. Turn the cartridge counterclockwise and remove it from the indicator light.
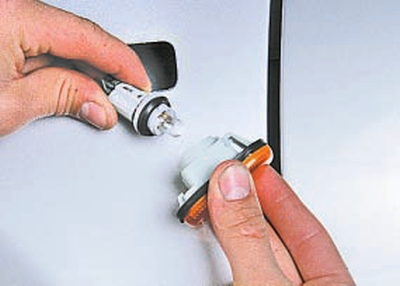
4. Remove the lamp from the socket.
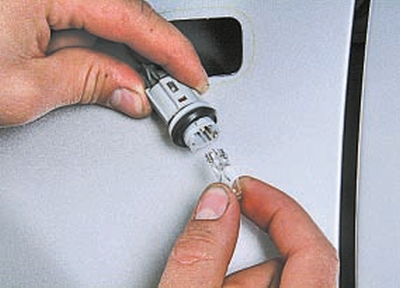
5. Insert the new lamp into the socket and the socket into the indicator housing.
6. Install the side turn signal lamp in the reverse order of removal.
G Replacing bulbs in the rear fog light Chery Tiggo
1. Remove the door trim.
2. Remove the three screws securing the fog lamp to the tailgate.
3. Remove the lantern from the door opening.
4. Turn the bulb holder to be replaced counterclockwise and remove it from the lamp.
5. Press down on the lamp, turn it counterclockwise and remove it from the socket.
6. Insert the new bulb into the socket and the socket into the lamp housing.
7. Install the rear fog lamp in the reverse order of removal.
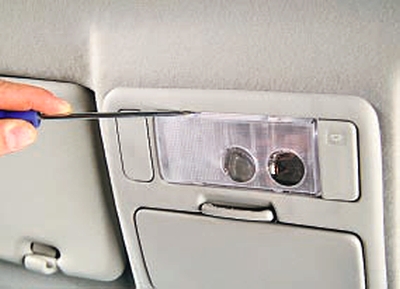
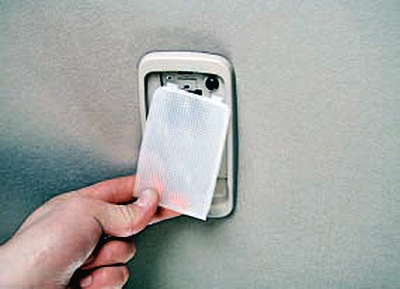
Chery Tiggo individual lighting lamp replacement
1. Disconnect the wire from the negative terminal of the storage battery.
2. Using a screwdriver tip wrapped in insulating tape, gently pry the lens of the lamp to be replaced.
3. Remove the diffuser.
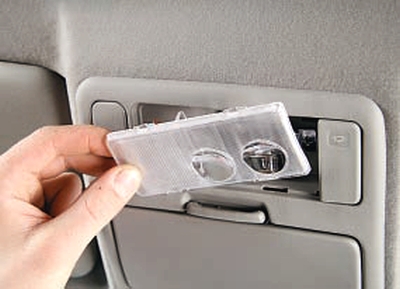
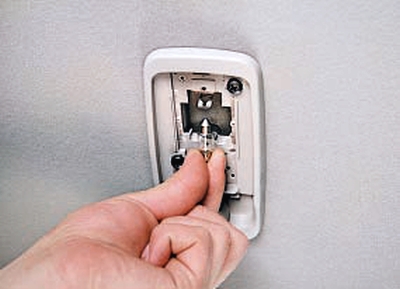
4. Remove the lamp from the lantern.
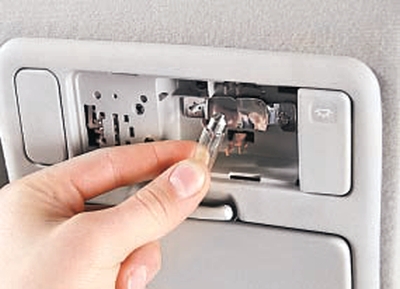
5. Install the new lamp and all previously removed parts in reverse order.
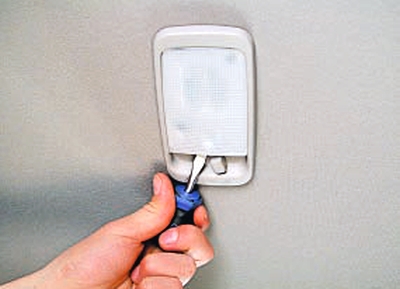
Chery Tiggo interior lighting lamp replacement
1. Disconnect the wire from the negative terminal of the storage battery.
2. Using a screwdriver tip wrapped in insulating tape, gently pry the diffuser of the shade.
3. Remove the diffuser.
4. Remove the lamp.
5. Install the new lamp and all previously removed parts in reverse order.
Chery Tiggo tail lamp replacement
1. Disconnect the wire from the negative terminal of the storage battery.
2. Remove the tail light from the appropriate side.
3. Turn the bulb holder to be replaced counterclockwise.
4. Remove it from the flashlight.
5. Turn the burned-out lamp counterclockwise and remove it from the socket.
6. When installing a new lamp, the tabs on the lamp should fit into the slot in the socket. Then fix the lamp in the socket by turning it clockwise as far as it will go.
7. Install the bulb holder into the lamp housing until it is in a fixed position.
8. The remaining lamps in the rear light are replaced in the same way.
Chery Tiggo license plate lamp replacement
1. Disconnect the wire from the negative terminal of the storage battery.
2. Pry up the license plate light retainer.
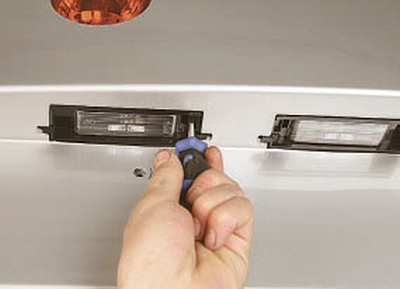
3. Remove the flashlight from the installation site.
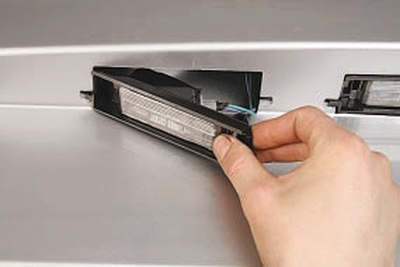
4. After turning the lamp holder, remove it from the lamp.
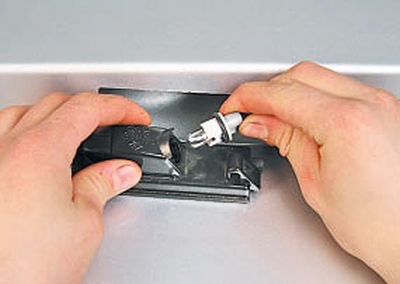
5. Turn the bulb counterclockwise in the socket and remove it from the socket.
6. Install the new lamp and all previously removed parts in reverse order.
Source: http://chery-tiggo.dv13.ru/elektrooborudovanie/zamena-lamp/