![1 generation [2005 - 2009]](/uploads/Geely_CK_I_Otaka_2005_-_2008_.jpg)

Tool:
- Jack
- Mounting blade
- Shoes (2 pcs.)
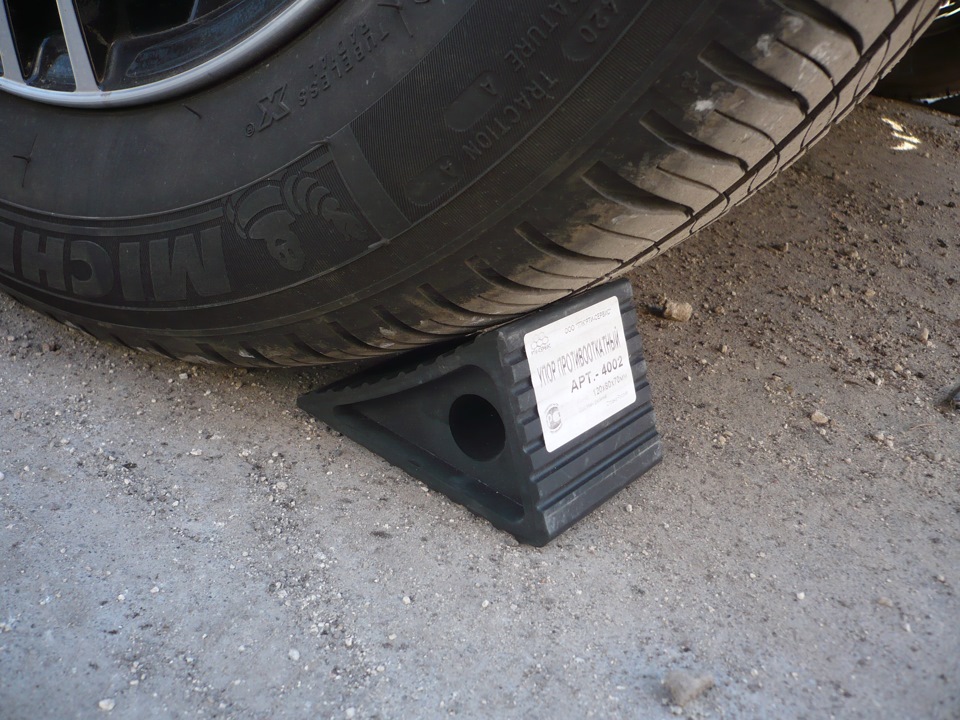
1. Park the vehicle on a level surface and place chocks (chocks) under the wheels.
2. Jack up the front wheel.

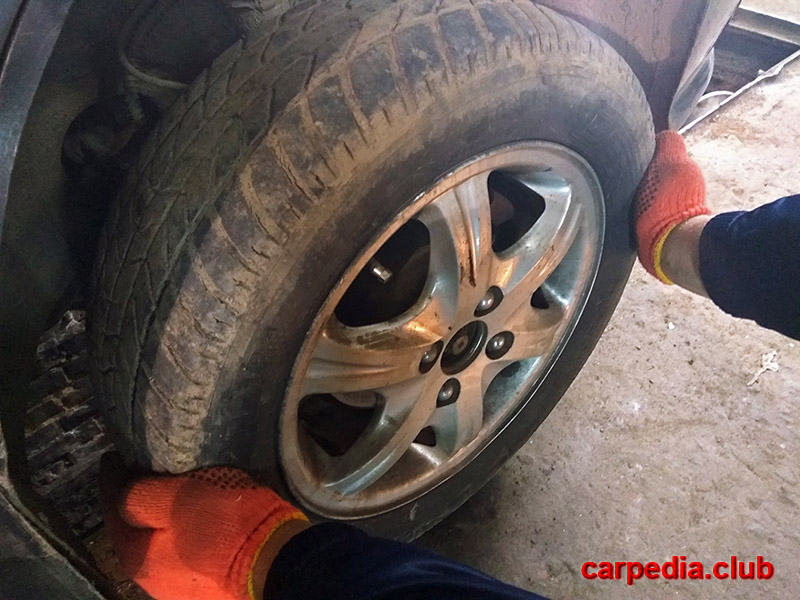
3. Alternately sharp, but without much effort, by pressing on the upper and lower parts of the wheel, we check the absence of play in the hub bearing and ball joint.
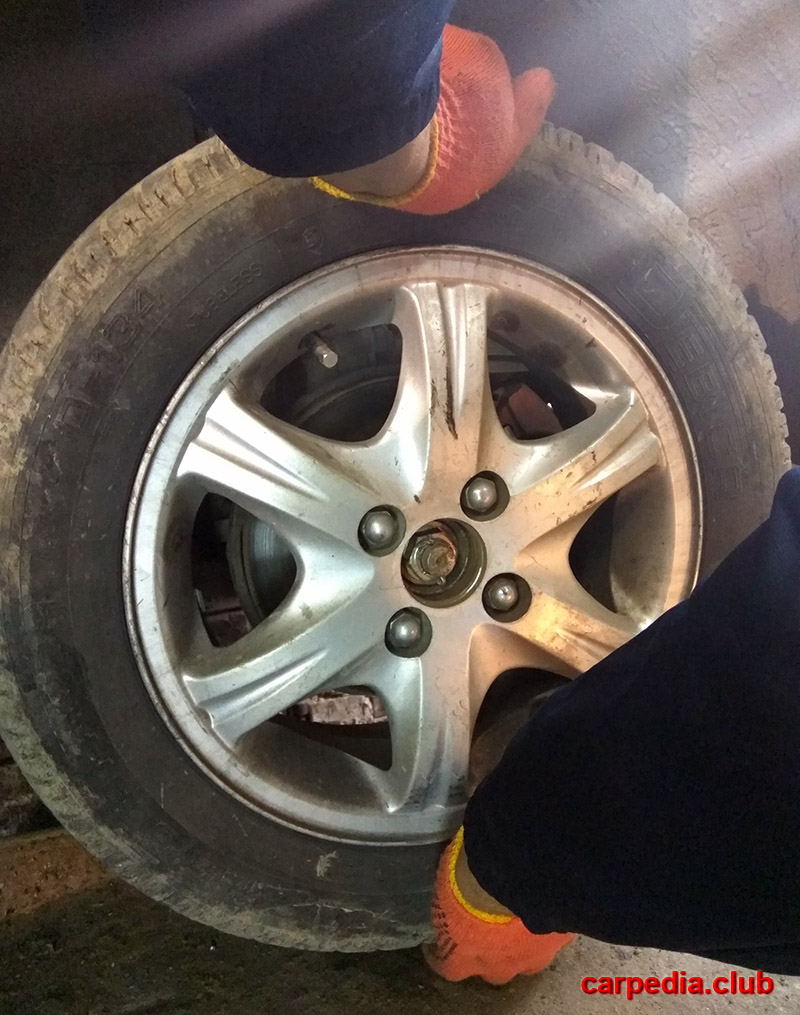
4. Perform a similar check in the horizontal plane, it will help to identify the backlash of the steering rods.
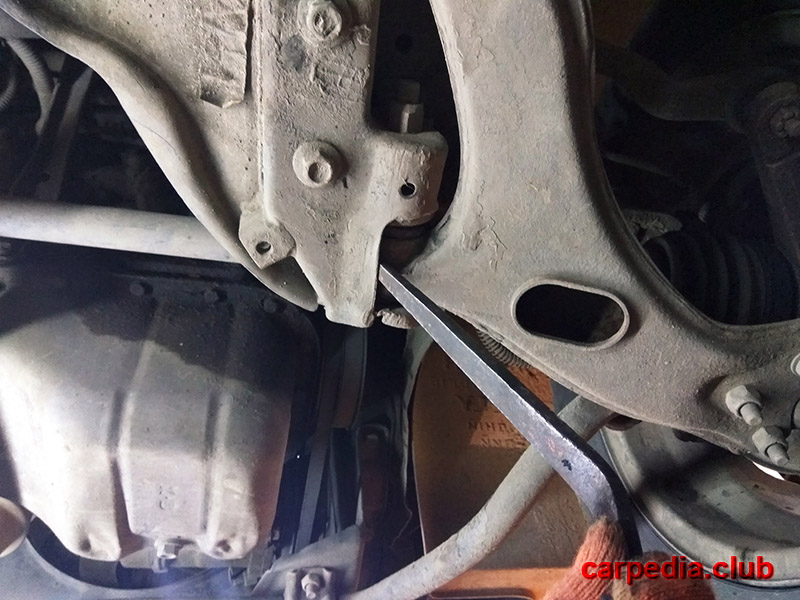
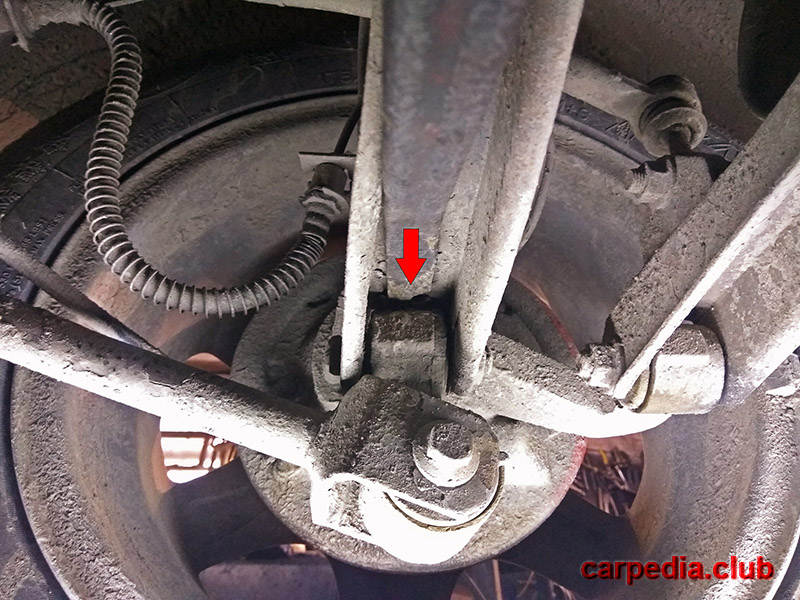
5. Check up a condition of the lower hinge of a rotary fist. To do this, insert the mounting blade between the lever and the hub.
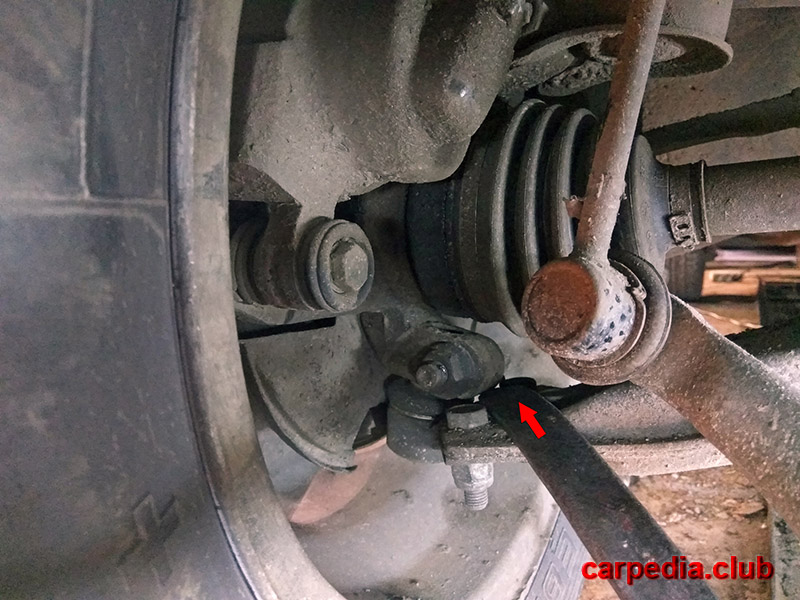
6. Make a few light pressures. There shouldn't be any tapping.
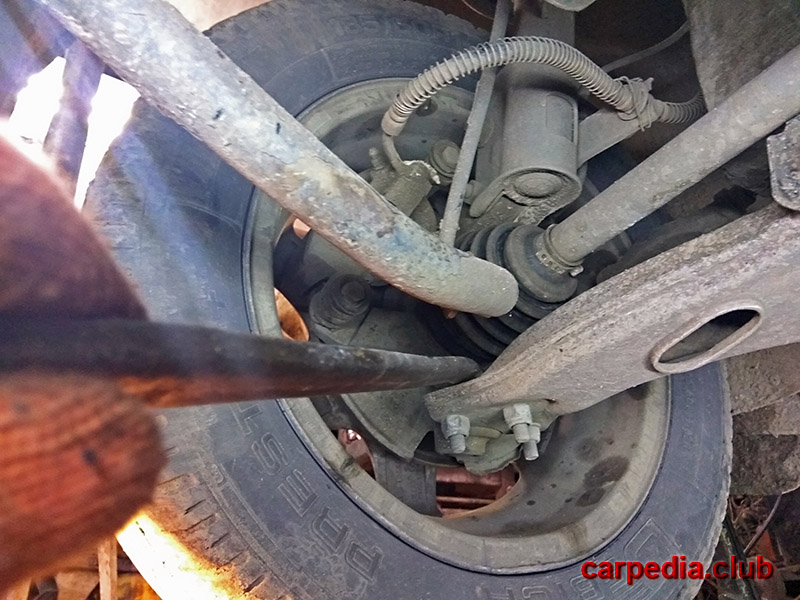
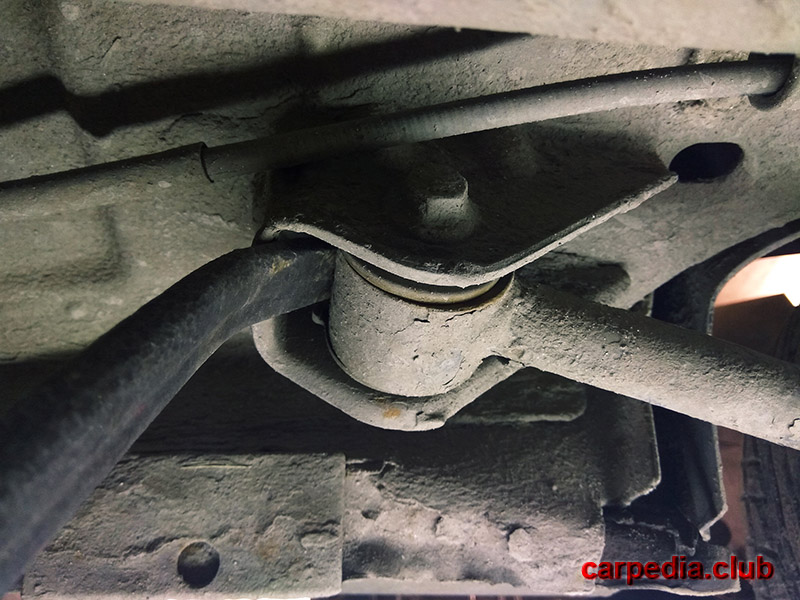
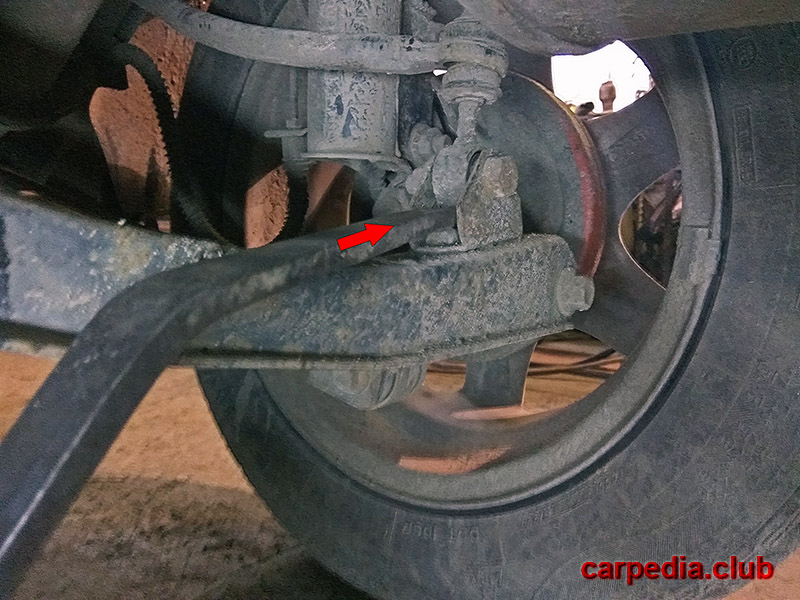
7. Using a mounting spatula, check the absence of backlash in the rear silent block of the lever.

8. In the same way check up a condition of forward fastening of the lever.
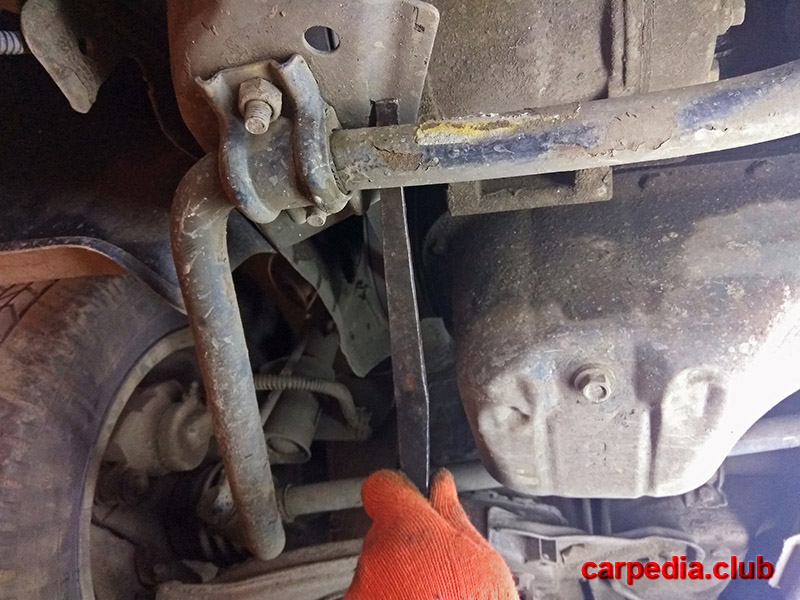
9. Having passed the mounting blade behind the stabilizer, check the condition of the mounting pad with slight wiggles.
10. Check for play and knocks on the silent block of the upper mounting of the rear trailing arm.
11. Then you need to check the condition of the lower trailing arm of the rear suspension.
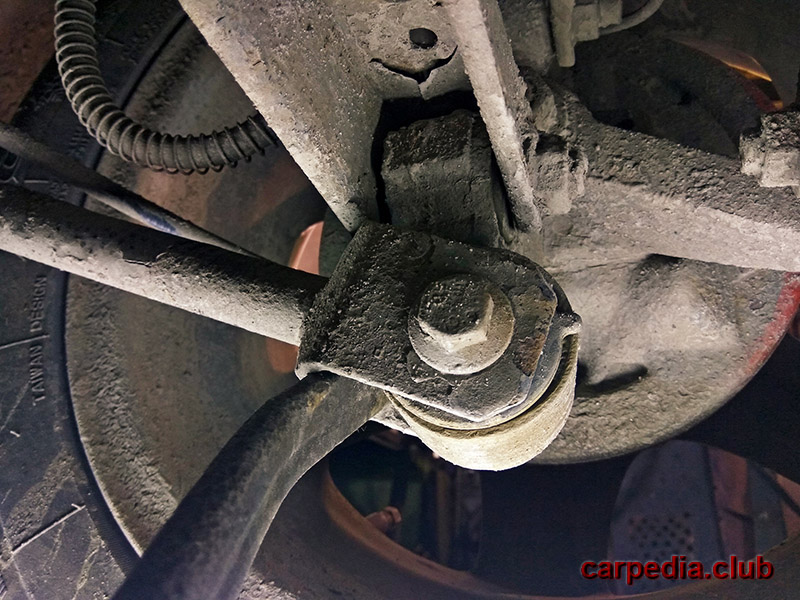
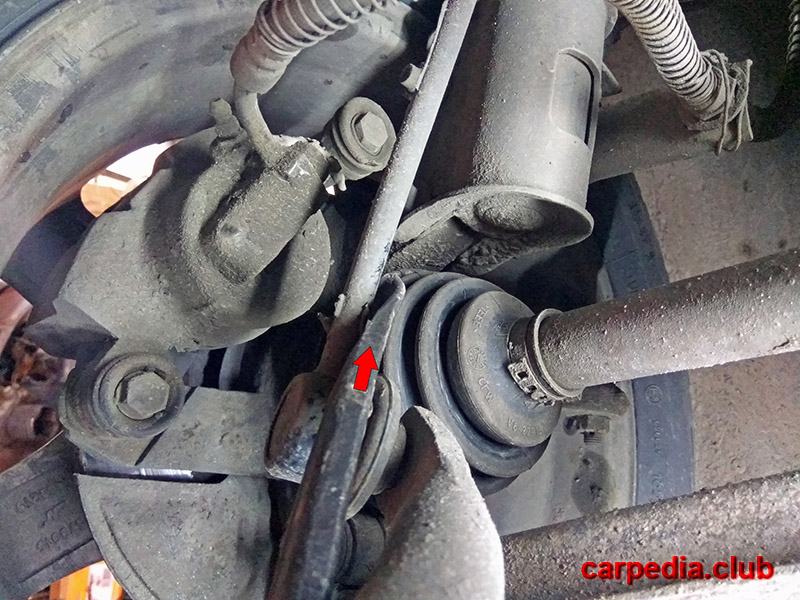
12. Insert a spudger between the rear wishbone and the trunnion bushing.
13. Check the condition of the silent block with vertical swings.

14. Similarly, check the other silent block of the trunnion.

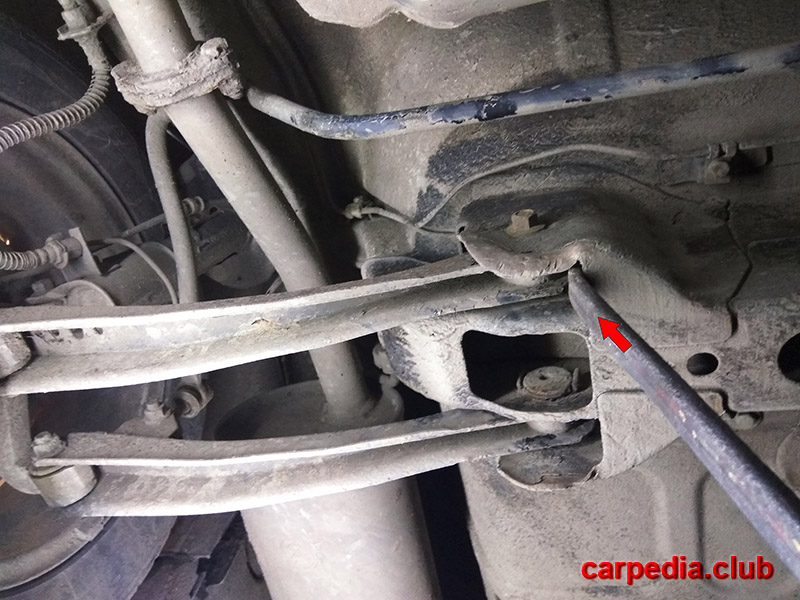
15. Using a mounting spatula, check the play of the silent block for fastening the rear transverse suspension arm.
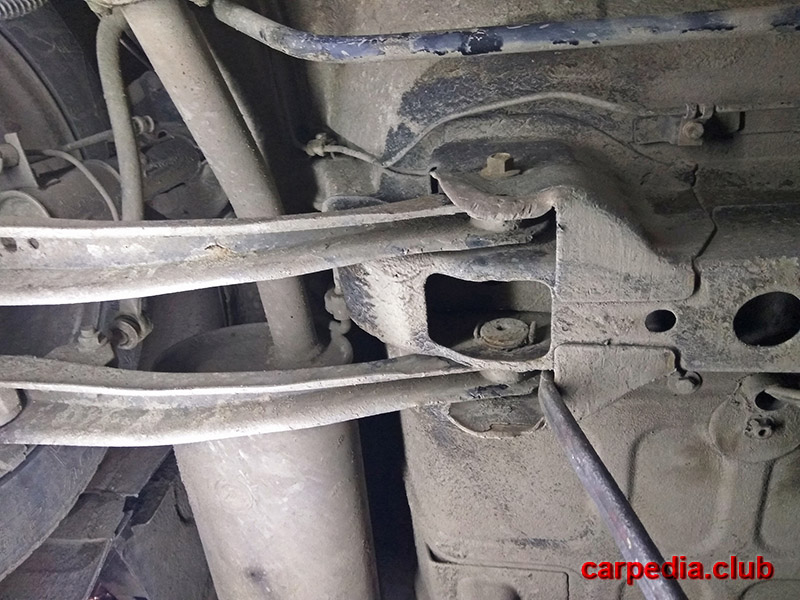
16. Perform the same operation with the other transverse lever.
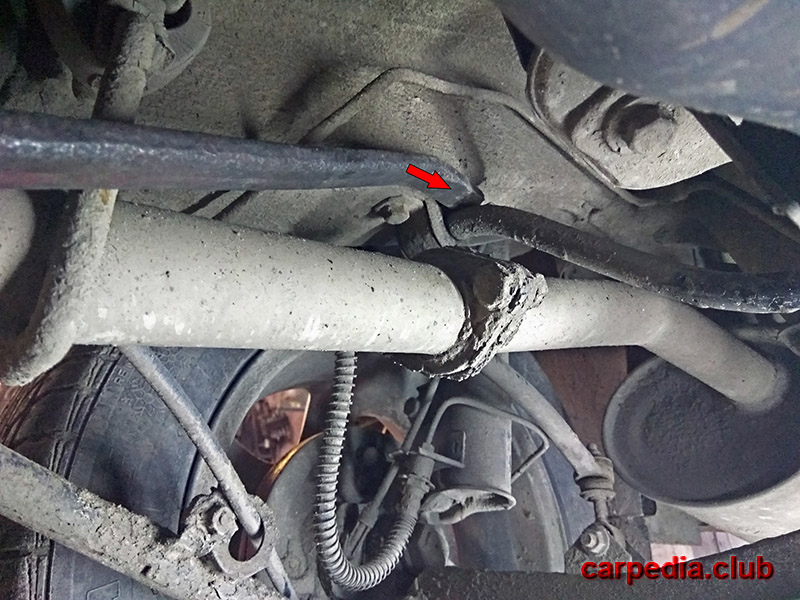
17. Having inserted the mounting blade between the transverse arm and the rear stabilizer bar, we check the condition of the silent block with vertical swings.
18. You also need to check the rear stabilizer suspension.
19. Make sure there is no play in the front stabilizer struts.
20. Inspect the covers of the constant velocity joints. No cracks or breaks are allowed.
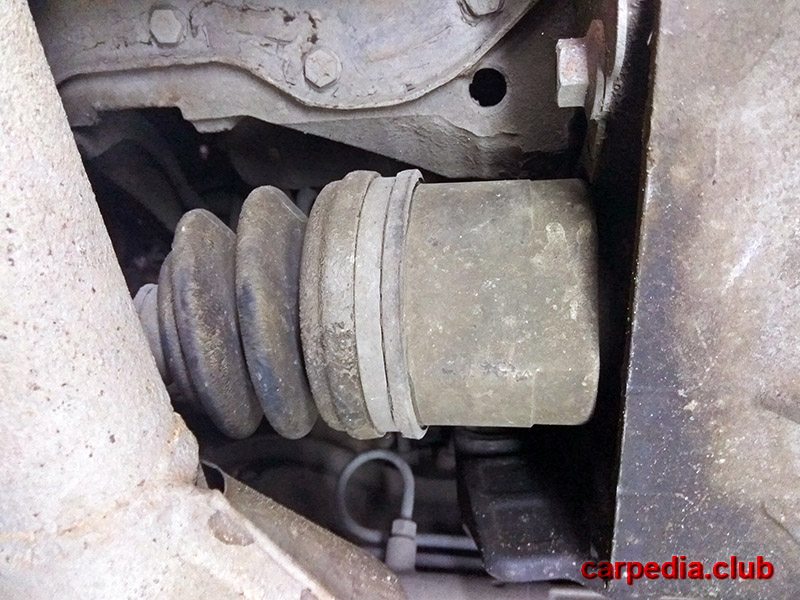
Note:
A faulty CV joint, when passing a sharp turn, makes a loud and characteristic sound, accompanied by a crunch.
Useful advice:
Do not drive a car with damaged mudguards of suspension units and parts. Replace them in a timely manner, as dirt and moisture that have got inside will quickly disable the parts.
Source: carpedia.club