![P12 [2001 - 2008]](/uploads/Nissan_Primera_Primera_1.9_DCi_Sedan.jpg)
Tools:
- Soldering iron
- Lantern
Parts and consumables:
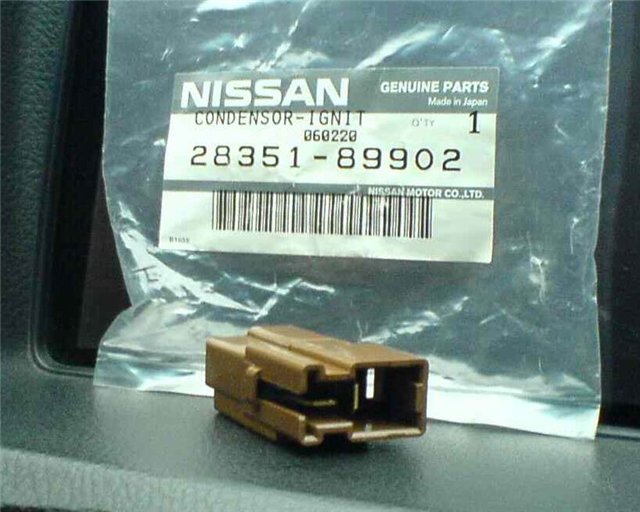
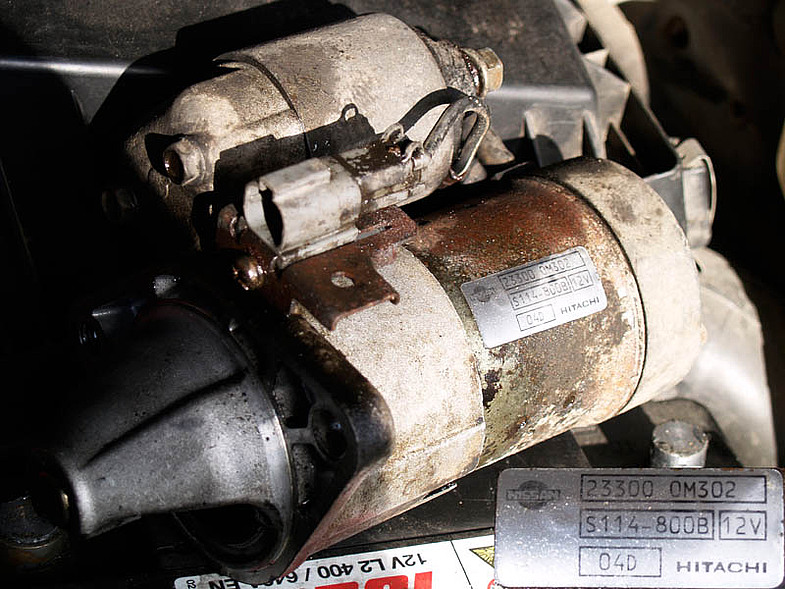
Starter - 23300-ОМ302
Starter brushes
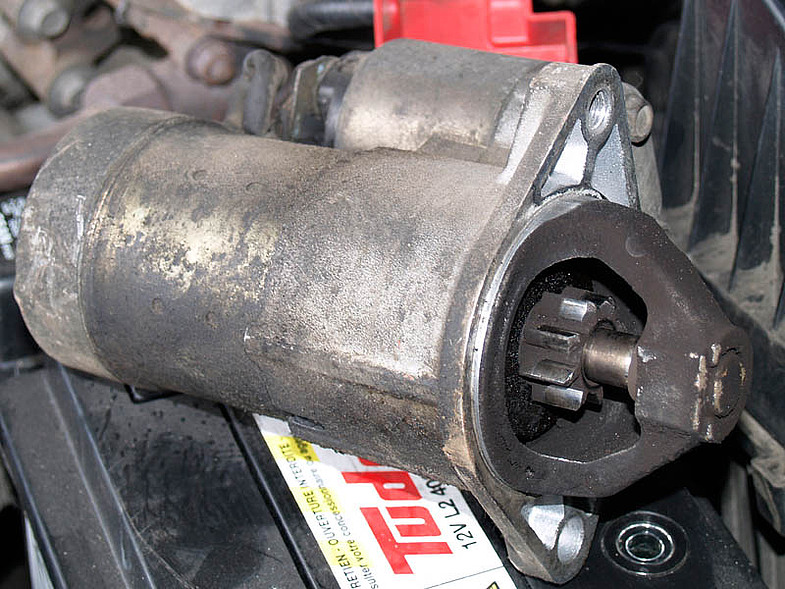
Removing the starter Nissan Primera
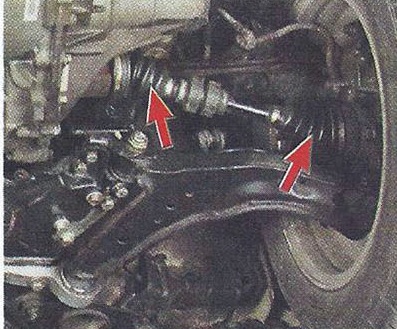
1. Find the starter.
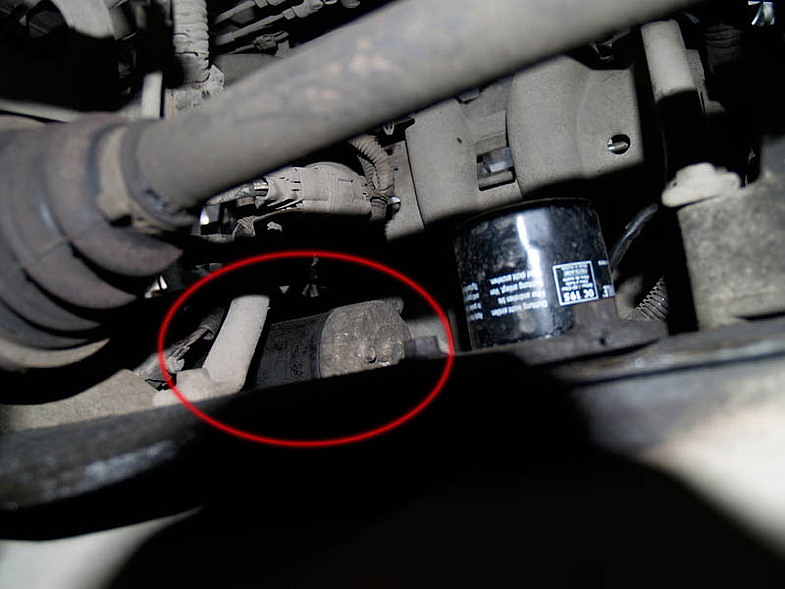
2. There you will immediately see the first of the two mounting bolts.
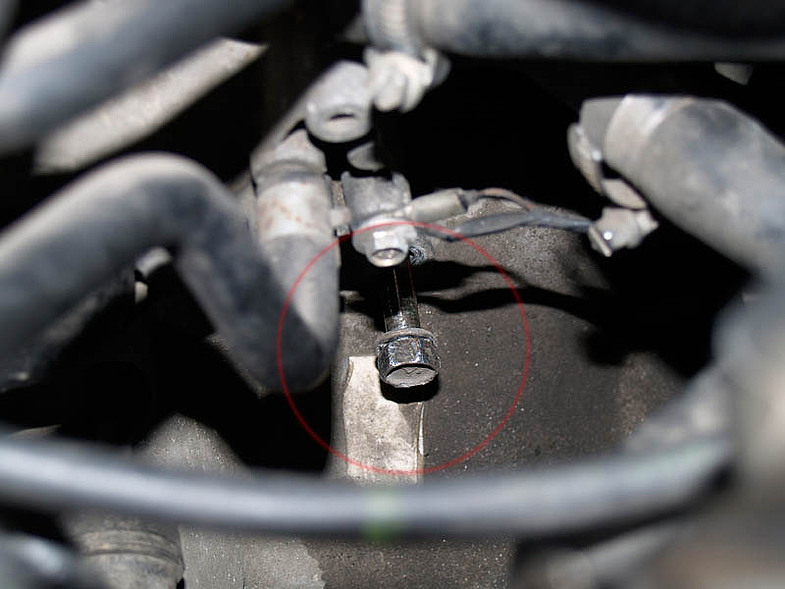
3. Further, to understand where the starter is located under the hood - put a flashlight on the starter and go out to look.
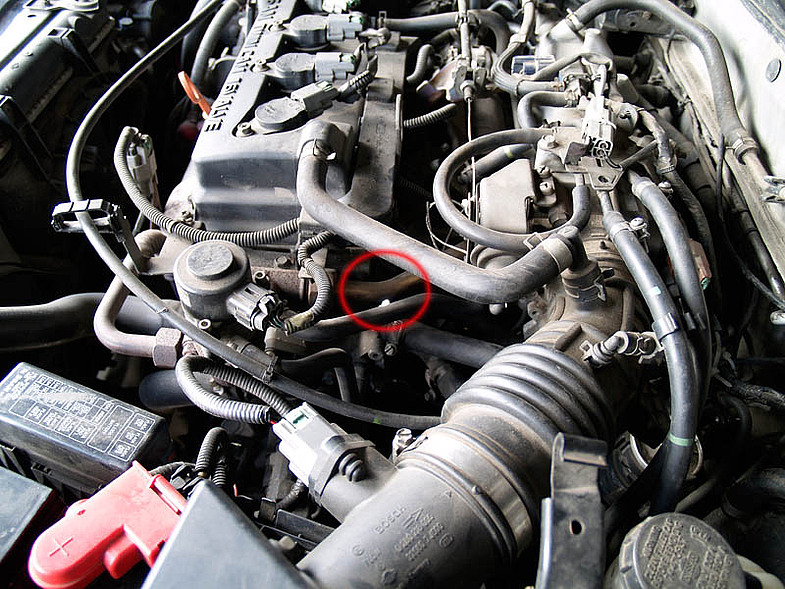
4. Find the second starter bolt, it is unscrewed from under the hood.
5. We also unscrew the starter, not forgetting to disconnect the positive terminal of the battery, then disconnect the retractor connector and take out the starter.
6. We launder and find the number of this unit.
7. The retractor turned out to be flared, and I made a decision, having checked its performance, not to interfere with it, to work. Disassembling the motor, I found a planetary mechanism, seeing that everything inside is abundantly lubricated and looks good - I decided not to interfere with this mechanism.
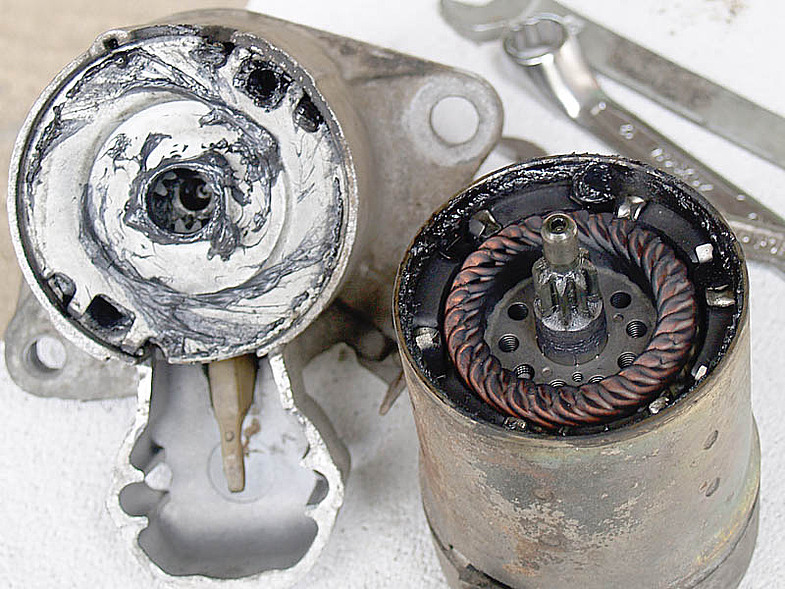
8. Here in the motor itself everything is abundantly covered with graphite dust, which hardly helped the starter to work.

9. As a result, everything was washed out, new brushes were made from VAZ, with the difference from the original ones in that the lead wires come from above, and not from the side like those of relatives, that is, homemade ones will work until they are completely abraded, when the relatives, due to their construction, have worn out. like what's in the photo.
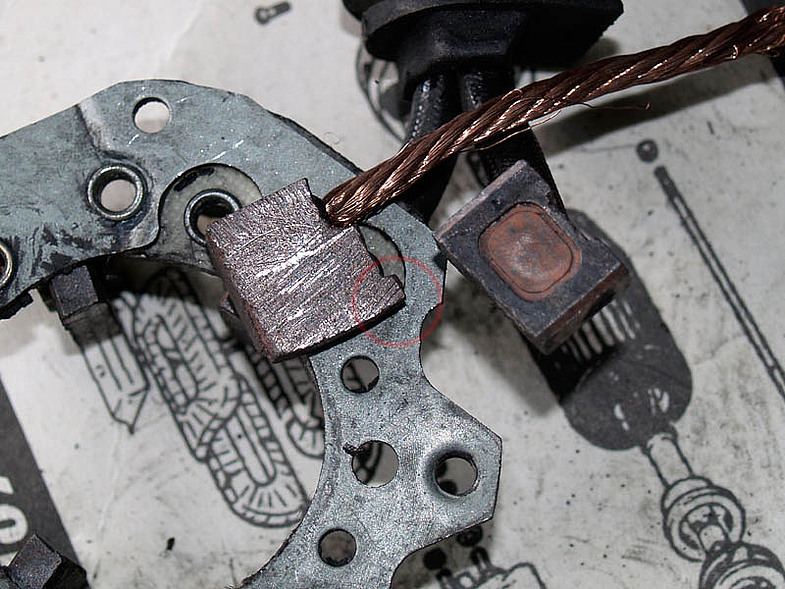
10. A circle on a homemade brush is surrounded by a border, which is desirable to prevent the spring pressing the brush from jumping off. The wires are a little short on the new brushes, so I had to go home and solder. Although it might have been possible to get by with a shorter wire, not the same as your own, check it out for yourself.
The article is missing:
- Repair descriptions
Source: http://www.club-nissan.ru/forums/showthread.php?t=163751