A set came from a rear-view camera to a ceiling light and a rear-view mirror with a camera.
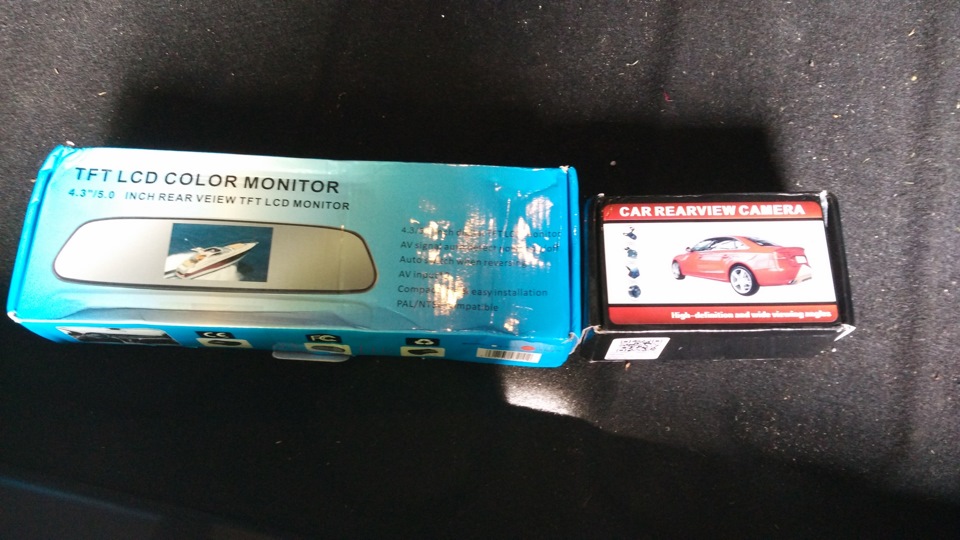
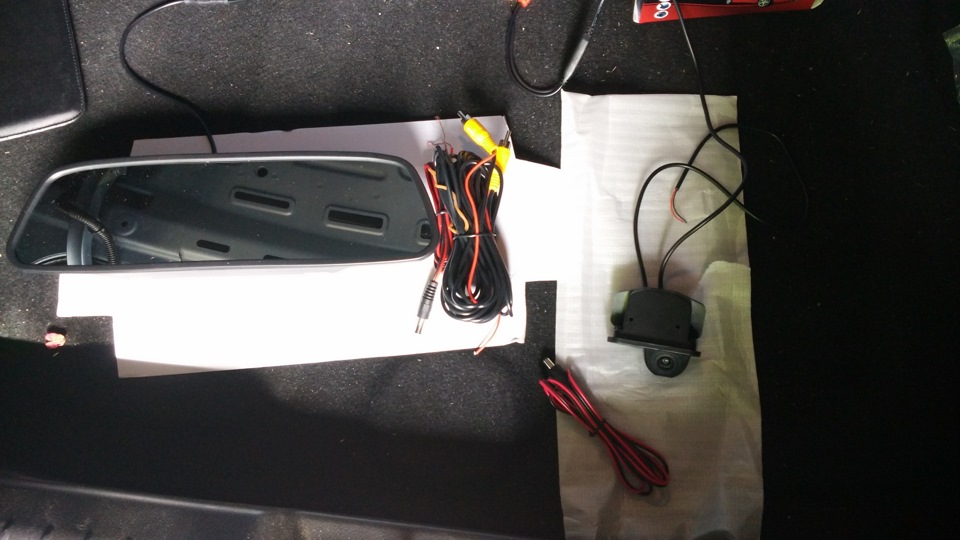
To remove the standard lighting shade and put a camera instead, you must first remove the chrome strip on the trunk.
The beginning is standard: I remove the latches from the boot lid trim. It is enough to free only the upper part. Seven x 10 nuts and three plastic clips that hold the chrome strip become available. It is not difficult to unscrew them.
We get this picture.
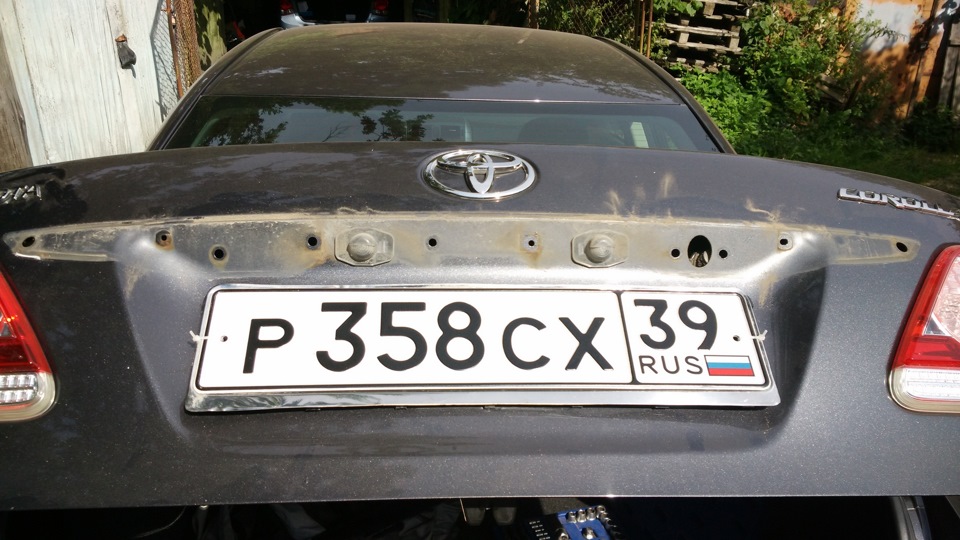
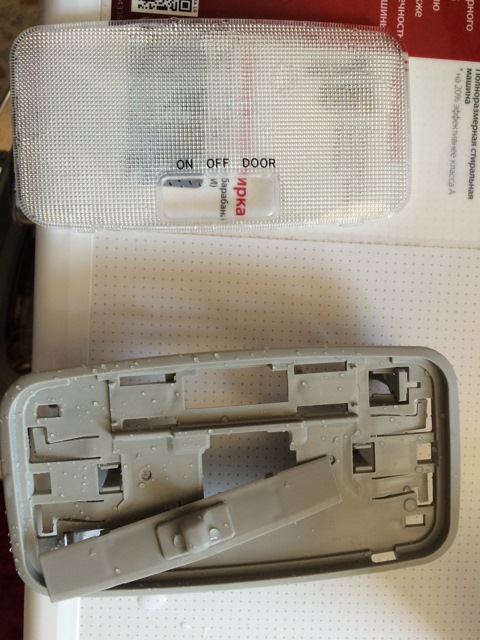
I remove the left ceiling of the room lighting, try on the camera. Surprisingly, it sits exactly on the seat with a slight backlash. Compared to the previous installation experience, the progress of the Chinese is noticeable. Then I had to drill and saw a lot to make the camera sit down.
I try on the chrome strip back, and then a little trouble awaits - the camera is slightly wider than the hole in the strip. Had to do a little bit of pliers and expand it.
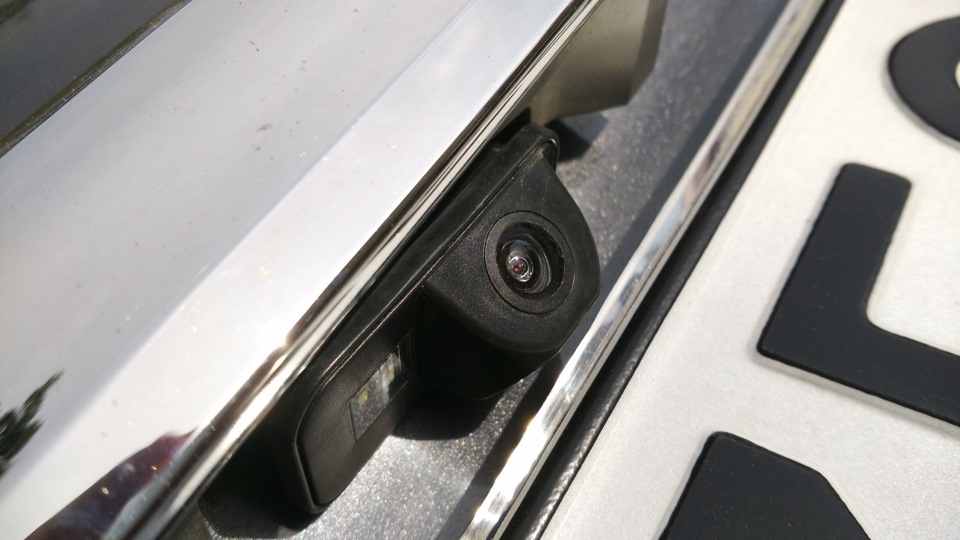
I put the camera on double-sided tape to eliminate backlash. I seal it around the perimeter with hot glue to prevent water from getting into the trunk.
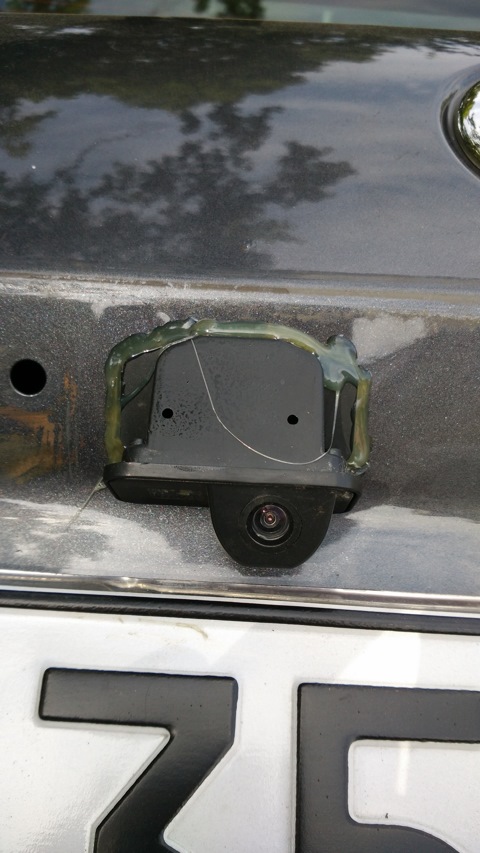
I screw back the chrome strip. You don't need to do anything else here.
I stretch the video signal wire to the mirror on the left side of the cabin, hiding it under the plastic threshold.
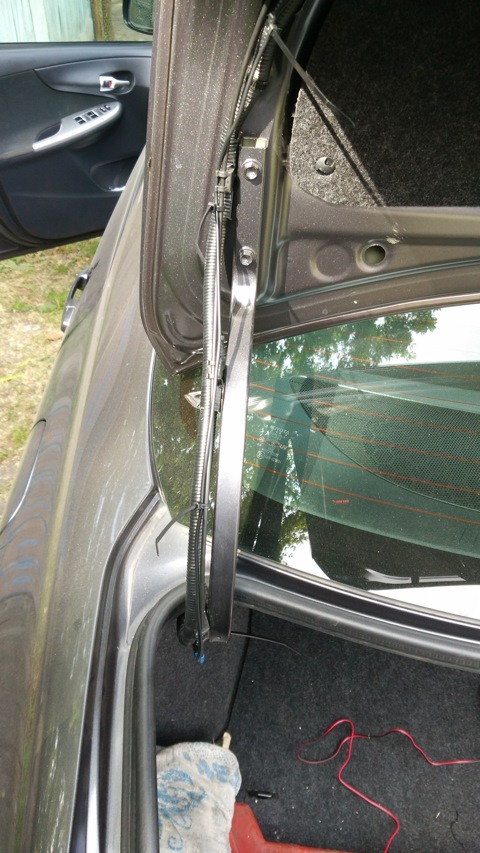
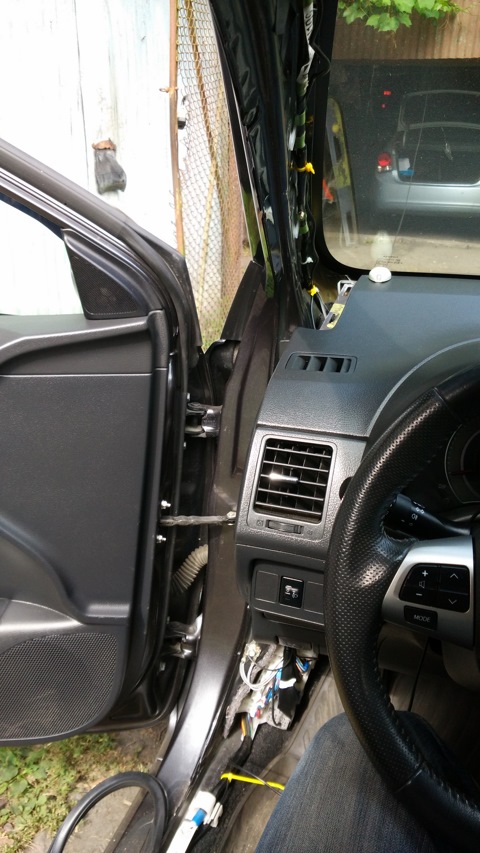
Every time doing something with the salon, I am surprised how the Japanese did everything smartly. It is very easy to disassemble and assemble, nothing breaks or creaks after assembly.
I install the mirror over the regular one.
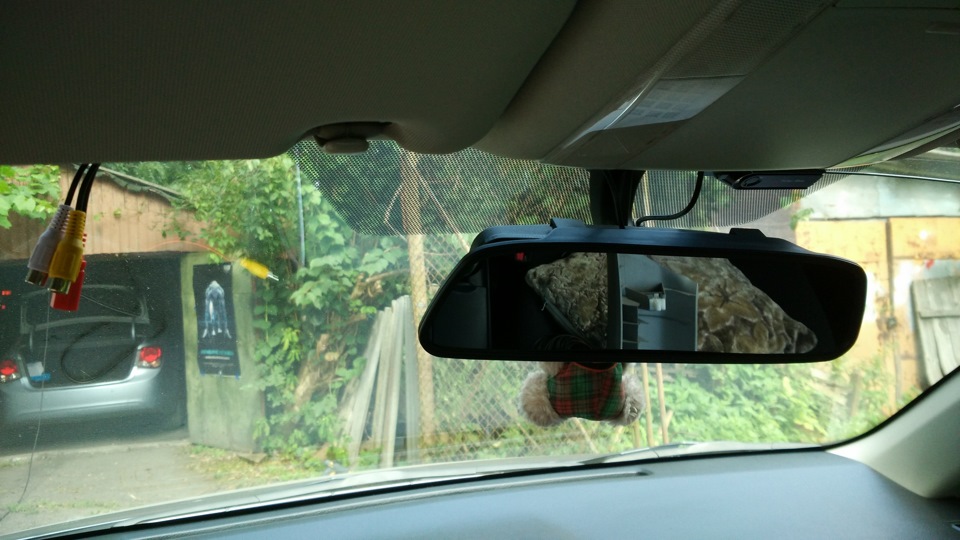
I will power it in the same way as the DVR. The only difference is that the mirror operates from 12 volts, and it does not need any power supplies. The power cord and video signal wire will go first under the ceiling, then under the decorative left pillar, and then under the sealing rubber of the left door.
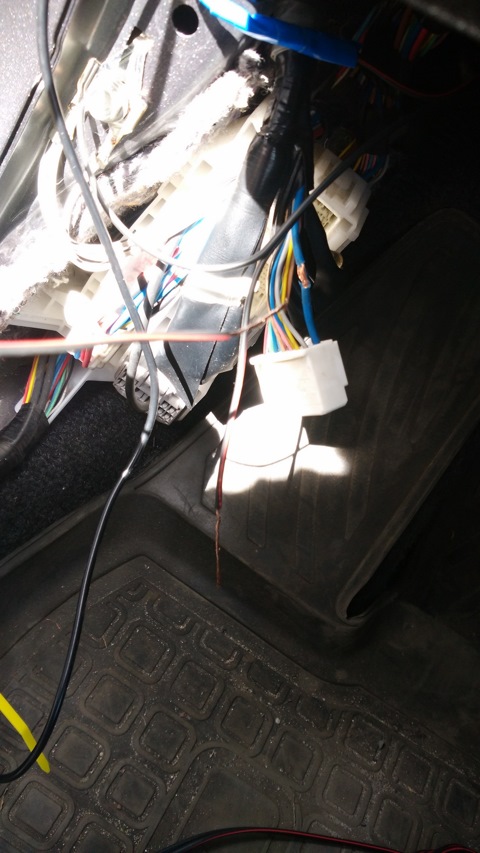
I take food for the camera from the reversing light.
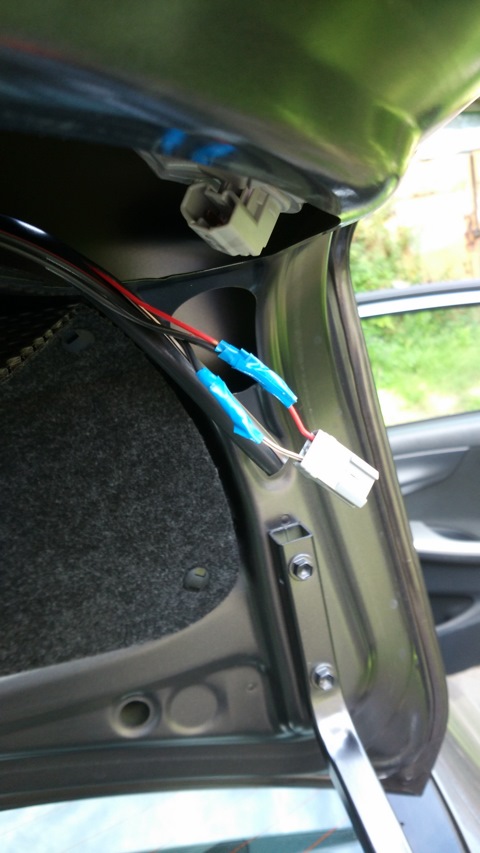
The green wire is a plus.
White wire - minus.
The mirror itself turns on the screen when a video signal appears at the input.
I connect the room illumination built into the camera to the remaining empty connector of the standard room illumination, respectively, the red wire with red, black and white.
The final view of the entire system is as follows:
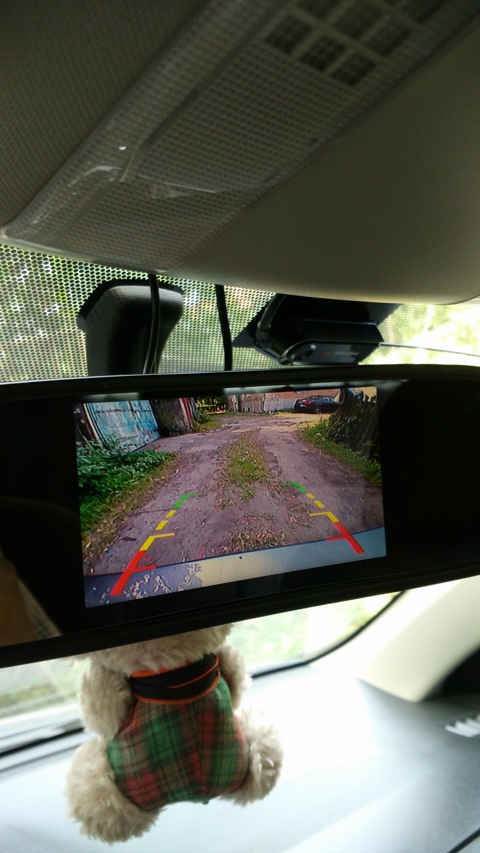
Screen
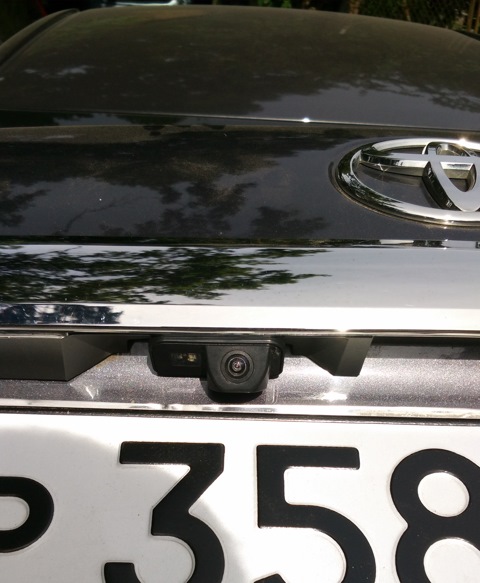
Camera
The price at the time of ordering was 47 bucks. Installation time took 4 hours.
Source: https://www.drive2.ru/l/7474512/
![E140/E150 [2006 - 2010]](/uploads/Toyota_Corolla_E140_2006_-_2010_.jpg)