Tools:
- Open-end wrench 10 mm
- Screwdriver flat medium
- Large flat screwdriver
- Compressometer diesel
- L-shaped socket wrench 8 mm
- L-shaped socket wrench 6 mm
- Hex Key 8mm
- Open-end wrench 17 mm
- Nozzle for crank 27 mm
- Extension
- ratchet
- Nozzle on the crank 10 mm
- Collar for end nozzle
- Extension
- Diesel injector puller
- torque wrench
- Electric hair dryer technical
Notes:
This repair description also applies to Fiat Scudo (I) 1995-2007 and Citroen Jumpy (I) 1994-2006. The repair is described for the DW8 series diesel engine.
If the engine does not develop full power or runs rough, and if it is not related to the fuel system, a compression test can provide you with information regarding the condition of the engine. If you perform this check regularly, you can detect a developing malfunction in advance.
To obtain correct measurements, check that the battery is fully charged, the car's starter is working and the engine is turning at a speed of at least 200 rpm.
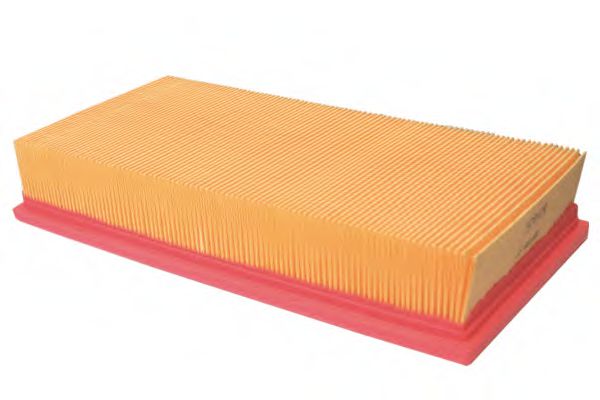
1. To gain access to the Peugeot Expert engine fuel injectors, you must first remove the air filter housing with pipes, as described in this article.
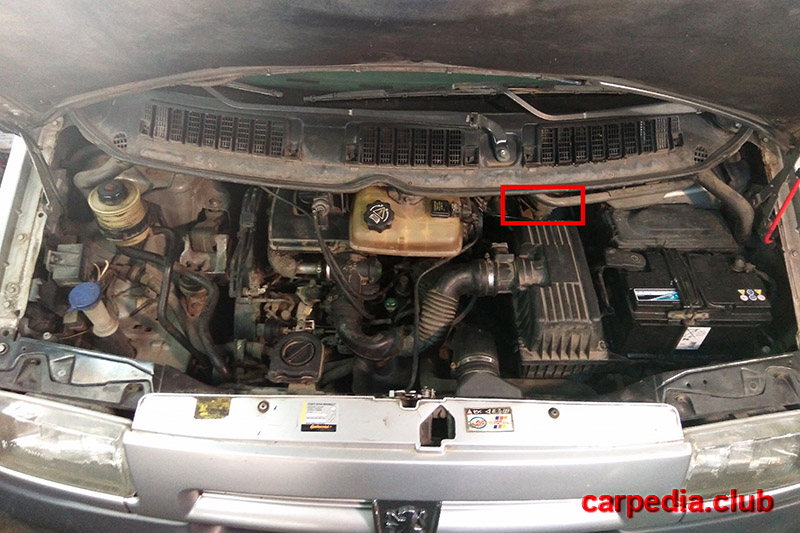
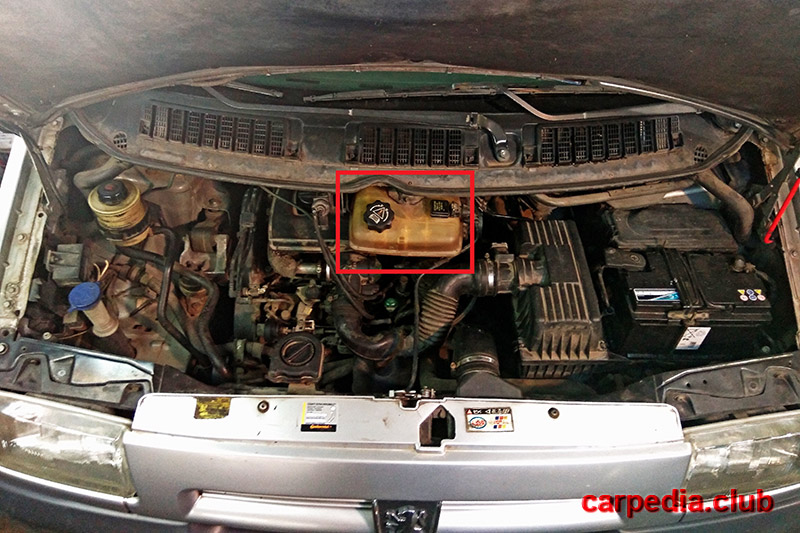
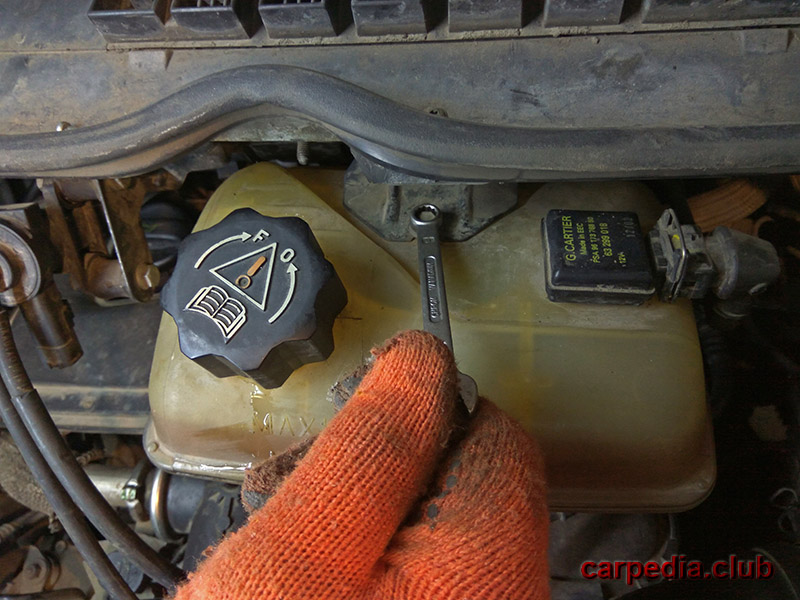
2. Unscrew a bolt of fastening of a broad tank of system of cooling.
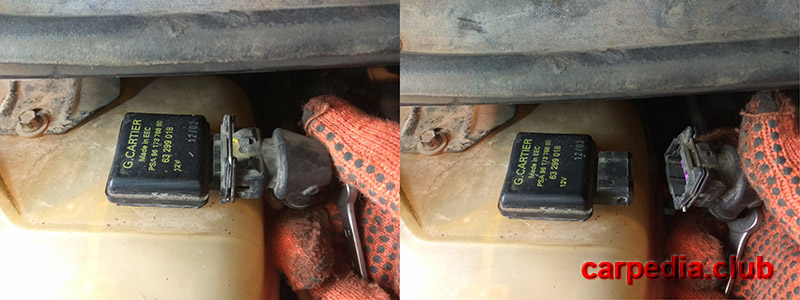
3. Disconnect the wire terminal from the liquid level sensor in the expansion tank.
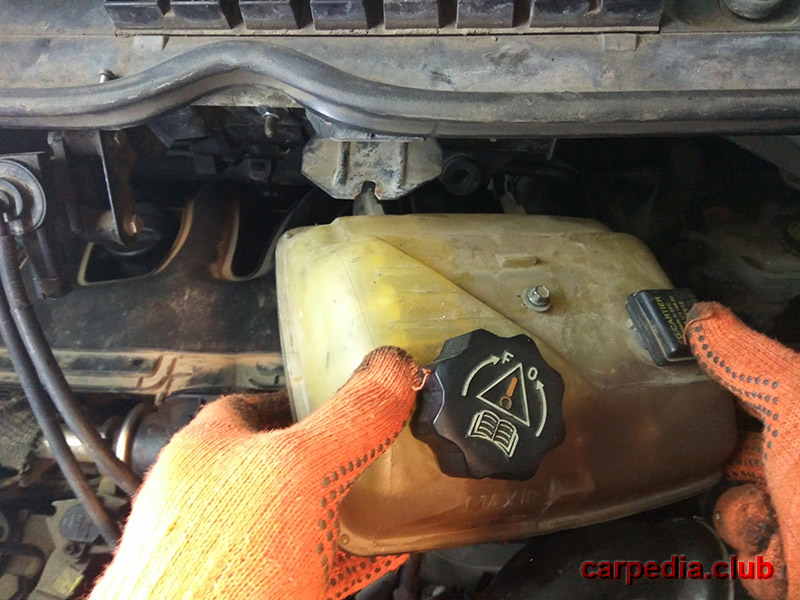
4. Take the expansion tank to the side so that it does not interfere with further work. Be careful not to pull too hard on the tank so as not to rip off the hoses.
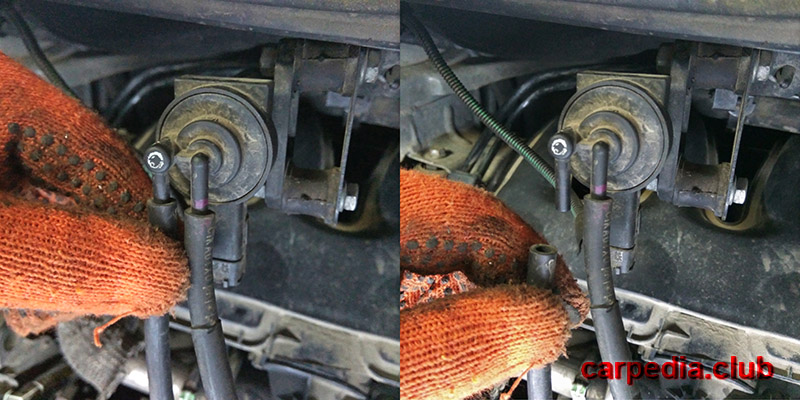
5. Disconnect the hoses from the exhaust gas recirculation (EGR) control valve.
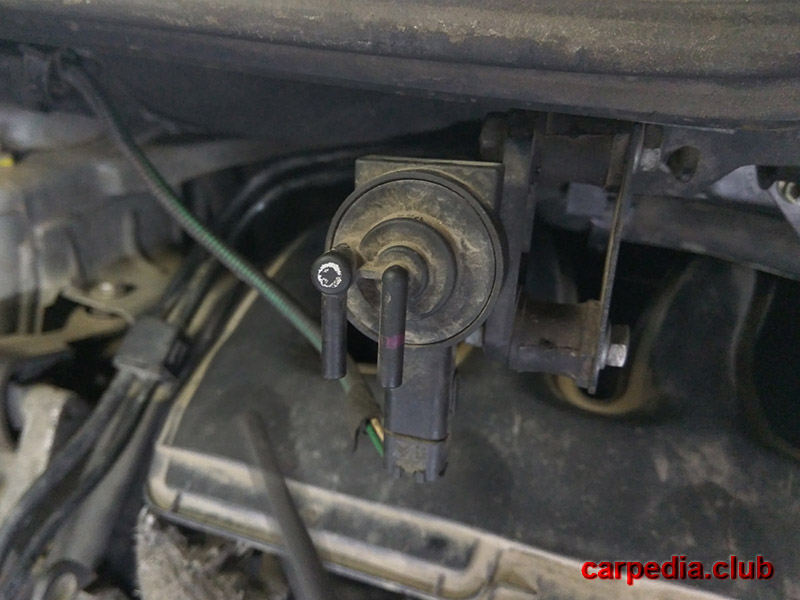
6. Unclench the clamp of the joint of the air duct leading to the intake manifold and disconnect it from the EGR system dispenser.
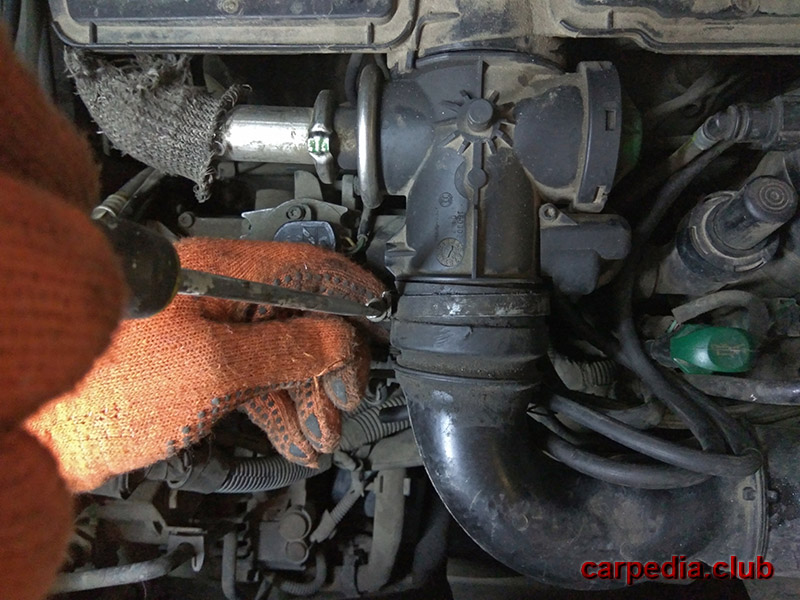
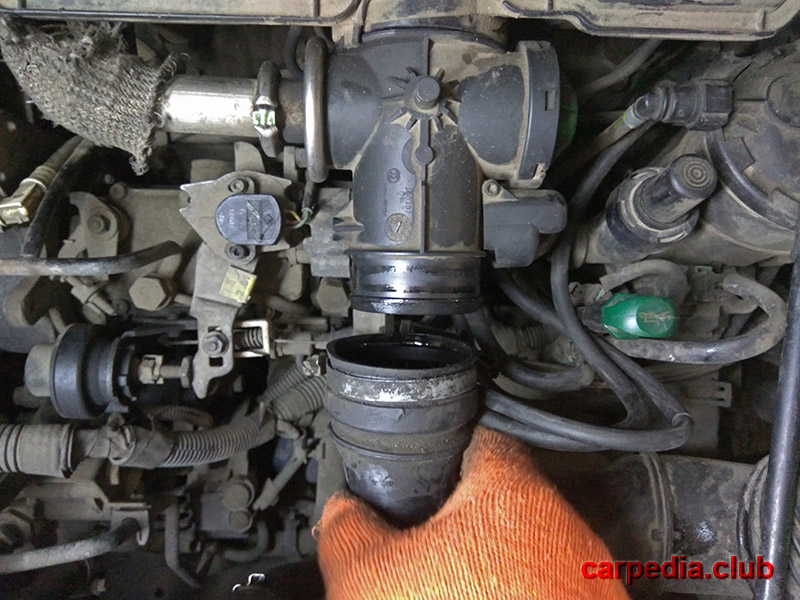
7. Unclench the clamp that secures the exhaust gas supply pipe to the EGR distributor, pull off the pipe and take it aside.
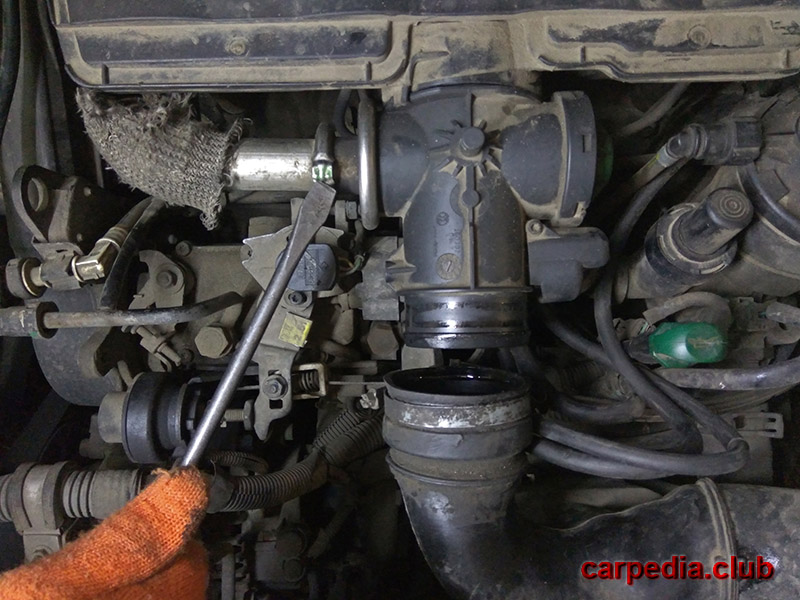
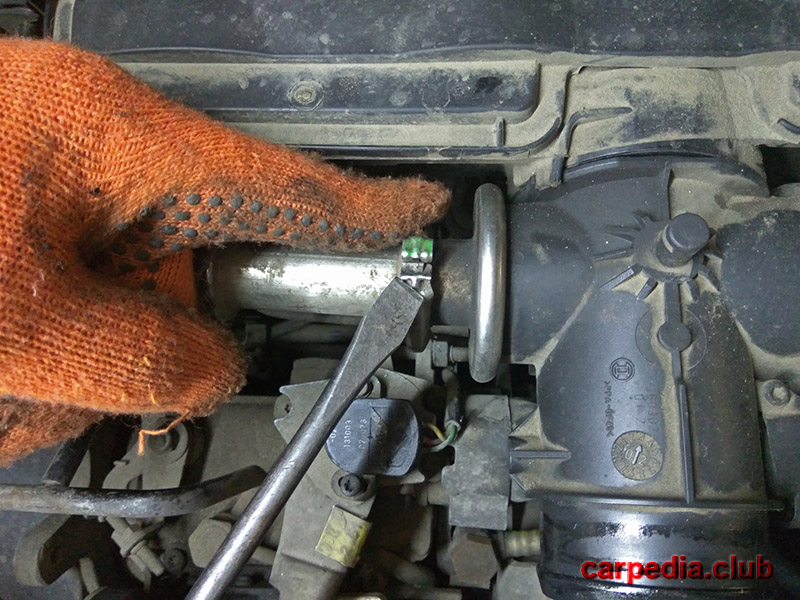
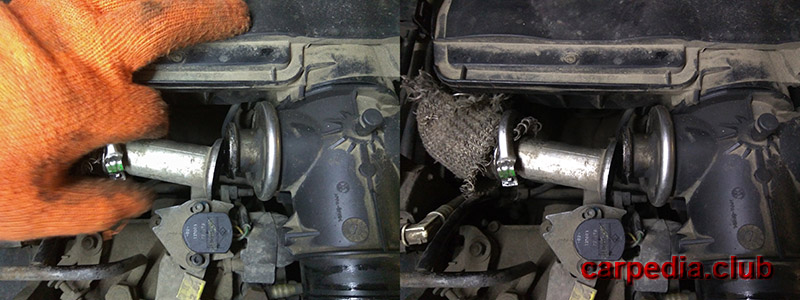
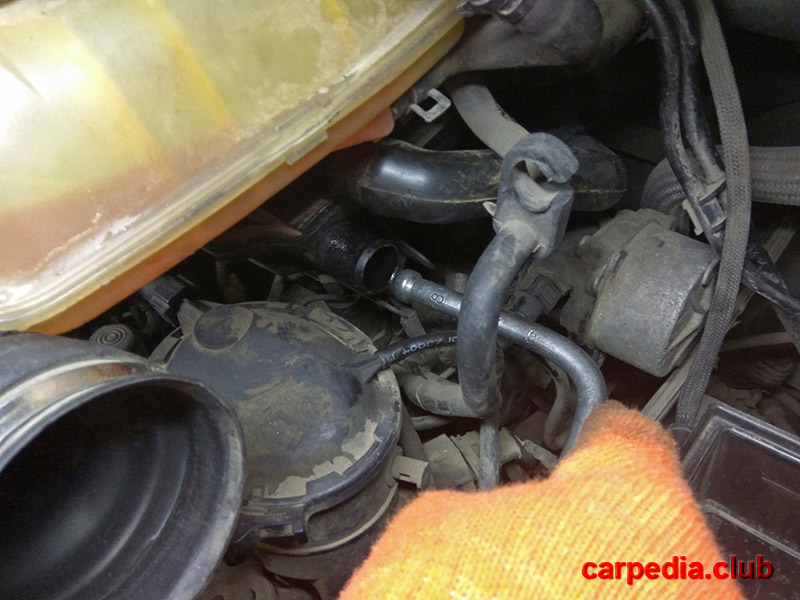
8. Unclench the fastening clamp of the crankcase ventilation pipe and remove the pipe from the intake manifold.
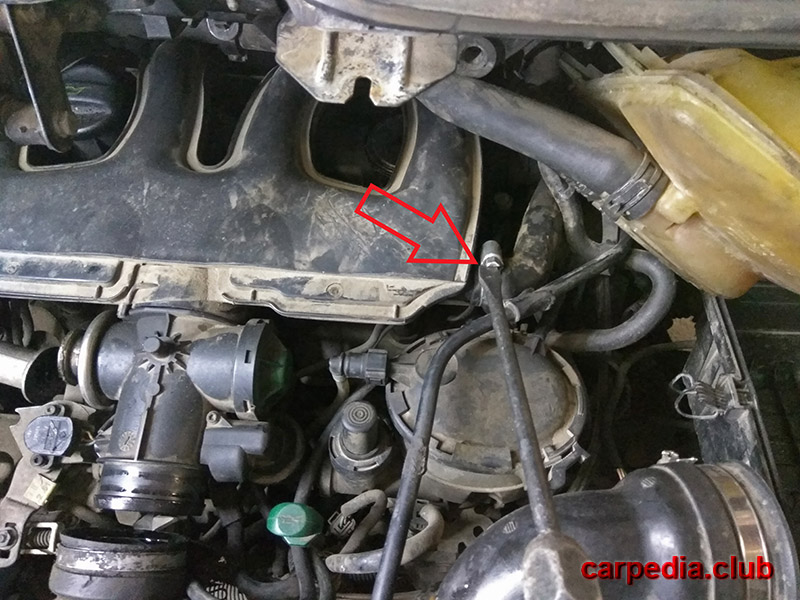
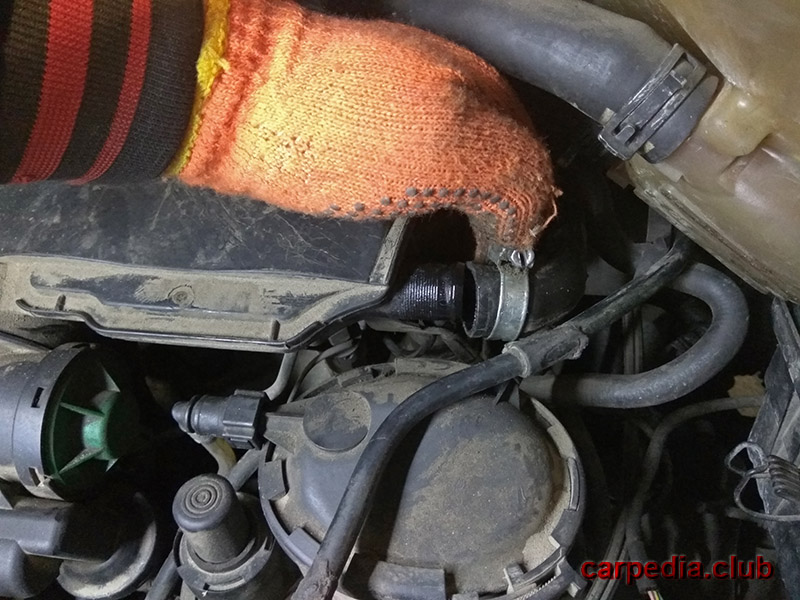
9. Unscrew the fastening nut and remove the glow plug power wires from the terminal.
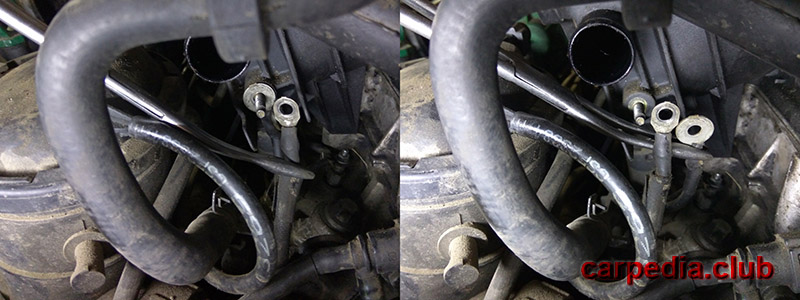
10. Unscrew and remove the engine oil filler cap so that it does not interfere with the removal of the intake manifold. Cover the filler neck after removing the manifold to keep dust and dirt out of the engine.
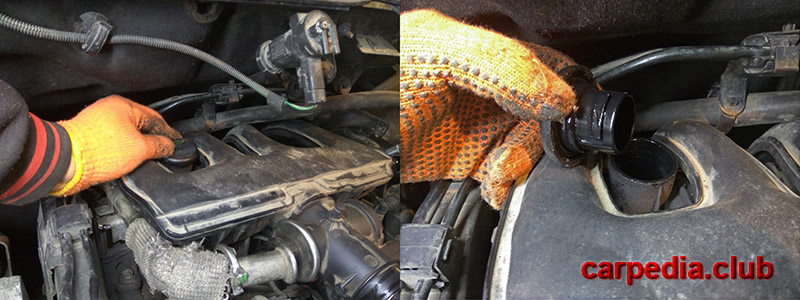
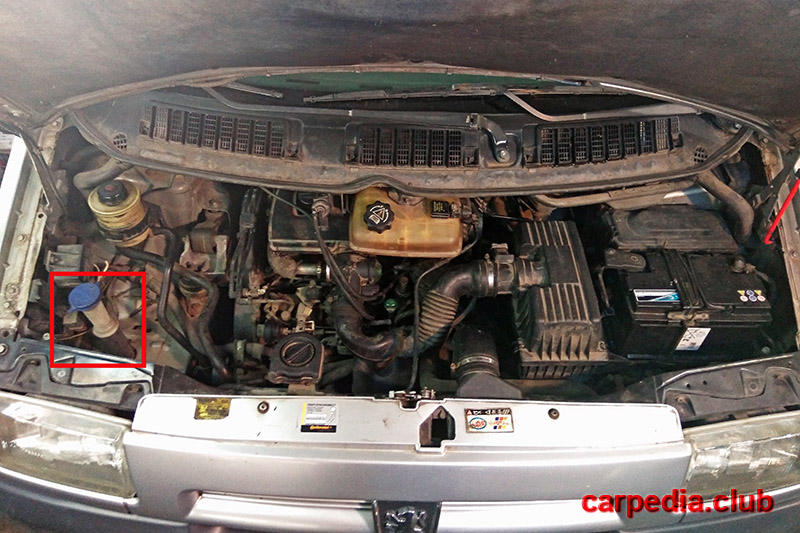
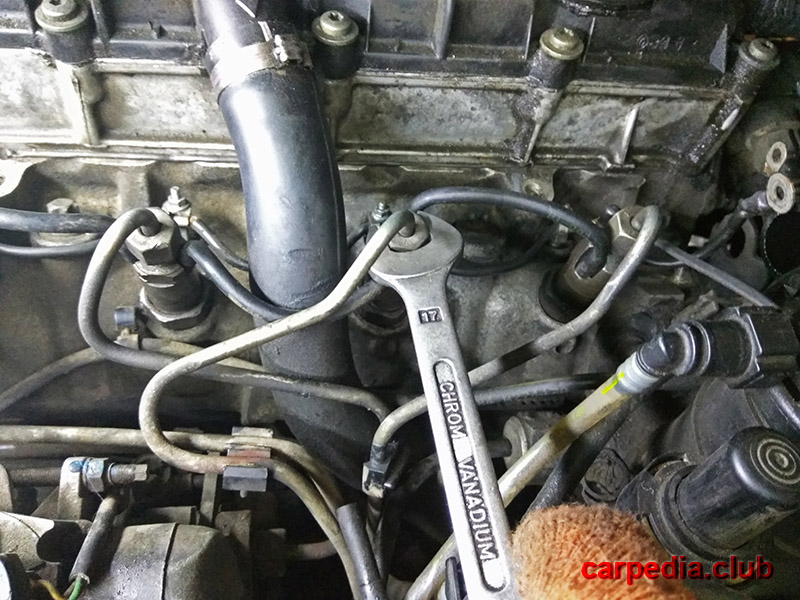
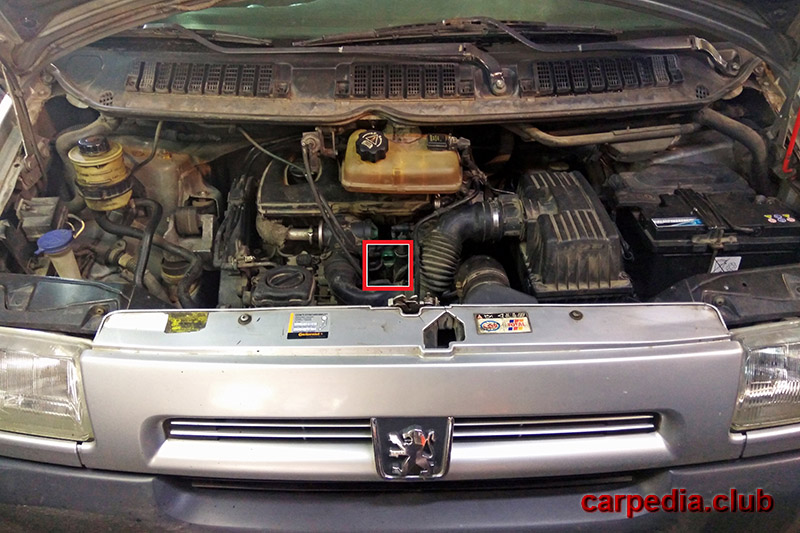
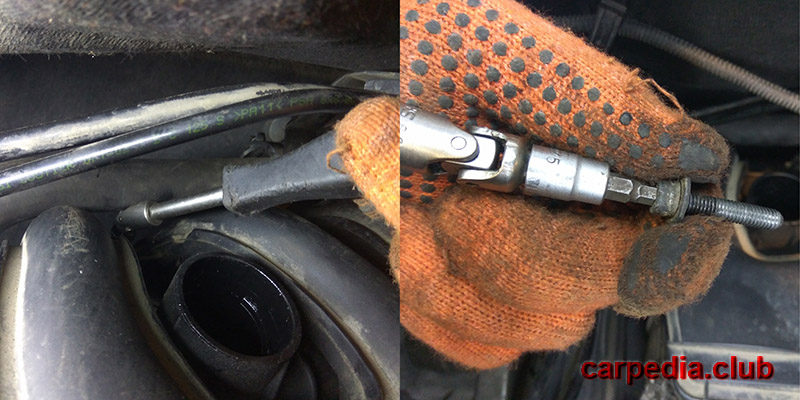
11. Unscrew the 4 bolts securing the plastic part of the intake manifold (the first two images show two options for keys to access and unscrew the bolt next to the neck).
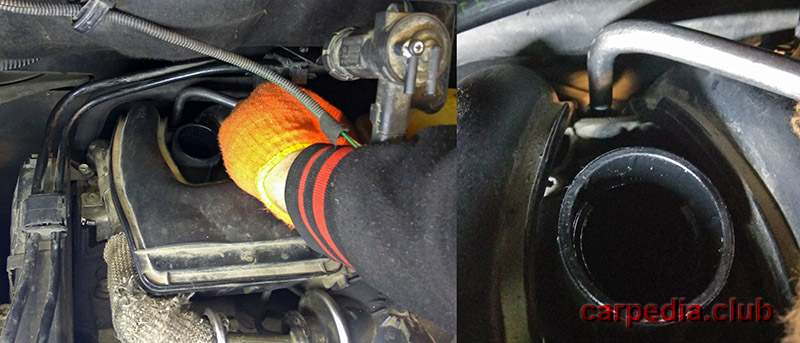
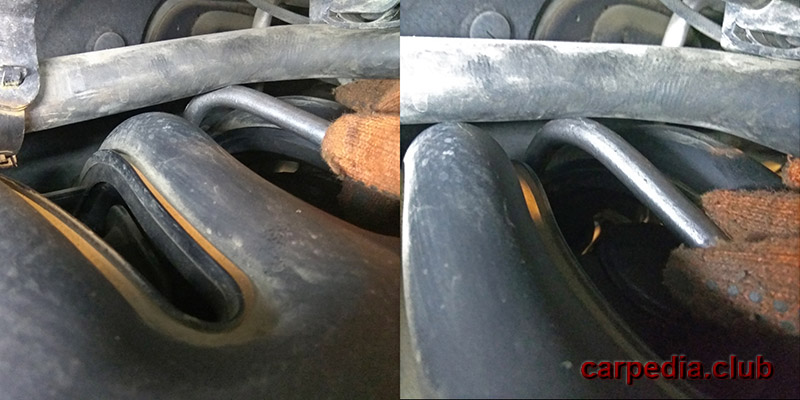
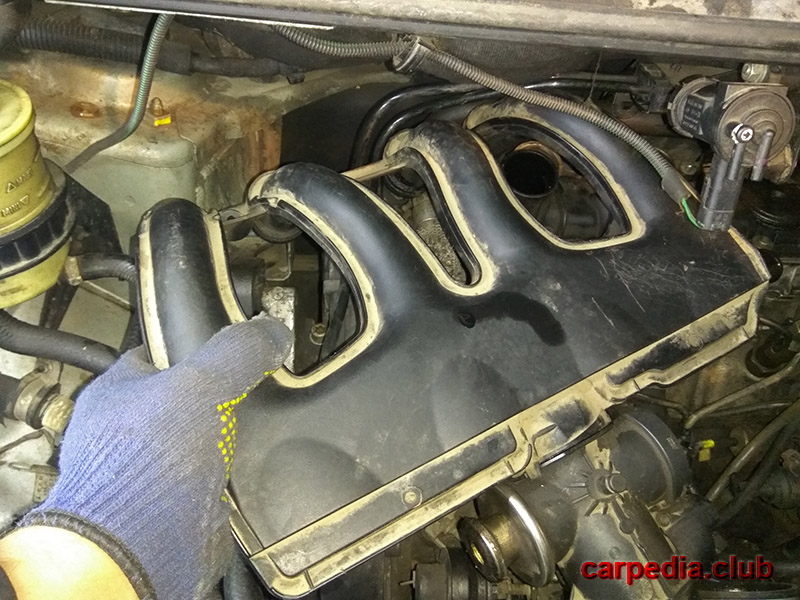
11. Remove the Peugeot Expert plastic intake manifold.
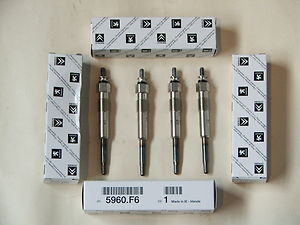
12. Disconnect and unscrew all Peugeot Expert glow plugs as described in this article.
Note:
Remember which spark plug is from which cylinder. It is recommended to screw them back into place.
13. Unscrew all nozzles as described in this article. The measurement is made in turn in each of the cylinders.
14. Screw a special adapter into place of the removed nozzle for connection with a compression tester. This and subsequent actions are performed for all engine cylinders in turn.
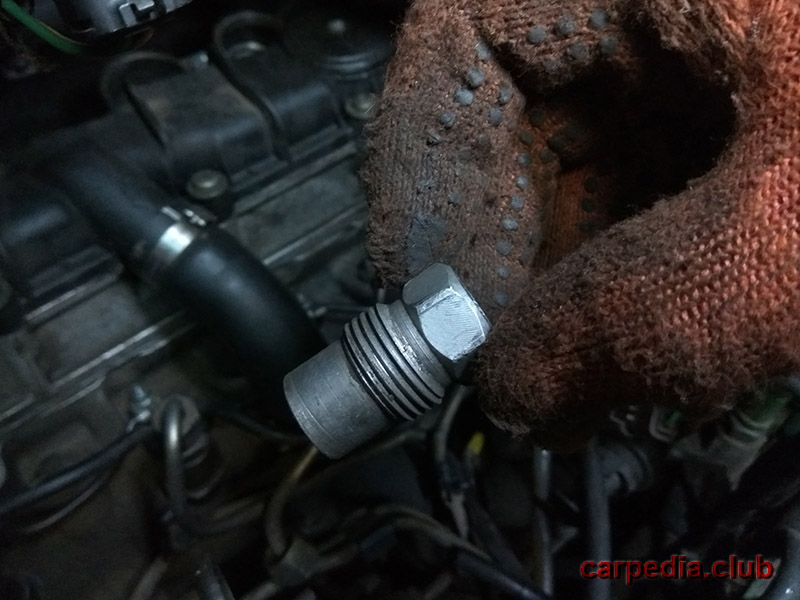
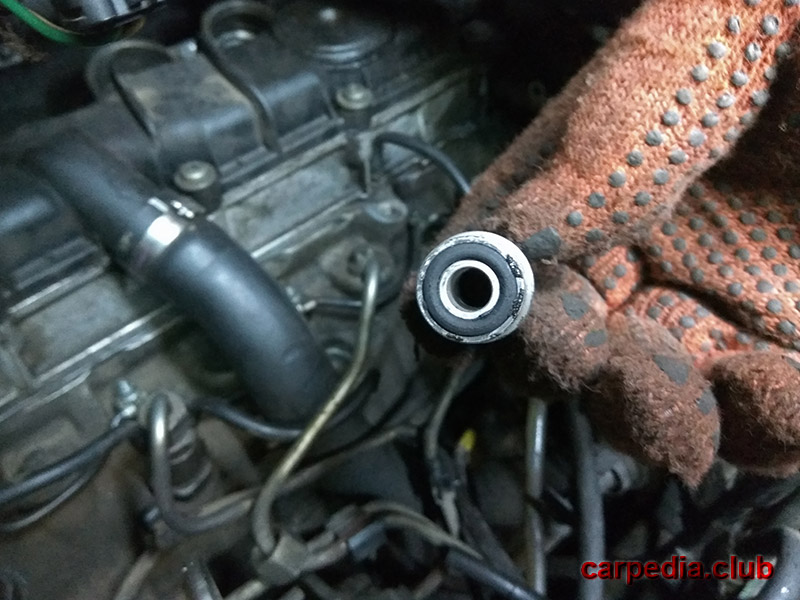
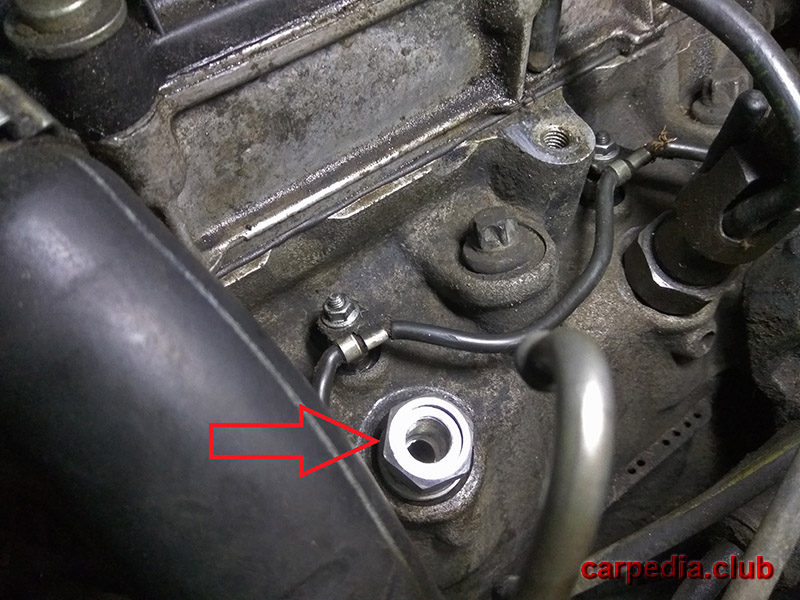
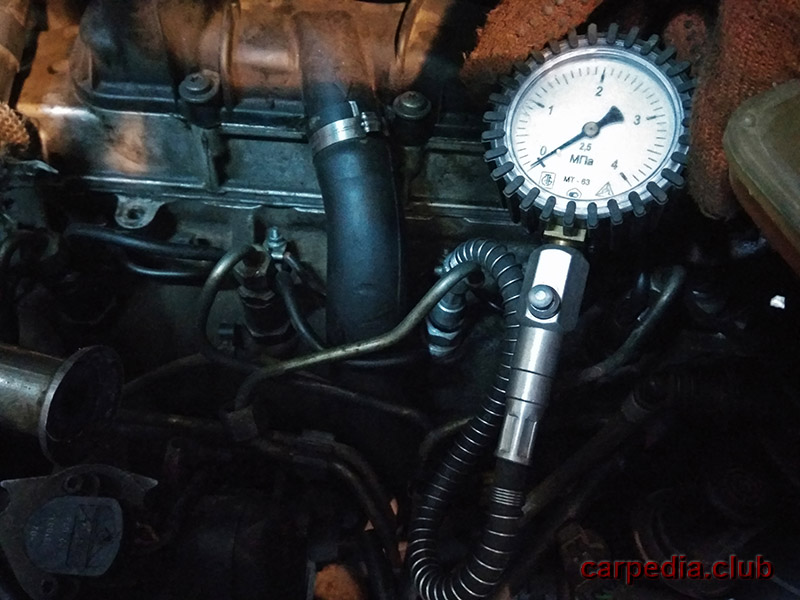
15. Connect the compression gauge to the fitting and measure the compression.
Note:
Use a diesel compression tester as these engines develop higher pressures than gasoline engines. The compression tester is screwed through the nozzle into the hole for the glow plug or nozzle.
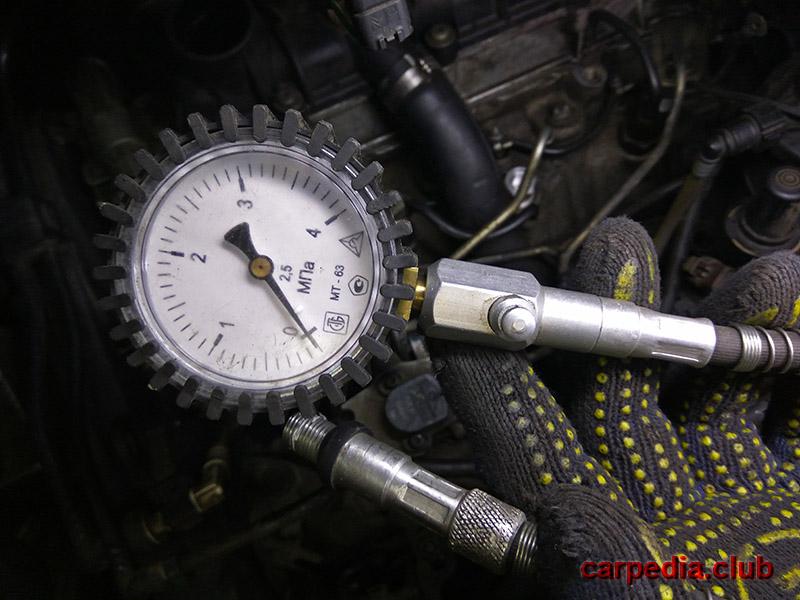
The assistant depresses the gas pedal (thereby opening the throttle valve) and rotates the engine with the starter until the readings on the device stop increasing. Record the pressure in each cylinder being tested and repeat this procedure for all other cylinders.
16. Having measured a compression in the engine, collect all details upside-down.
The article is missing:
- Tool photo
Source: carpedia.club
