![8 generation [2005 - 2011]](/uploads/Honda_Civic_2011_-_2012.jpg)

Note:
If you do not use the parking brake, dirt and moisture stagnate in the cable sheaths, the cables rust, stop moving in the sheaths and break. Therefore, we recommend using the parking brake in all cases when it is necessary, while not forgetting to adjust its drive from time to time.
Before you tighten the handbrake on the Honda Civic, you will first need to remove the upper part of the floor tunnel lining.
Removing the lining of the floor tunnel on the Honda Civic manual transmission
1. Pull down the gear knob boot ring.
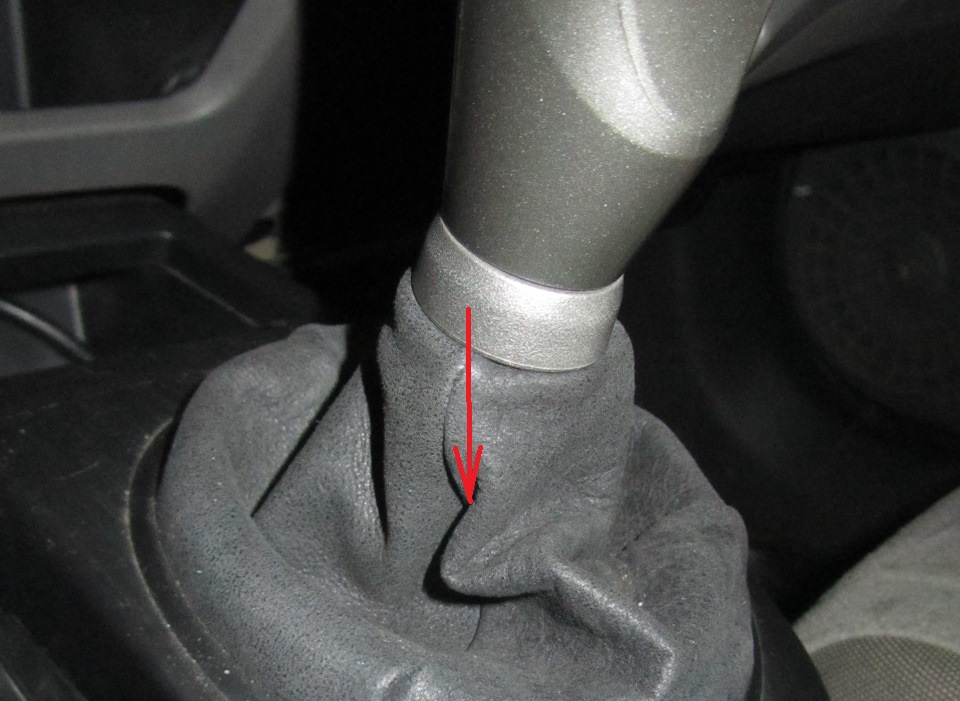
2. Overcoming the resistance of the latches, disconnect the cover from the handle.
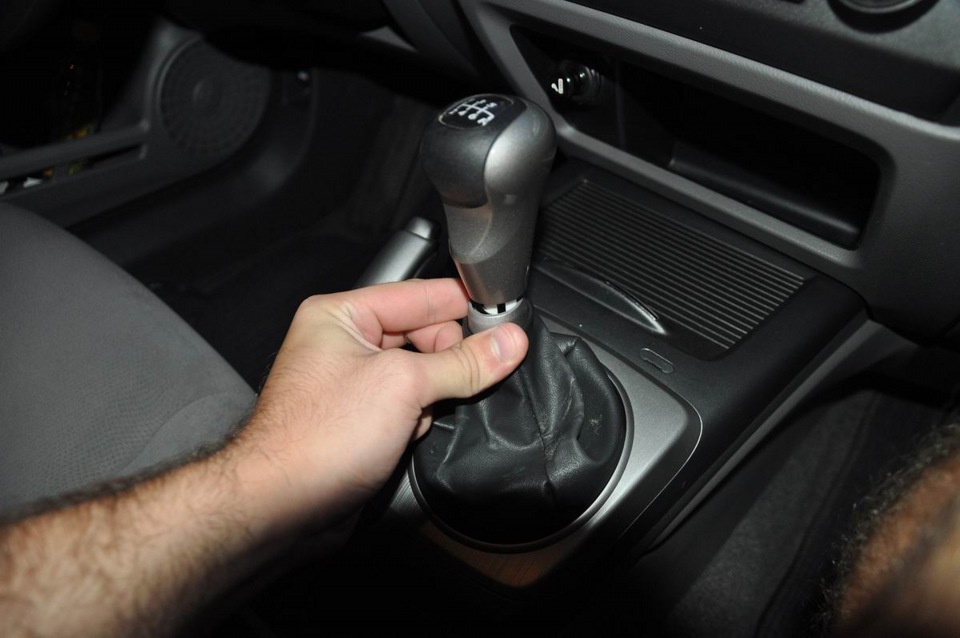
3. Unscrew counterclockwise and remove the handle from the lever.
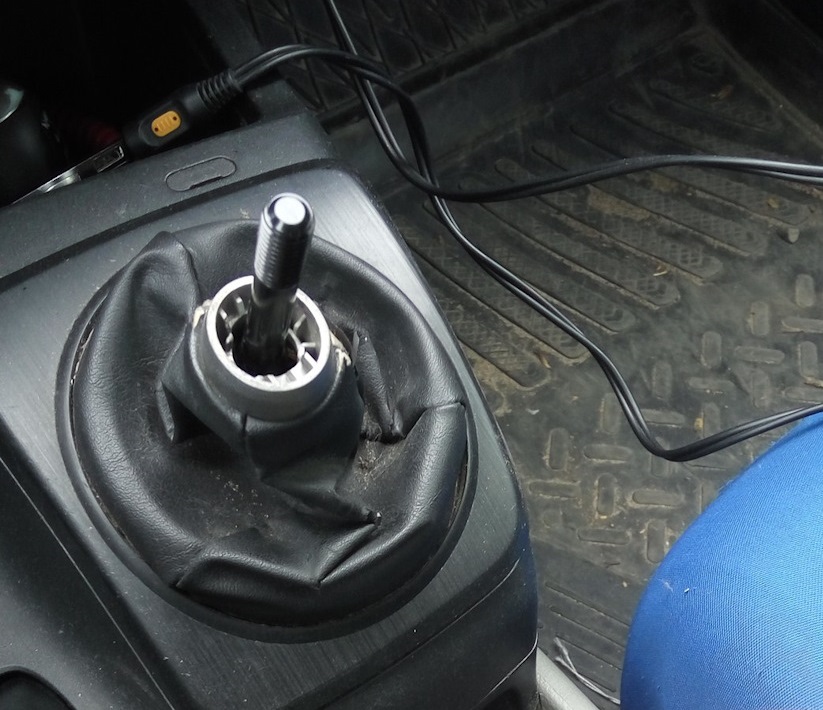
4. Pull the cover of the boot up and out of the latches.
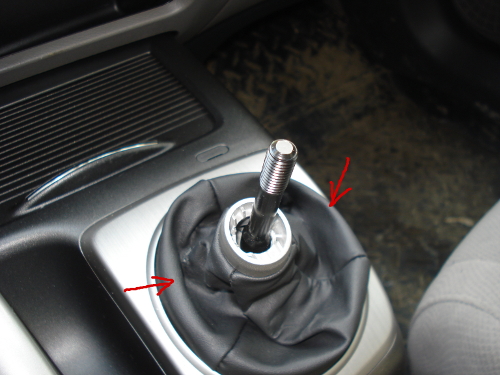
5. Remove facing together with a cover of the handle of a transmission.
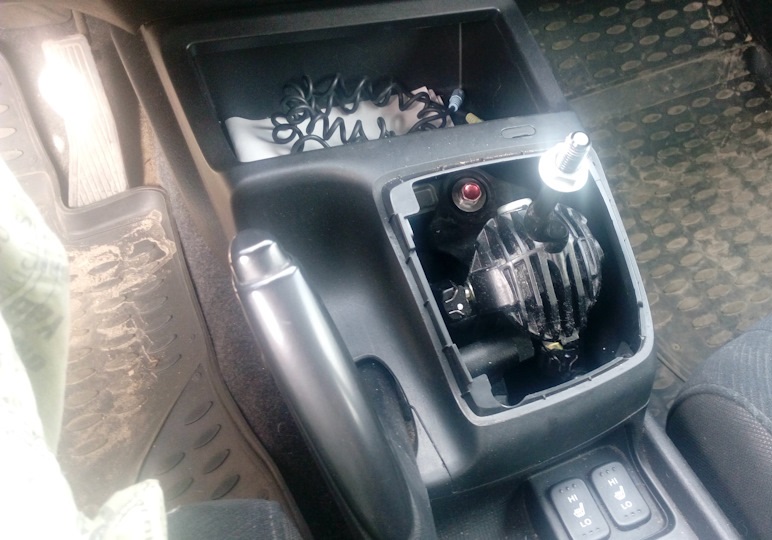
6. Pry with a flat screwdriver or plastic spatula and remove the upper part of the floor tunnel lining.
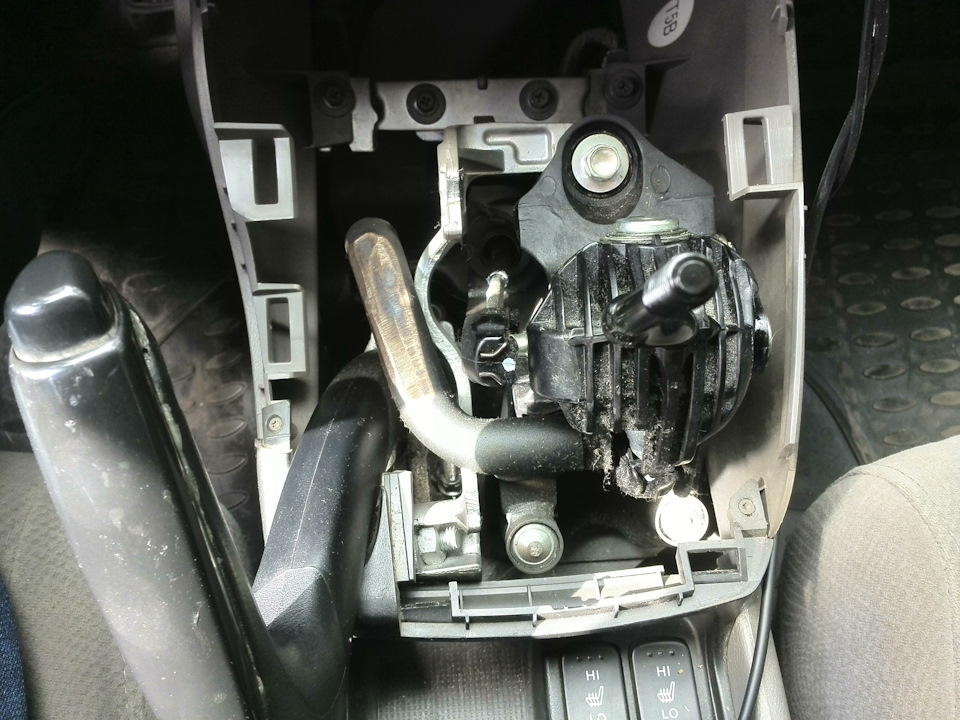
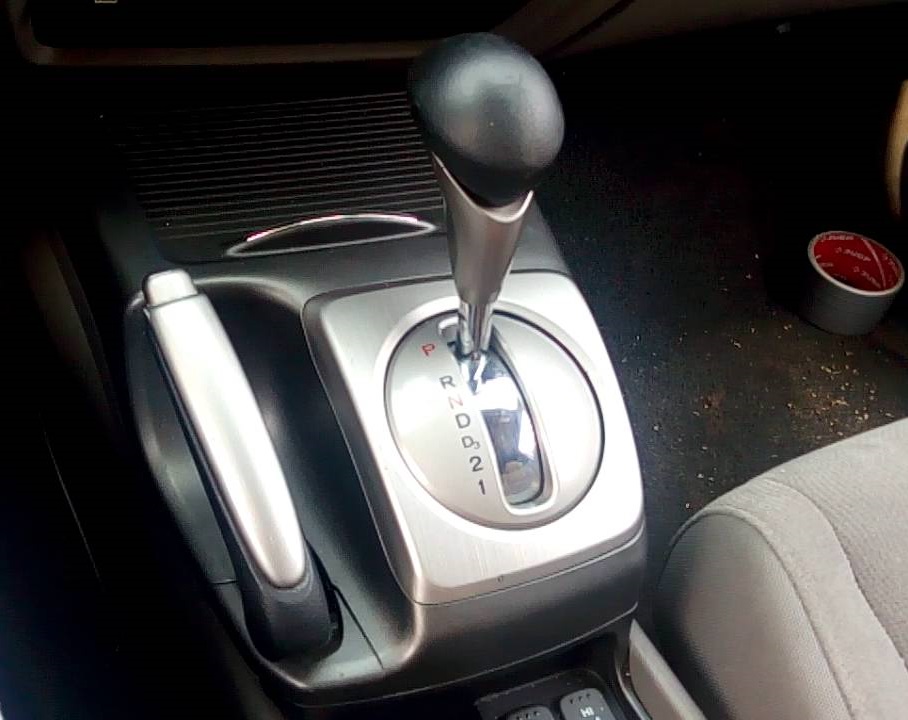
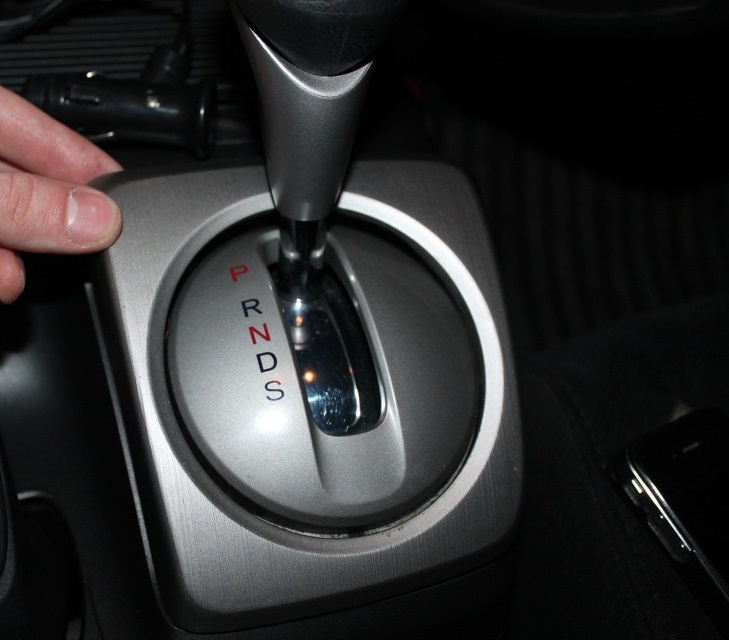
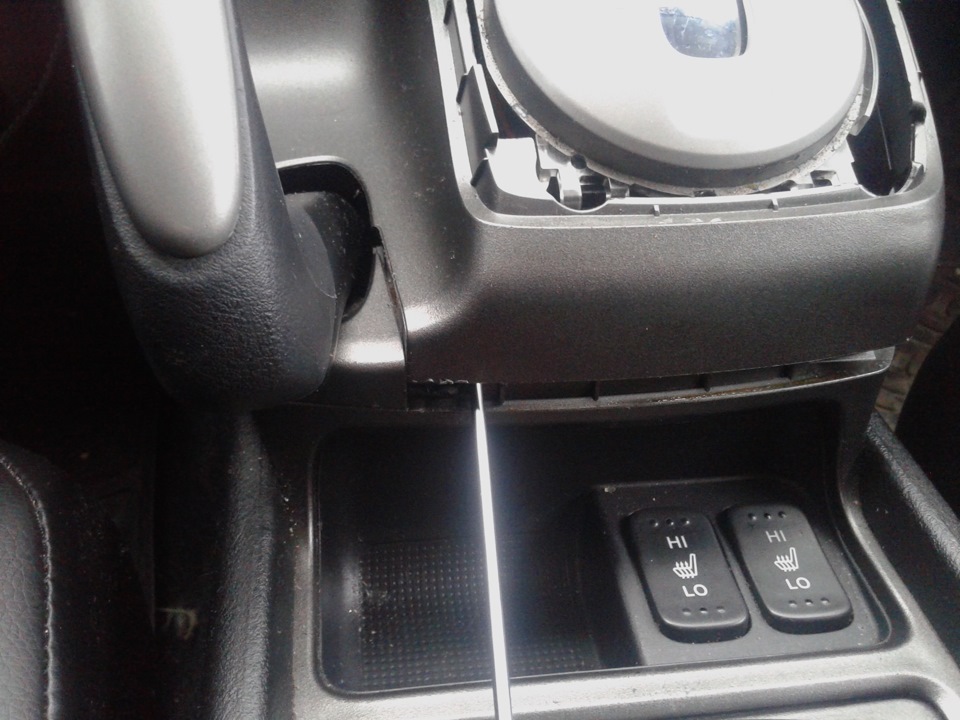
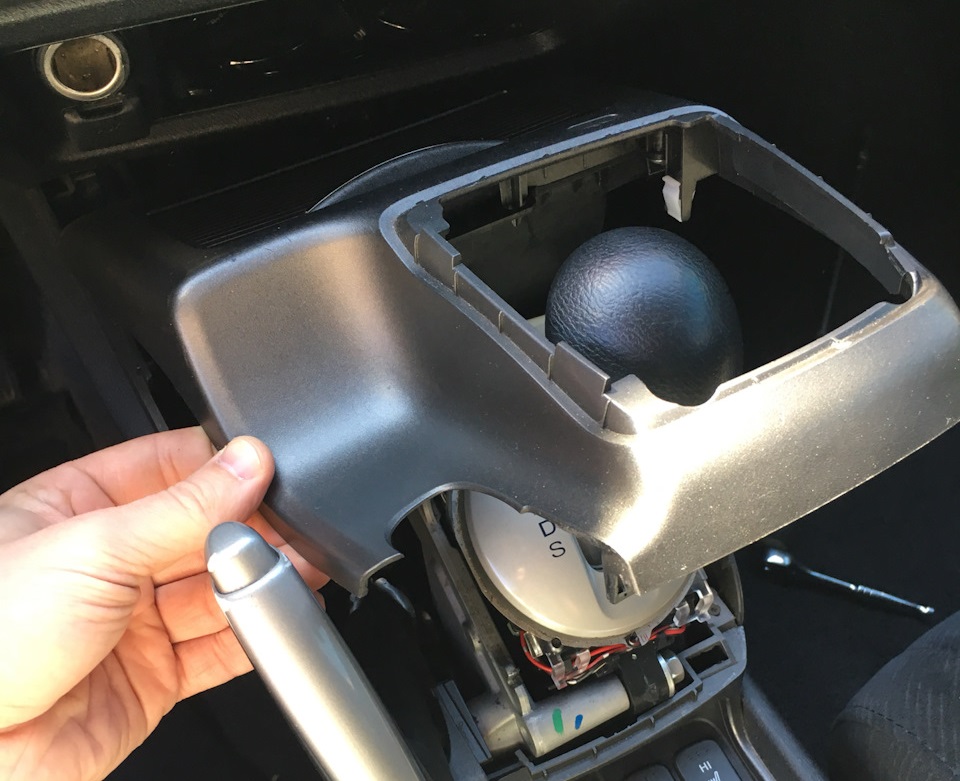
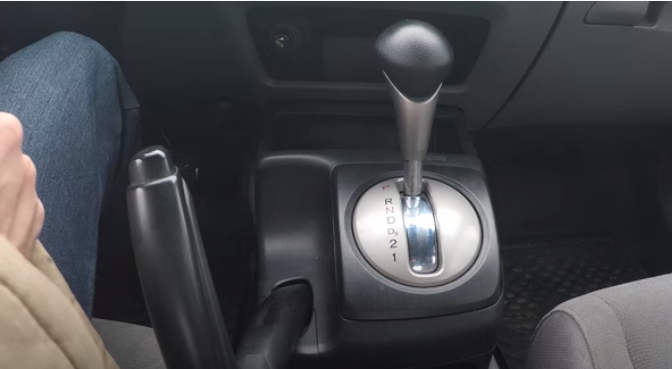
Removing the lining of the floor tunnel on the automatic transmission Honda Civic
1. Pry with a flat screwdriver or spatula and pull out the plastic cover of the automatic transmission selector from the 4 latches.
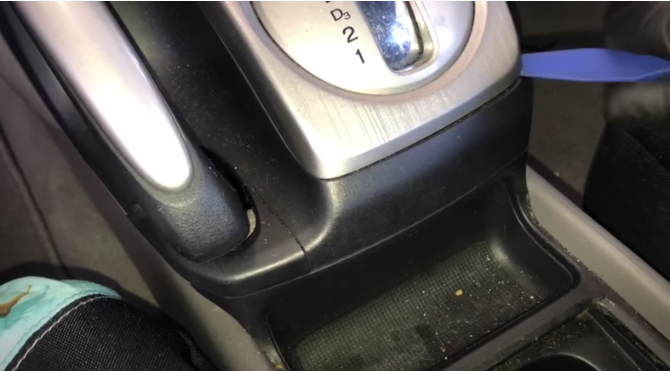
2. Remove the trim by pulling it up.

3. Pry with a flat screwdriver or plastic spatula and remove the upper part of the floor tunnel lining.
Honda Civic Parking Brake Adjustment
1. Fully release the parking brake lever. With a 10 mm socket with extension, turn and loosen the adjusting nut.
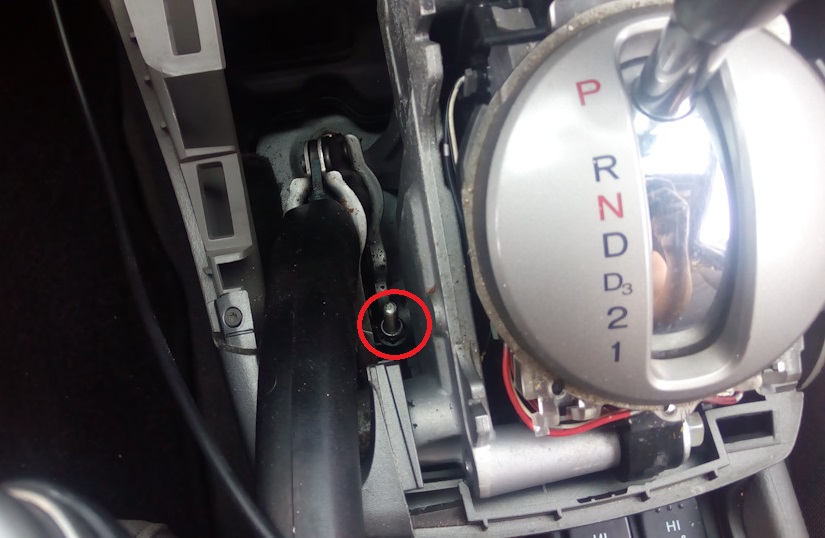
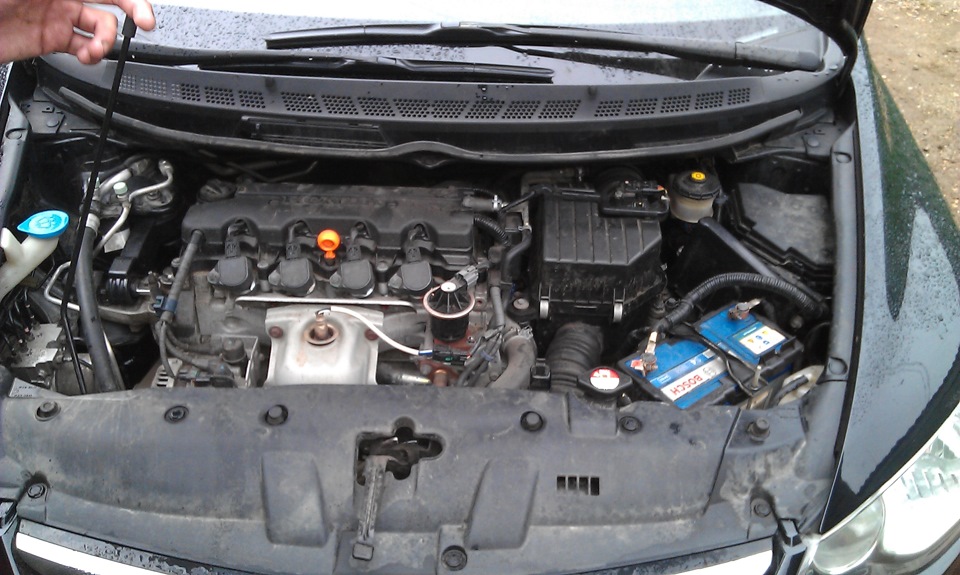
Adjusting nut automatic transmission Honda Civic
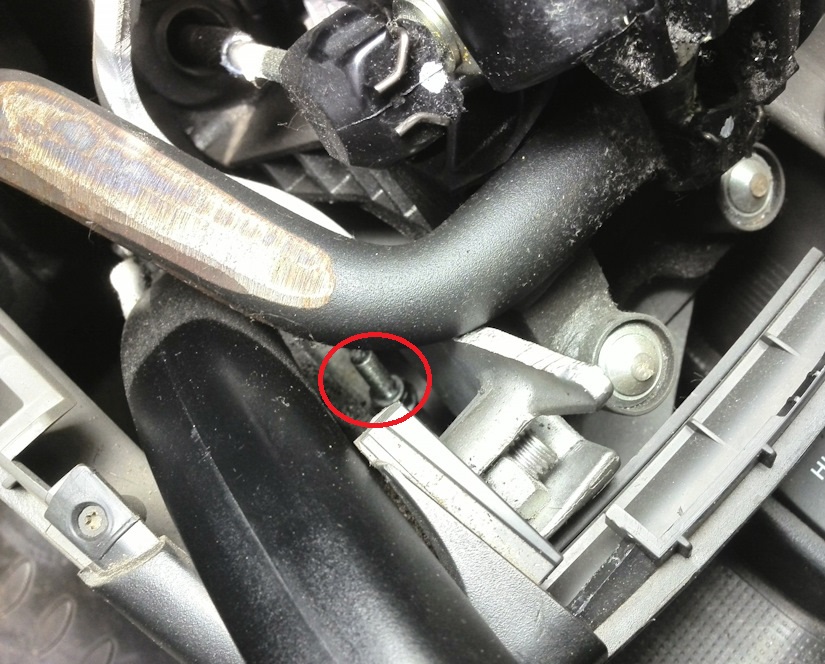
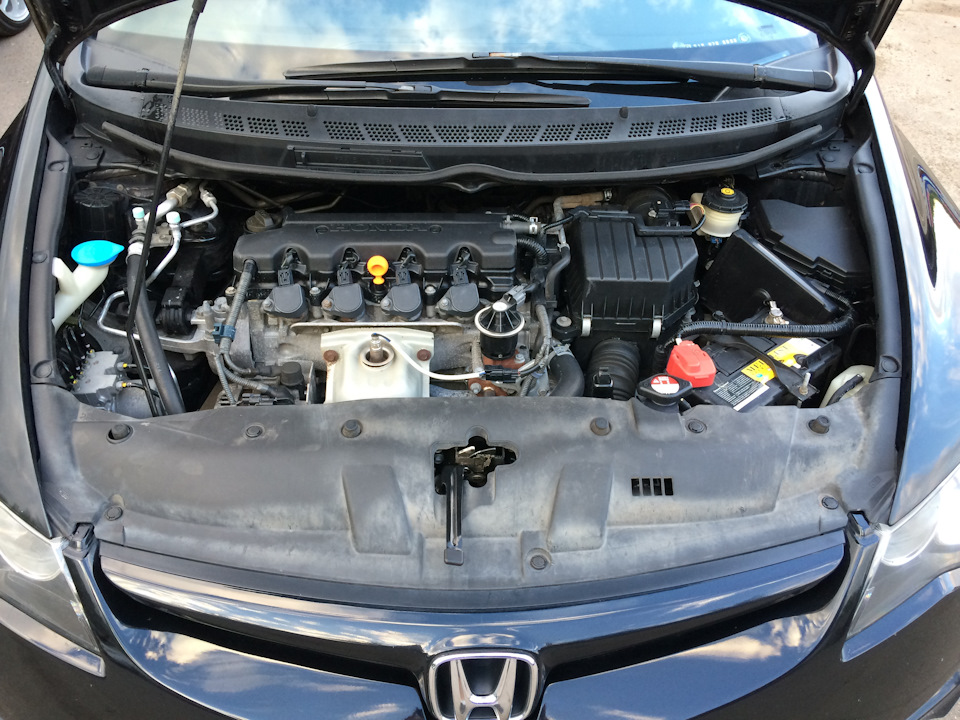
Adjusting nut manual transmission Honda Civic
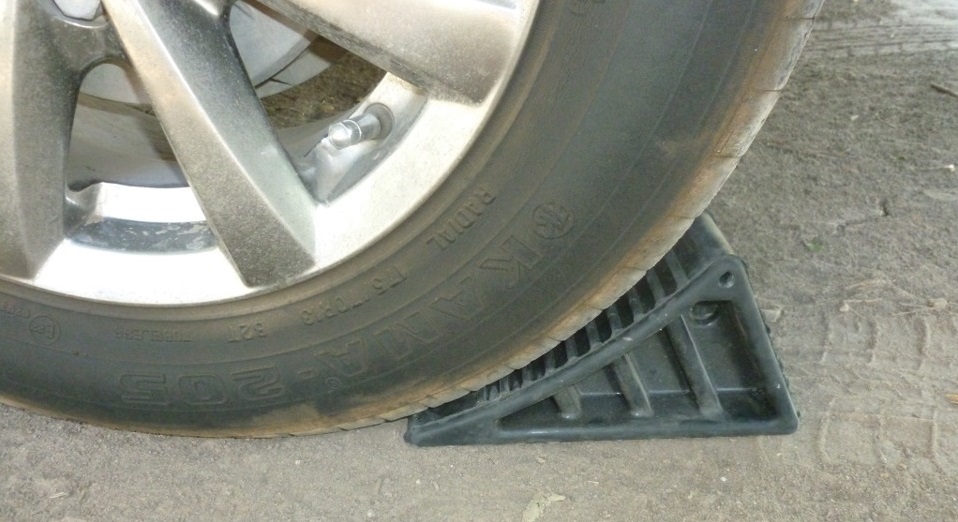
2. Install wheel chocks under the front wheels.
3. Use a wheelbrace to loosen the rear wheel nuts and raise the rear of the vehicle.
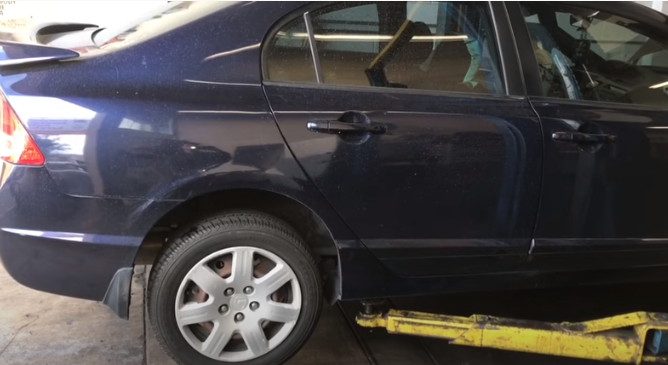
4. Place it on secure supports and remove the rear wheel.
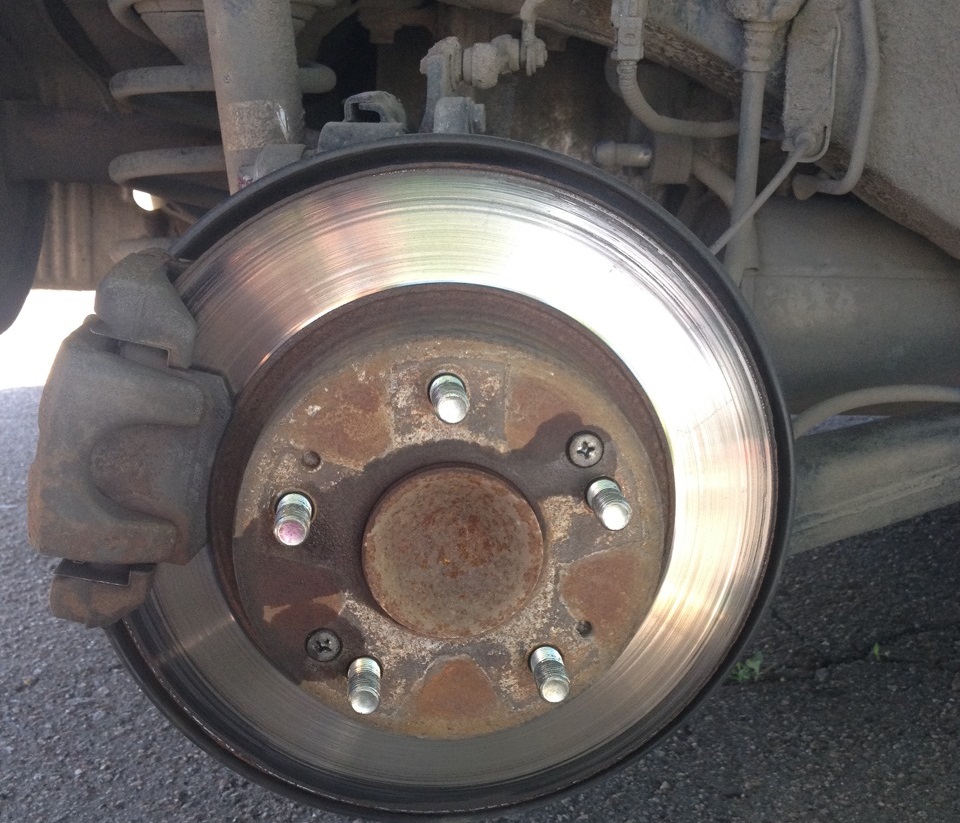
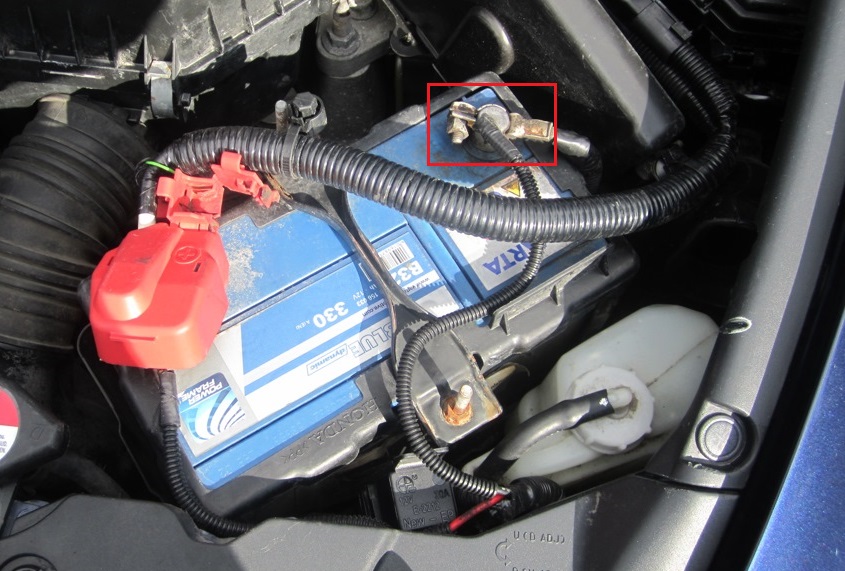
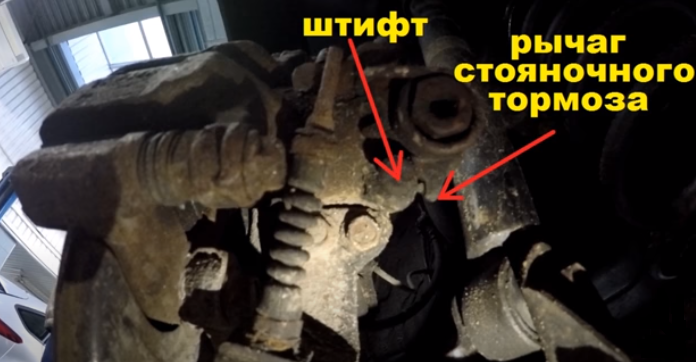
5. Make sure the parking brake lever on the Honda Civic rear caliper is connected to the end pin. If not, then the nut is not fully loosened.
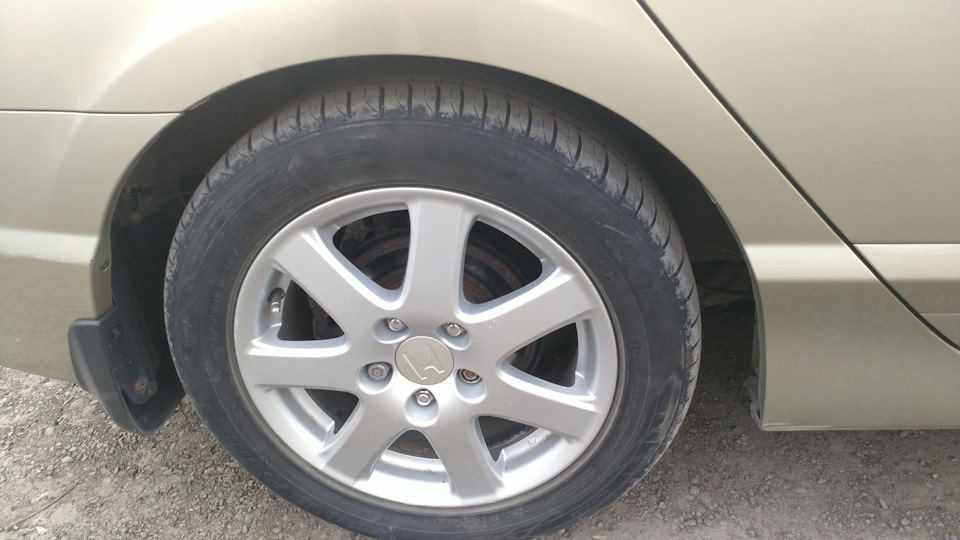
6. Reinstall the rear wheel.
7. Pull the parking brake lever toward you one click.
8. Turn the Honda Civic parking brake adjusting nut until the rear wheels start braking. (The machine must be raised on a jack.) Just turn the wheel by hand.
9. Fully release the parking brake lever and make sure the rear wheels turn freely and the brake discs are not touching. If necessary, repeat the adjustment.
10. Check the operation of the parking brake when pulling the lever to its full length (8 to 10 clicks).
11. Install the upper part of the floor tunnel lining and the gearbox trim in reverse order.
Source: carpedia.club