First, remove the actuator from the car and begin to disassemble it. First of all, we unscrew the actuator motor, remove the three hex bolts. To disassemble the engine, simply pull the case with a little effort, there is a magnet there and the engine will come out of the case. We look at how much dirt there is and clean everything, check the brushes, in my case they were 5 mm. We also look at the winding, if it is black and stinks of burning, then most likely the motor needs to be replaced.
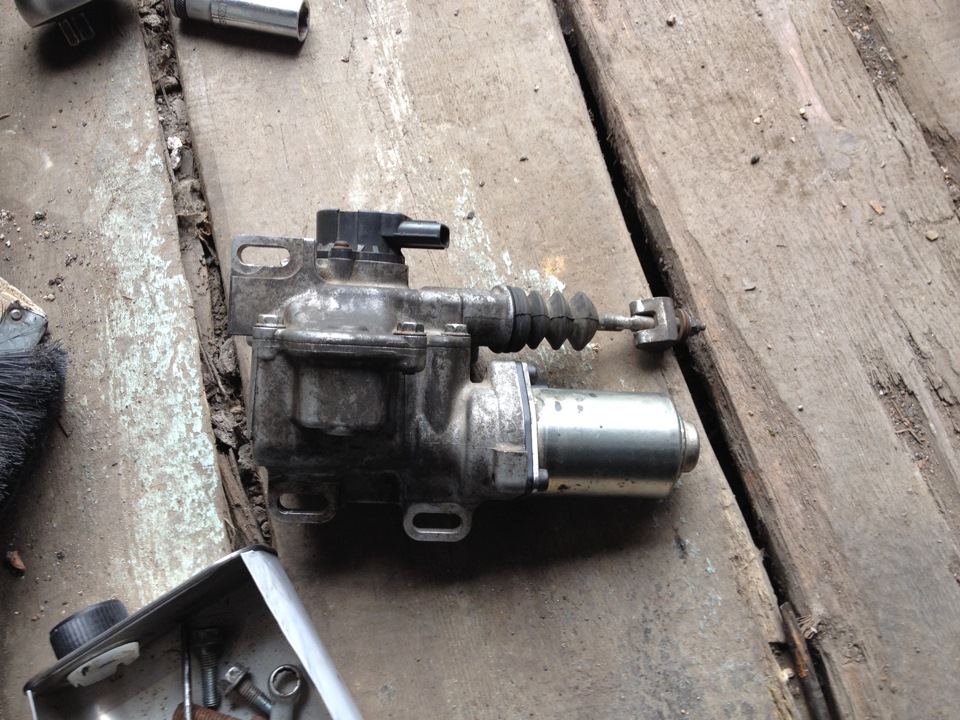
Removed actuator.
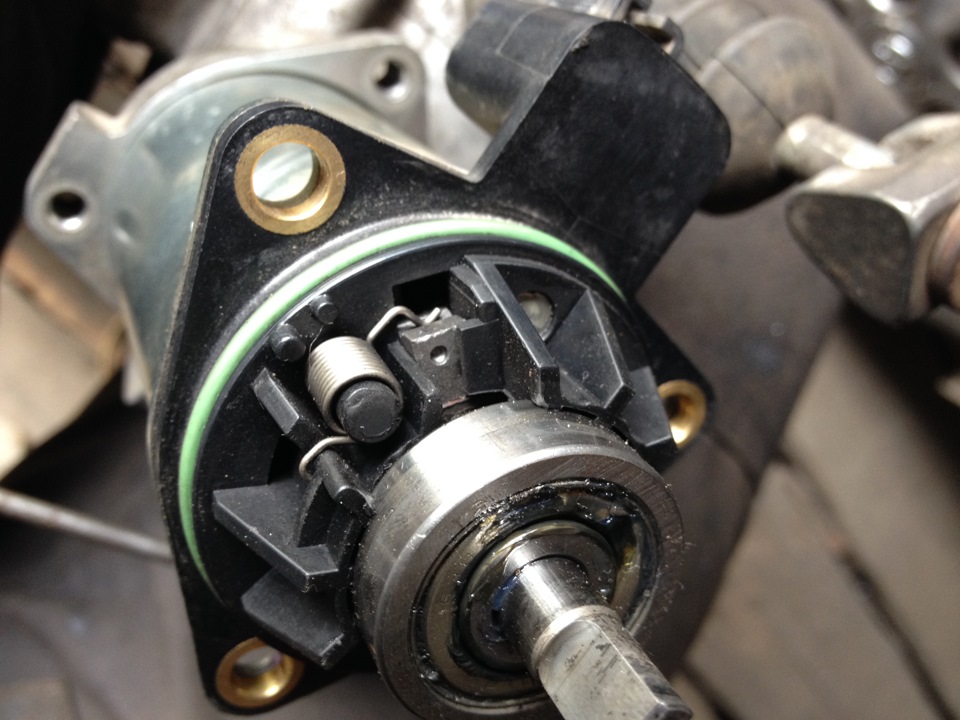
Actuator motor.
We begin disassembling the actuator, remove the sensor of the atuator, two bolts for a Phillips screwdriver, under it we unscrew the plate with the antennae, the nut by 6 (it is advisable to mark where the antennae are).
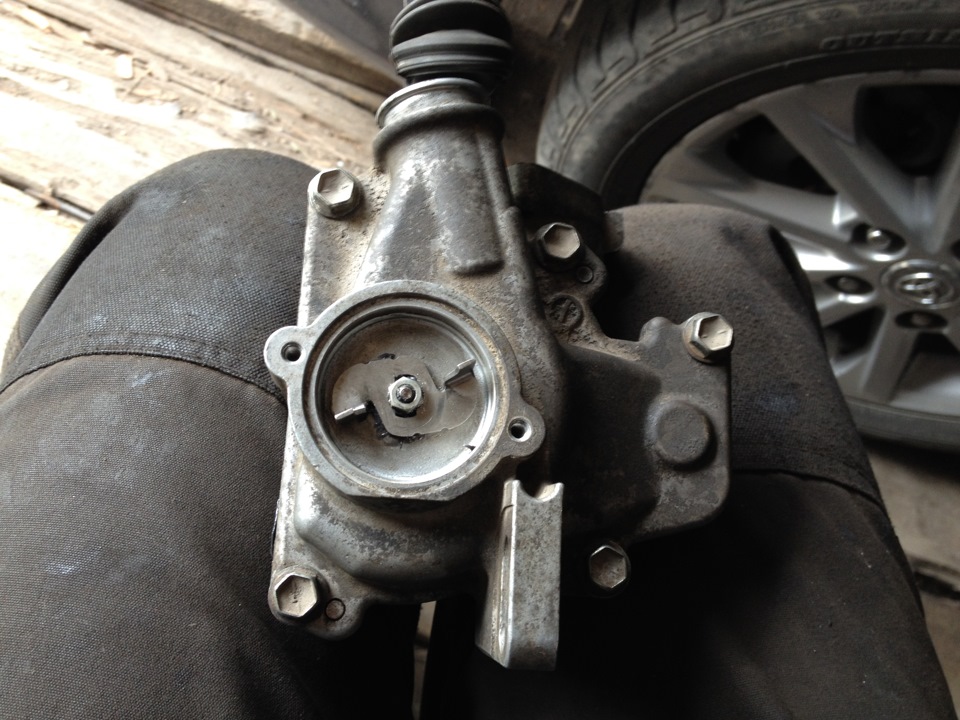
The removed sensor and a plate with antennae under it.
Next, so that the spring does not shoot and open everything inside, you need to take a screwdriver and there is a slot in the groove where the engine is inserted, turn the screwdriver so that the stem goes inside to the maximum. After that, unscrew the bolts by 10 around the perimeter. Everything can be opened. To pull out the rod, you need to unpin it and pull it out.
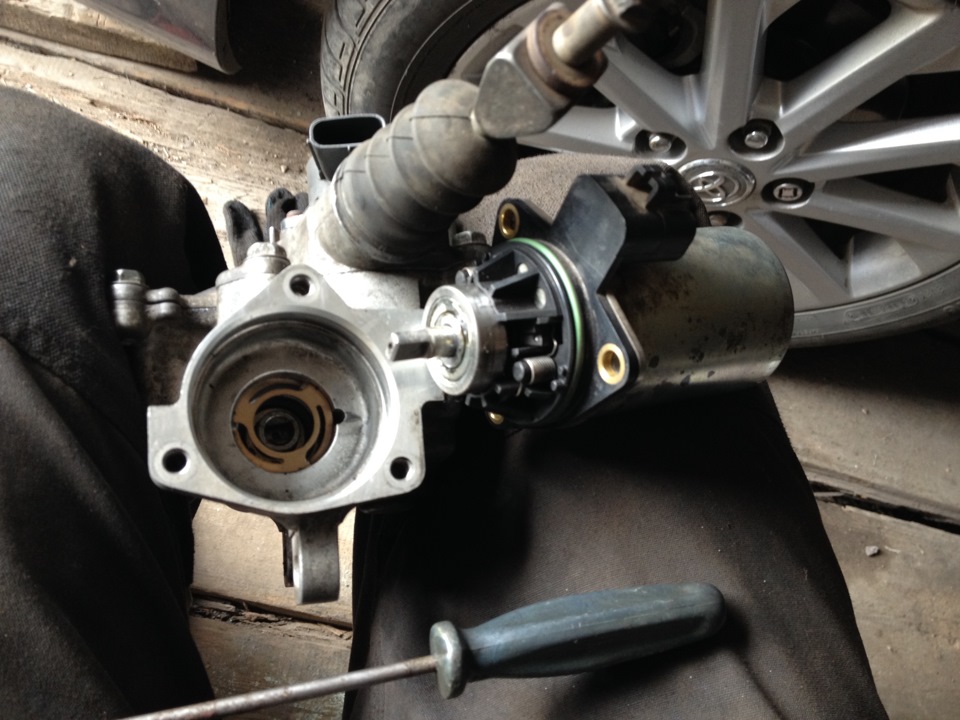
Removed engine.
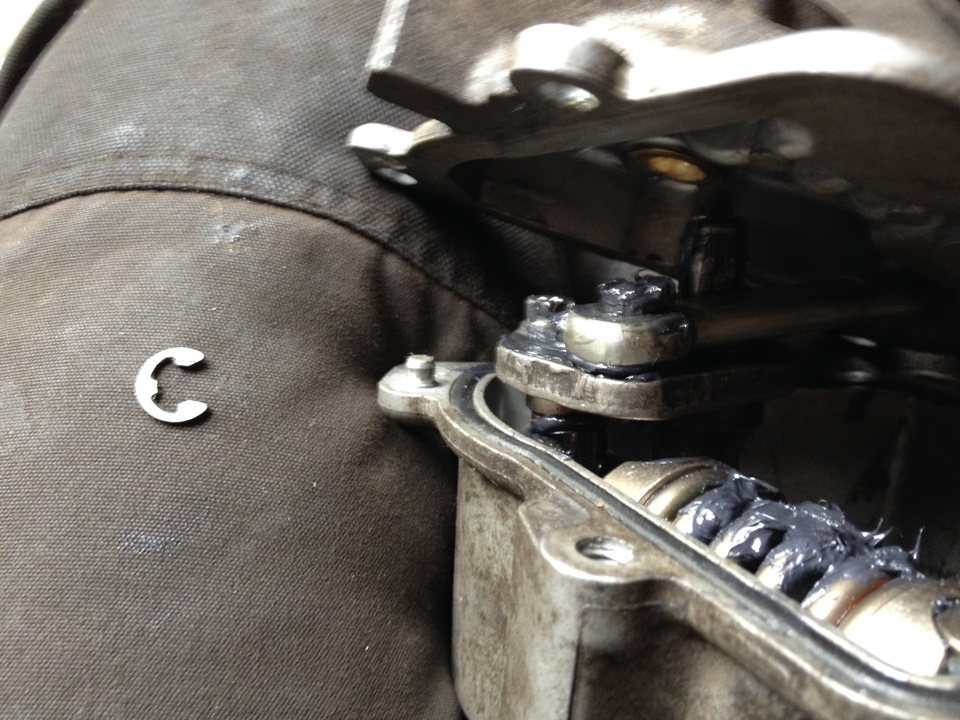
The retaining ring has already been removed from the stem.
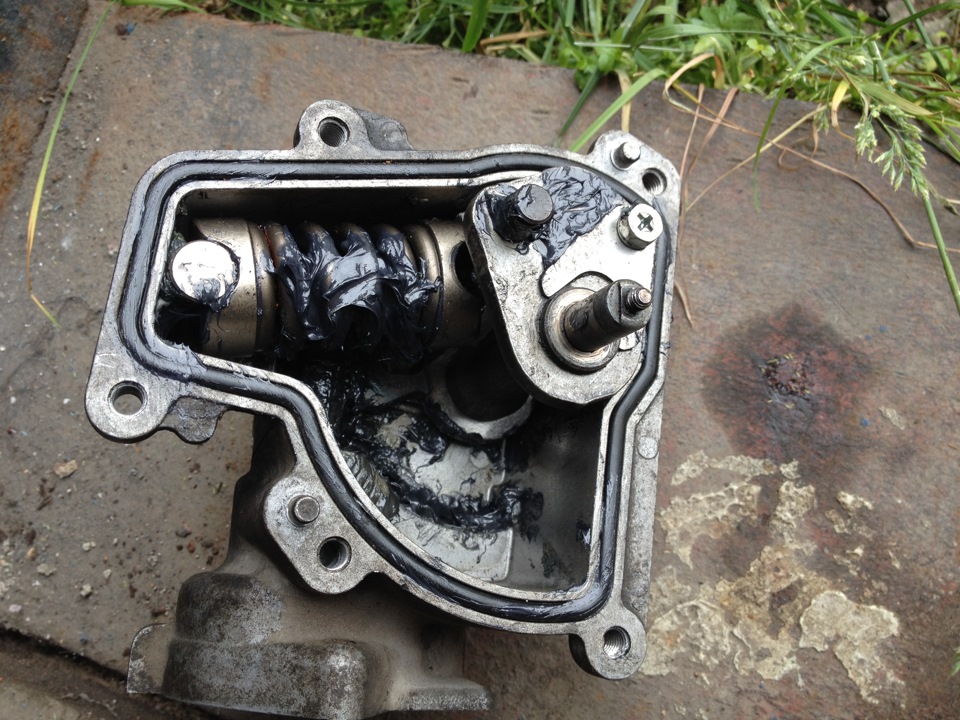
Actuator without top cover.
Well, it's been disassembled. We wash everything and look where and what wedges. To do this, you can remove the spring that is inside the actuator and assemble the actuator without it, then turn the slot where the engine is inserted and see what wedges. I had a worn upper bushing, the lower one was normal, but I replaced it exactly.
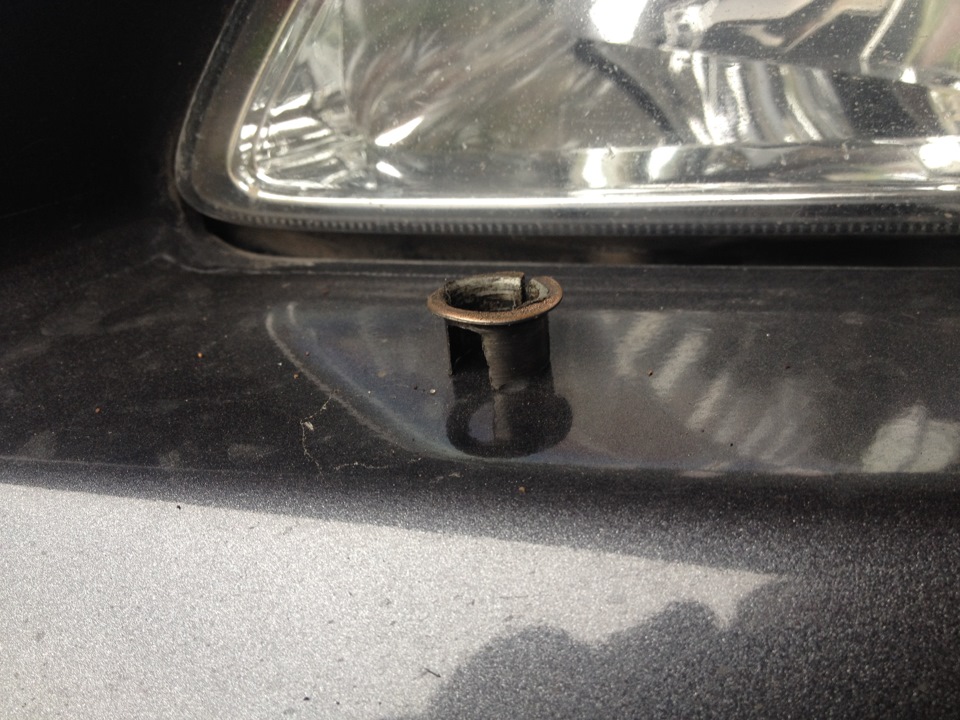
This is the bushing in the top cover.
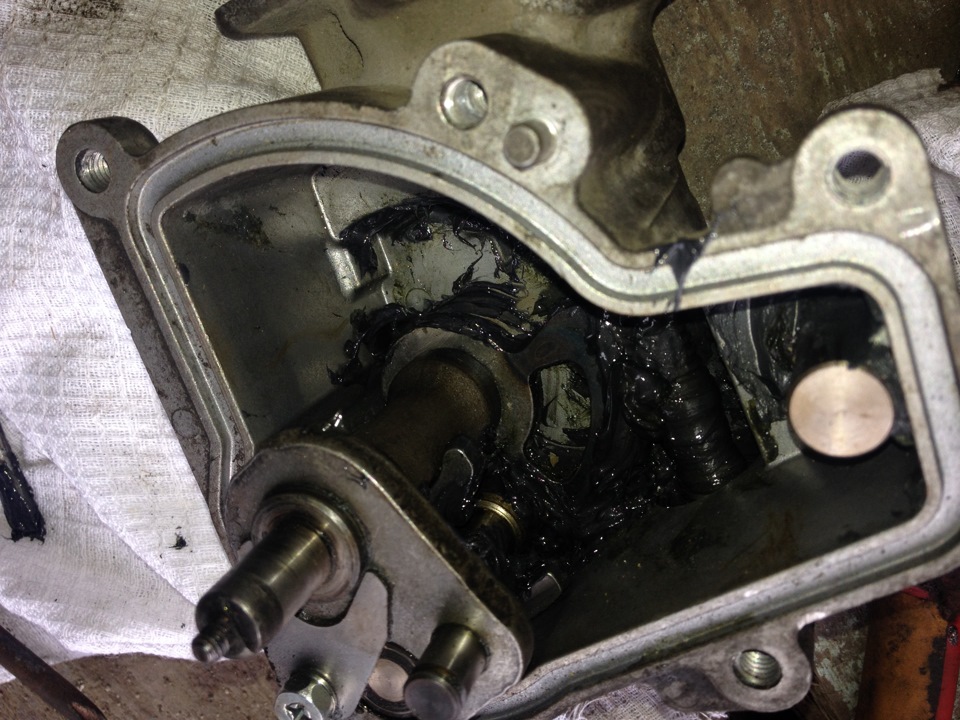
Actuator without spring.
We take a caliper and measure the hole in the actuator. And we go to look for a turner.
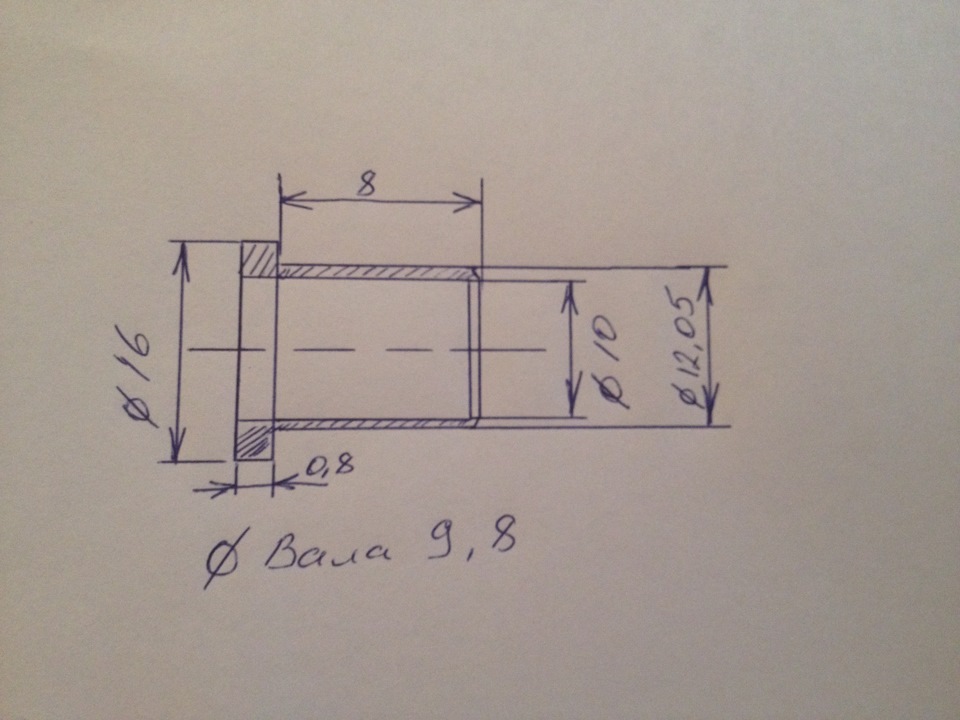
That's how I got it. Scheme of the bushing in the actuator. Fits up and down.
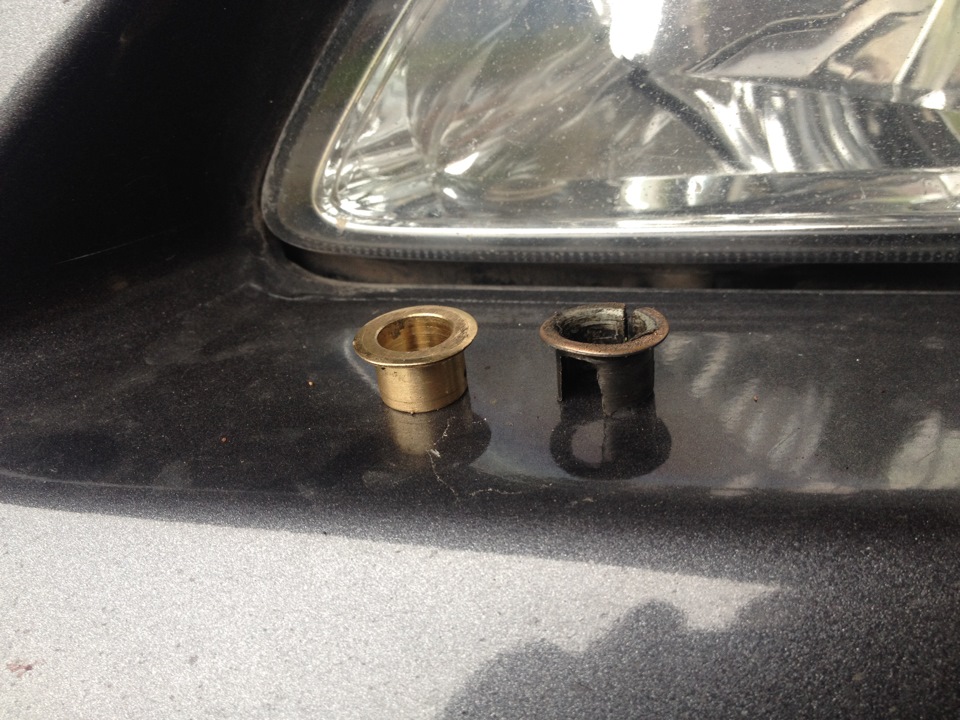
New and old bushing.
The bushings were made of bronze. We change the bushings in the actuator, lubricate everything well (the operating temperature of the lubricant should be from -40 to +250). And we collect everything in the reverse order.
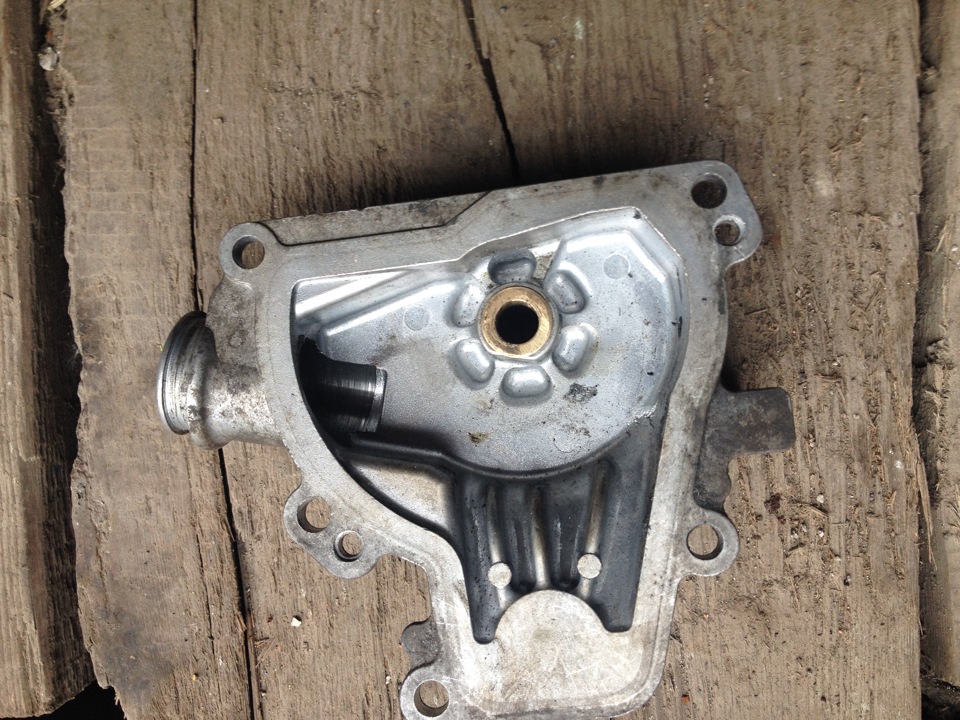
New bushing in the lid.
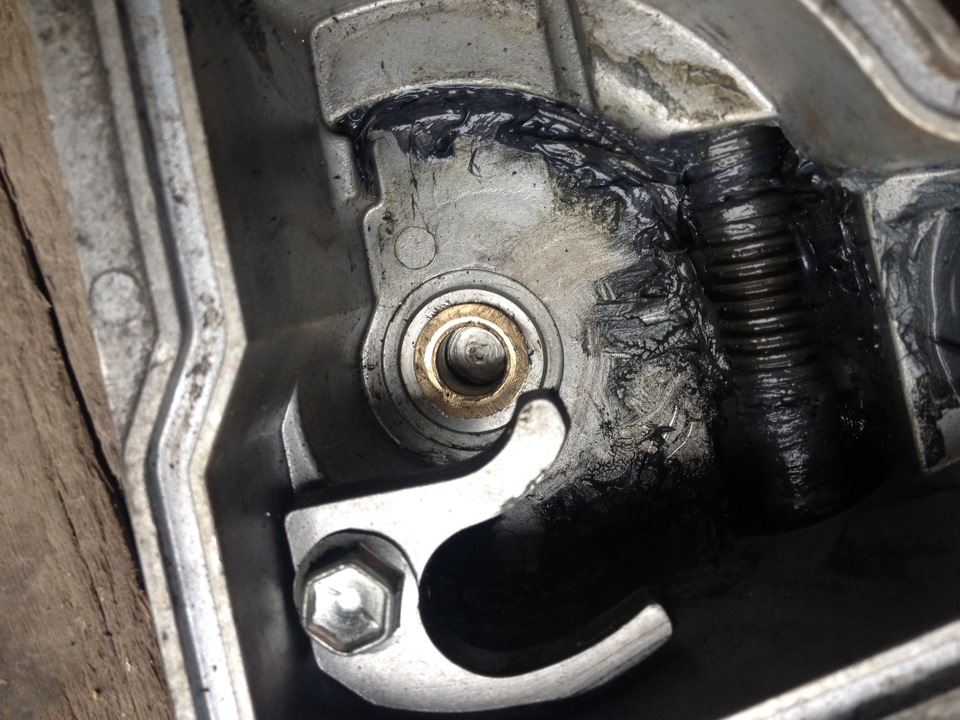
New bushing in the bottom cover.
After assembly, the stem is unscrewed to the end outward and wrapped half a turn. We install the sensor by placing it on the antennae, as if cocking the spring in the sensor (if it is released, it should turn counterclockwise), install the actuator. We do initializations and enjoy the work done.
Source: https://www.drive2.ru/l/7145357/

![E140/E150 [2006 - 2010]](/uploads/Toyota_Corolla_E140_2006_-_2010_.jpg)
