Tools:
- Open-end wrench - 10 mm
- Open-end wrench - 13 mm
- Open-end wrench - 16 mm
- Open-end wrench - 17 mm
- Mounting blade
- Mandrel for centering the driven disk
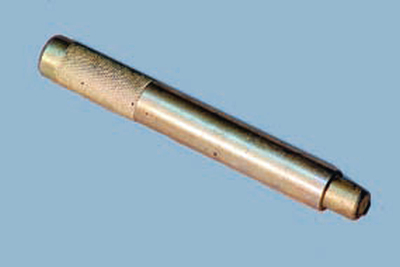
- lifting mechanism
- torque wrench
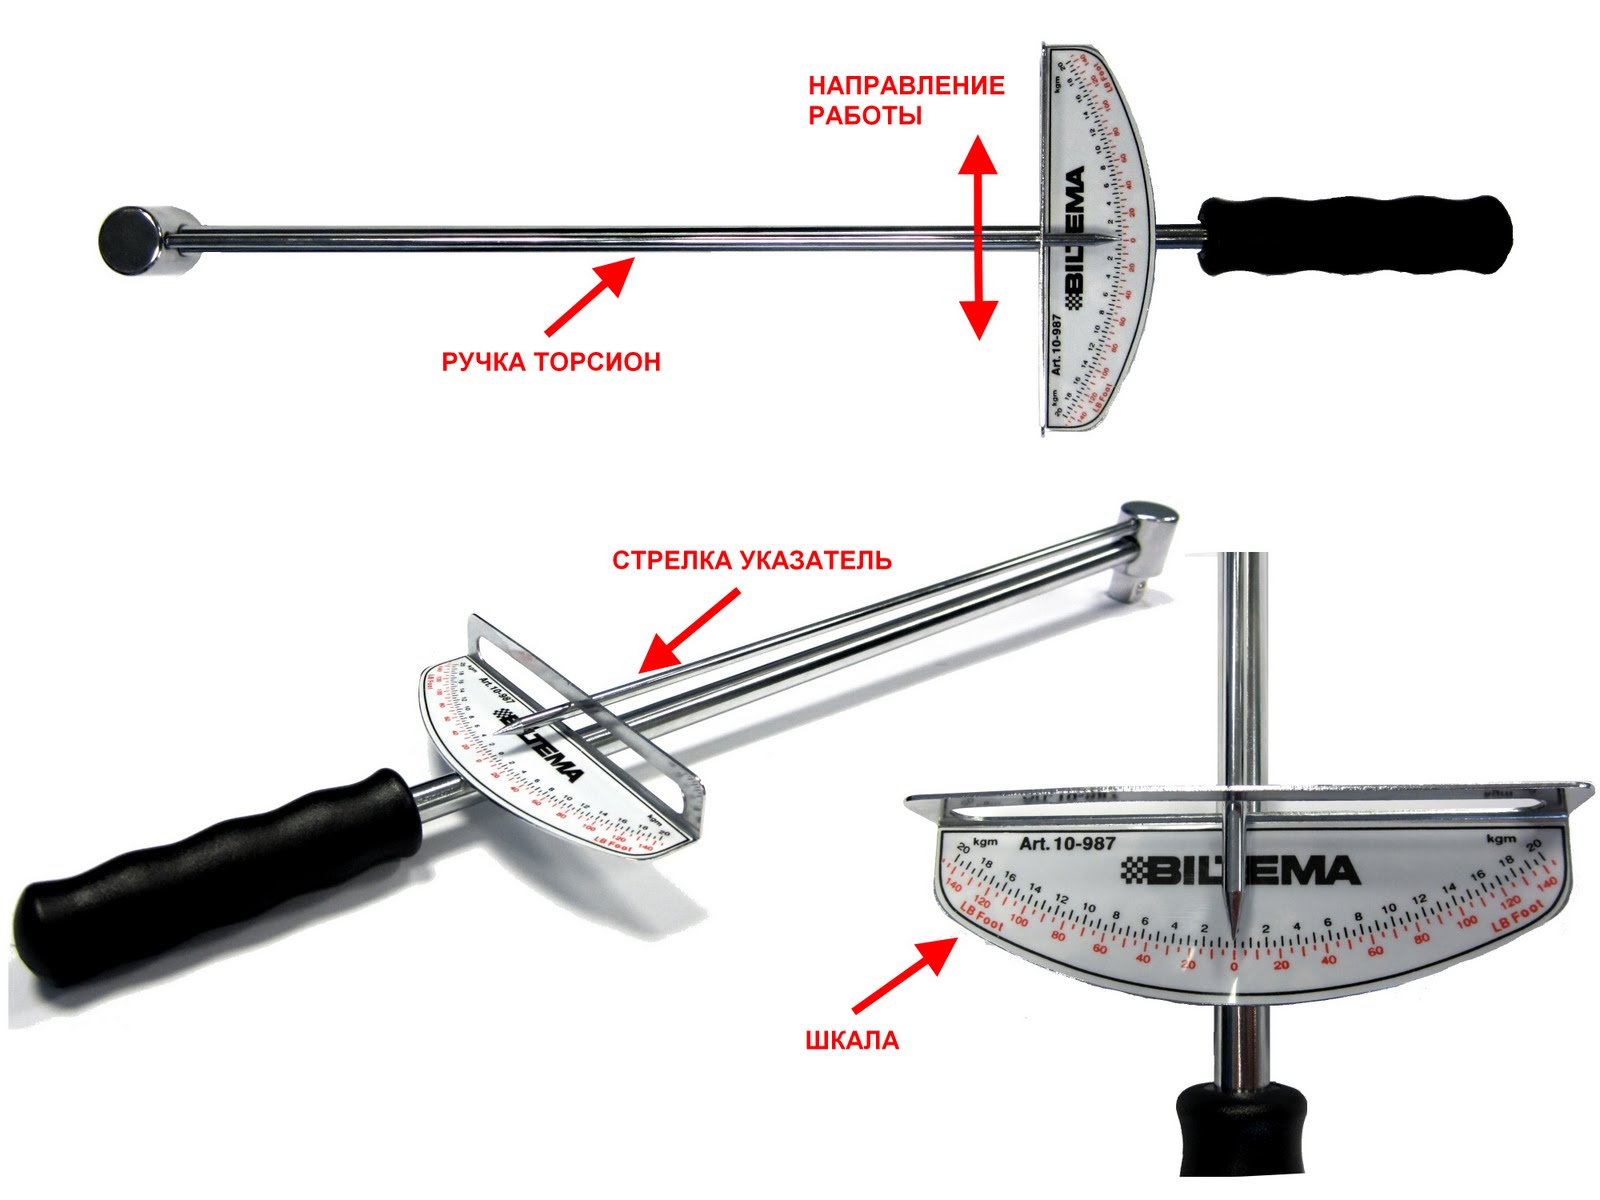
Parts and consumables:
- Flywheel
- Anaerobic Threadlocker
- Flywheel mounting bolts
Note:
The flywheel is removed to replace the crankshaft rear oil seal, to replace it if the gear rim is damaged, and to grind the surface for the clutch disc.
1. Remove the gearbox.
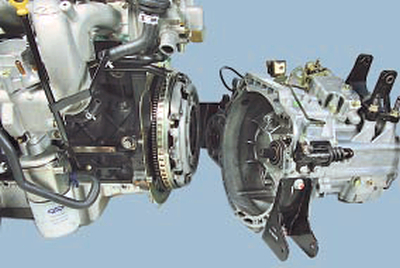
2. Remove the clutch.
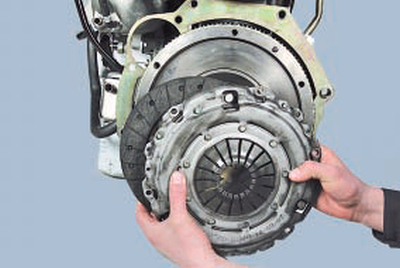
3. Remove spacer ring.
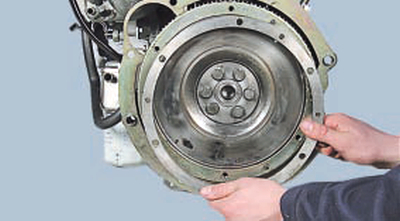
4. Remove the setting disk of the crankshaft position sensor.
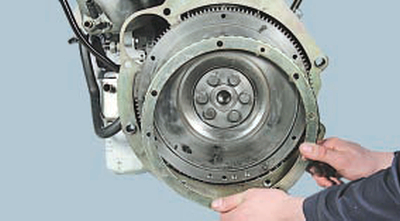
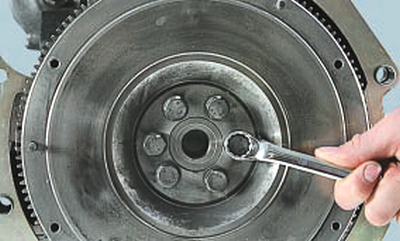
5. Turn out six bolts of fastening.
6. Remove the flywheel.
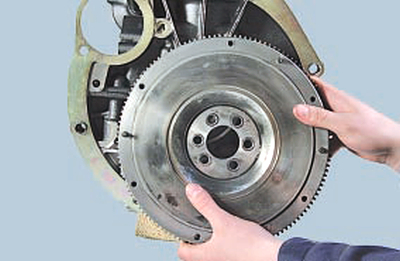
7. Check up a condition of teeths of a rim of a flywheel and in case of their damage replace a flywheel.
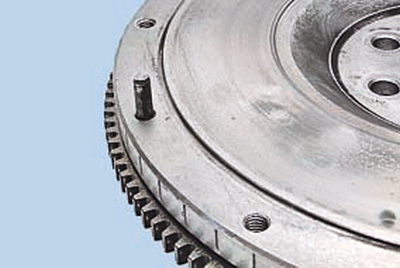
8. Replace the flywheel if there are marks and burrs on the contact surfaces of the clutch disc or crankshaft flange.
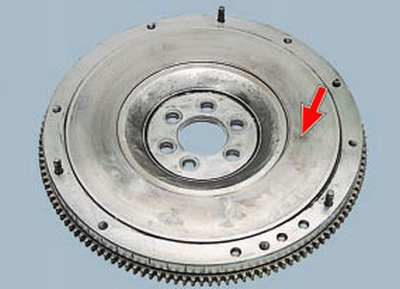
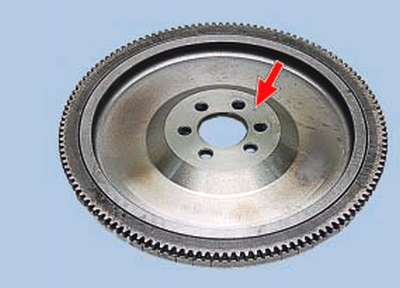
9. Also replace the flywheel if the dowel pins and threaded holes for securing the clutch pressure plate cover are damaged.
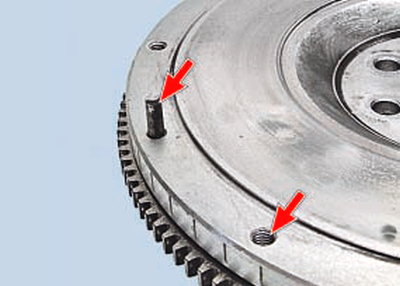
10. You can check the flywheel in a workshop with special equipment. The flywheel runout, measured on the ring gear, should not exceed 0.5 mm.
11. Establish a flywheel (combining the marks put before removal) and all removed knots in sequence, return to removal.
12. Lubricate the threads of the flywheel mounting bolts with an anaerobic thread locker, having previously degreased the bolts and the threaded holes for them. Tighten the bolts evenly in a criss-cross pattern in two steps:
1st - tighten the bolts to a torque of 25 N m (2.5 kgf m);
2nd - additionally tighten the bolts by an angle of 30 °.
Useful advice:
If possible, replace the flywheel mounting bolts with new ones each time the flywheel is removed.
The article is missing:
- Tool photo
- Photo of parts and consumables
- High-quality repair photos
Source: http://chery-tiggo.dv13.ru/dvigatel/snyatie-defektovka-i-ustanovka-maxovika/
The article is missing:
- Repair described incorrectly
The article lacks:
- Ремонт описан неправильно

![T11 [2005 - 2014]](/uploads/Chery_Tigo_T11_2005_-_2014_.jpg)
