Tool:
- Screwdriver flat medium
- Phillips screwdriver, medium
- Box wrench curved 10 mm
- Collar for end nozzle
- Nozzle on the crank 10 mm
Notes:
Below is a list of sequential operations for removing the door card of the left rear door. All other doors are disassembled in the same way.
1. Use a flat screwdriver to pry up the trim from the bottom and pull it towards you until you hear a click.
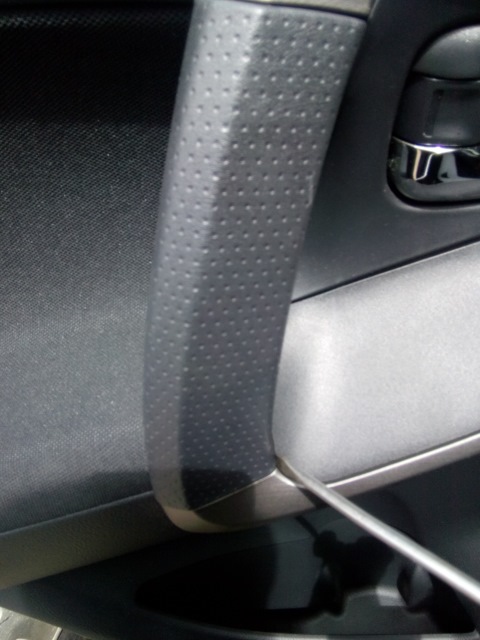
2. Then use a Phillips screwdriver to remove the two screws.
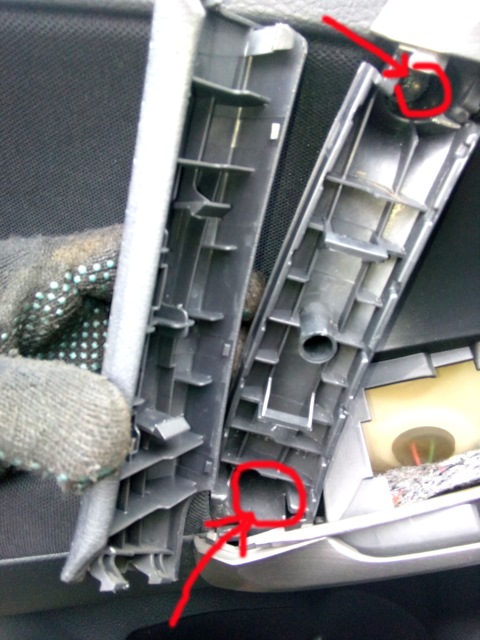
3. Using a flat screwdriver, pry off the plug, behind which is another screw, after first pulling the handle towards you.
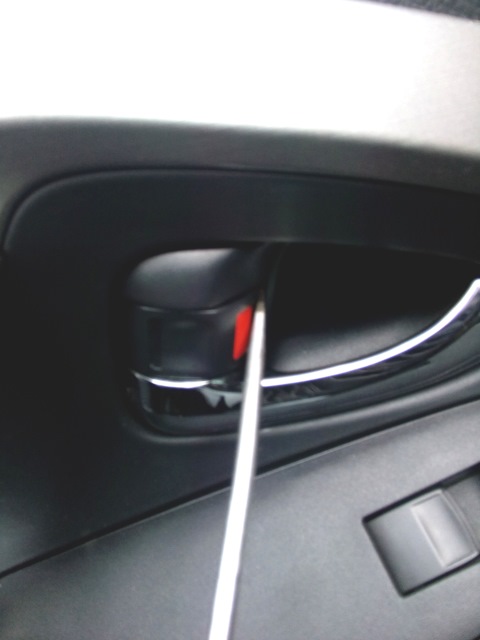
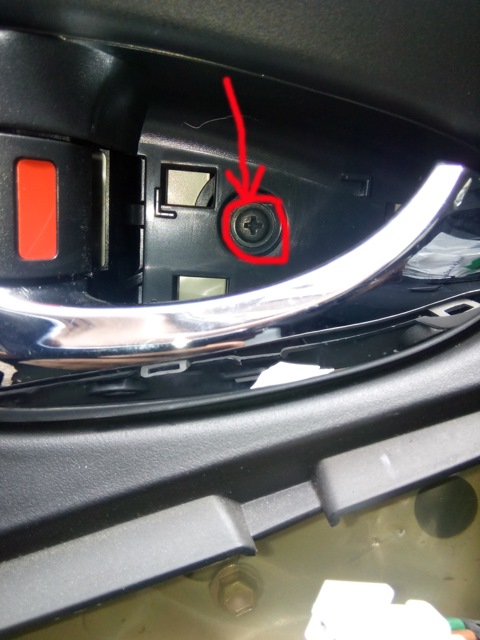
4. Then, unscrew the screw in the photo with a Phillips screwdriver.
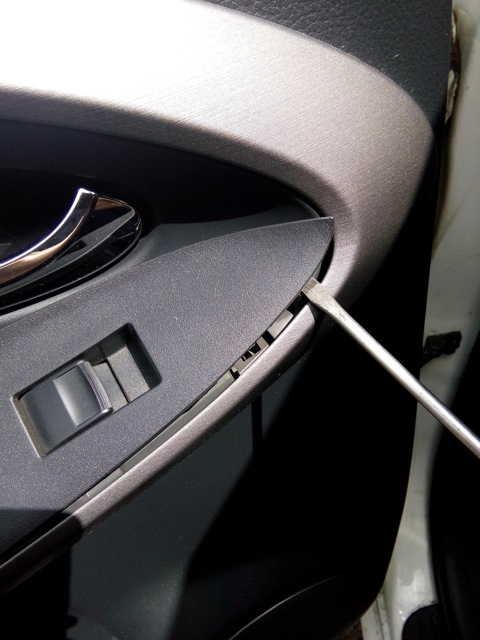
5. Pry all the same screwdriver in exactly the same place as in the photo, fastening the button and pull it out.
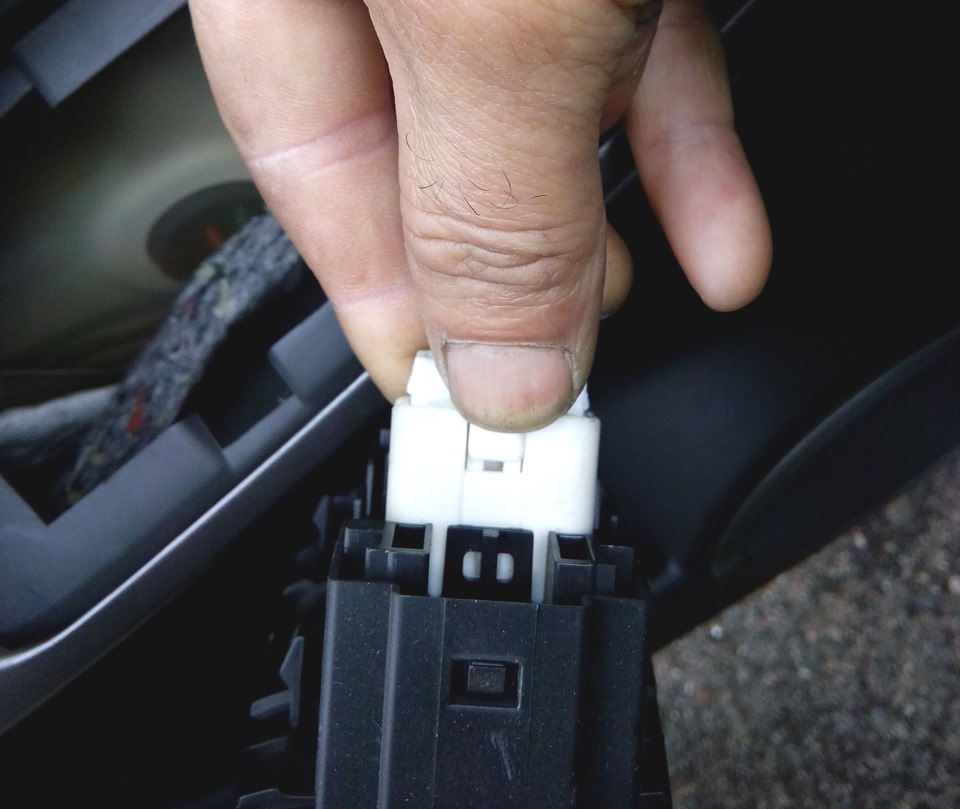
6. Disconnect the connector by pressing the clips and pulling in different directions.
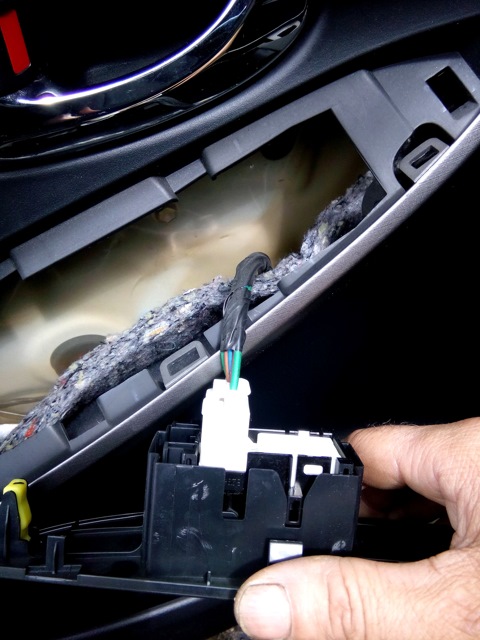
7. Put your fingers under the card, and pull the card away from the door around the entire perimeter until they are completely disconnected.
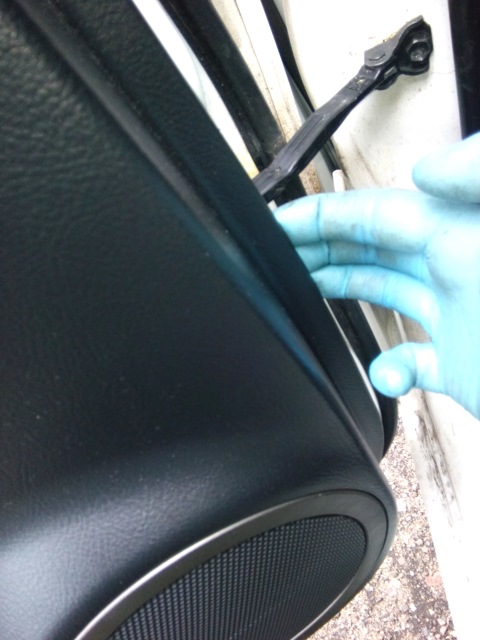
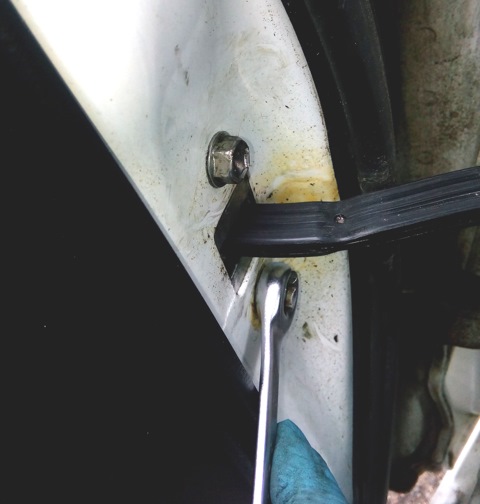
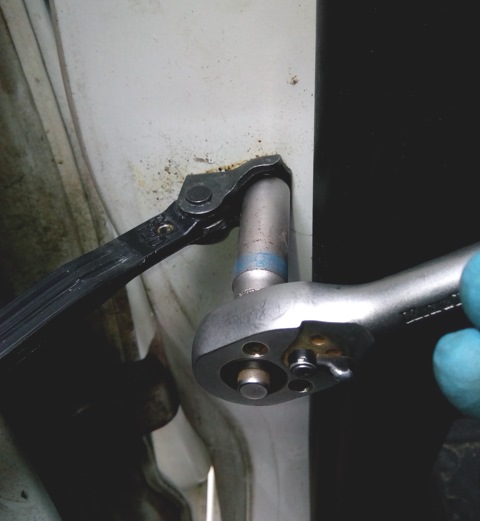
8. Remove the three door stopper bolts using a 10mm box wrench and socket wrench.
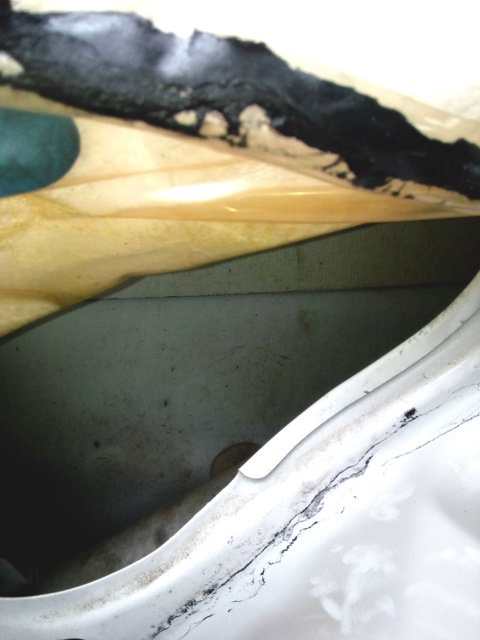
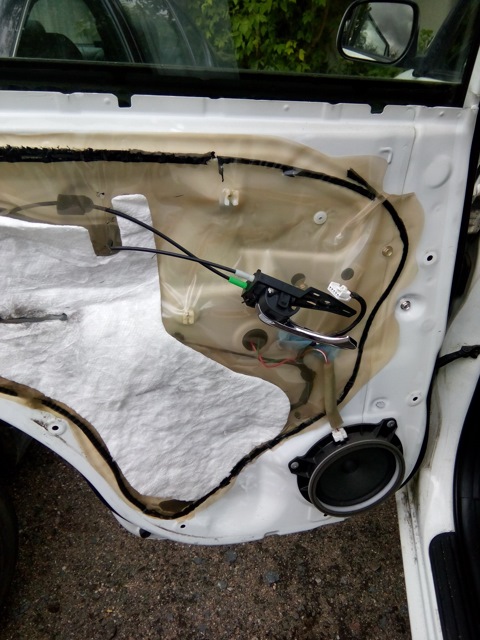
9. Undermine partially anti-dust protection and, putting your hand inside, remove the limiter itself.
Source: https://www.drive2.ru/l/7203687/
![2 generation [2000 - 2003]](/uploads/toyota-rav-4-ii-11109.jpg)
![3 generation [2005 - 2009]](/uploads/Toyota_RAV_4_-_2006_-_2009_.jpg)
![4 generation [2012 - 2015]](/uploads/Toyota_RAV_4_-_2012-2015_.jpg)
