![IX [2000 - 2005]](/uploads/mitsubishi_lancer_2005_images_2.jpg)
![X [2007 - 2017]](/uploads/Mitsubishi_Lancer_Sedan_2007.jpg)

You will need: a “10” key, a medium flat screwdriver, Litol-24 grease, sandpaper.
Note:
The battery is removed for charging or replacement, as well as when repairing or replacing units, live parts, and to gain access to other units in the engine compartment.
Removing and installing battery Mitsubishi Lancer X
1. Turn off the ignition (if it was on) and open the hood.
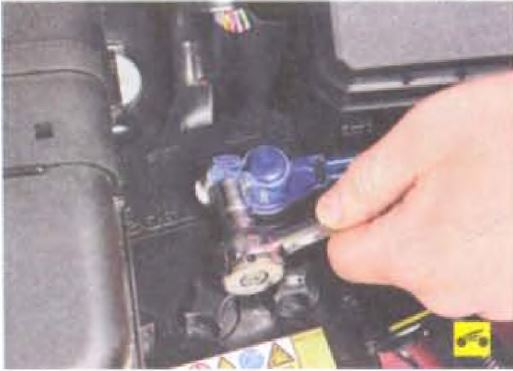
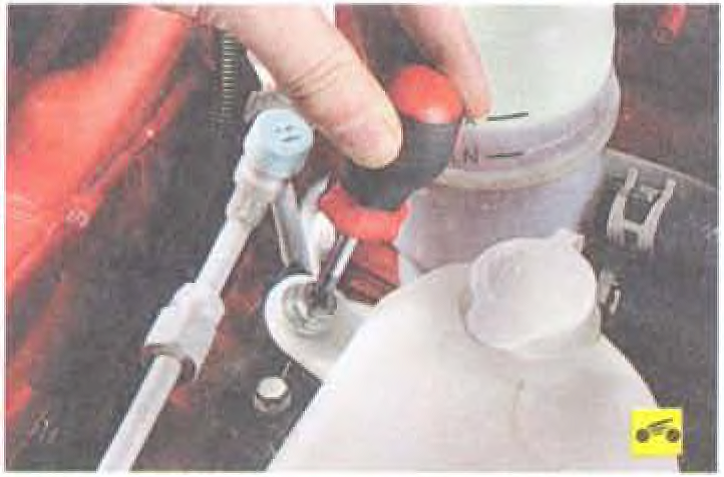
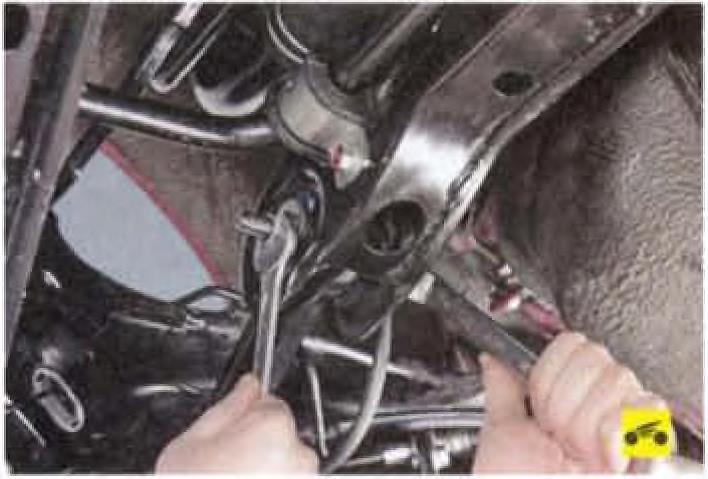
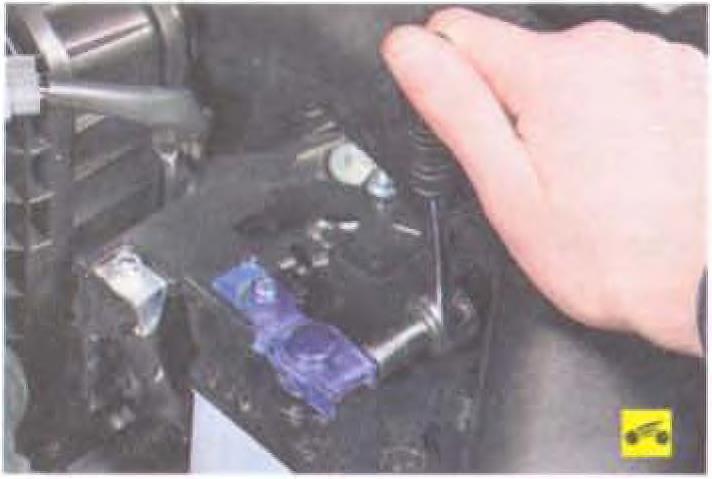
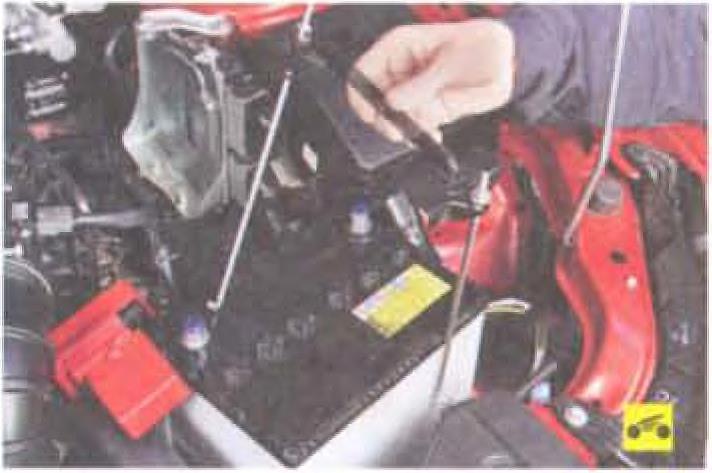
2. Loosen the nut of the coupling bolt of the ground wire lug.
3. Disconnect a wire from the minus plug of the storage battery.
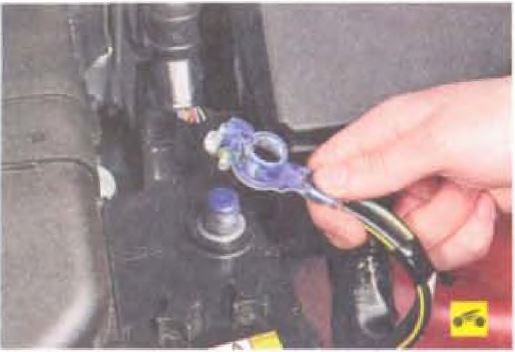
4. Open the protective cover of the positive terminal.
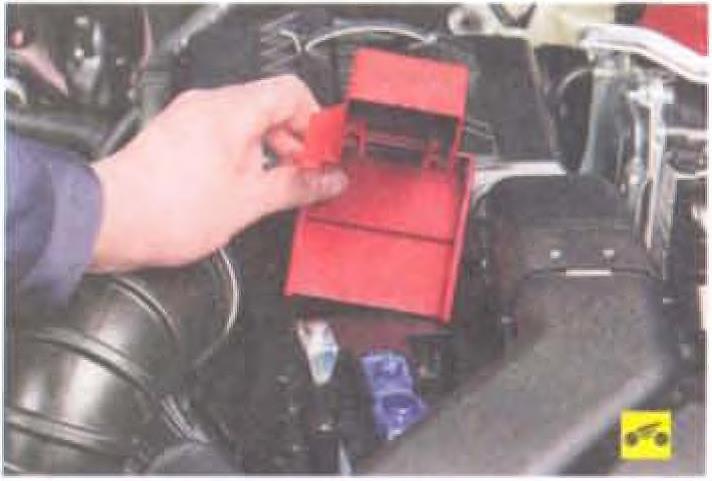
5. Remove the protective cover.
6. Loosen the nut of the power cable lug pinch bolt.
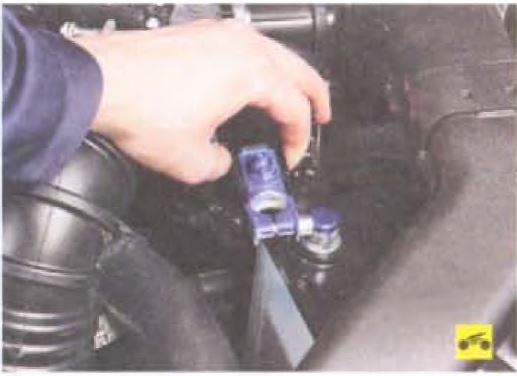
7. Disconnect the wire from the positive terminal of the Mitsubishi Lancer X battery.
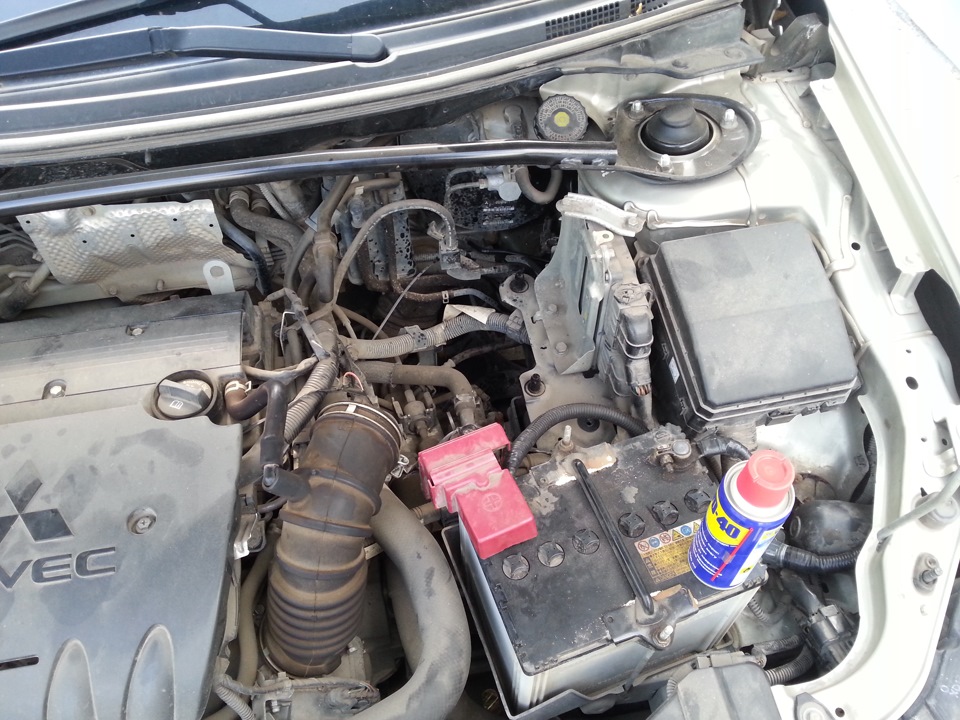
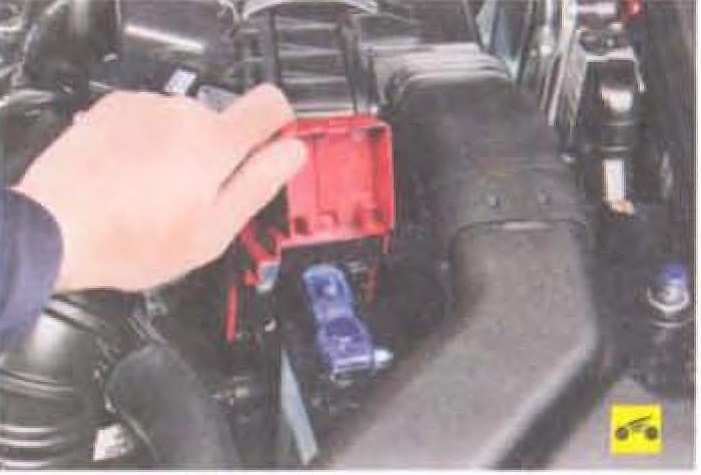
8. Remove the left side of the air filter housing together with the air inlet (see "Removing and installing the air filter", p. 115).
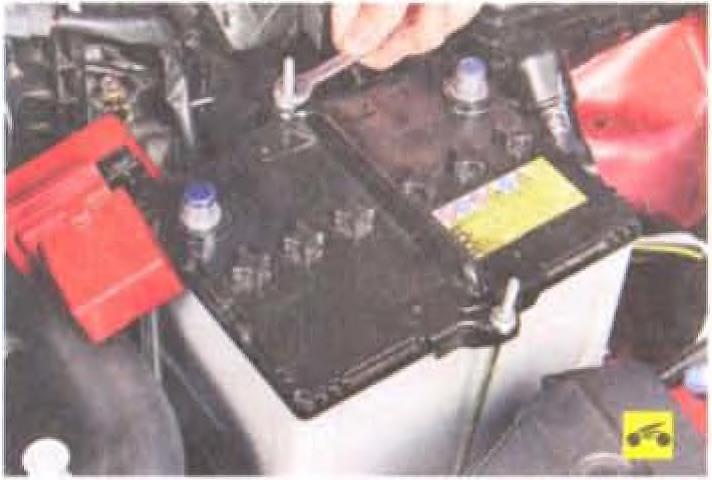
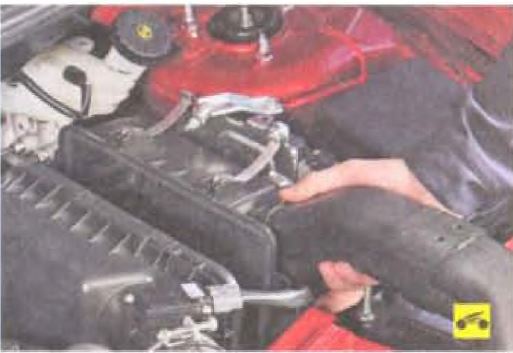
9. Loosen the nuts of the battery bar tie-downs.
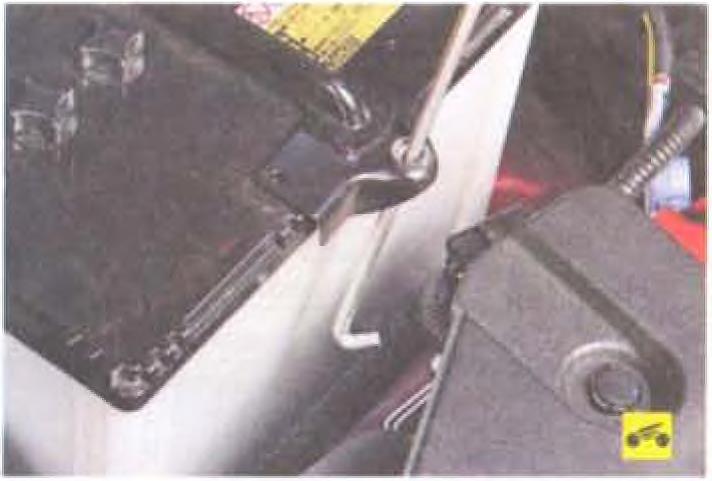
10. Remove the ties from the holes in the battery rack.
11. Remove the clamping bar assembly with ties.
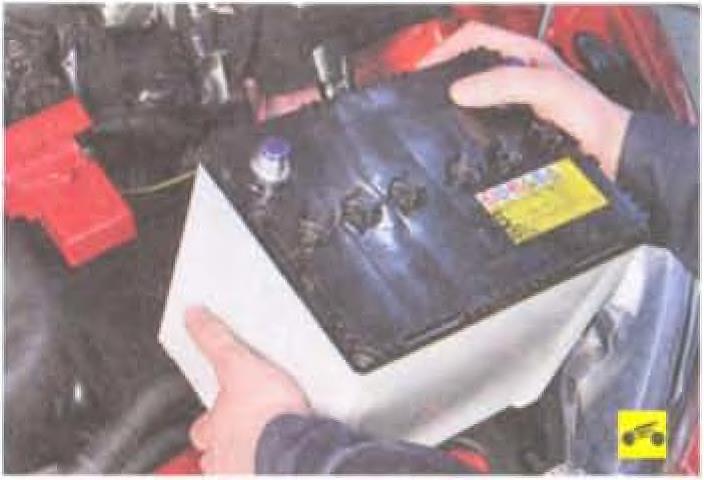
12. Remove the battery from the Mitsubishi Lancer X.
13. Install the battery in the reverse order of removal.
14. Before connecting the wires, clean the battery terminals and the inside surfaces of the wire lugs with fine sandpaper.
15. Connect the wires in the reverse order of removal, observing polarity.
16. After connecting the wires to the terminals, apply a thin layer of Litol-24 grease or similar grease to the wire lugs and exposed surfaces of the terminals (copper-containing conductive greases are most preferred).
Source: Mitsubishi Lancer X Owner's Manual