![4 generation [2001 - 2005]](/uploads/Volkswagen_Polo_2005_-_2009_.jpg)
![5 generation [2009 - 2015]](/uploads/Volkswagen_Polo_2009-2015_.jpg)

When traveling long distances in the dark, I began to notice that the dashboard shines very brightly, which negatively affects the perception of the eyes, and there is no brightness control. Therefore, it was decided to put it on their own.
First, remove the old regulator. To do this, remove the side cover of the panel, for convenience, pull out the light switch and pull out the old regulator, it is fastened with latches along the edges.
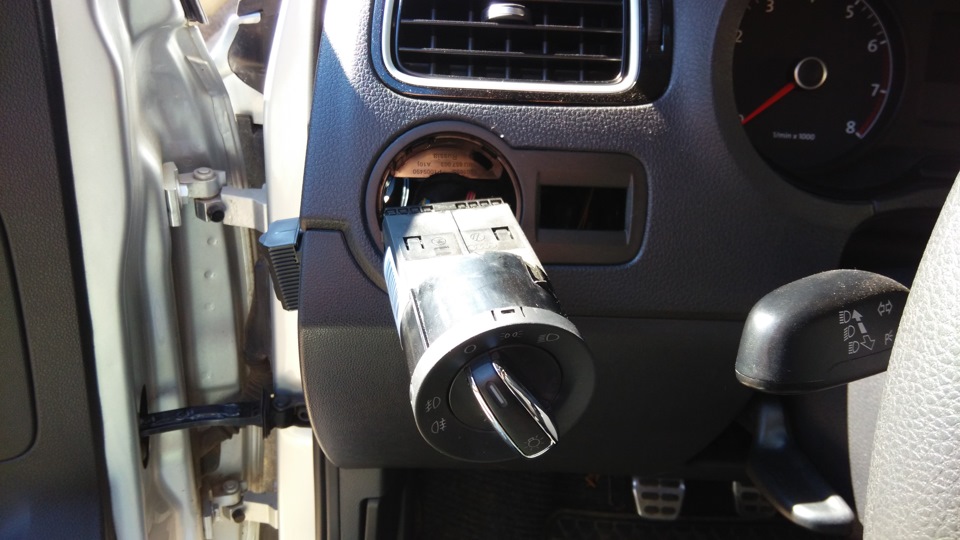
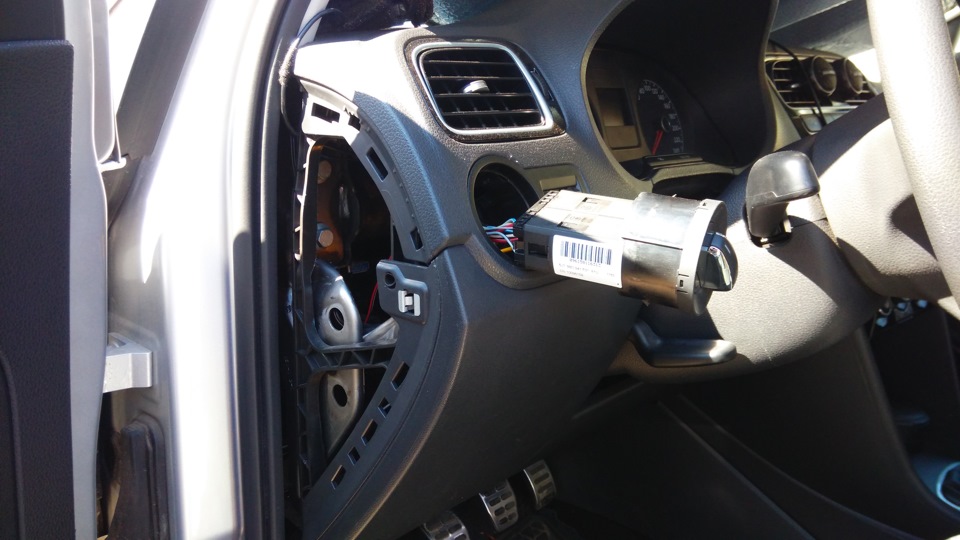
Photo comparison of the old and new regulator.
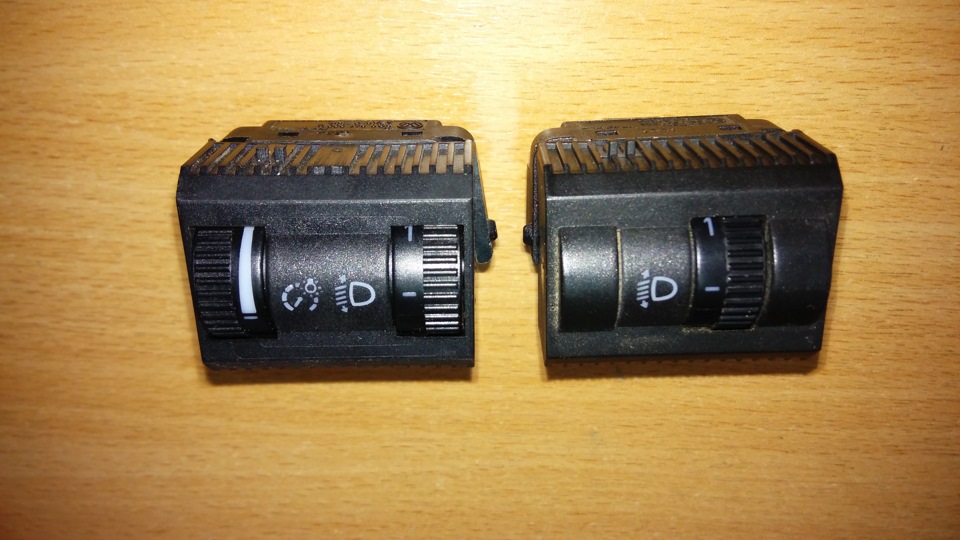
New on the left, old on the right.

Old on the left, new on the right.
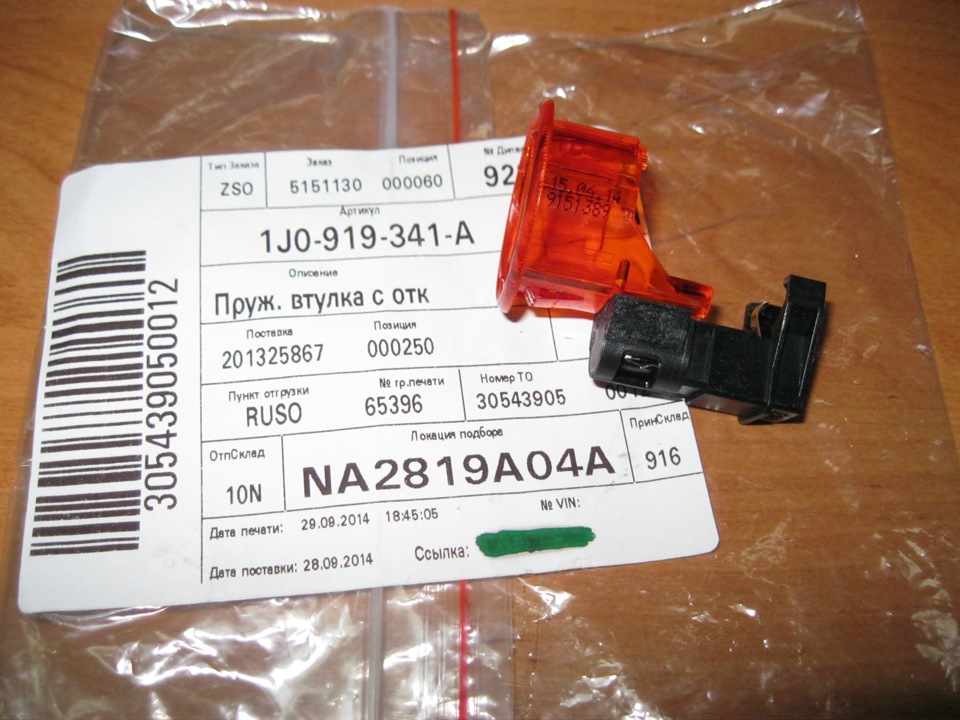
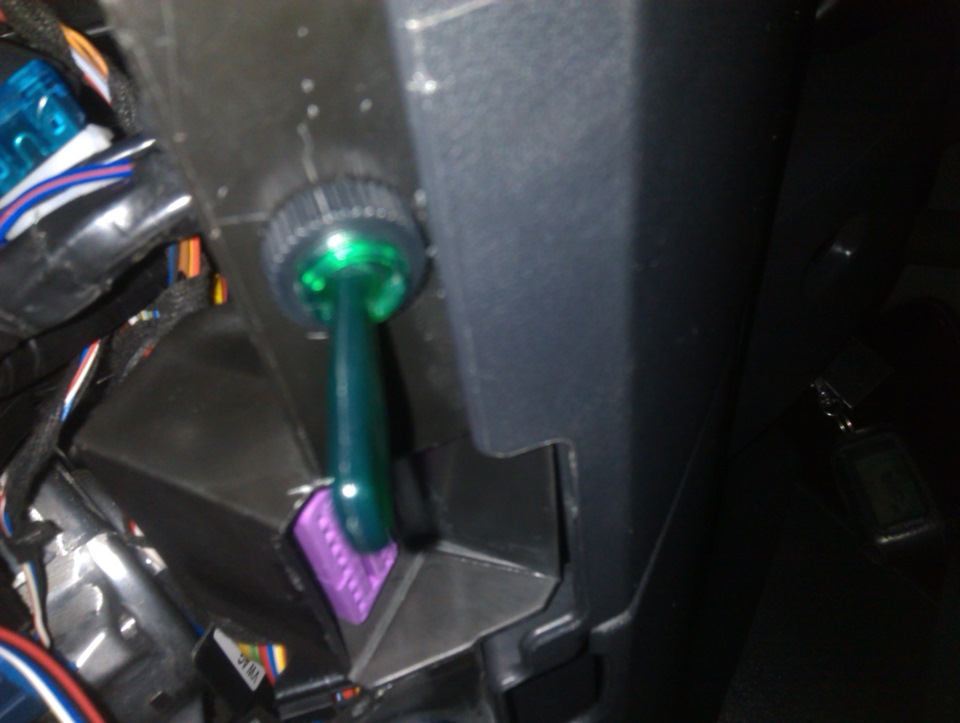
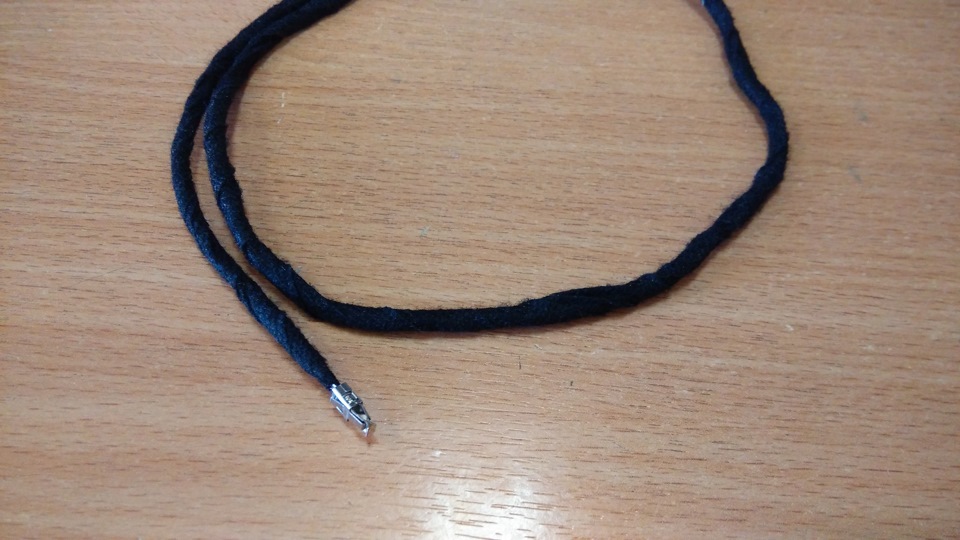
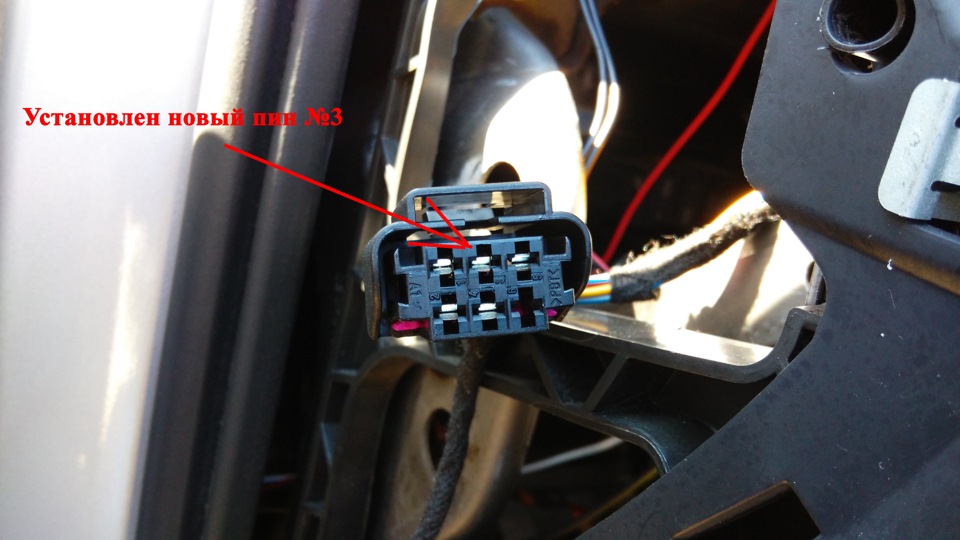
Next, we need pin N 906 844 05 and a wire about 80 cm long. We crimp this wire, and I additionally wrapped it with "hairy" electrical tape. Then we insert it into the regulator block in connector No. 3, after pulling out the purple plate, which prevents the pin from being inserted into place.
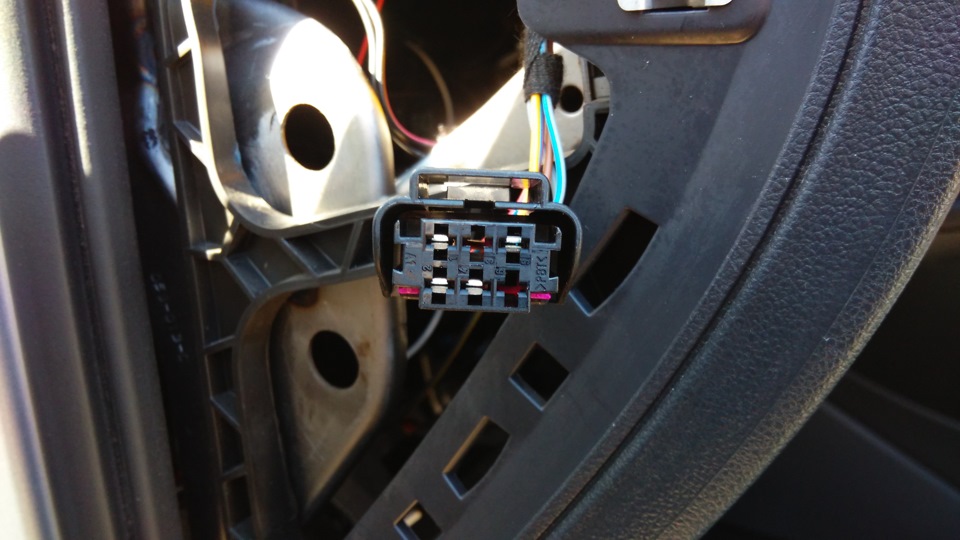
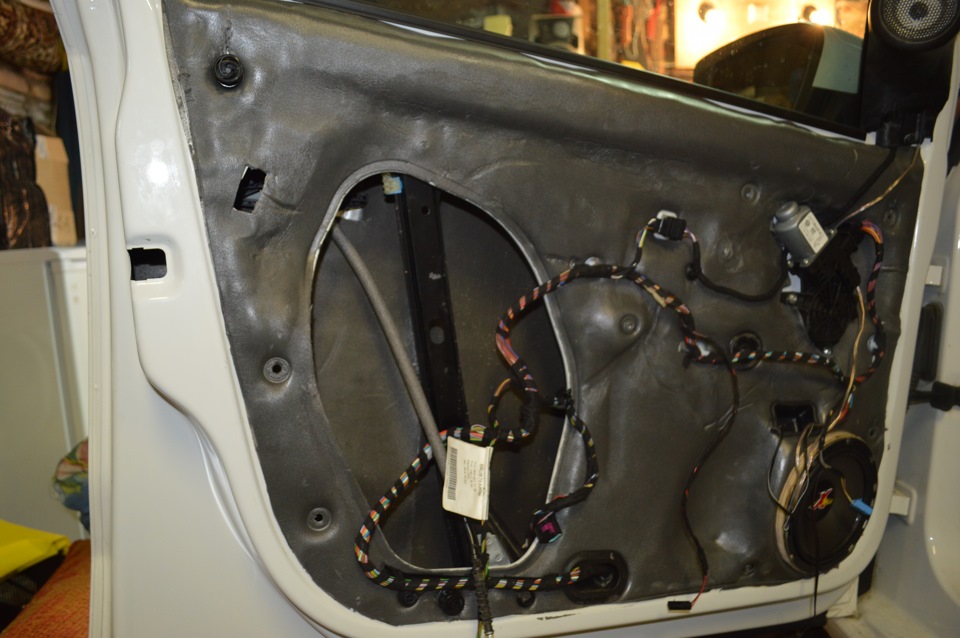
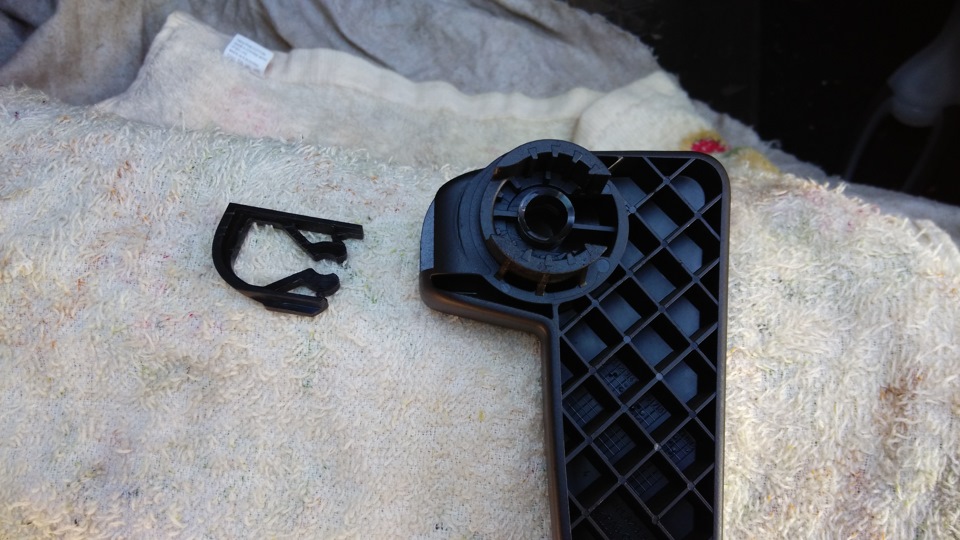
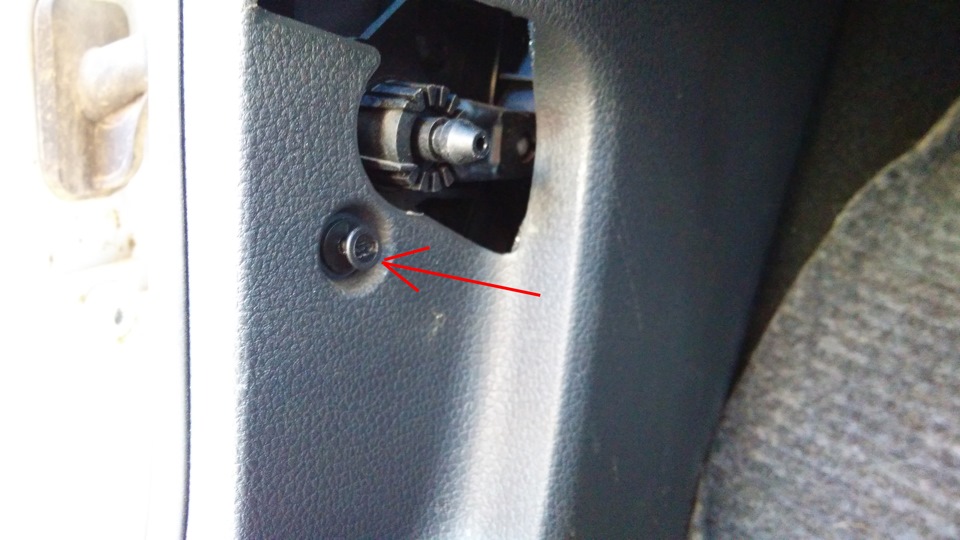
Then remove the plastic pad to the left of the pedals to get to the standard wiring. To do this, we take out the retaining ring of the hood opening lever, remove the lever, unscrew the plastic bolt and remove the lining itself.
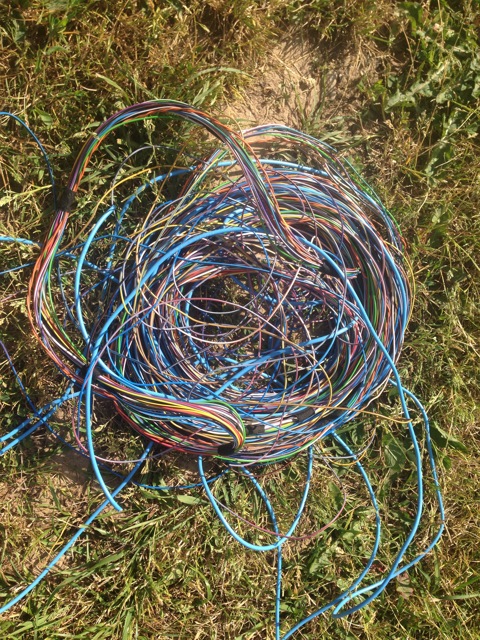
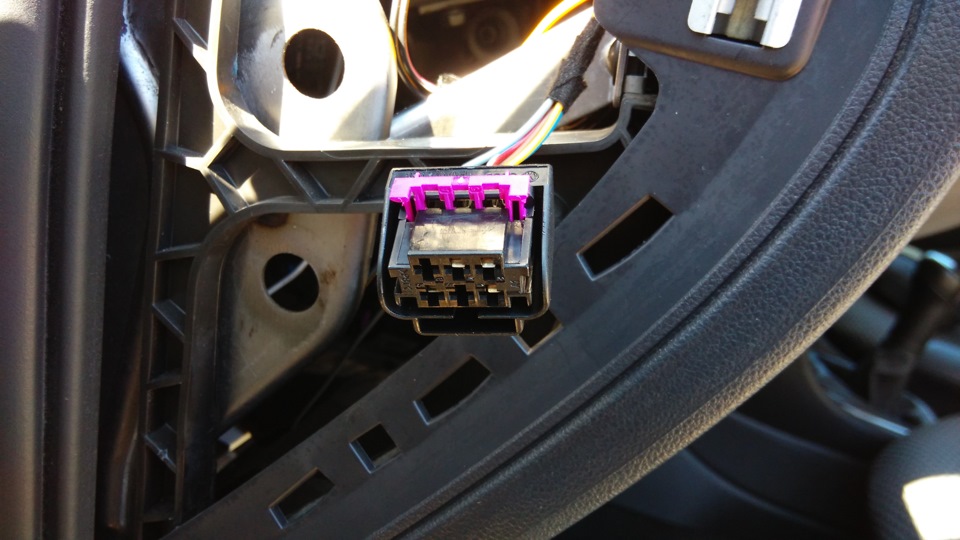
We see the standard wiring, in which we are interested in the factory twist, in my case (auto 2011) of 4 wires: 2 white from the bottom and 2 white-blue from the top. On newer cars, a twist of 5 wires, and on some it is completely absent.
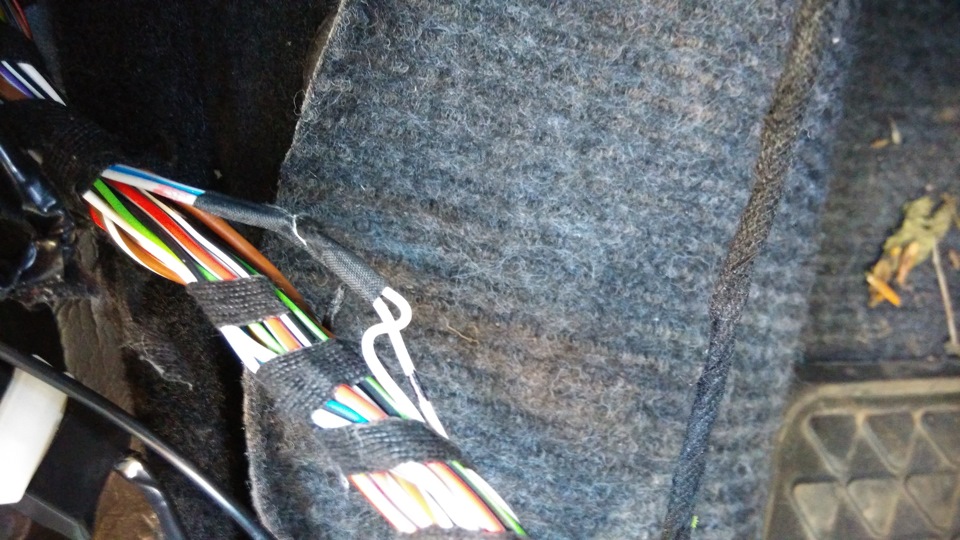
We unwind this twist and see that one white-blue wire is a little thicker, we leave it in the twist, and disconnect and isolate the other white-blue wire. Next, we connect the wire that we previously crimped (Pin No. 3) from the regulator block to the remaining twist, consisting of 2 white and one thicker white-blue wires, we isolate everything, lay it down and put everything in place.
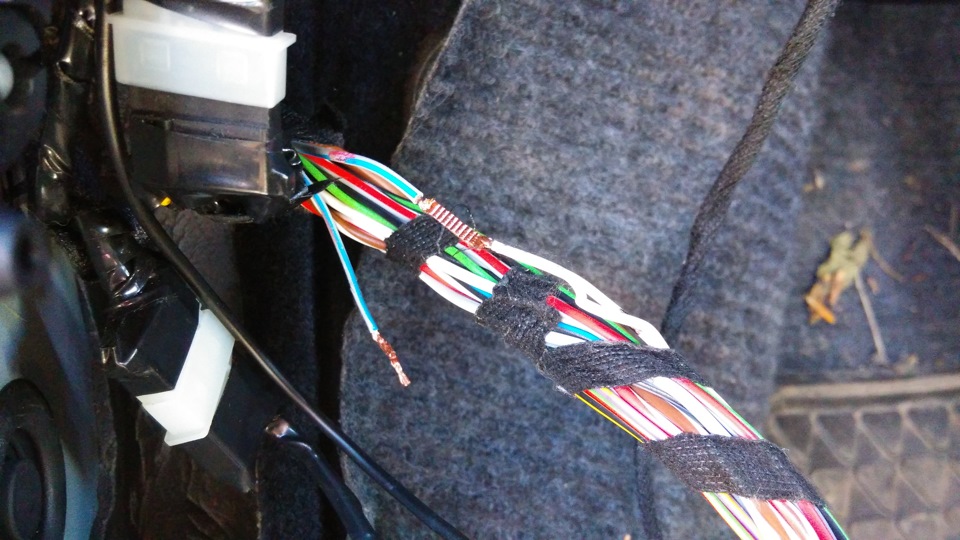
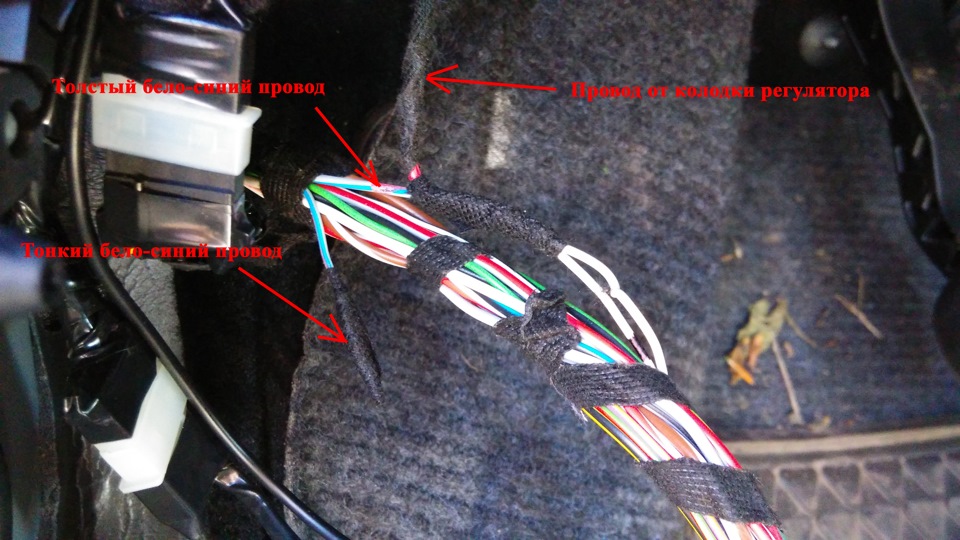
Photo of the installed regulator before and after.
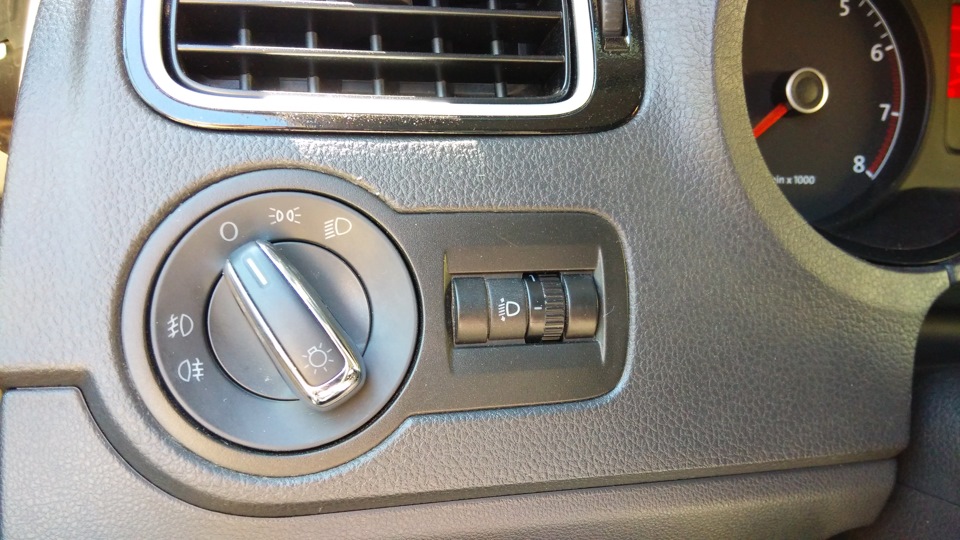
Old regulator.
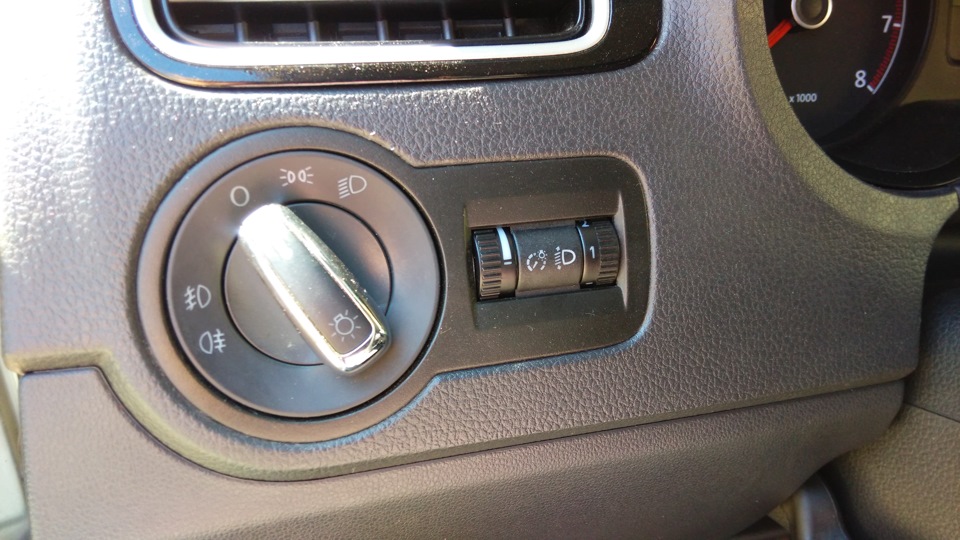
New regulator.
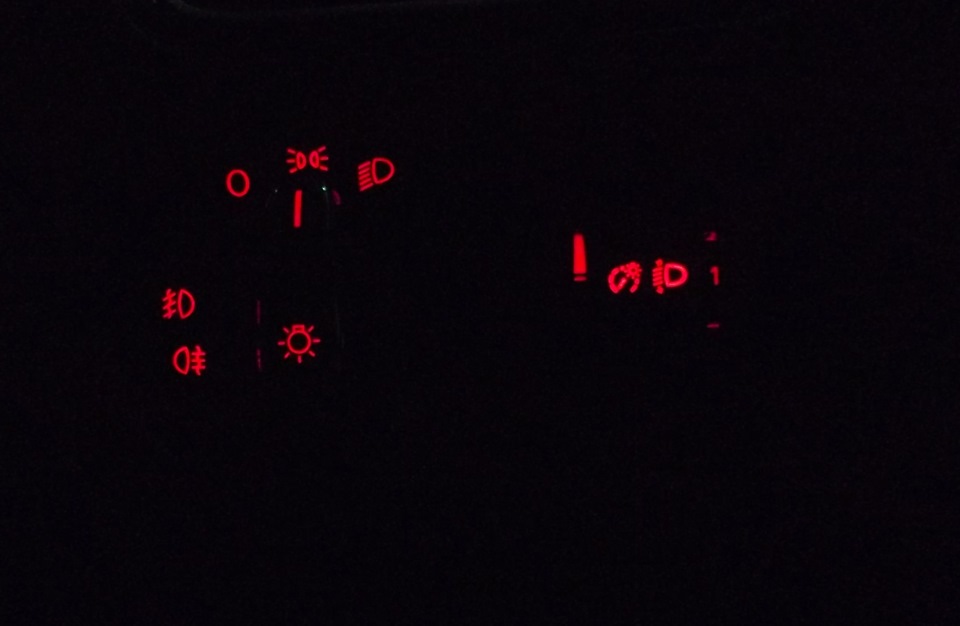
Photo comparison of backlight brightness. In the photo at the minimum brightness, it seems that the backlight is not quite uniform, in fact, everything is evenly illuminated.
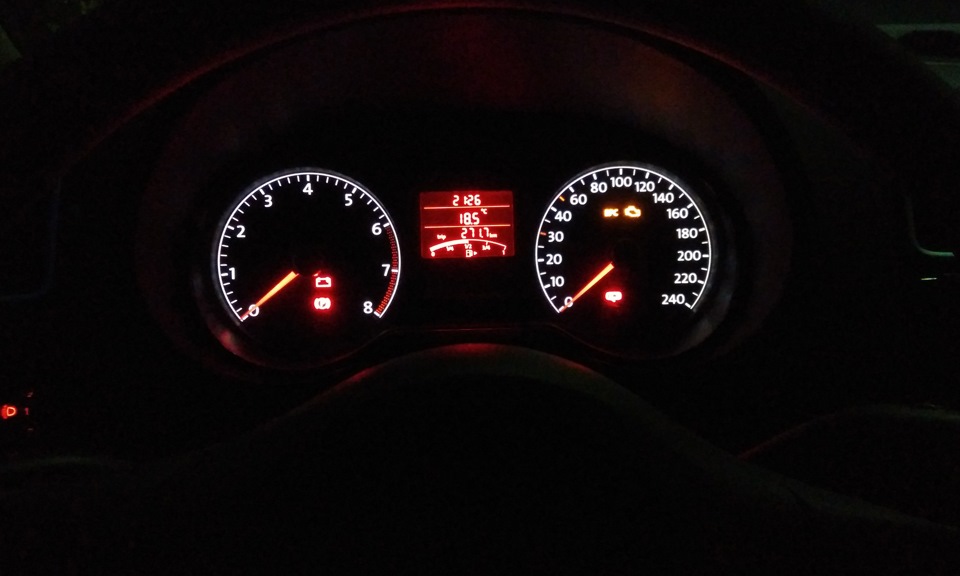
Maximum brightness.
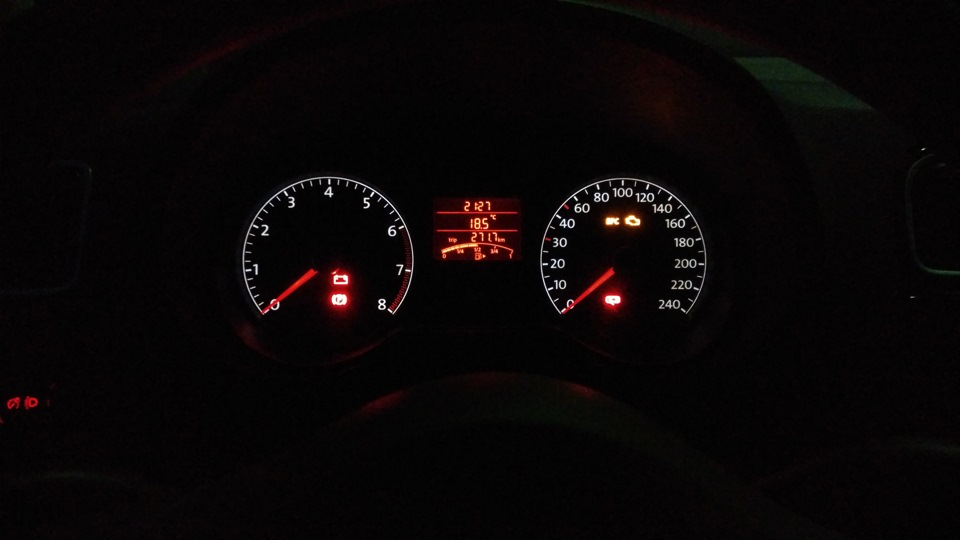
minimum brightness.
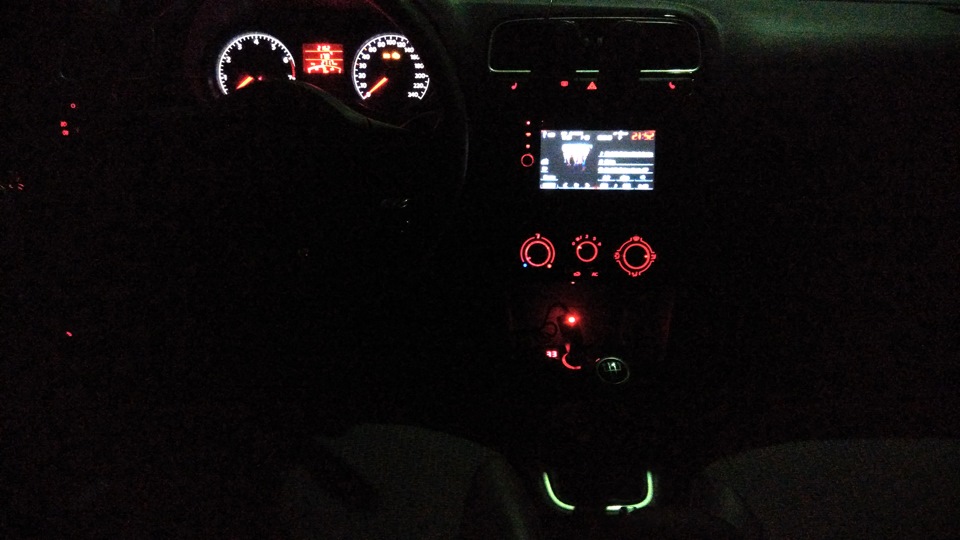
Maximum brightness.
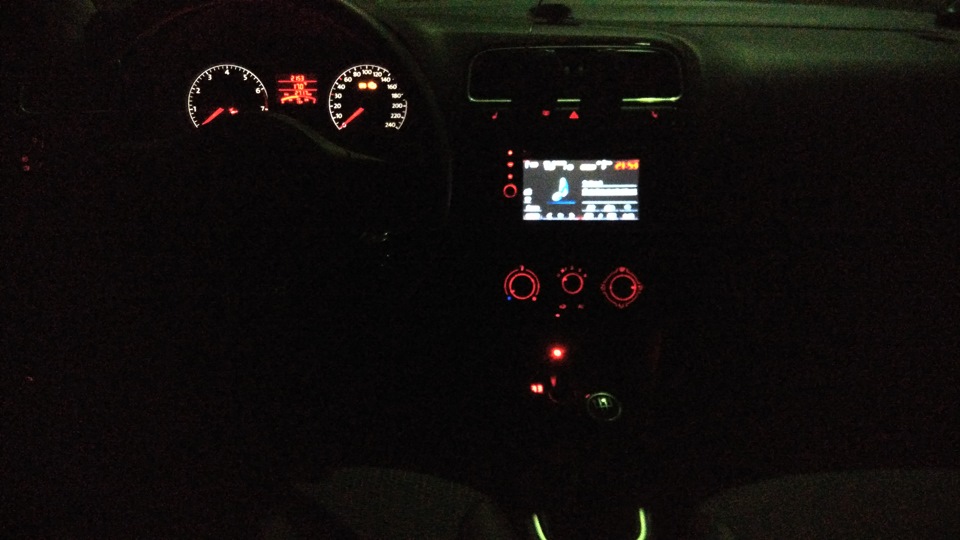
minimum brightness.
I am satisfied with the result, now you can adjust the backlight as needed.
Source: https://www.drive2.ru/l/6707905/