![1 generation [2007 - 2010]](/uploads/Nissan_Qashqai_2007-2010_.jpg)

Tools:
- Collar for end nozzle
- Nozzle on the crank 10 mm
- Screwdriver flat medium
- Phillips screwdriver, medium
- pliers
- balloon wrench
Parts and consumables:
- Rear bumper
Note:
It is more convenient to carry out work on removing the rear bumper on a lift.
1. Remove rear wheels.
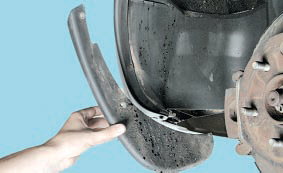
2. Remove the rear wheel mudguard as described here .
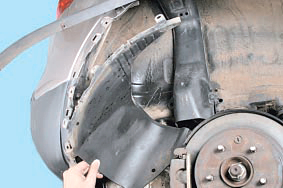
3. Remove the left and right rear wheel arch guards as described here .
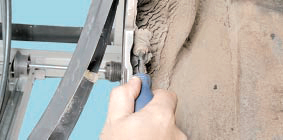
4. Turn out two (on one from each party) screws of fastening of a back bumper to a wing.
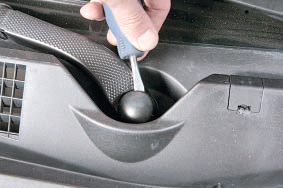
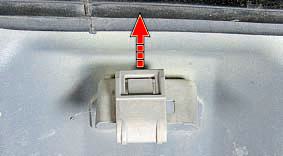
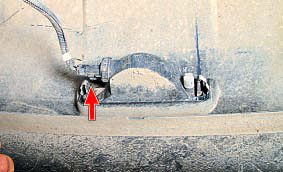
5. Pry off the retainer of the rear bumper to the body with a screwdriver.
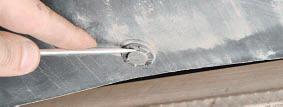
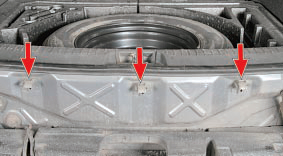
Note:
The location of the clips of the lower mounting of the rear bumper to the body.
6. Remove the fastening clip. Remove the second fastening pin in the same way.
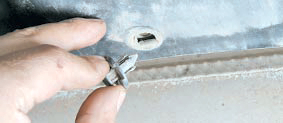
7. Turn out two bolts (on one from each party) of the top fastening of a bumper to a body.
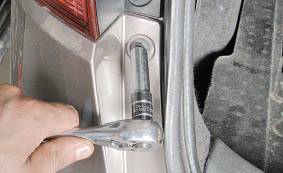
8. Remove taillights as described here .
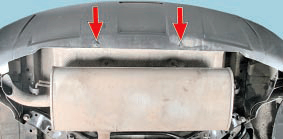
9. Overcoming the resistance of the clamps, remove the side latches of the bumper to the fender on both sides of the car.
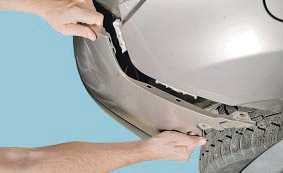
10. Pull the upper part of the rear bumper back and through the resulting gap, pry the retainer of the bumper bracket holder, starting from the left bracket (brackets are shown with the bumper removed).
Note:
Pry off the central part of the retainer and remove the bumper bracket from the holder.
11. Take the rear bumper away from the body.
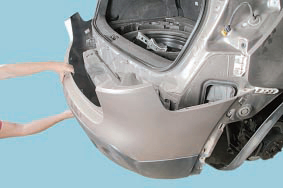
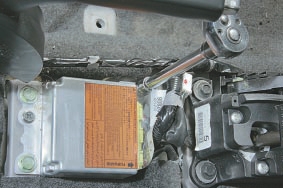
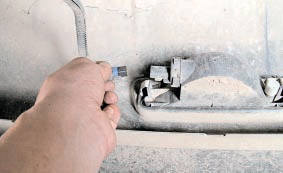
12. Wring out a clamp of a block of a plait of wires.
13. Disconnect the block from the rear fog lamp and remove the bumper.
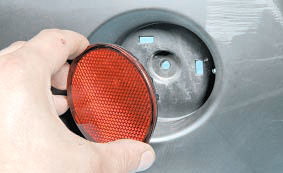
14. At replacement of a bumper turn out the screw of fastening of a reflector.

15. Remove the reflector from the bumper. Remove the second reflector in the same way.
16. Install the rear bumper and all parts in the reverse order of removal.
The article is missing:
- High-quality repair photos
- Tool photo
Source: http://nissan-qashqai.dv13.ru/kuzov/snyatie-i-ustanovka-zadnego-bampera/