![IX [2000 - 2005]](/uploads/mitsubishi_lancer_2005_images_2.jpg)
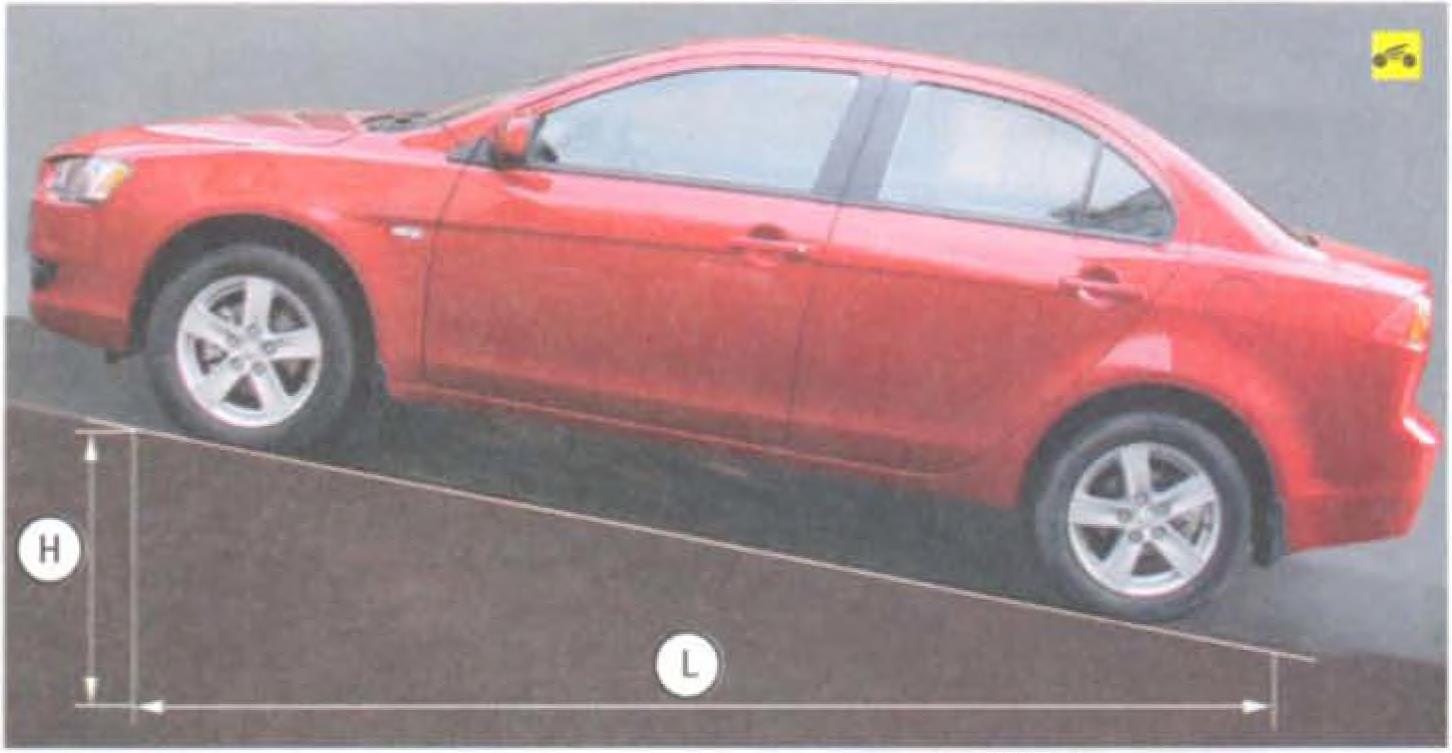
![X [2007 - 2017]](/uploads/Mitsubishi_Lancer_Sedan_2007.jpg)

You will need a socket wrench "14"
Removing and installing the rear seat Lancer X
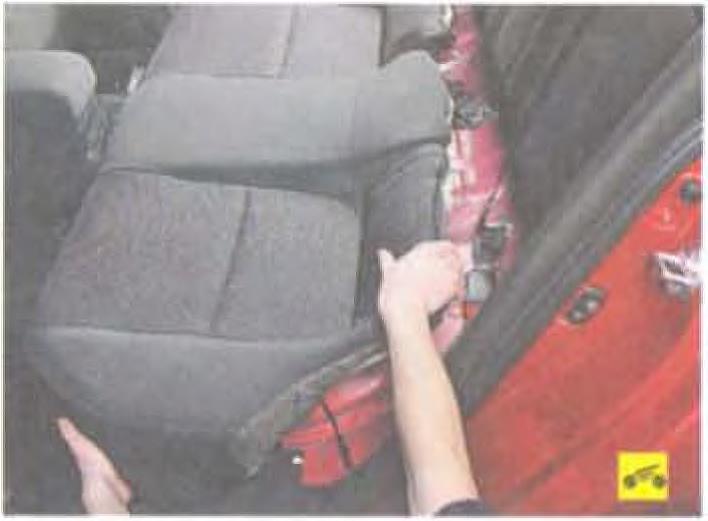
1. Overcoming the resistance of the latches, remove the rear seat cushion.
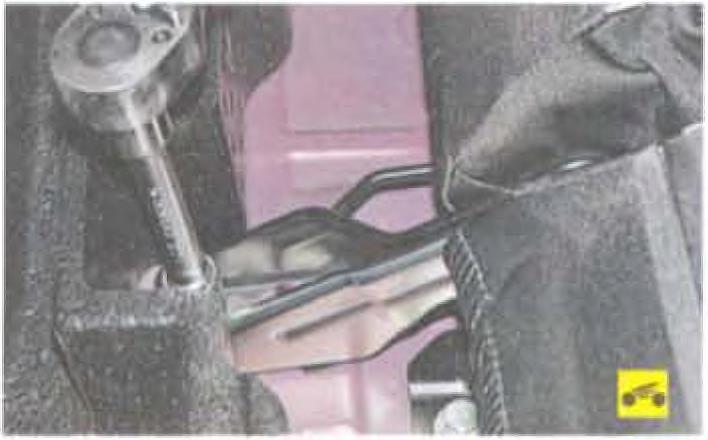
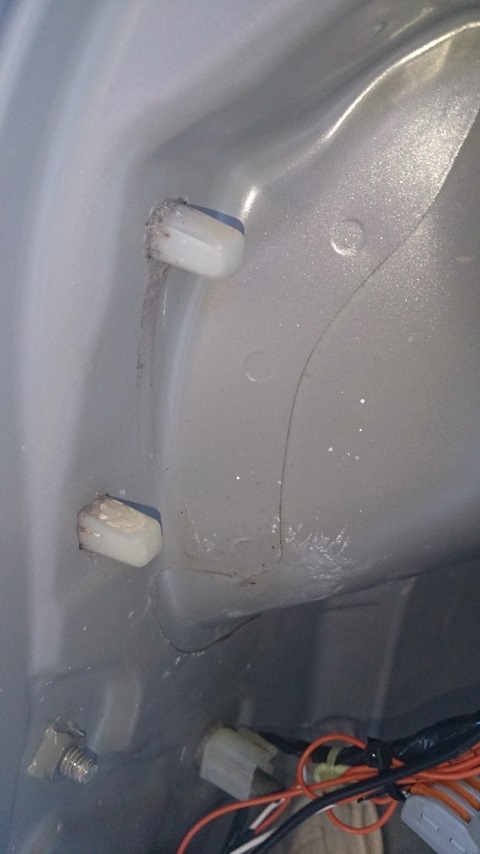
2. Turn out a bolt of fastening of the lateral supporting pillow.
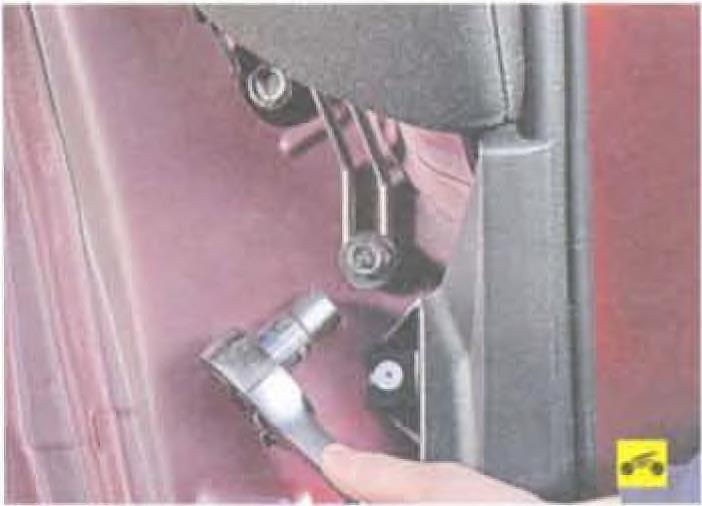
3. Lift it up and remove it from the vehicle.
4. Fold down a back of a back seat, turn out a bolt of fastening of an arm of the left back of a seat to a body.
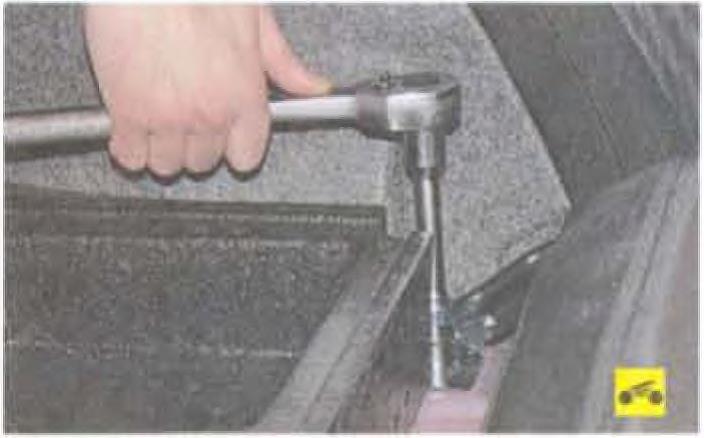
5. Turn out bolts of fastening of the central arm of backs of a seat to a body.
6. Similarly turn out a bolt of fastening of an arm of the right back.
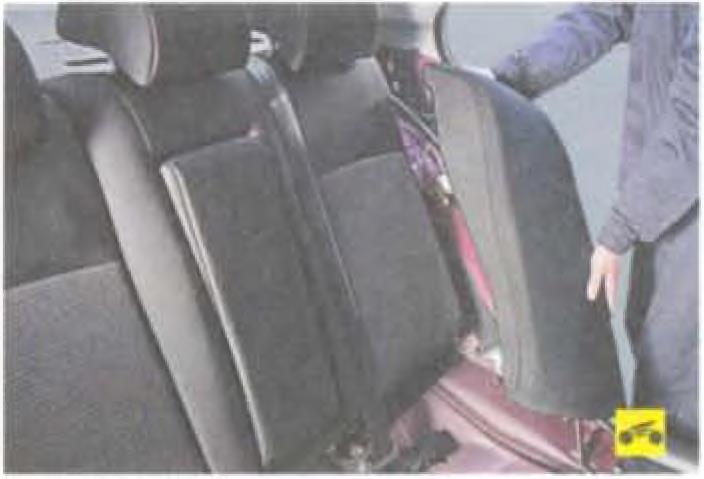
7. While lifting the seatbacks up, remove them from the vehicle.
8. Install the rear seat in the reverse order of removal.
Source: Mitsubishi Lancer X Owner's Manual

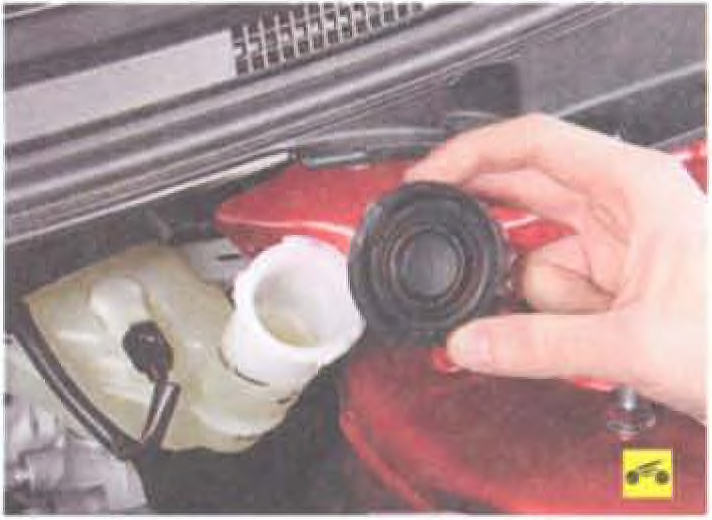
Replacing the brake fluid in the Lancer X brake hydraulic drive
1 to 3 hours
[[ article.getBookmarkIcon() ]]
Pit / Flyover
Removal and installation of transmission Lancer X
12 - 24 hours
[[ article.getBookmarkIcon() ]]
lift
