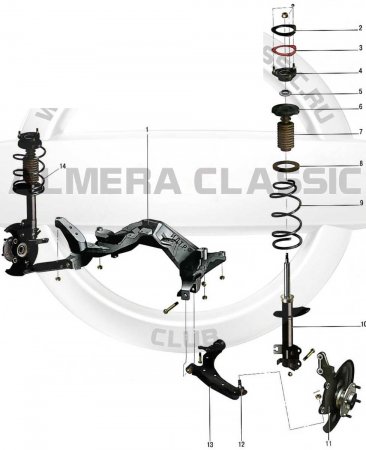
![B10 [2006 - 2013]](/uploads/Nissan_Almera_Classic_2006-2013_.jpg)

You will need: Phillips screwdriver or socket head "10".
Removing and installing the rear seat on the Nissan Almera Classic
1. Press the latches of the seat cushion locks, lift the front part of the cushion and remove the cushion.
2. Remove the seat cushion from the vehicle interior.

3. Fold out the rear seat armrest and hatch cover.
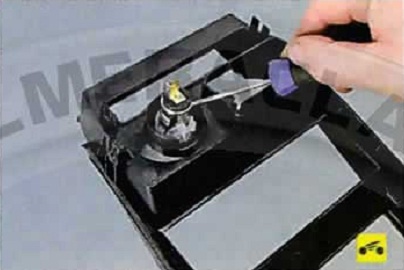
4. Turn out two bolts of fastening of an average part of a back of a back seat.

NOTE:

This is how the mounting bolts for the middle part of the rear seat back are located.
5. Turn out a bolt of fastening of the left part of a back.

6. Turn out a bolt of fastening of the right part of a back.

7. Raise the back of the rear seat up, disengaging from the hooks of the body.

8. Remove the rear seat back from the car.

9. Install the rear seat in the reverse order of removal.
Source: http://remont-nissan-almera.net/kuzov/320-sidenya-snyatie-i-ustanovka-zadnego-sidenya.html