![1 generation [2010 - 2015]](/uploads/Renault_Duster_2010-2015_.jpg)

We carry out the work when replacing the steering column switches, the switch connector with the coiled cable drum device, as well as when removing the steering column and instrument panel.
Disconnect the wire terminal from the "negative" terminal of the battery.
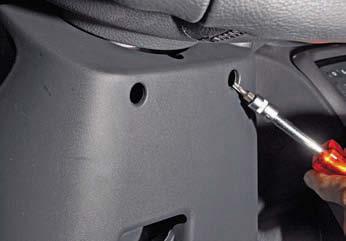
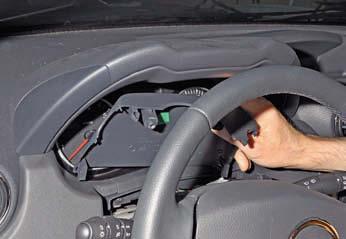
Using the Torx T-20 key, we unscrew the two screws securing the steering column covers.
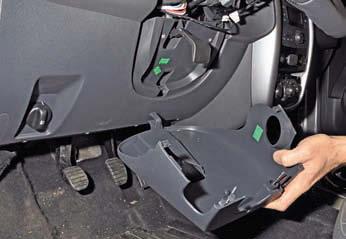
We remove the lower casing of the steering column, overcoming the resistance of the four clamps and removing the casing hook (shown by the arrow) from engagement with the instrument panel.
Remove the top cover of the steering column.
Turn the steering wheel to the left.
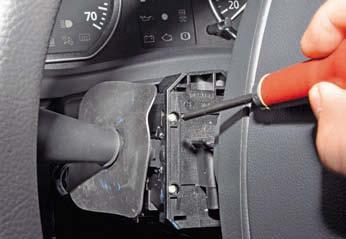
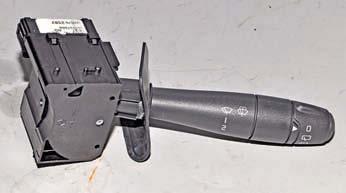
Using a Phillips screwdriver, unscrew the two screws securing the left steering column switch.
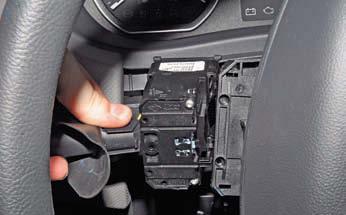
Remove the left switch from the connector.
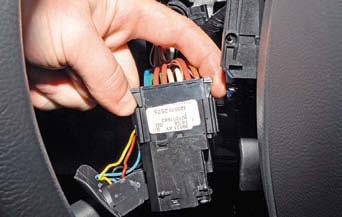
Squeeze the two clamps of the wire block.
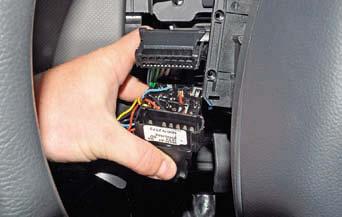
Disconnect the wiring harness from the switch connector.
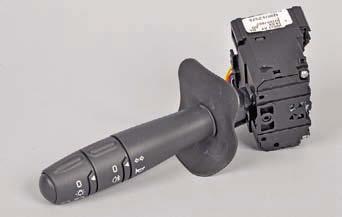
Remove the left steering column switch.
To remove the right steering column switch, remove the immobilizer coil (see Replacing the immobilizer coil and the contact group of the ignition switch).
Turning the steering wheel to the right...
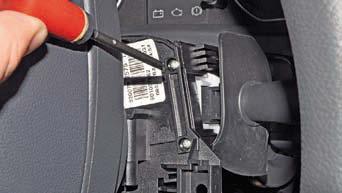
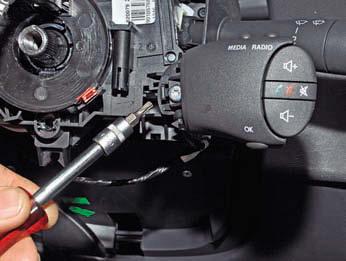
Using a Phillips screwdriver, unscrew the two screws securing the right steering column switch (the remote control for the audio system has been removed for clarity).
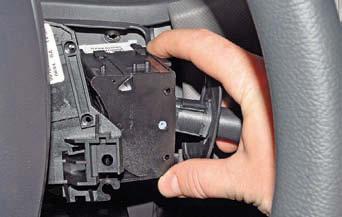
Remove the switch from the connector.
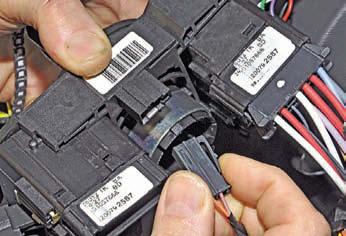
Squeezing the two latches of the wire block, disconnect the block from the switch connector ...
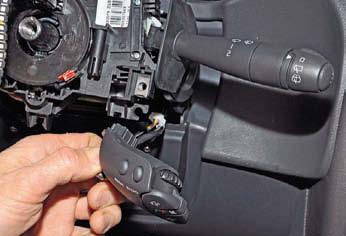
Remove the right steering column switch.
Install the steering column switches in reverse order.
When installing steering column covers
we pass the screws for fastening the covers through the holes in the bosses of the steering column switch connector housing (for clarity, it is shown on the removed covers and the steering column switch connector).
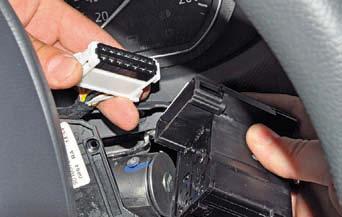
To remove the switch connector with the drum device, set the front wheels to the position corresponding to the rectilinear movement of the car.
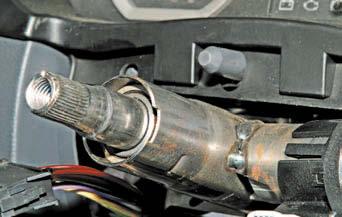
Remove the steering wheel (see Removing the steering wheel).
Before removing the connector of the steering column switches with the coiled cable drum (for ease of subsequent assembly), it is better to block the drum of the device from turning.
To do this, if necessary, we turn the drum by a small angle, aligning the cavity between the two protrusions of the drum with the groove of the body ...
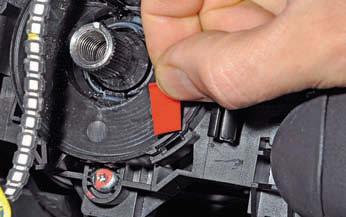
Insert the plastic plate.
You can also insert a wooden wedge.

Using the Torx T-20 key, we unscrew the connector fastening screw.
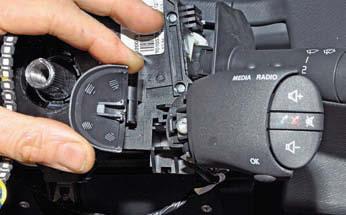
Remove the cover of the remote control for the audio system.
Using the Torx T-20 key, unscrew the remote control mounting screw.
Remove the remote control from the switch connector and leave it hanging on the wires.
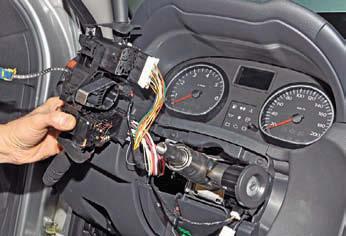
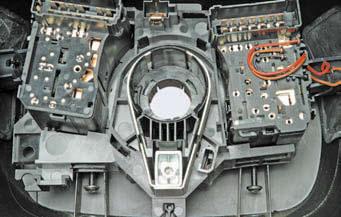
Slide the switch connector off the steering column.
By pressing the lock of the wire block, disconnect the block from the connector connector and, having disconnected the wire blocks from the steering column switches, remove the connector with the switches assembly.
We install the connector with the drum device and the steering column switches in the reverse order.
When installing the connector, we combine.
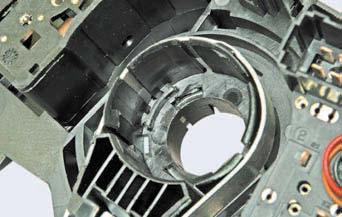
Protrusion in connector housing socket.
Groove at the end of the steering column tube.
Source: http://www.renault-duster.dv13.ru/elektrooborudovanie/snyatie-podrulevyx-pereklyuchatelej-i-soedinitelya-pereklyuchatelej-s-barabannym-ustrojstvom-spiralnogo-kabelya/