![1 generation [2004 - 2013]](/uploads/Renault_Logan_2004-2009_.jpg)
![2 generation [2013 - 2021]](/uploads/Renault_Logan_2013-2015_.jpg)

Tools:
- Screwdriver flat medium
- Key with Torx tip (asterisk) Т30
- Collar for end nozzle
- Nozzle on the crank 10 mm
- multimeter
Parts and consumables:
- fuel injectors
- O-rings for fuel injectors
Note:
Checking the tightness of nozzles, as well as checking the shape of their jets, can only be carried out in a service station, where there is all the necessary equipment for this.
1. Reduce the pressure in the engine fuel system, as described here .
2. Remove the air filter as described here .
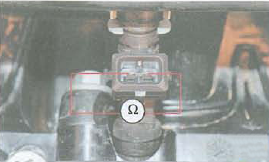
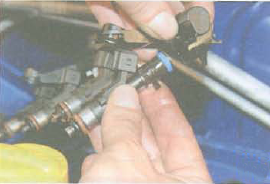
3. Pressing the latch, remove the wiring harness block from the nozzle.
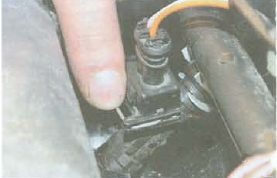
4. In a similar way, remove the pads from the remaining injectors and take the wiring harness to the side.
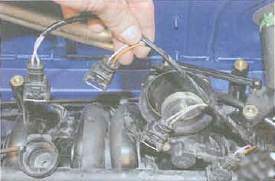
5. Using a multimeter, check the resistance of the injector windings. At a temperature of 20 degrees Celsius, the resistance should be 12 ohms. If the resistance value deviates from the norm, the injectors are considered faulty and should be replaced.
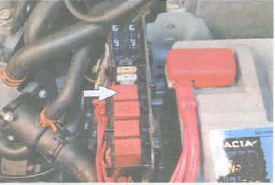
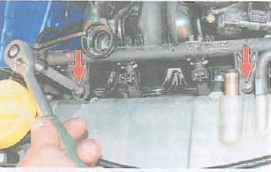
6. We unscrew the two bolts of the fuel rail.
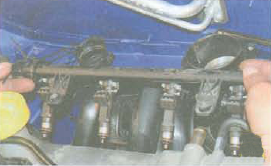
7. Remove the fuel rail by removing the fuel injectors from their seats on the intake pipe.
Warnings:
No need to disconnect the fuel line from the rail.
If, when removing the fuel brine, any nozzle remains in the intake pipe, it is imperative to replace its retainer on the fuel rail.
8. Using a screwdriver, pry off the nozzle retainer and remove it.
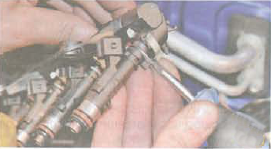
9. Remove the fuel injector from the fuel rail.
Note:
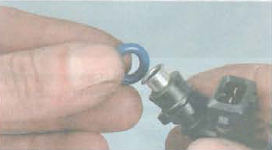
Each time the injectors are removed, their o-rings must be replaced.
10. Remove the sealing rings from the side of the atomizers on the nozzles.

11. Remove the sealing rings from the nozzle bodies.
12. Install new nozzles in reverse order.
13. Install the removed parts and assemblies in the reverse order of removal.
The article is missing:
- Tool photo
- Photo of parts and consumables
- High-quality repair photos
Source: carpedia.club