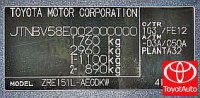
![E140/E150 [2006 - 2010]](/uploads/Toyota_Corolla_E140_2006_-_2010_.jpg)

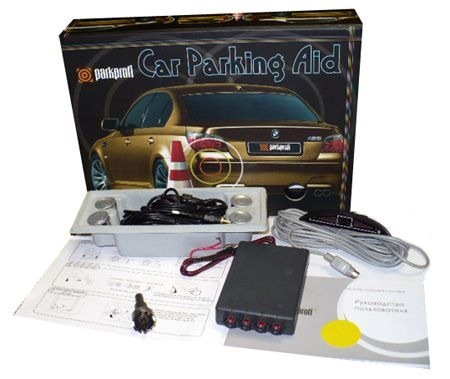
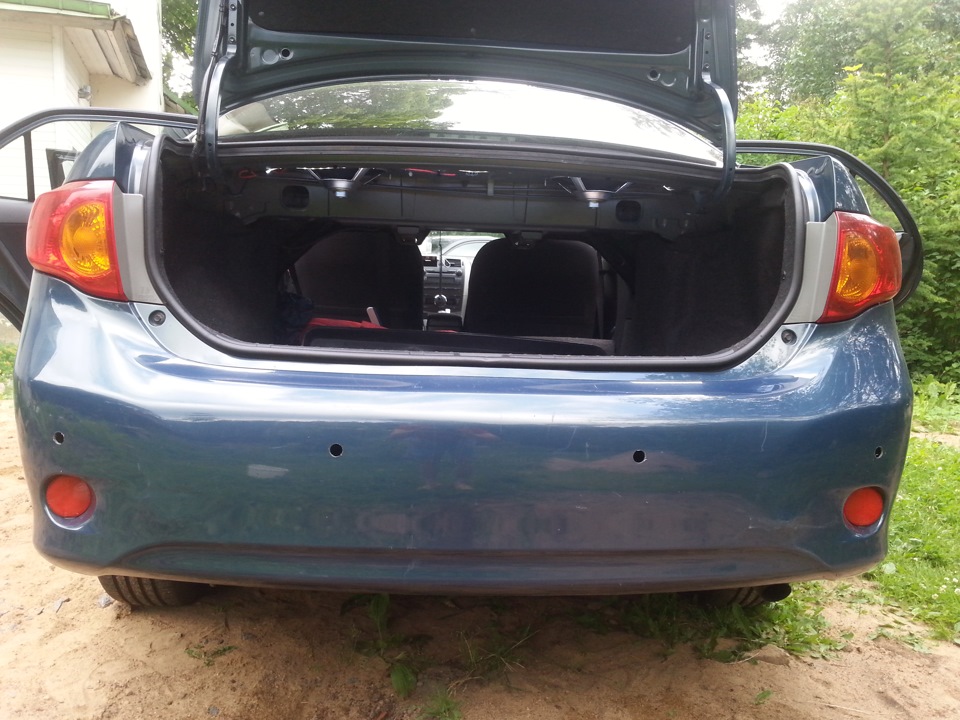
Hello everyone! As promised, I am posting a report on the installation of parking sensors. The already battered rear bumper received four new holes.
To begin with, we started marking the bumper. This required masking tape, a ruler, a marker, a rope, a level and straight eyes with hands.
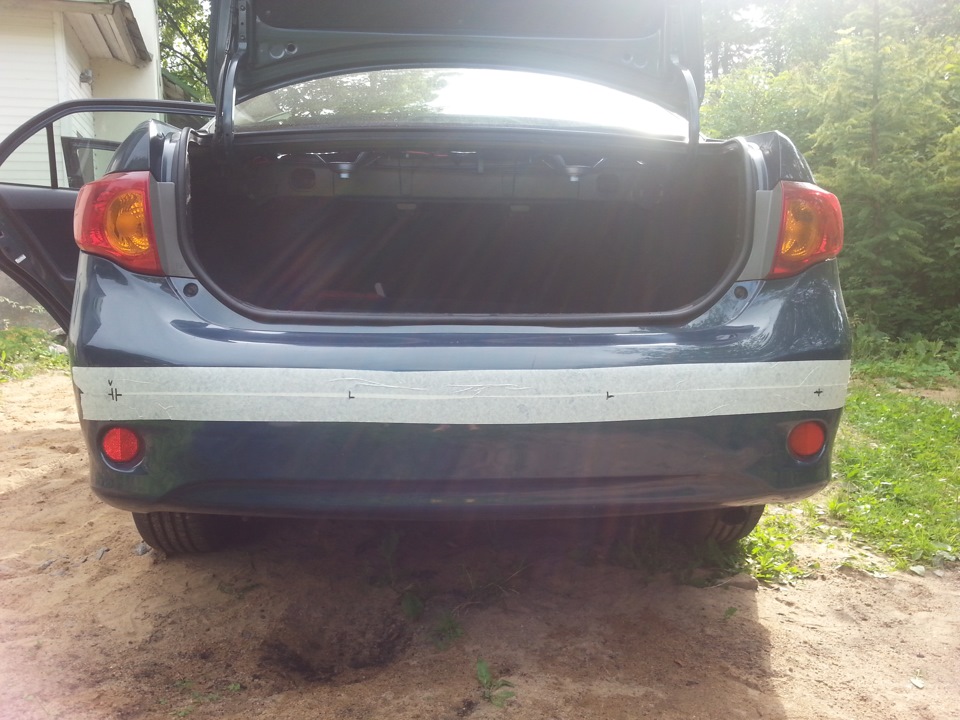
Marked up.
Next, holes were drilled using a screwdriver and a special nozzle for cutting holes, which came with the parttronic.
Then the sensors were inserted through the holes.
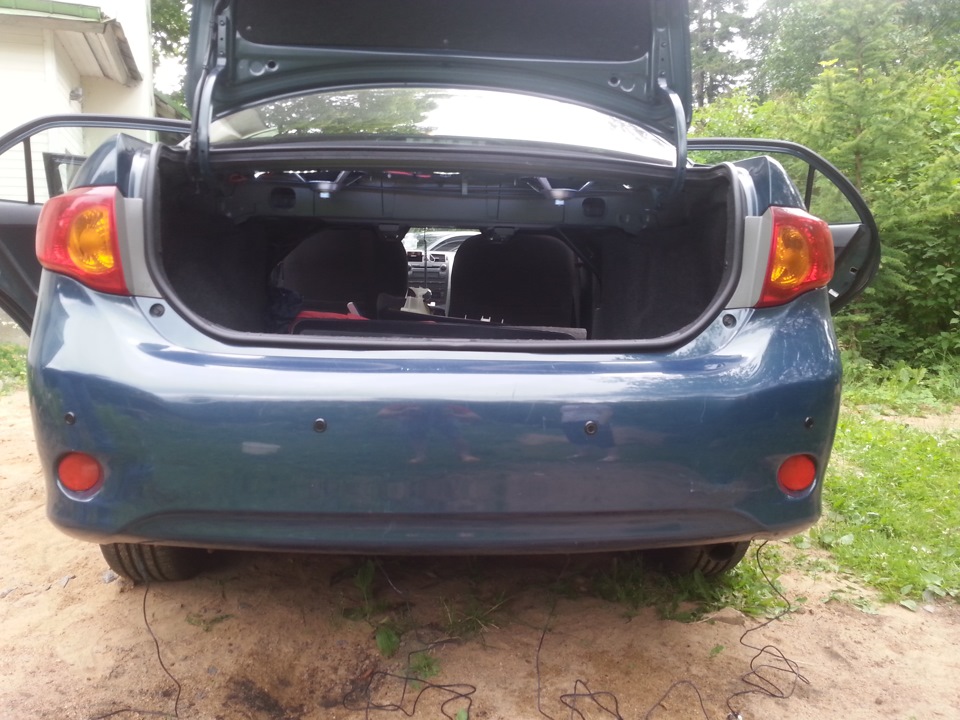
The sensors are in place.
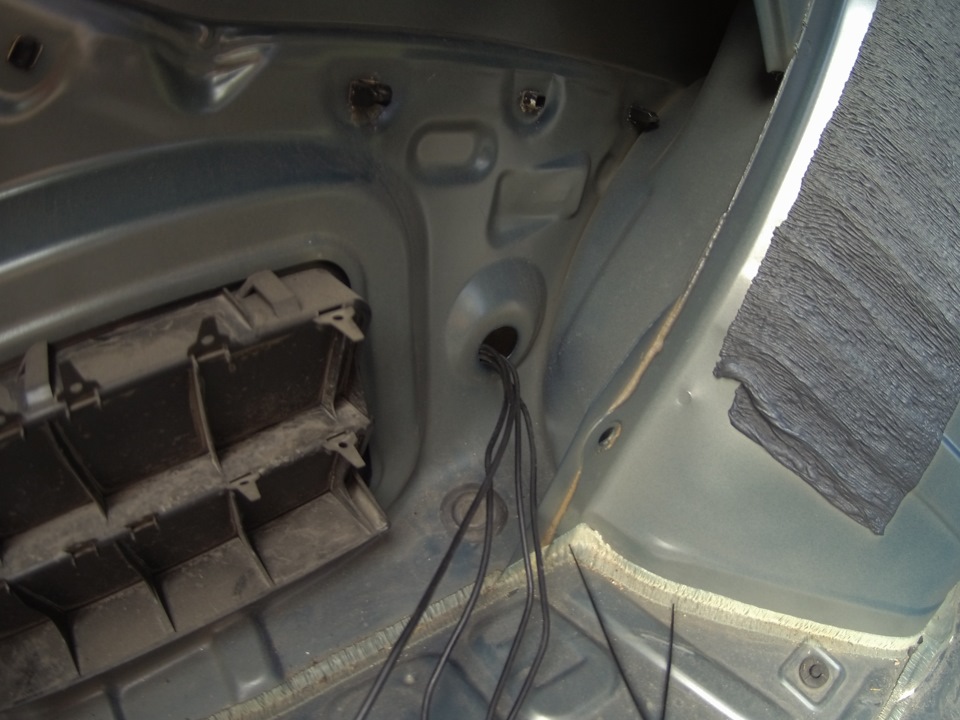
Then it was the turn to disassemble the rear of the cabin and the inside of the trunk. What is the salon for? Looking ahead, I’ll say that, according to my idea, the display (tweeter) of the parking sensors will be under the rear window at the brake light. To do this, you need to remove the rear shelf with speakers. And to remove the rear shelf with speakers, you need to disassemble the entire rear of the cabin. Here is such a constructor turned out ...
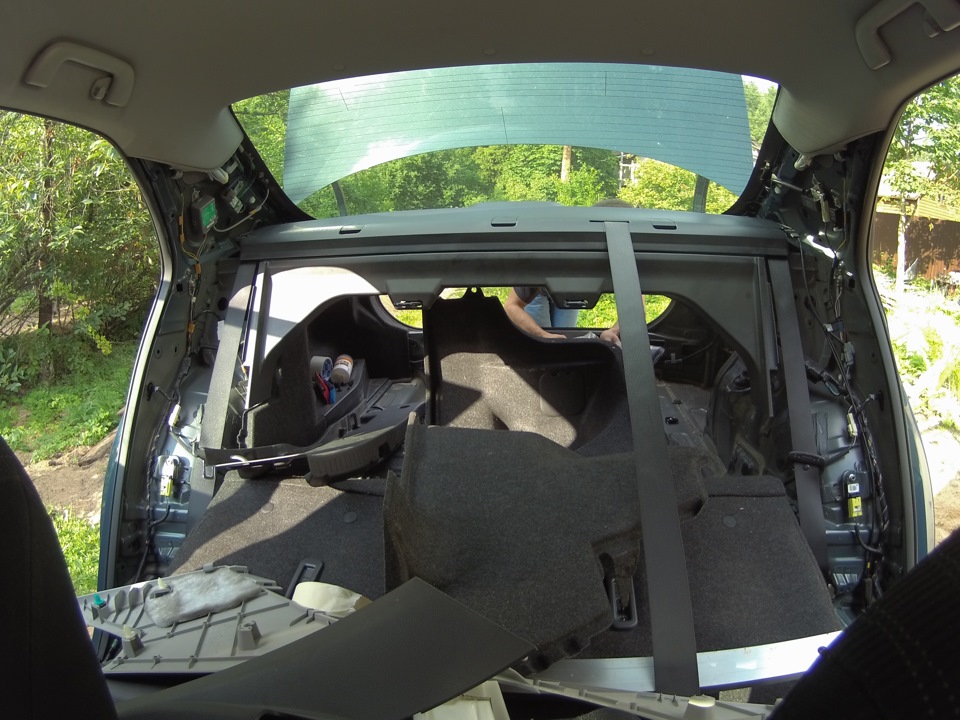
Salon ruins.
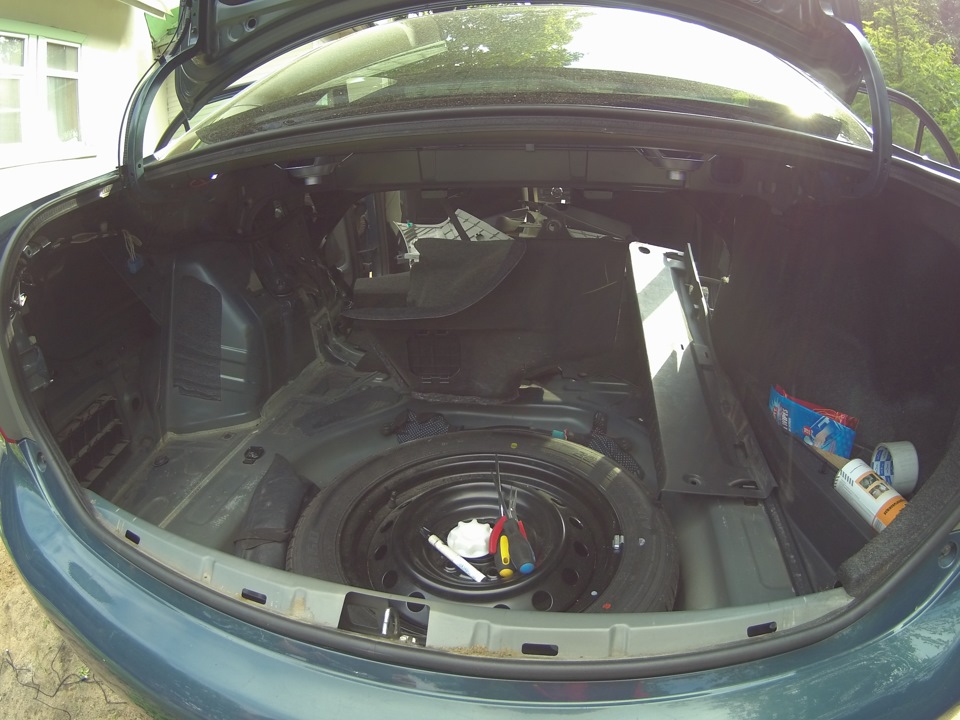
Chaos in the trunk.
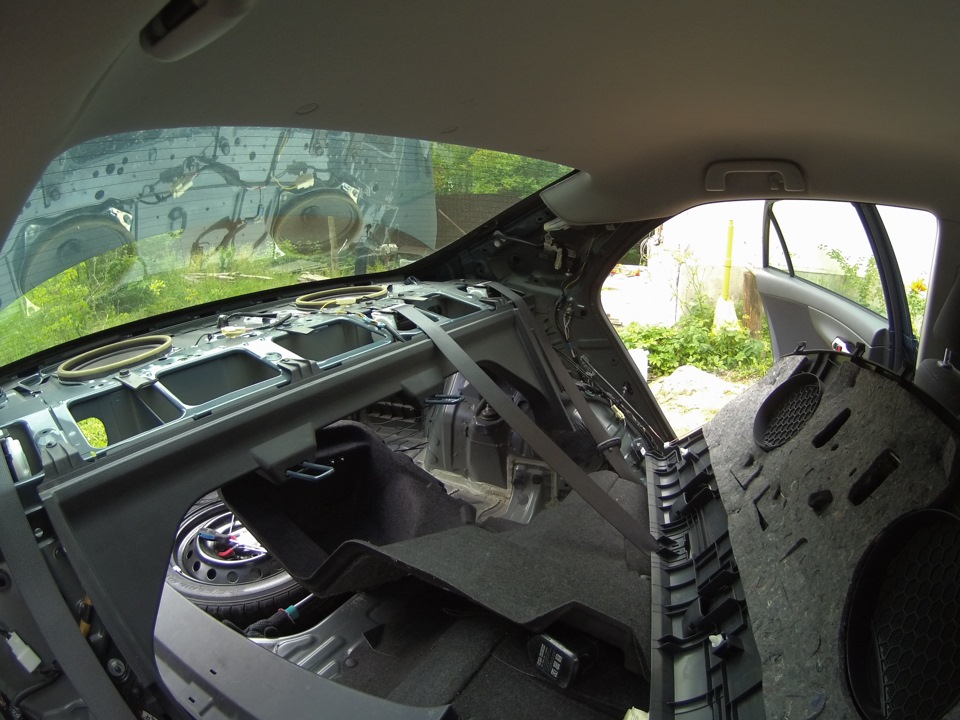
The rear shelf safely left for a while.
I dismantled the interior myself and for the first time. I armed myself with instructions for disassembling the interior and drove off ... I was very afraid to remove the lining on the airbags in the rear pillars, but as practice has shown ... there is nothing wrong with that, the main thing is accuracy.
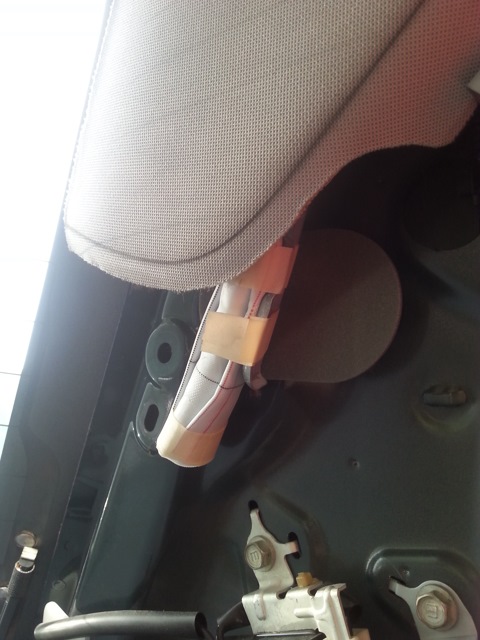
And here is the pillow.
Continuing the installation, they began to pull the guts of the sensors under the bumper because they did not remove the bumper for the sake of this and came up with their own design. For this, plastic ties and a piece of corrugation were needed. We pull the wires into the braid and pull them along the bumper, and we put on the corrugation towards them and put the whole thing into the luggage compartment plug, having previously made a hole in it (by the way, this is exactly what is recommended in the factory instructions for installing the parking sensors).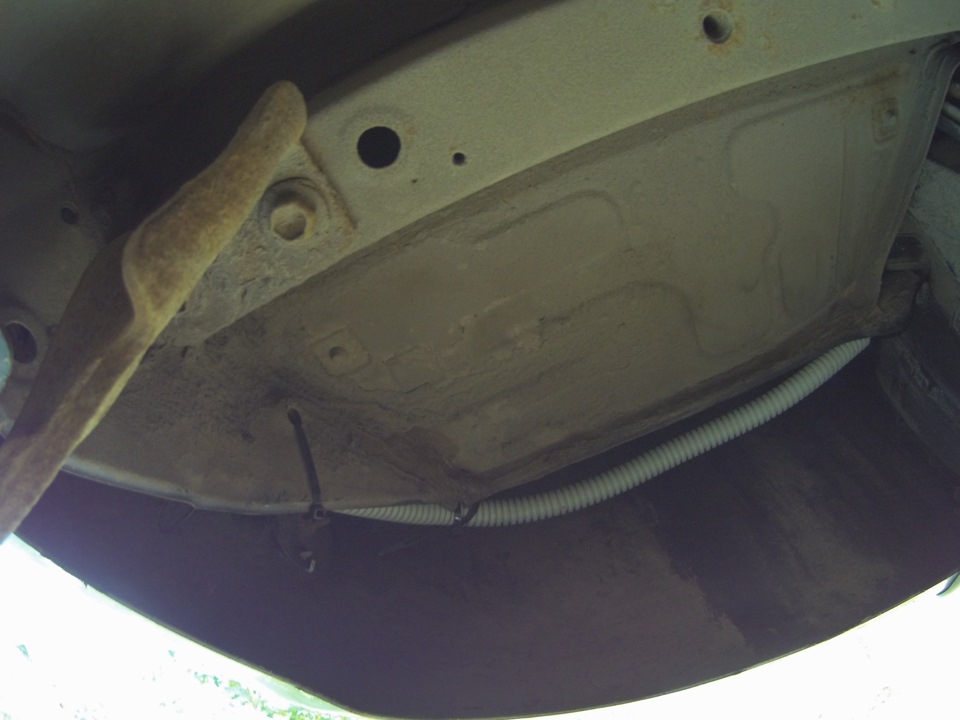
Corrugation with wires.
The same mute.
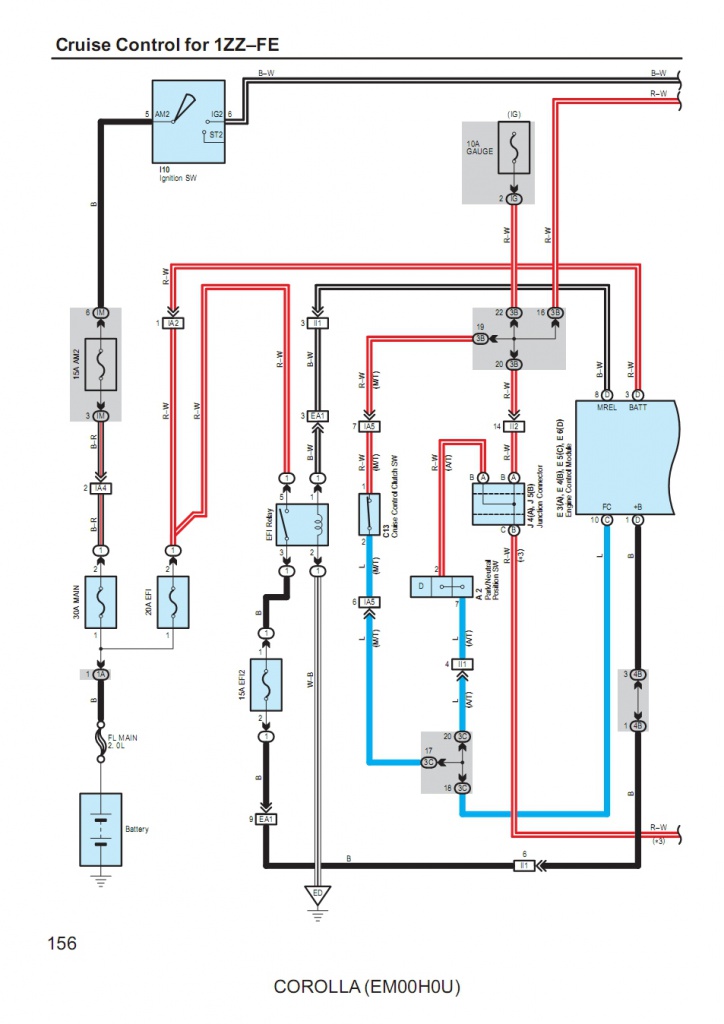
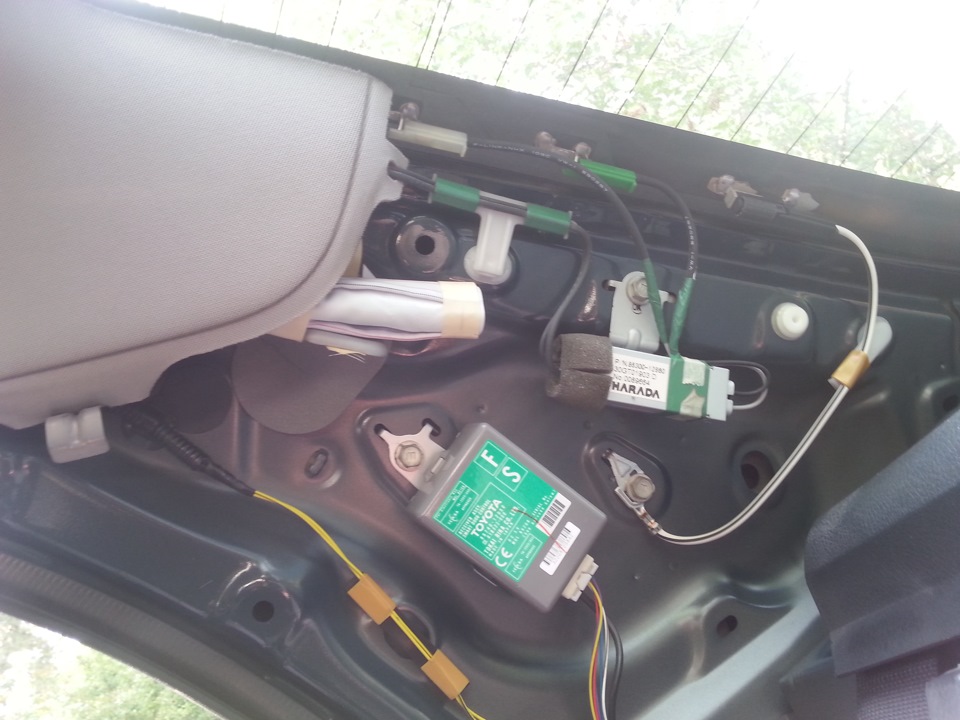
The next step was to connect the sensors to the brains, checking the correct connection and fixing the brains on the screeds to the car body (fortunately, there are a lot of places where to get the screeds). Well, they asked the whole thing. We connect to the red wiring with gold notches and letters - this is reverse.
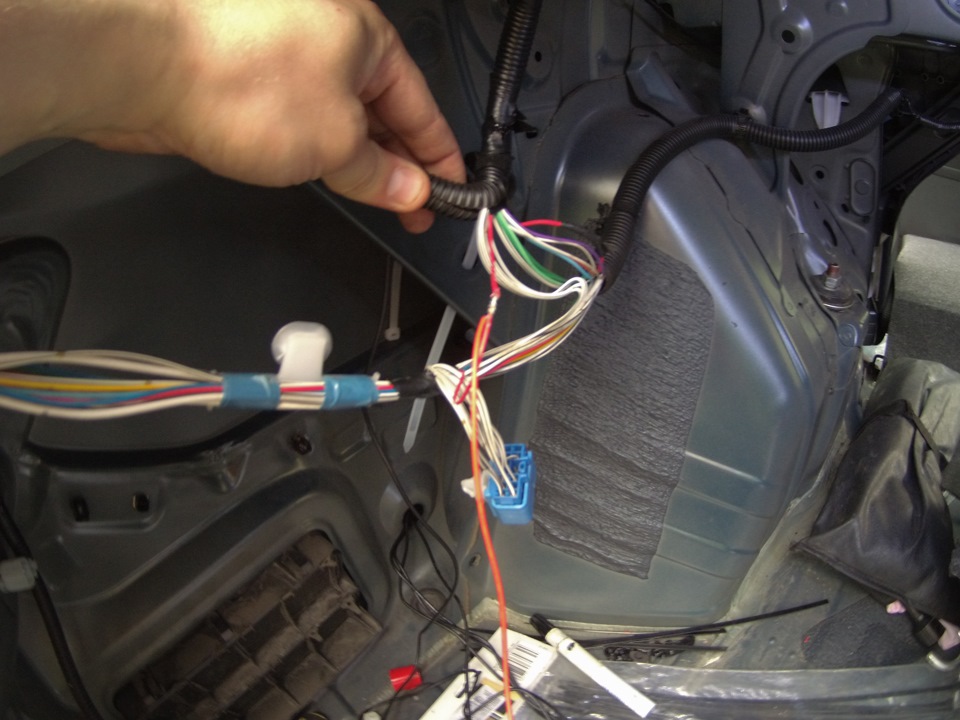
Here it is.
Then they drilled a hole in the rear shelf under the wire to the tweeter and installed it. I didn't capture this moment, I forgot. The wire was pulled through a hole in the trunk to the brain and connected. All the wires were correctly wound with black insulating tape (as at the factory) and all the ties were pulled anywhere. At the end, the leaky plug was filled with sealant so that it became airtight again.
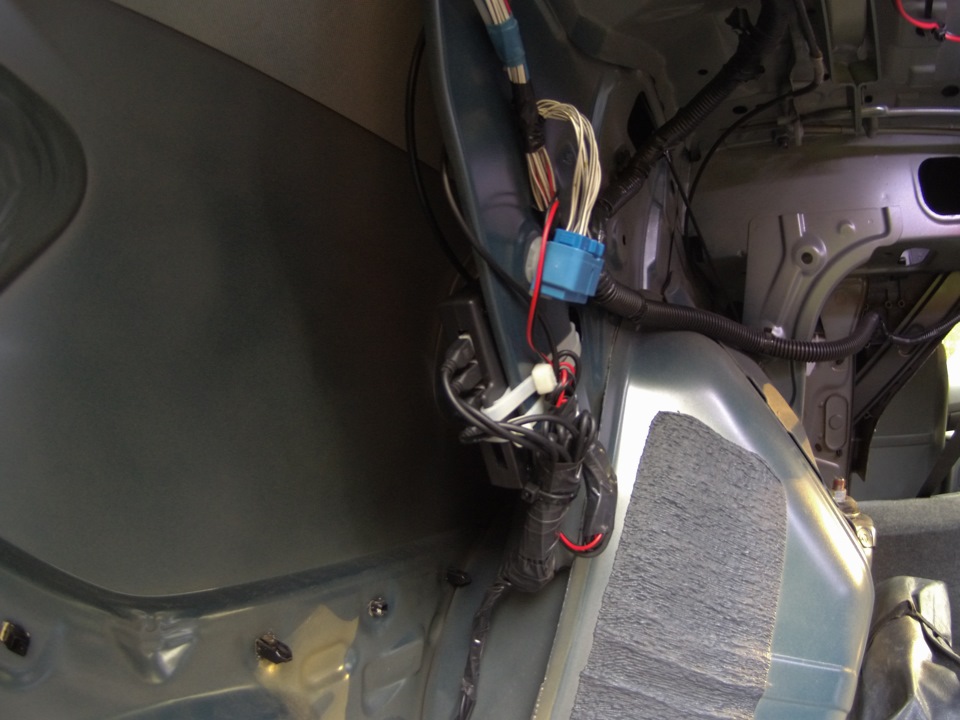
Finished construction.

Overall plan.
I did not remove the assembly of the cabin, because everything was already clear what and where and I wanted to assemble everything as soon as possible. Well, at the end of the photo is an already installed tweeter display and a first-person view in the rearview mirror.
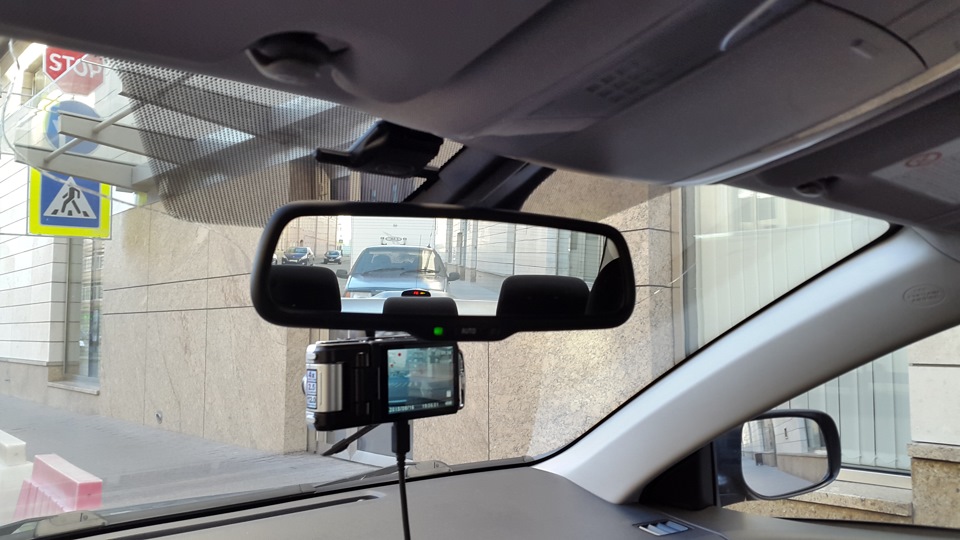
First person
As a result, I am more than satisfied with the result, but I didn’t notice much help from the parking sensors because I’m already used to parking by eye, but it’s more than good as a safety net.
Source: https://www.drive2.ru/l/7425390/