![1 generation [1995 - 2006]](/uploads/Fiat_Scudo_I_1995_-_2006_.jpg)
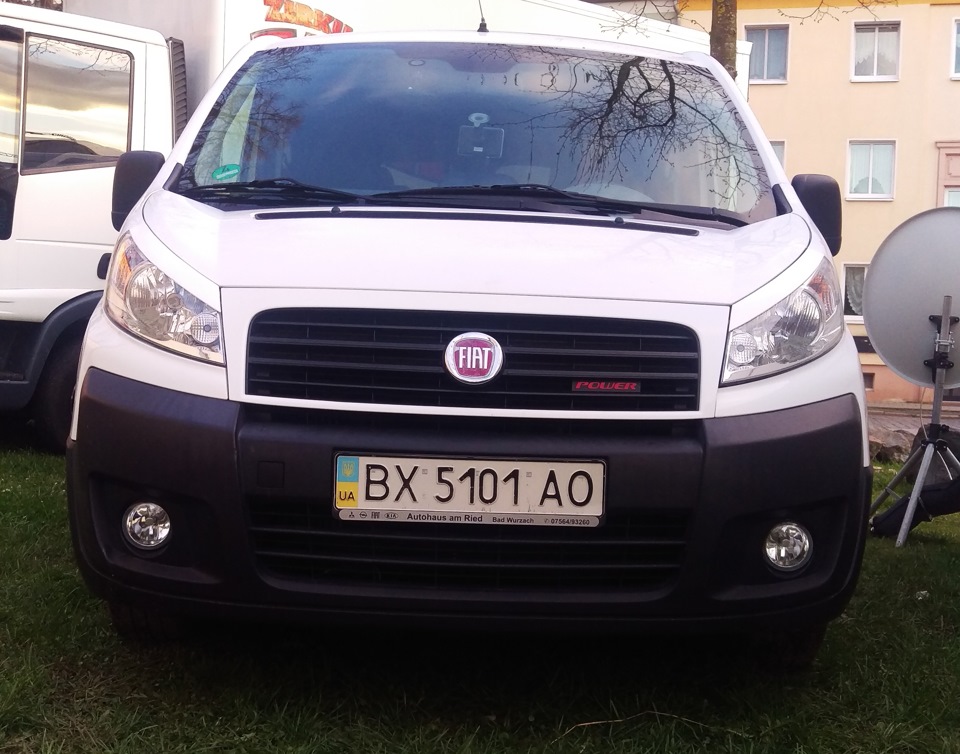
![2 generation [2007 - 2017]](/uploads/Fiat_Scudo_2007_-_2016.jpg)

Tool:
- Open-end wrench 13 mm
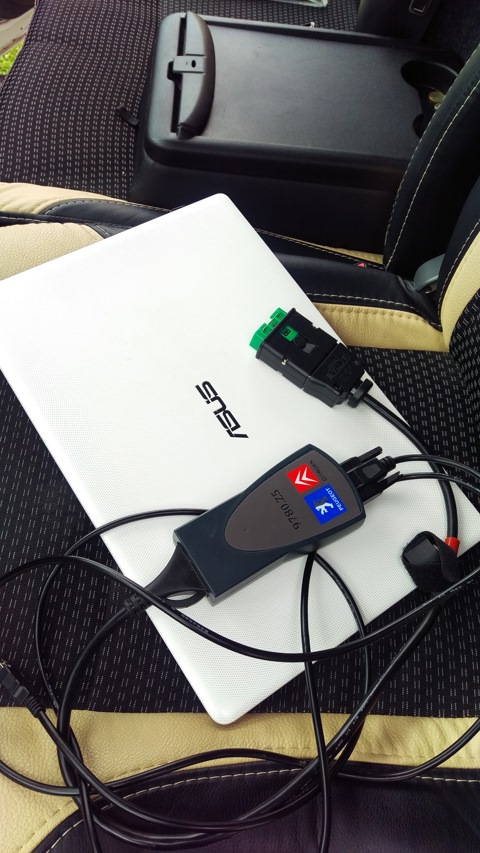
- Diagnostic scanner Lexia 3
- Laptop with DiagBox 7.57 installed
- Screwdriver flat medium
Parts and consumables:
- Fog lights (2 pcs.)
- Bolt 6x25 (2 pcs.)
- Washers (4 pcs.)
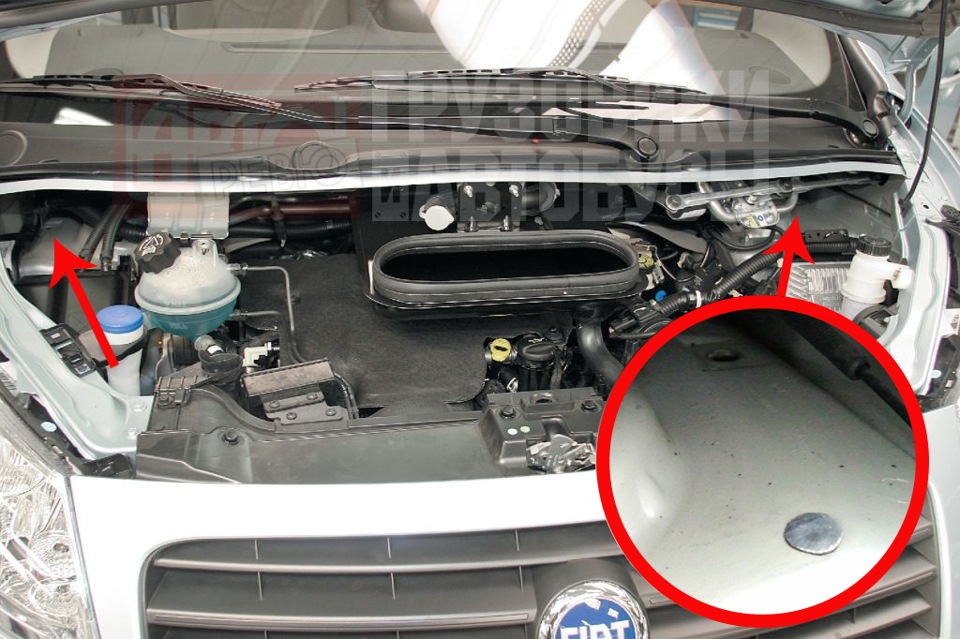
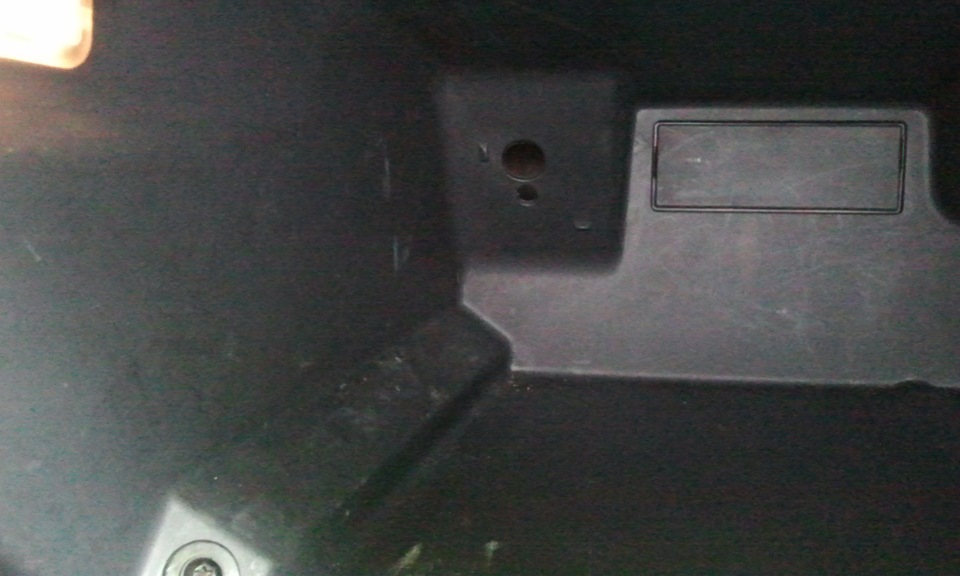
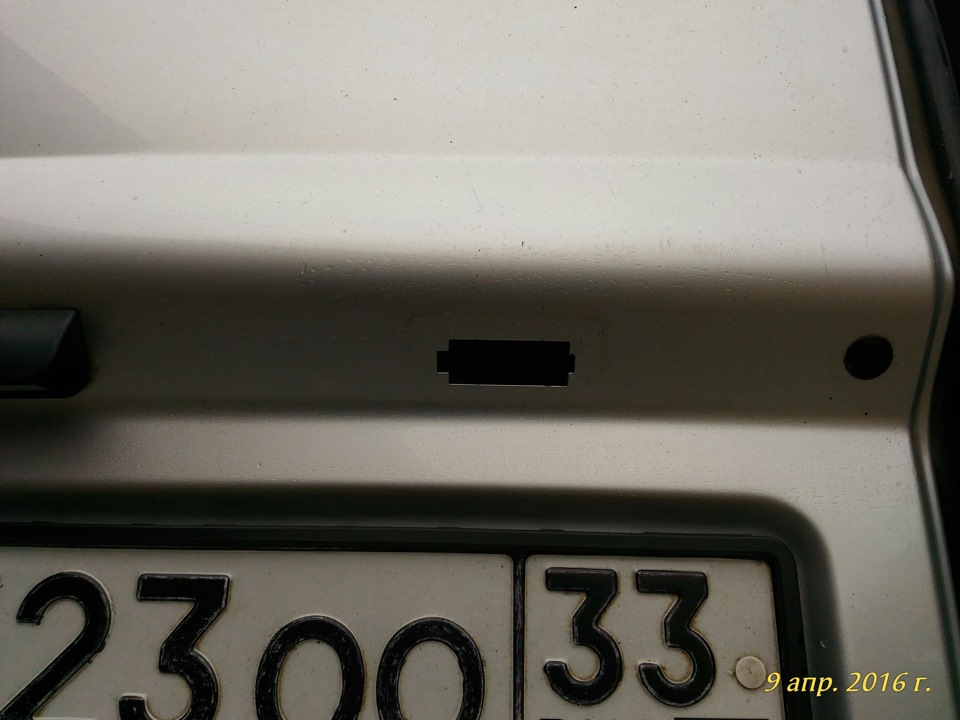
1. Open the plugs in the bumper
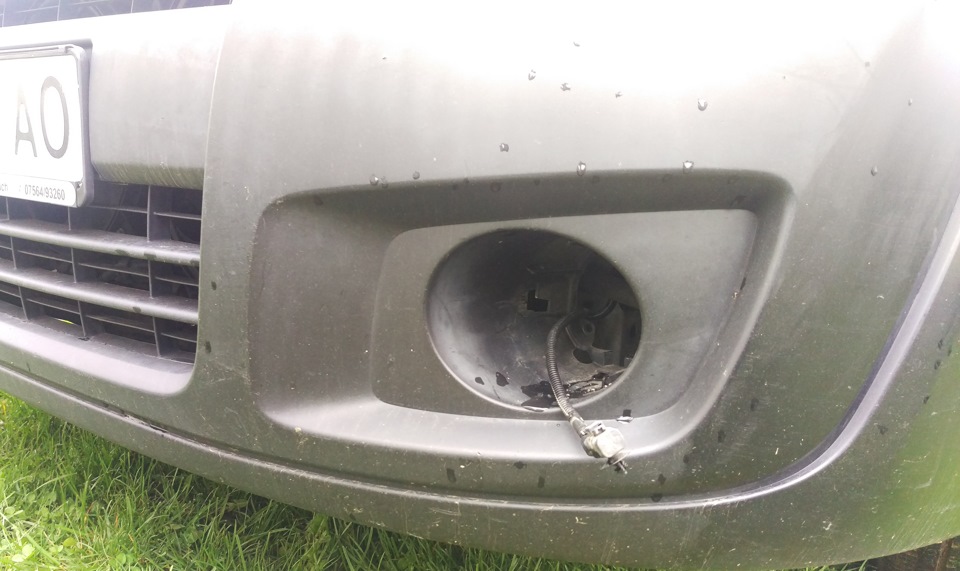
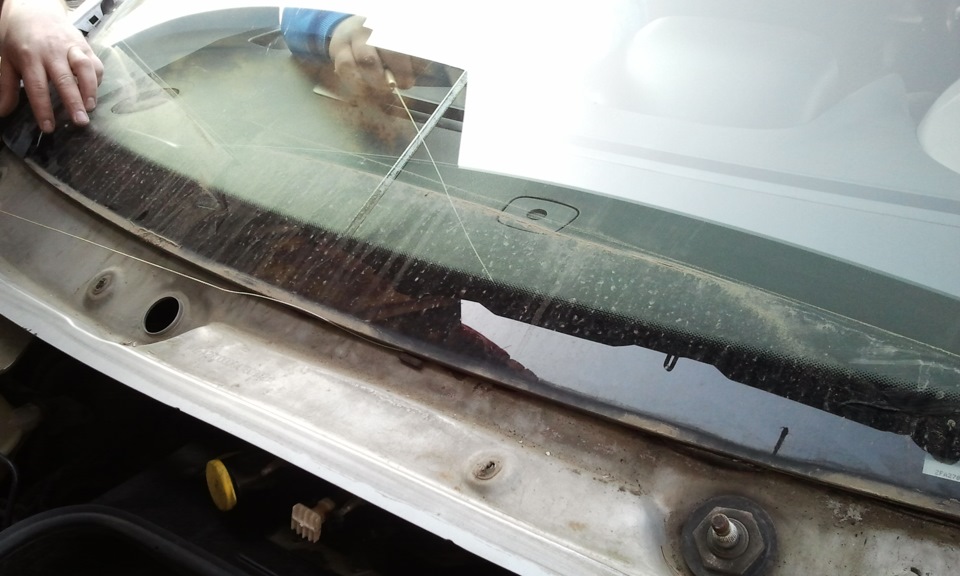
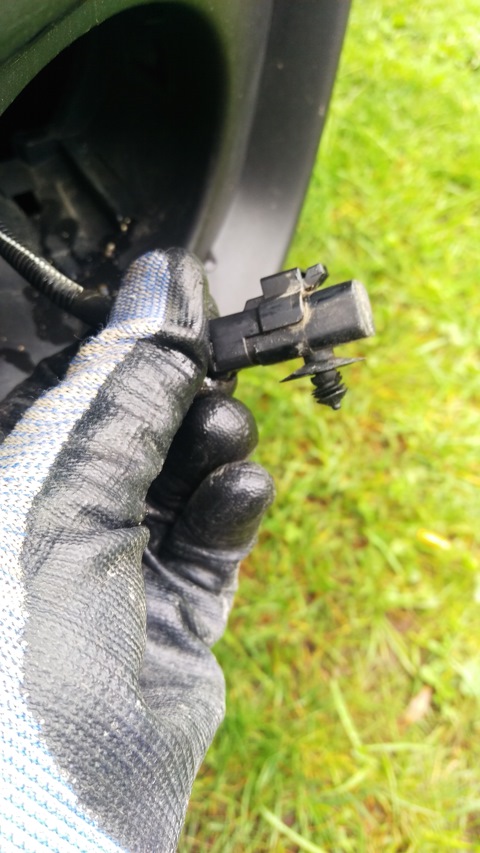
2. We take out the wiring harness pads.
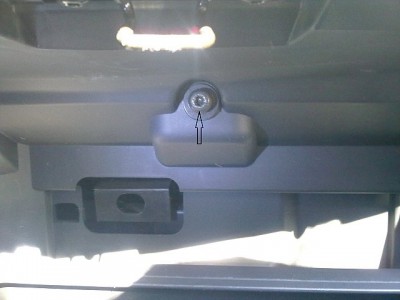
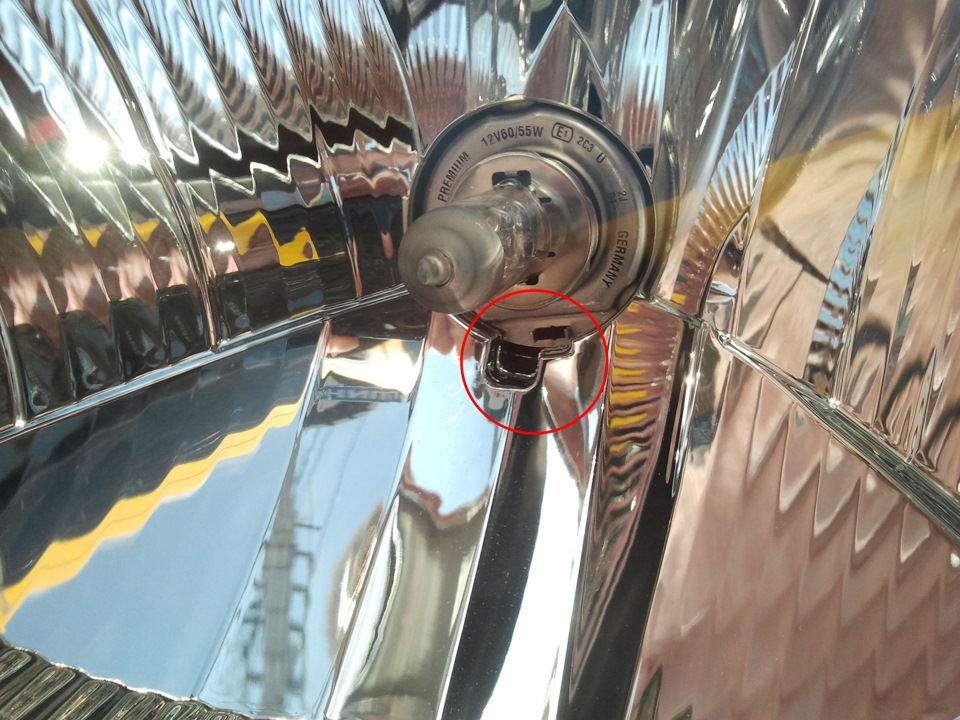
3. Remove the protective cap from the block.
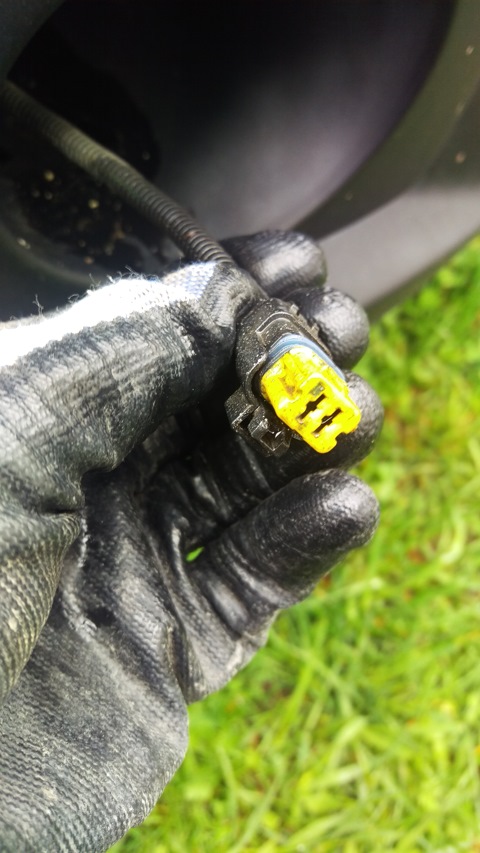
4. We connect the wire blocks to the fog lights and insert them into place until they click. Then each headlight is fixed with a 6x25 bolt with two washers.
5. Next, we need to activate the fog lights function in the machine's control system. To do this, we take the Lexia 3 scanner and use the DiagBox software to activate it.
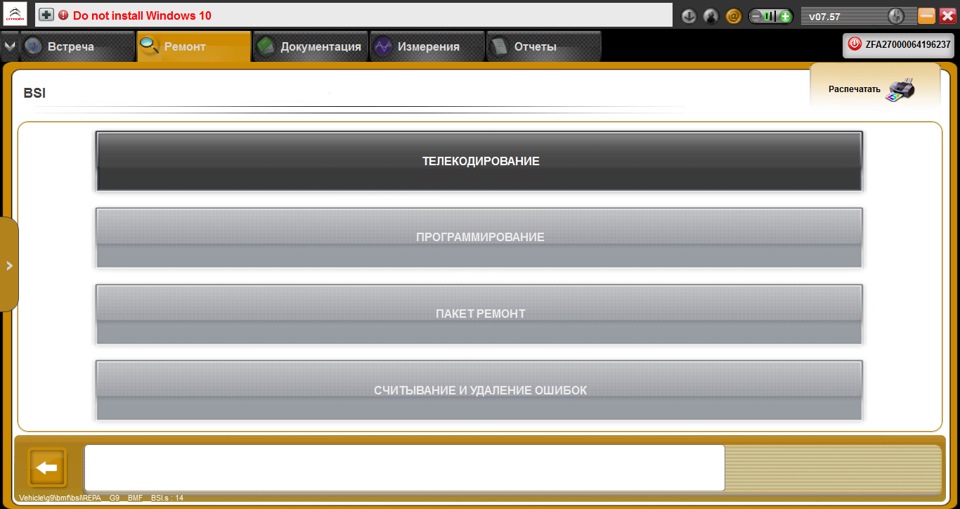
6. In the DiagBox program, open: Repair -> Block BSI.
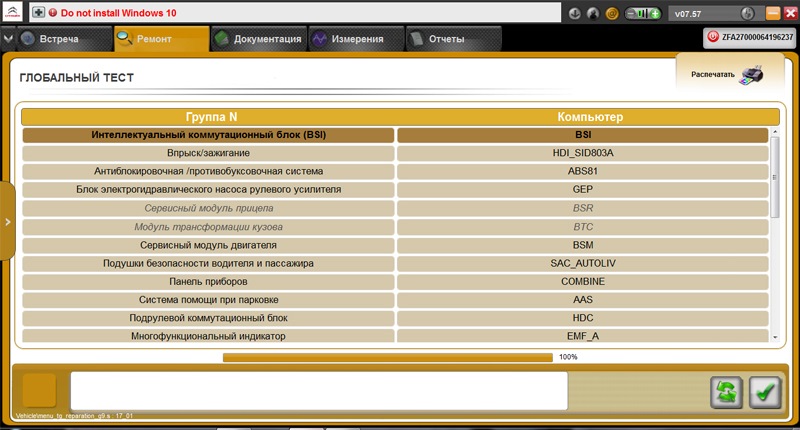
7. Press the "Telecoding" button.
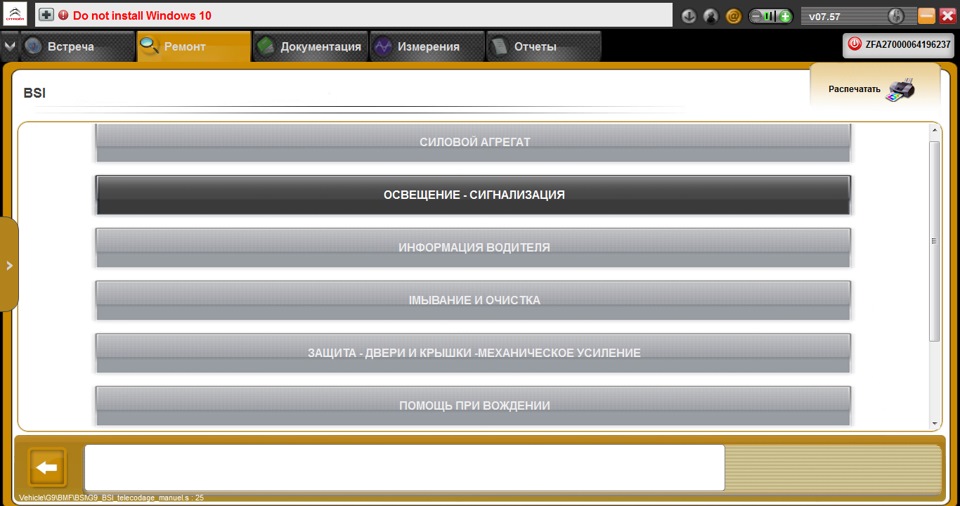
8. On the next page, select "Vehicle Configuration".

9. Next, click "Lighter - Alarm".
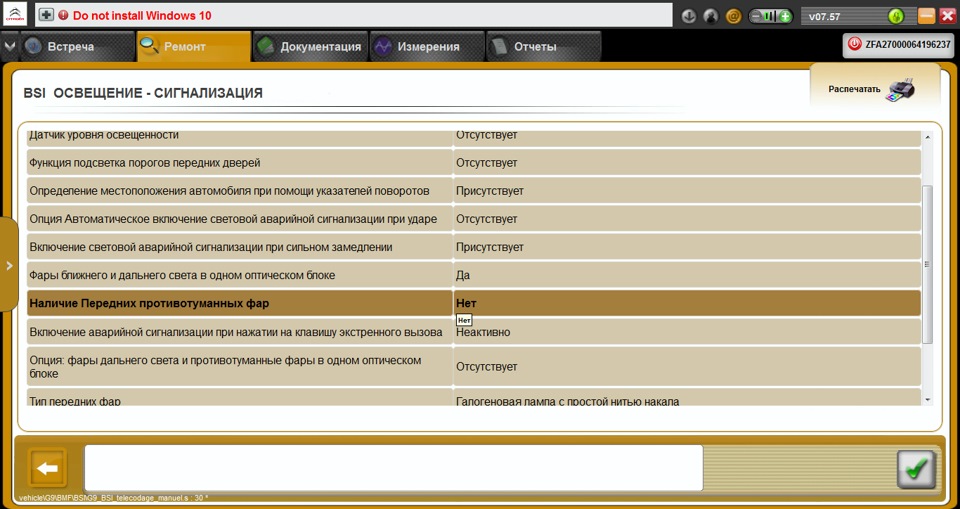
10. In the paragraph "The presence of fog lights" you need to change the value "NO" to "YES".
Note:
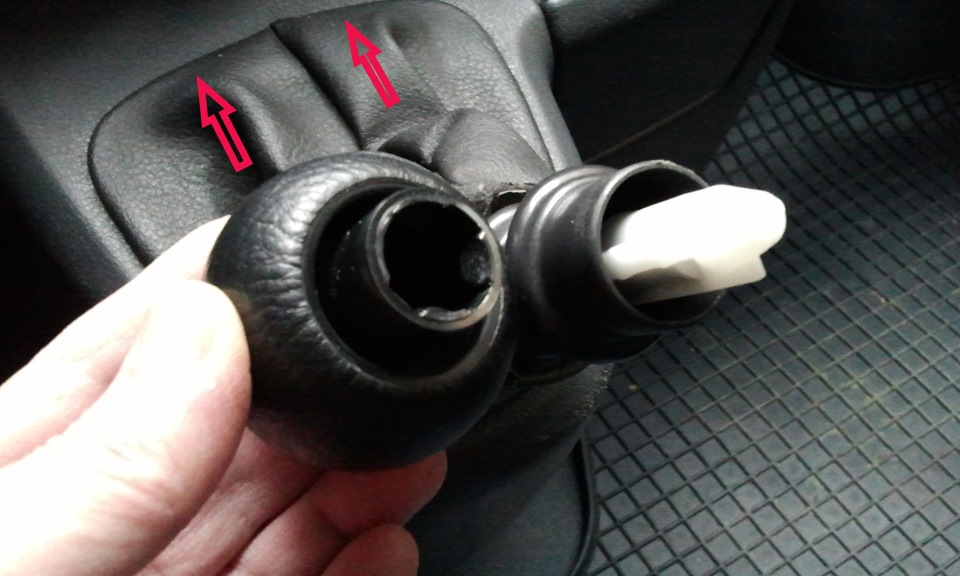
The switch knob does not need to be changed. It will remain fully operational. The first turn turns on the front fog lights, and the second turn turns on the rear fog lights. Switching off the headlights occurs in the reverse order.
The article is missing:
- Tool photo
- Photo of parts and consumables
Source: https://www.drive2.ru/l/9645304/